Page 1 of 4
Constructing a Loco
Posted: Thu Nov 27, 2008 8:48 pm
by ACLR
I have started building the loco that is featured in this book
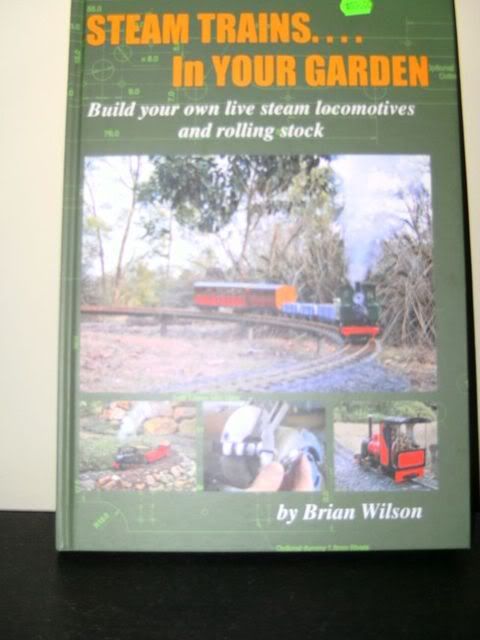
I will post pics of the construction here

Posted: Thu Nov 27, 2008 8:57 pm
by alan2525
Great! Looking forward to seeing it progress - give me a shout if you need any sheet work cut for it!
Posted: Thu Nov 27, 2008 9:15 pm
by ACLR
Thanks Alan
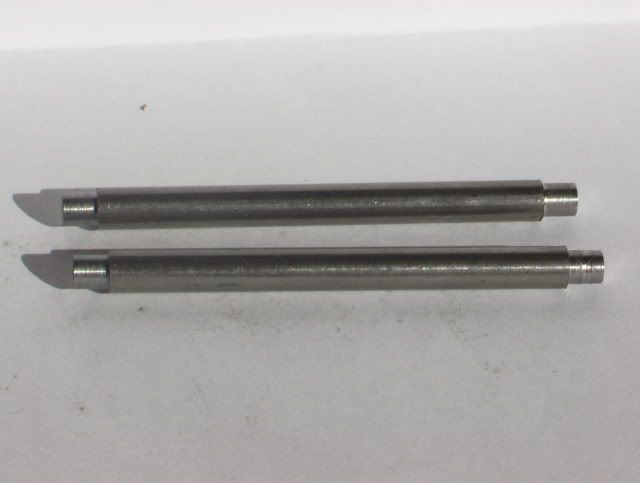
so far I have done the axels
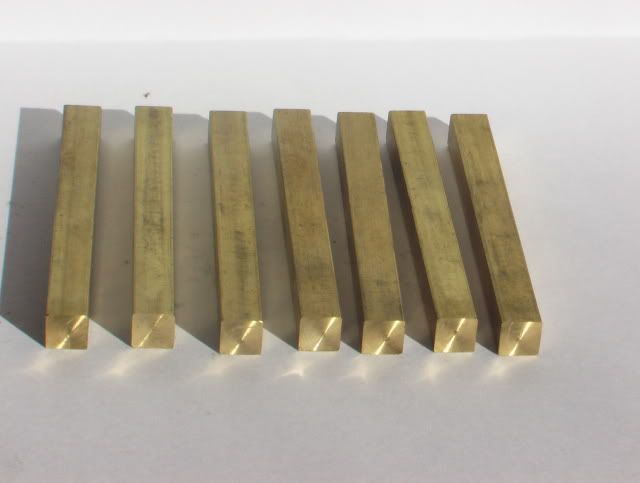
The Frame spacers are cut but not drilled and taped yet
and have made the mandrel for turning the wheels
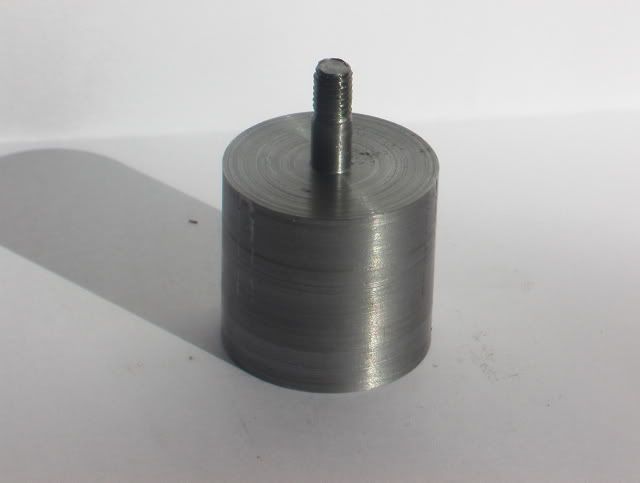
Im still learning to use a lathe but a I'm progressing slowly
Posted: Thu Nov 27, 2008 9:25 pm
by Chris
Hope it all goes well. Looking forward to seeing the progress.
Posted: Thu Nov 27, 2008 11:01 pm
by steamyjim
Brilliant work

Posted: Fri Nov 28, 2008 9:42 am
by ACLR
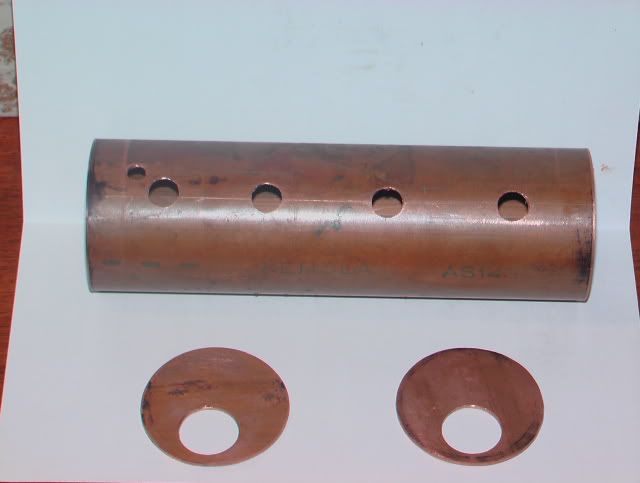
Did some more today started on the gas fired boiler
Posted: Fri Nov 28, 2008 10:17 am
by made-in-england
Wow looking good!!! You will have it done in no-time!
When will you be taking a contract to make me little de-winton

Posted: Fri Nov 28, 2008 8:50 pm
by steamyjim
Damned impressive
Posted: Sat Nov 29, 2008 2:34 pm
by andysleigh
Thats look great Graham.
This may sound silly, but how did you cut the circles for the boiler?
All this stuff about building locos has got me into the designing stage.
Posted: Sat Nov 29, 2008 3:53 pm
by LMS-Jools
and what are the circles for ?

Posted: Sat Nov 29, 2008 3:56 pm
by andysleigh
LMS-Jools wrote:and what are the circles for ? :?:
boiler ends
Posted: Sat Nov 29, 2008 7:33 pm
by ACLR
andysleigh wrote:Thats look great Graham.
This may sound silly, but how did you cut the circles for the boiler?
All this stuff about building locos has got me into the designing stage.
Andy I used a peice of the 50mm tubing cut to 50mm length the I split the tube with a hacksaw so i could flaten it out to a sheet of copper. using a small offcut of tube as the size patern I marked the circle on the copper sheet with a marking pen. I used metalsnips to cutoff the bulk of the waste and then filed rest off till I got a nice press fit into the end of the boiler.
hope that explains it well enough mate
Posted: Sat Dec 13, 2008 10:32 am
by ACLR
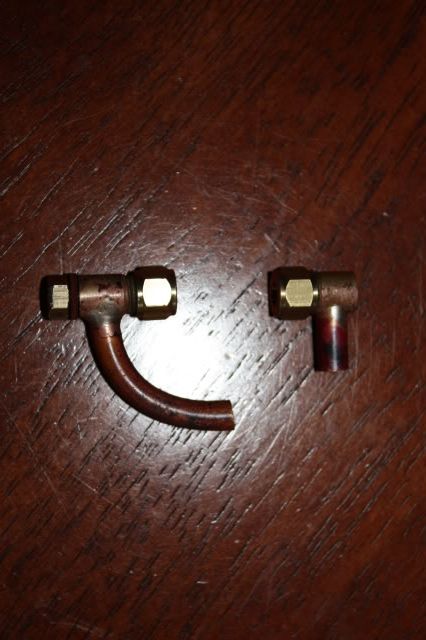
got a chance to get into the workshop today and made up the the bits for the water level glass for the boiler
edit: picture taken with jilly's new camera a canon eos450d
she loves her birthday pressant
Posted: Sat Dec 13, 2008 1:09 pm
by LMS-Jools
andysleigh wrote:LMS-Jools wrote:and what are the circles for ? :?:
boiler ends
lol I meant the line of holes/circles in the main piece.

Posted: Sat Dec 13, 2008 4:25 pm
by alan2525
ACLR wrote:
and have made the mandrel for turning the wheels
Isn't the mandrel supposed to be turned in a three jaw chuck, and without removing it from the lathe, used to turn the wheels to ensure concentricity, Or will you chuck in a four jaw and use a dial indicator to true it up?
Alan
Posted: Sat Dec 13, 2008 7:04 pm
by ACLR
Alan I will be trueing it up in a 4 jaw chuck.
and lms-jools the holes are for the steam takeoff for the rgulator etc another is for safety valve and one for topup valve and one is spare dont know what for yet.
Posted: Sat Dec 13, 2008 8:05 pm
by mhlr
ACLR wrote:and one is spare dont know what for yet.
whistle

Posted: Sat Dec 13, 2008 8:41 pm
by ACLR
thats posible Pete
Posted: Sat Dec 13, 2008 10:21 pm
by andysleigh
you have always got to have a whistle, its the most important part of an engine.
Posted: Sat Dec 13, 2008 10:22 pm
by SillyBilly
Of course it is Andy

....