
Many of you may have seen my post RE: Laser Cutting and the Scaling up of 7mm Drawings, (which I see also helped another member) and this finally gave me a big kick up the backside to start one of the big projects I have wanted to do for a little while, and would hopefully be a big learning curve at the same time. It wasn’t what I was originally going to do Project Wise as my original plan was to design and build a FfR Funkey to go with the rest of my stock which is slowly increasing in size, but I found this too complex having only just started out with the software coupled with it being the first stuff I'd done in CAD in years!! So I went for Option 2 which wouldn't be as complex (however I'm not saying that now after designing it though!)
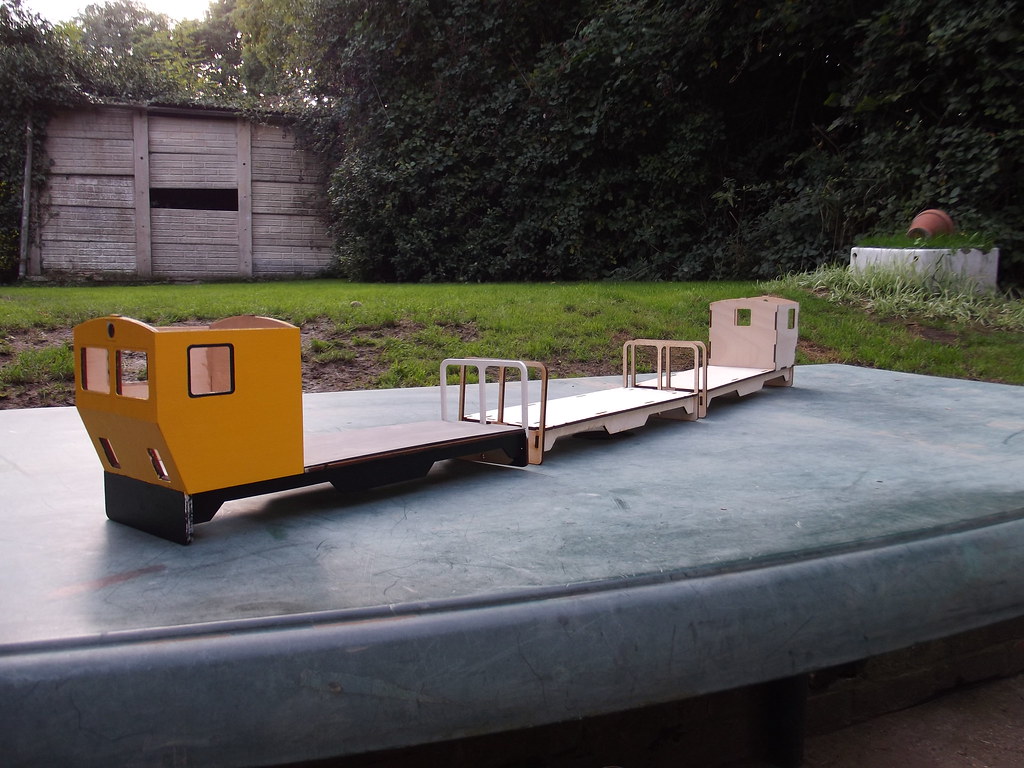
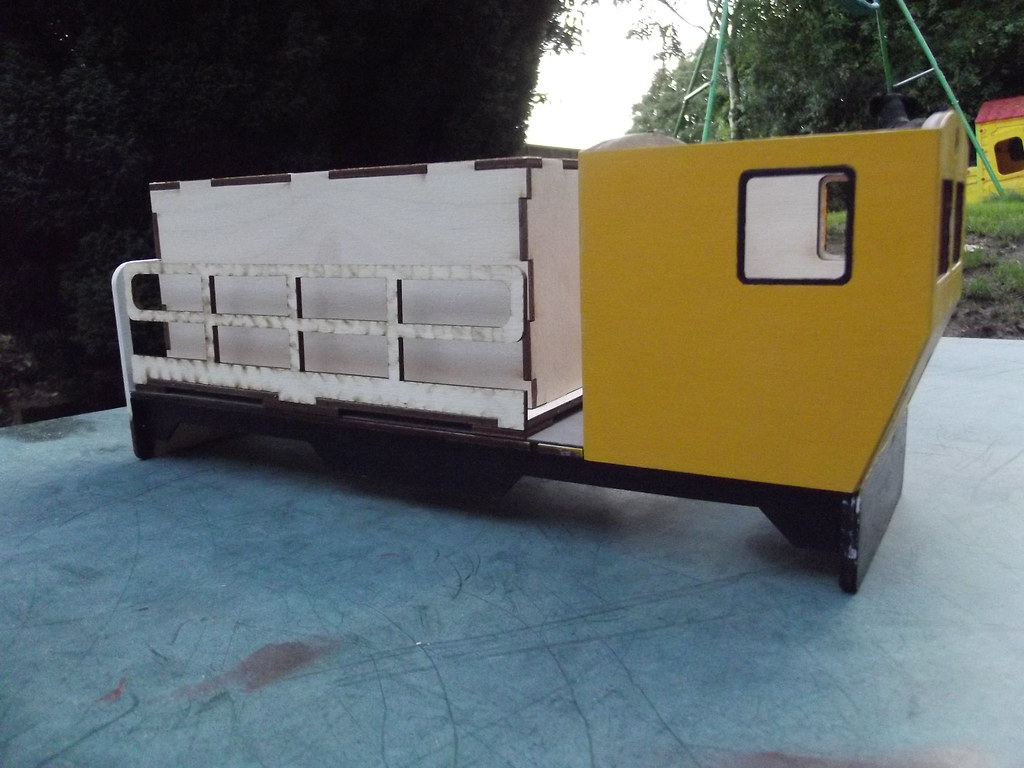
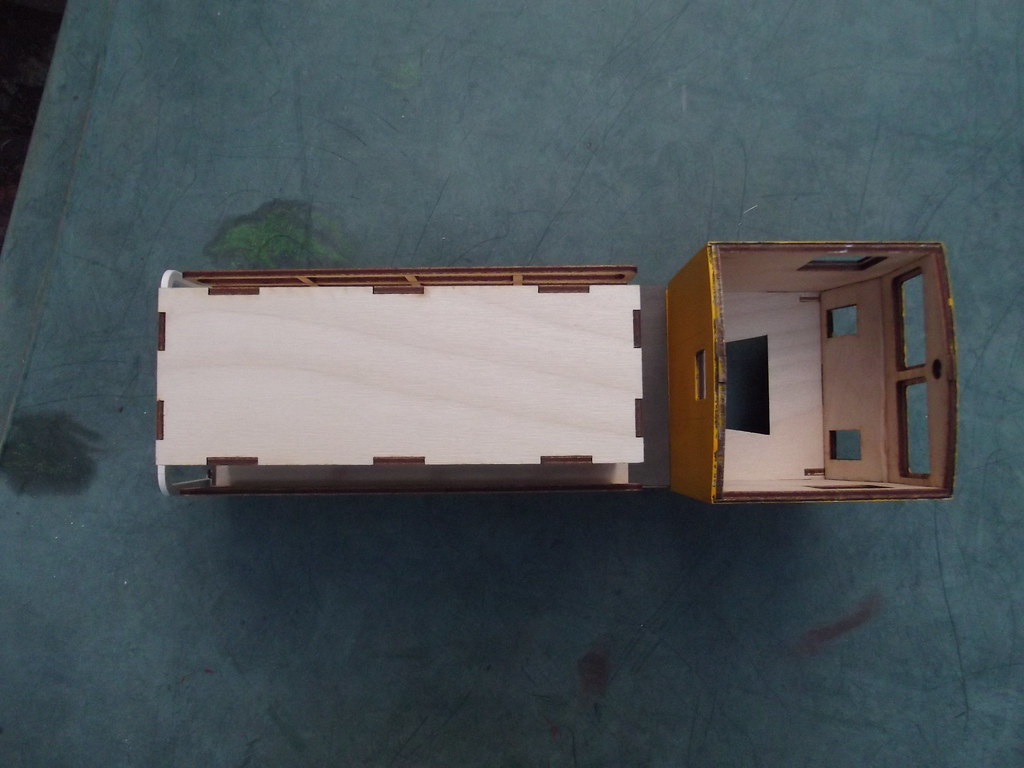
The plan was to build a Multi-Purpose Vehicle which can, as its name suggests, undertake many different roles depending on the Modules fitted to it. There was also a requirement to be able to extend the unit as required and also be able to work in multiple with other units.
So after a bit of discussion with another Forum Member regarding Laser Cutting, I began to draw up a plan in LibreCAD and after a lot of frustration and swearing at the computer
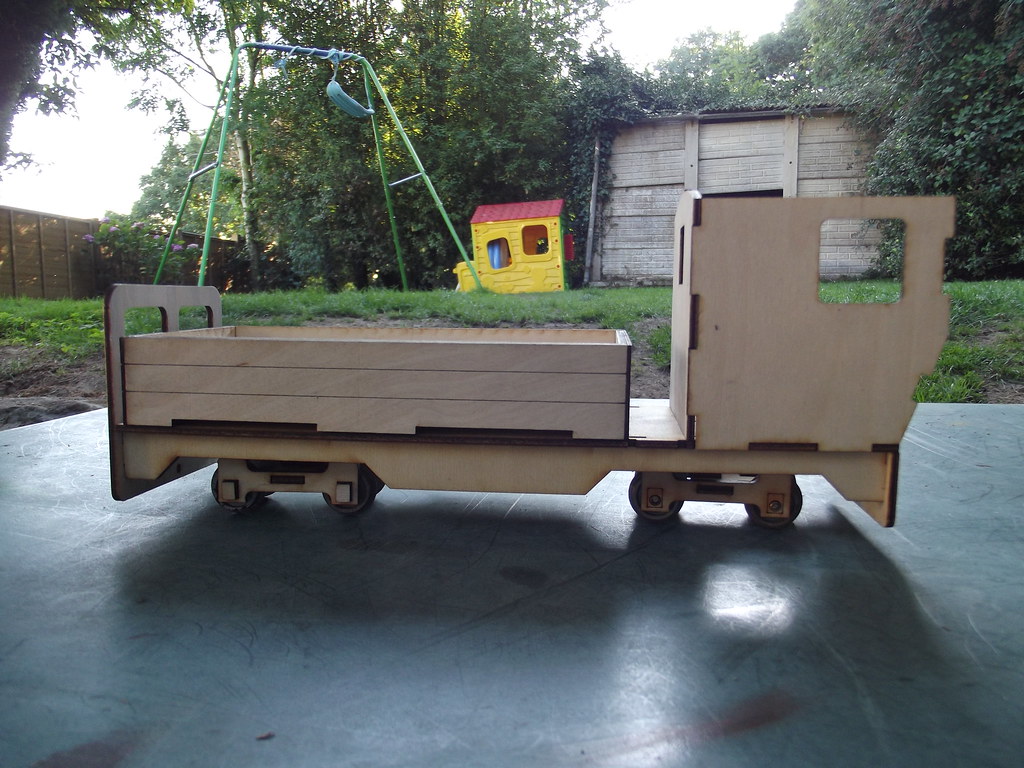
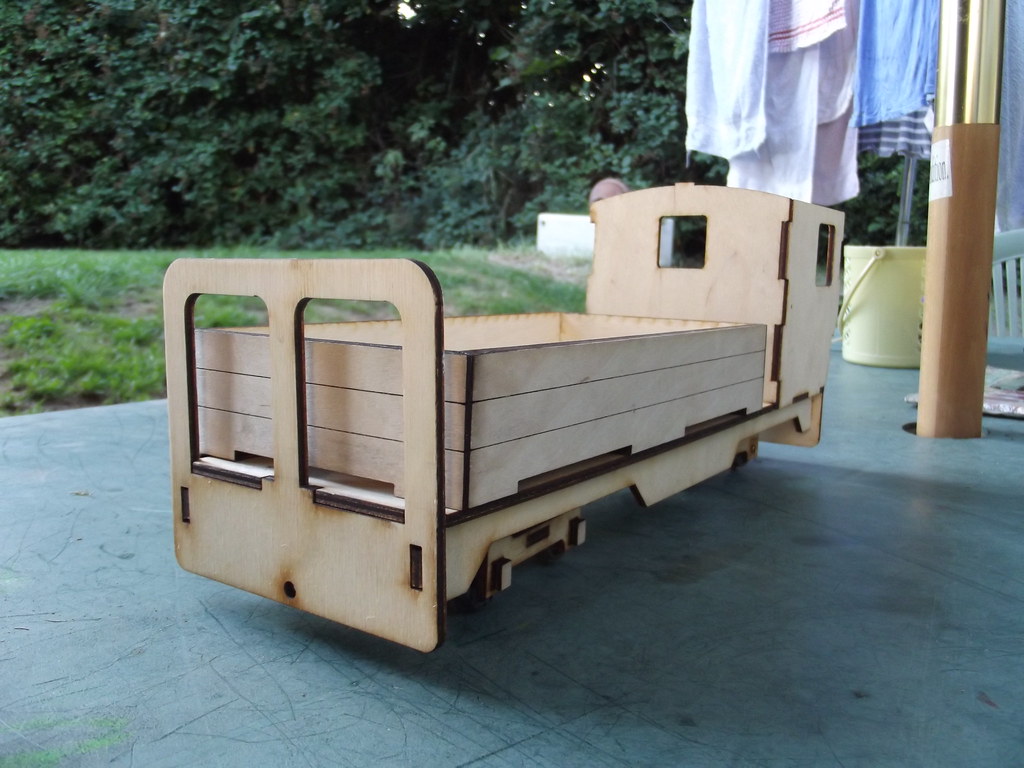
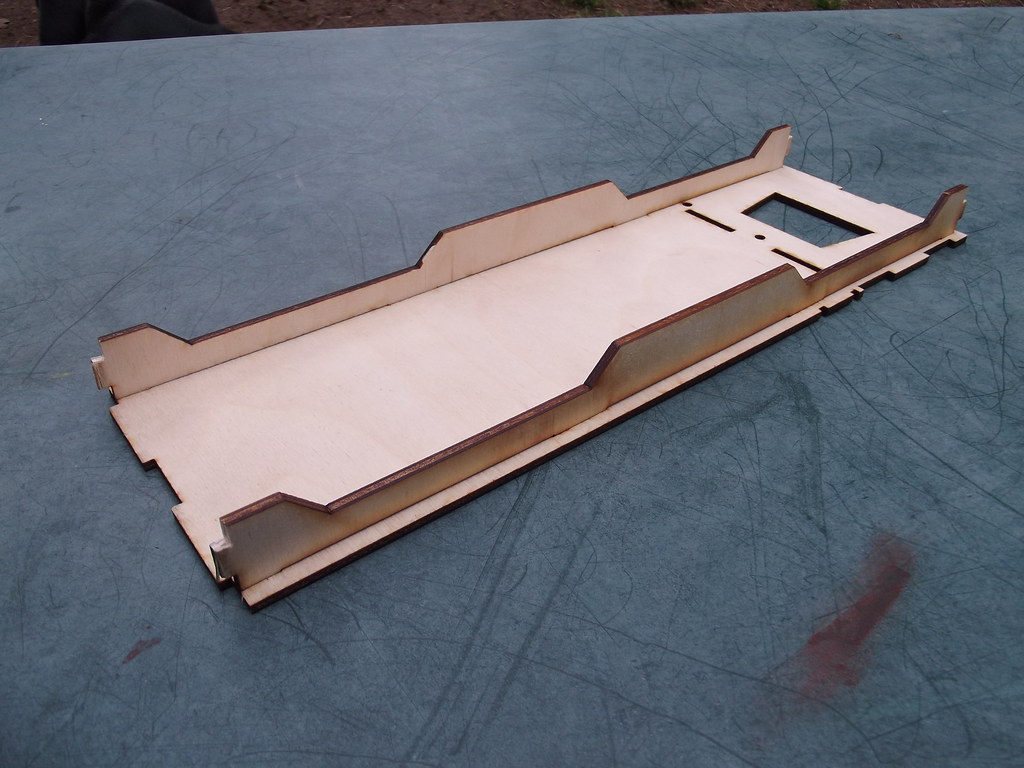
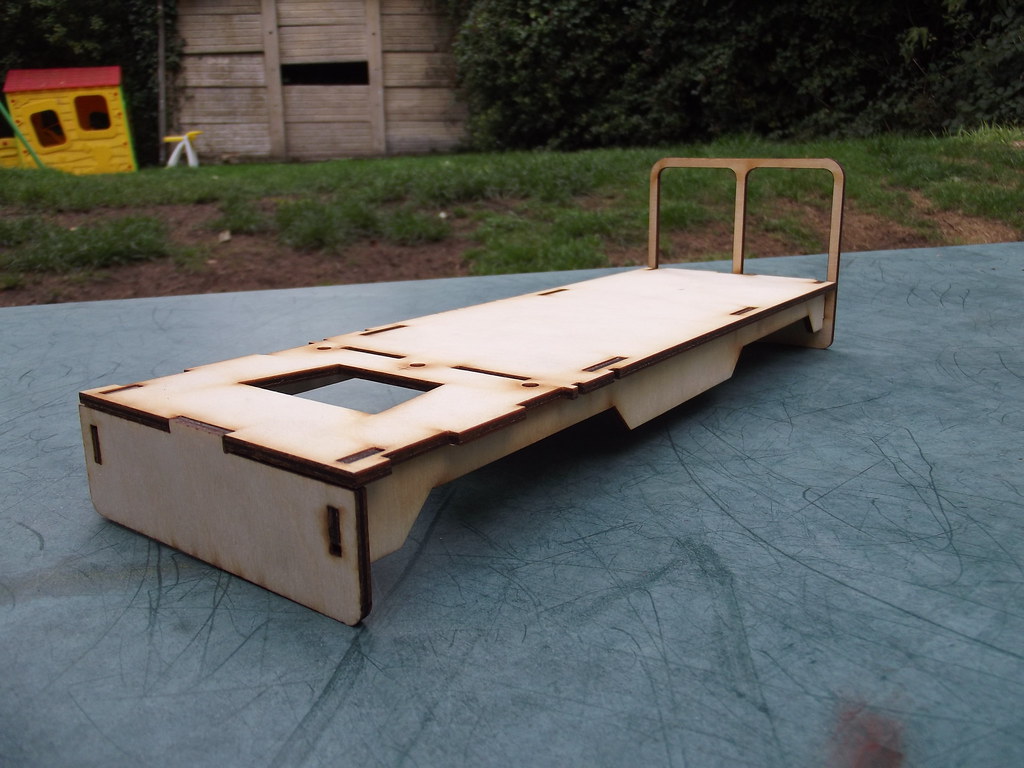
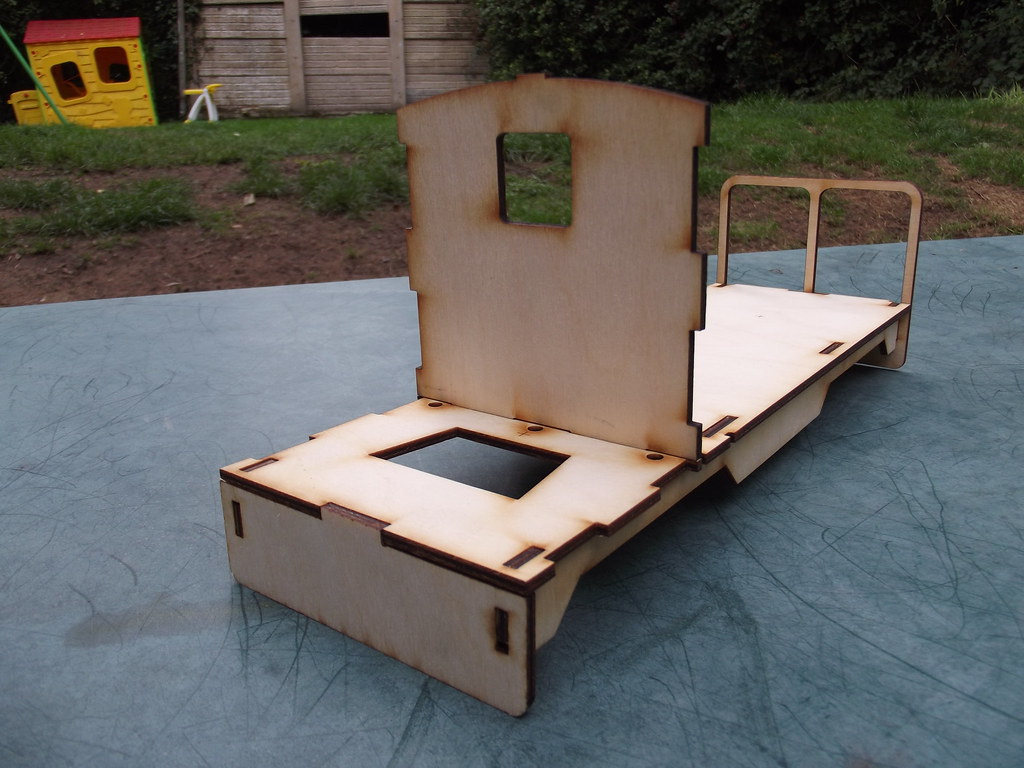
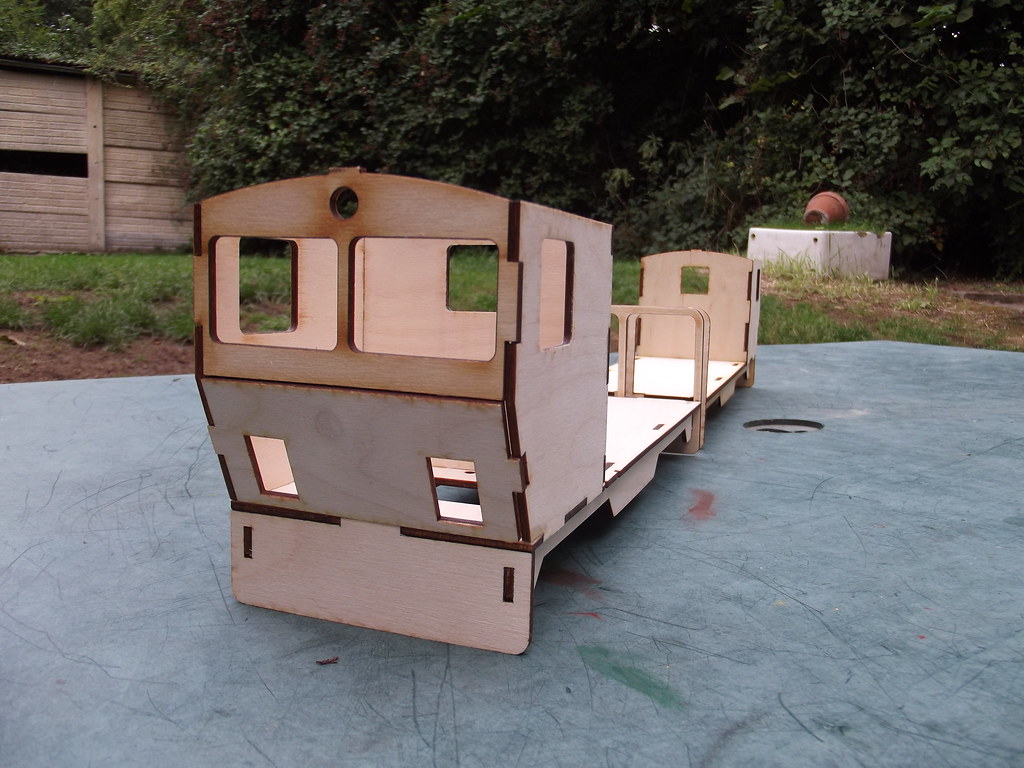
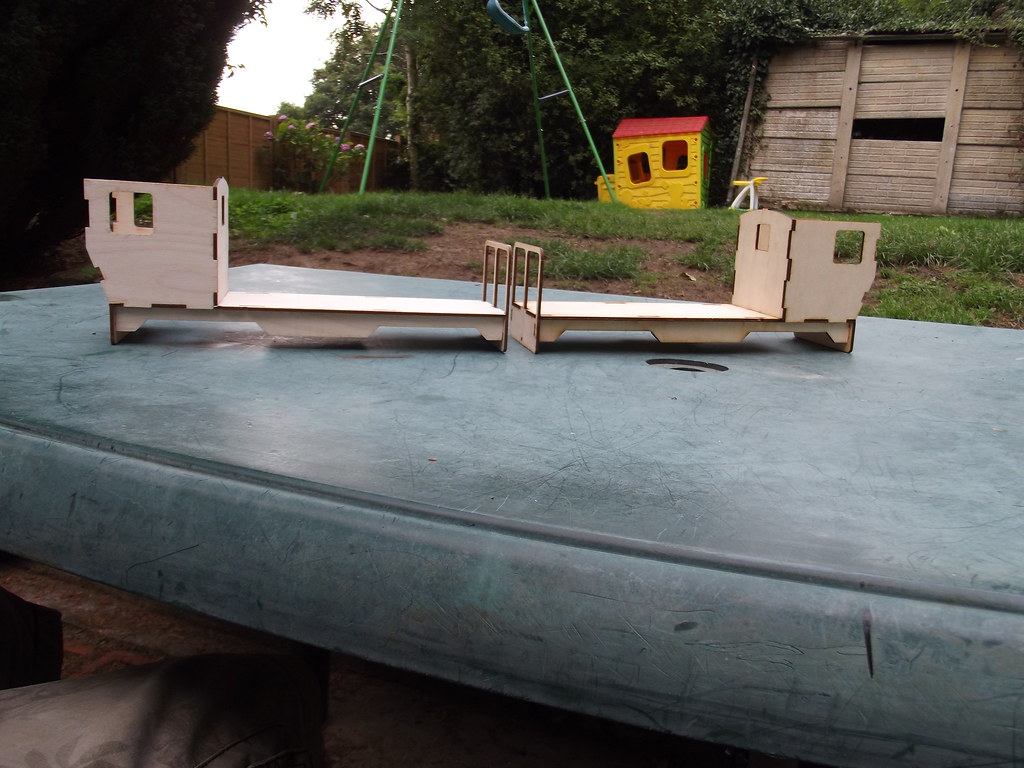
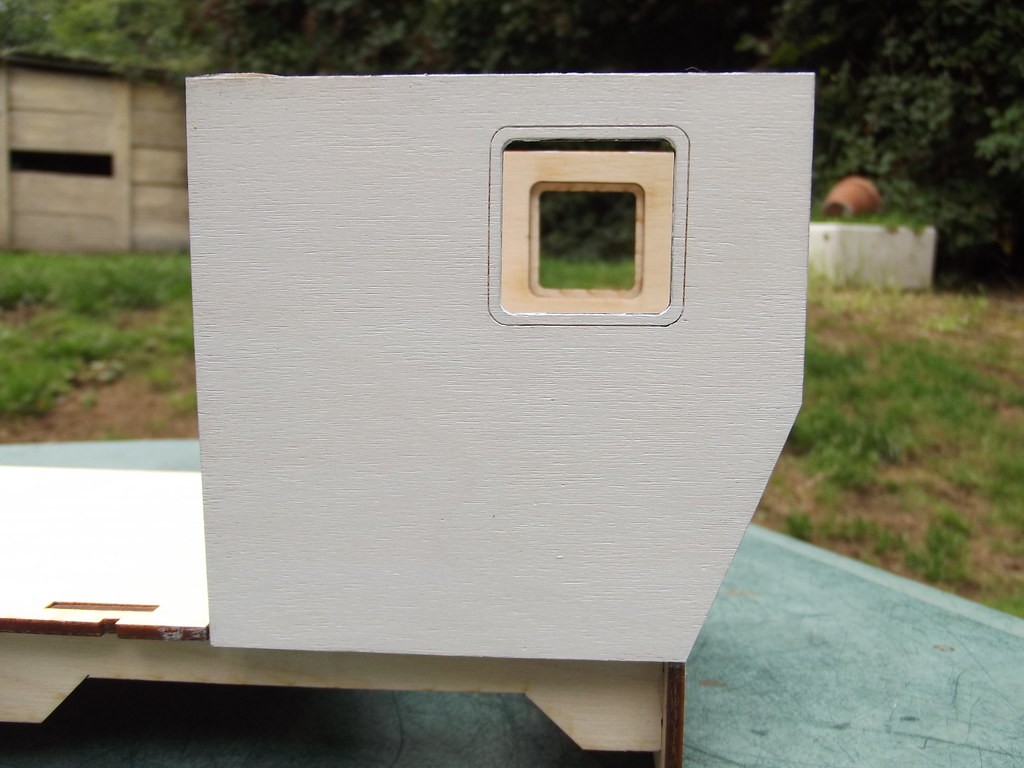
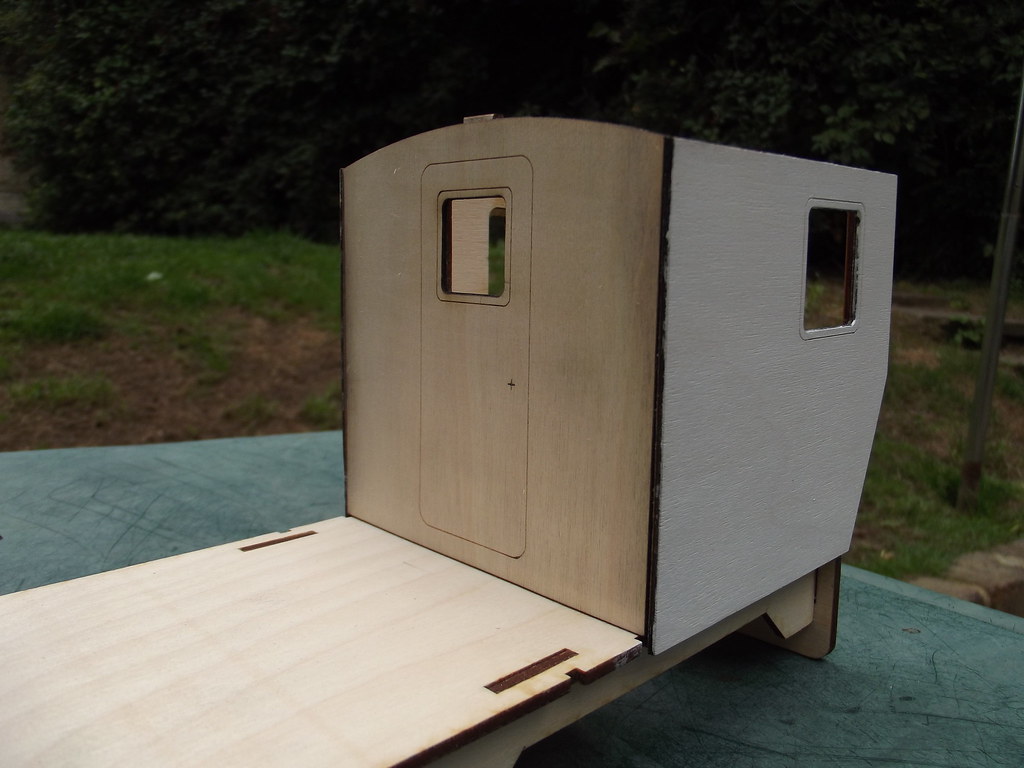
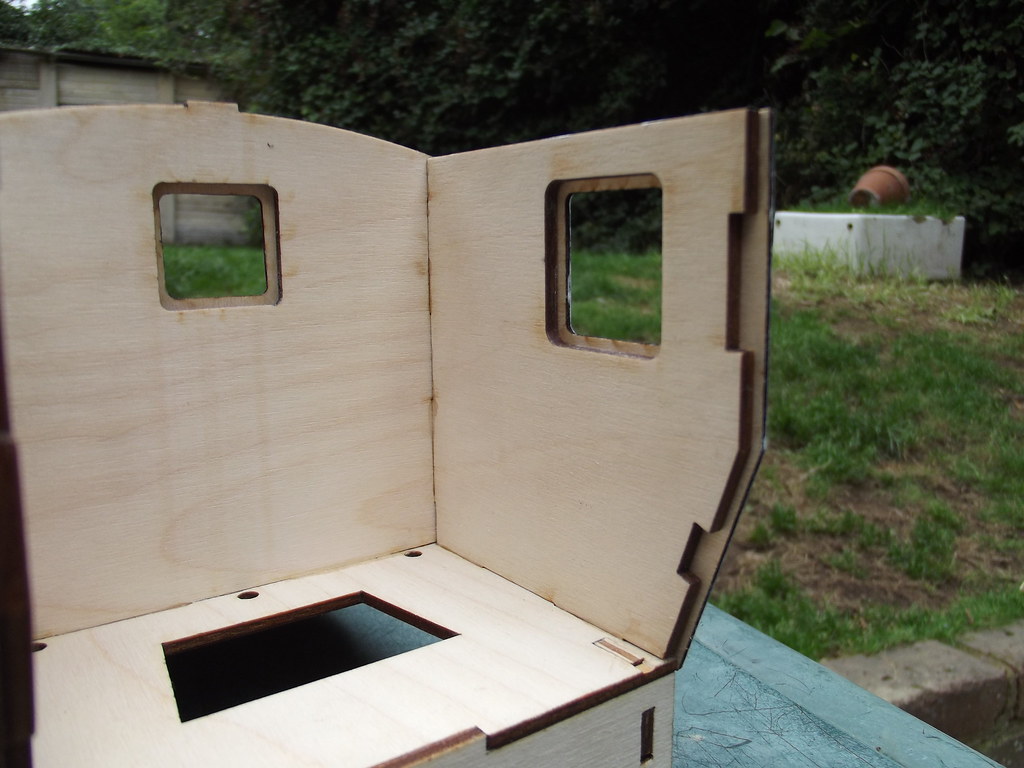
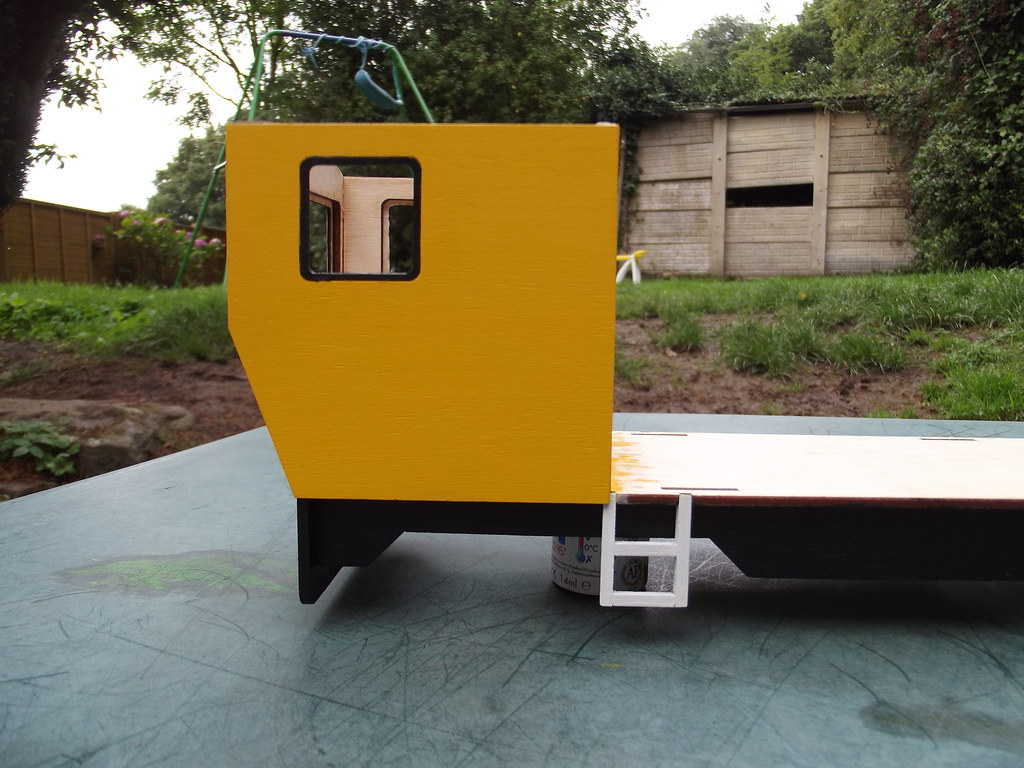
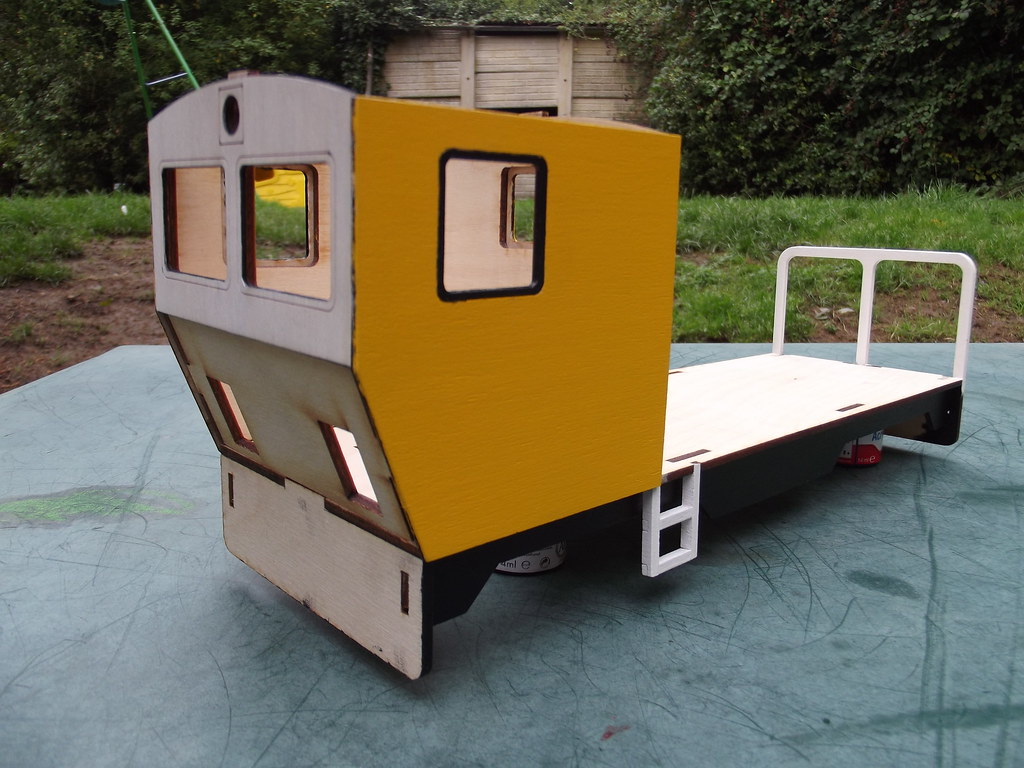
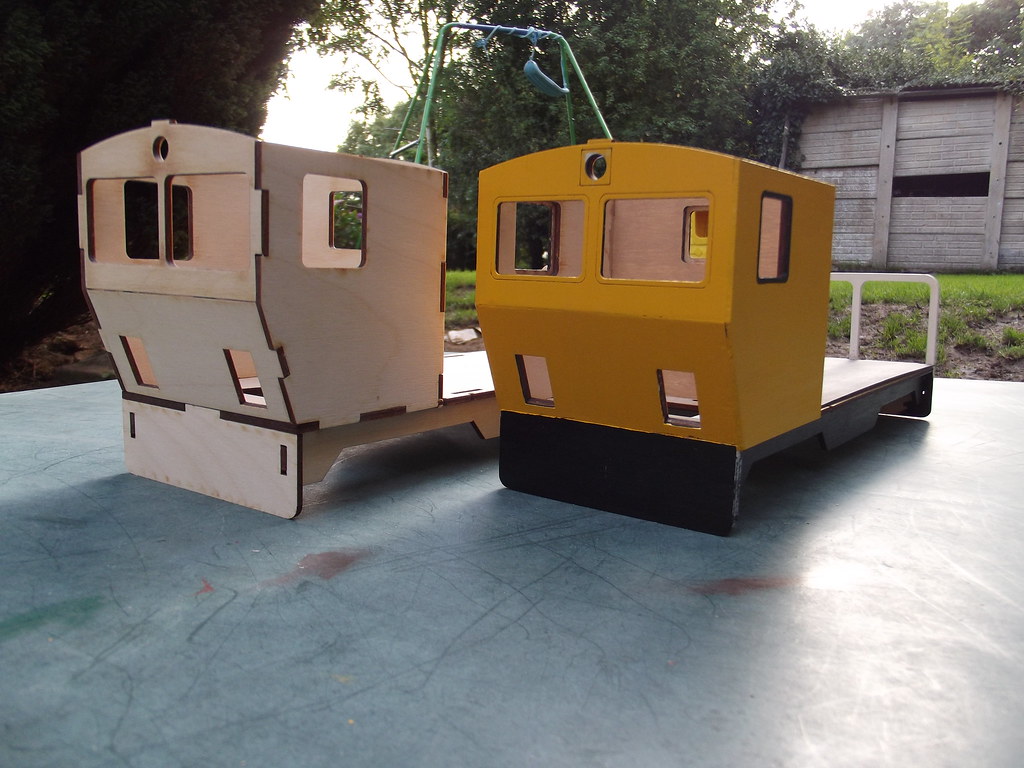
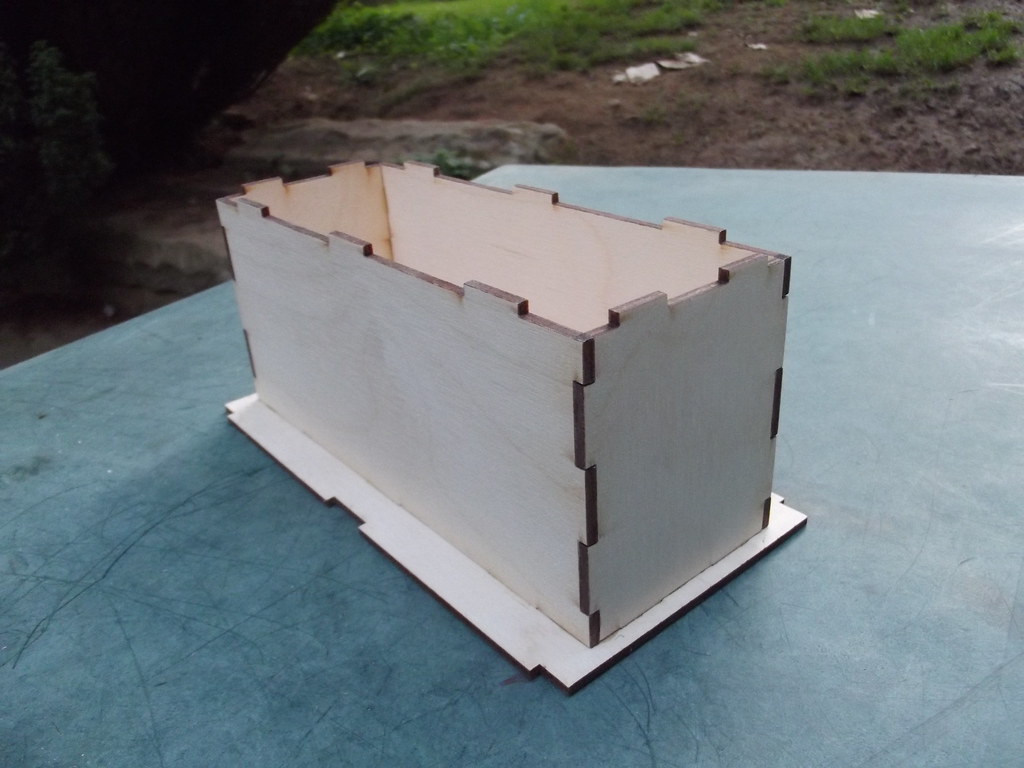
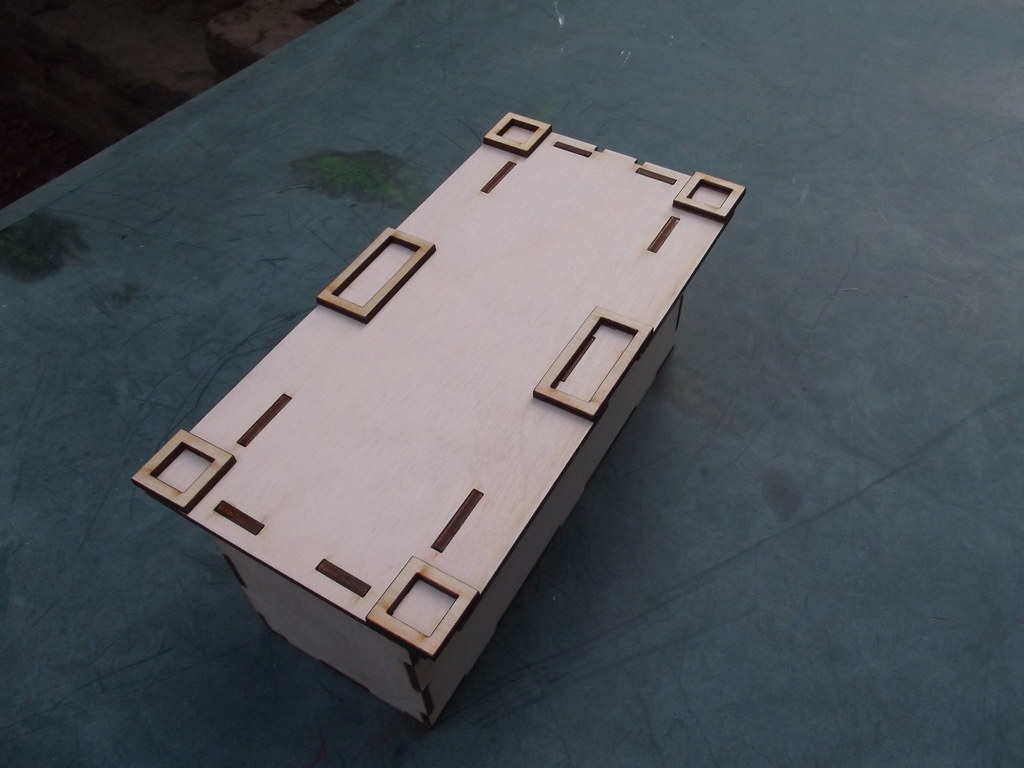
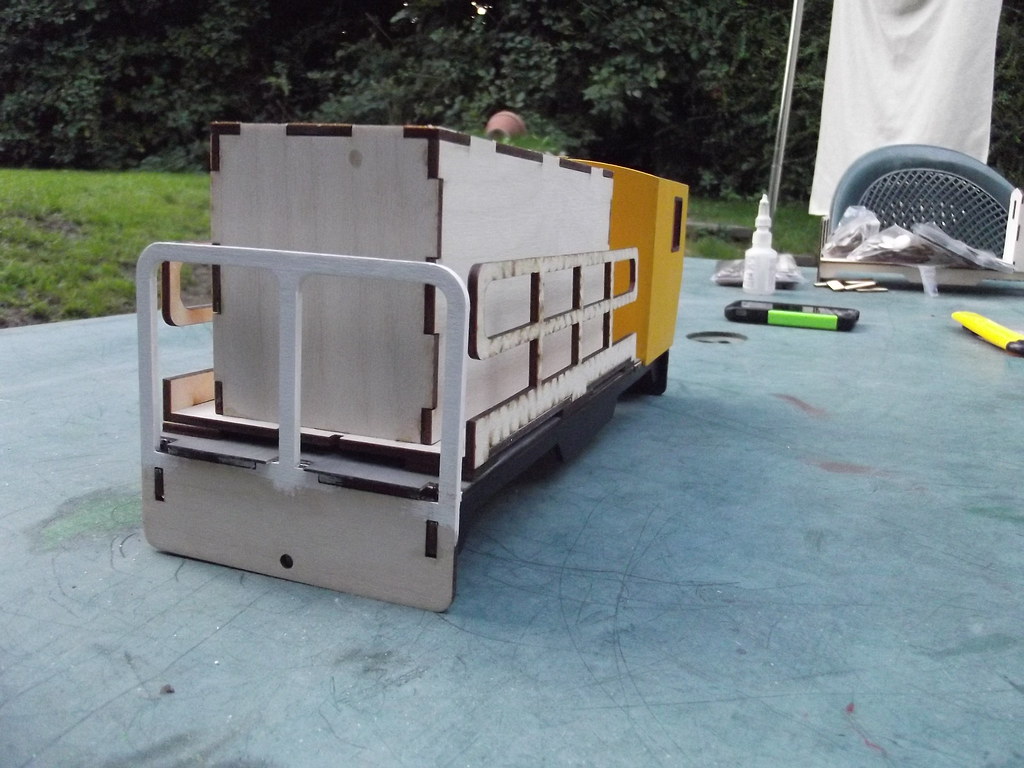
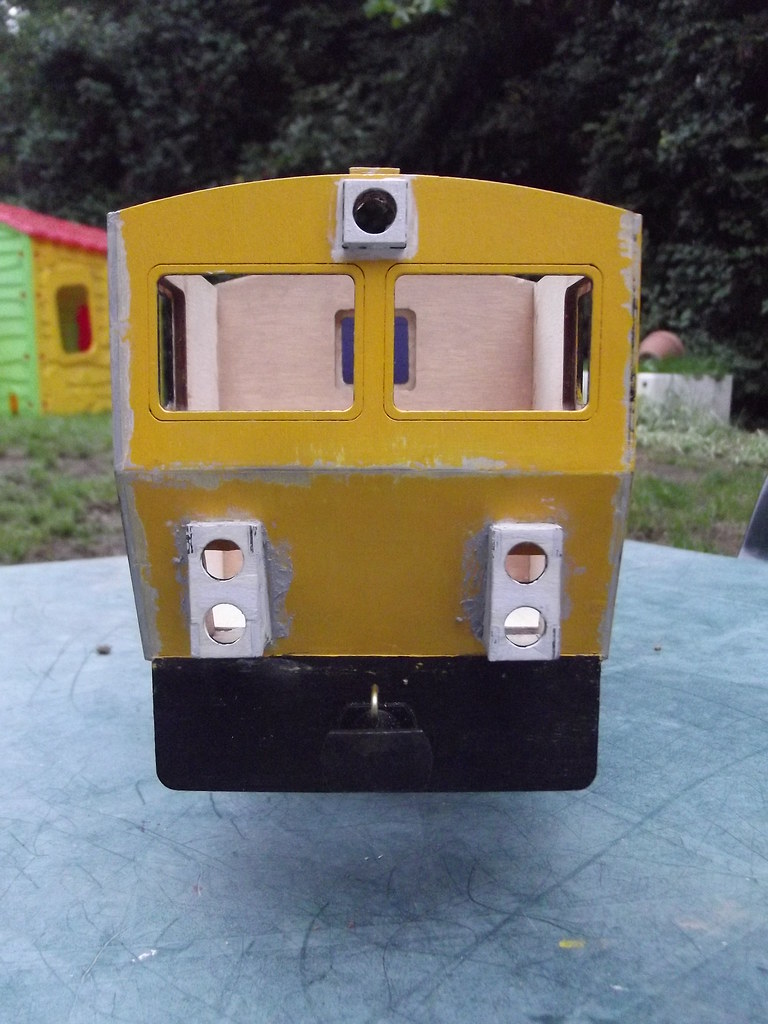
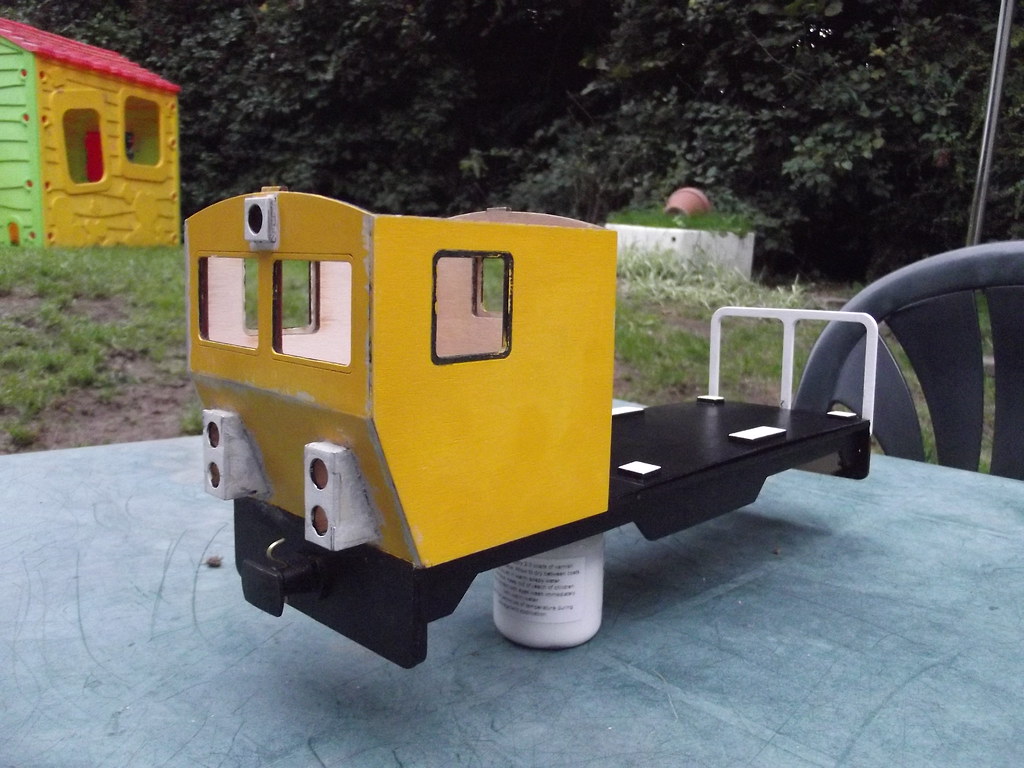
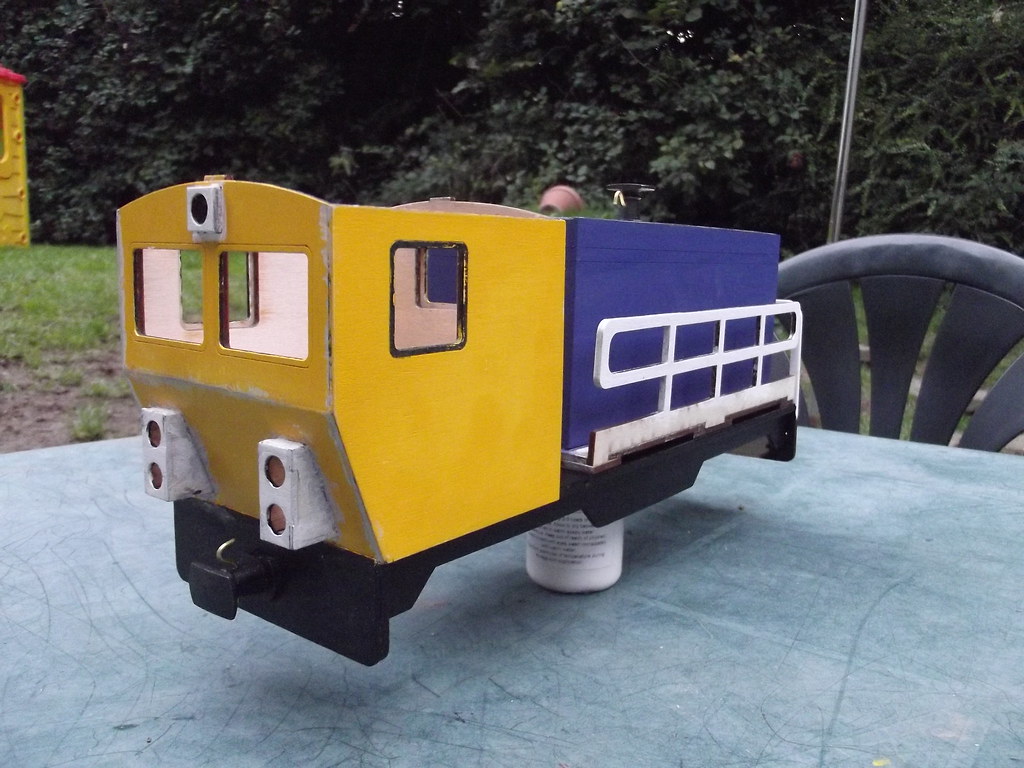
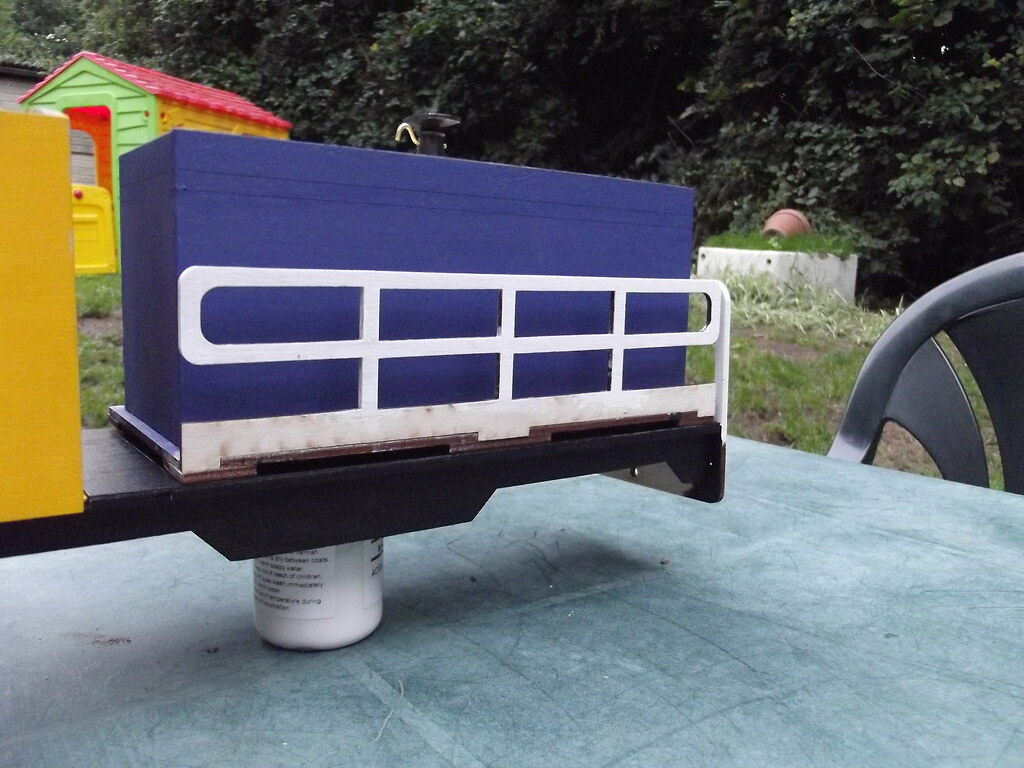
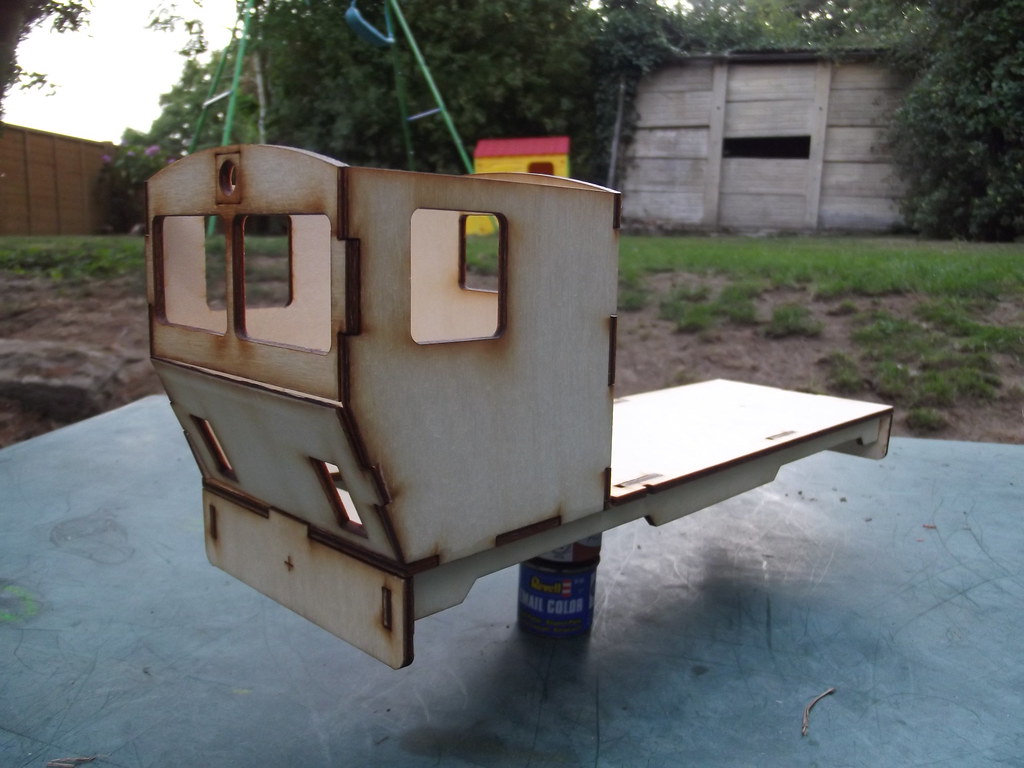
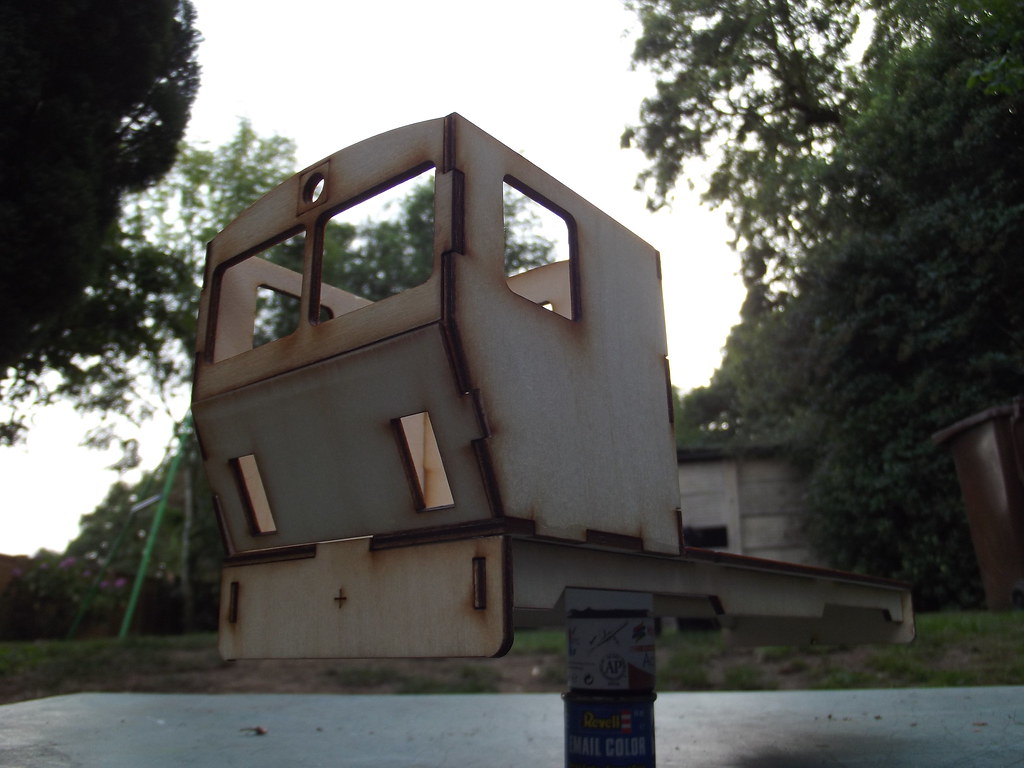
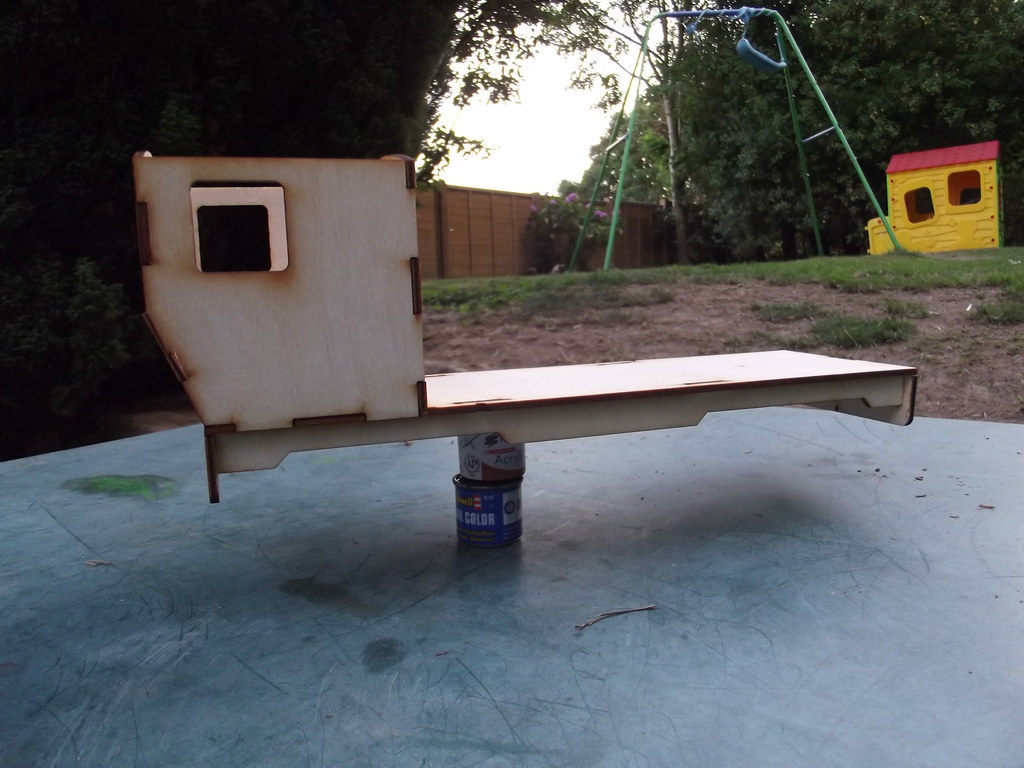
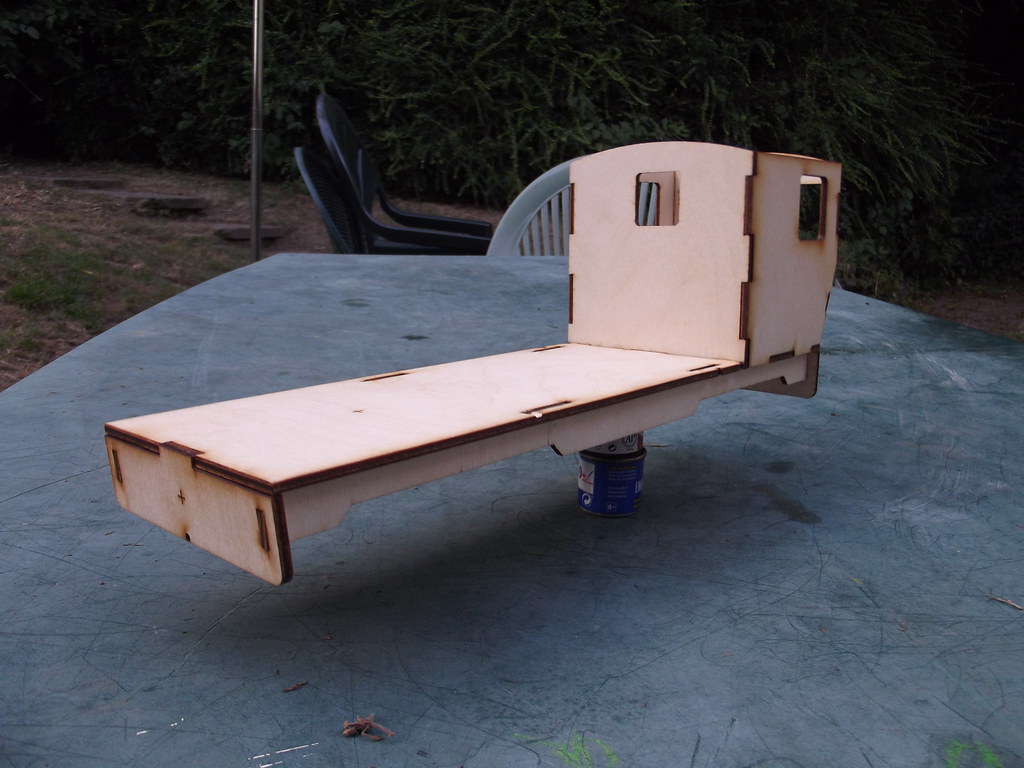
The parts arrived promptly within a couple of days and the Prototype was soon together, however I found a few places where I had gone wrong (solebar tabs 3mm out, cab front tabs to small etc.) but it wasn’t anything that couldn’t be changed easily ready for the Mk2 Version.
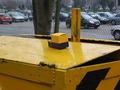
So here are a few pictures to get you started.
After a weekend of tinkering and getting everything changed and adding extra bits the plans have been sent off again to be cut.
More to follow when I have it.
(Thanks go to Mike, Luke, Jack and Simon for your help advice and services)