Progress is slower than I expected, partly due to poor weather and family commitments, but I'm getting there.
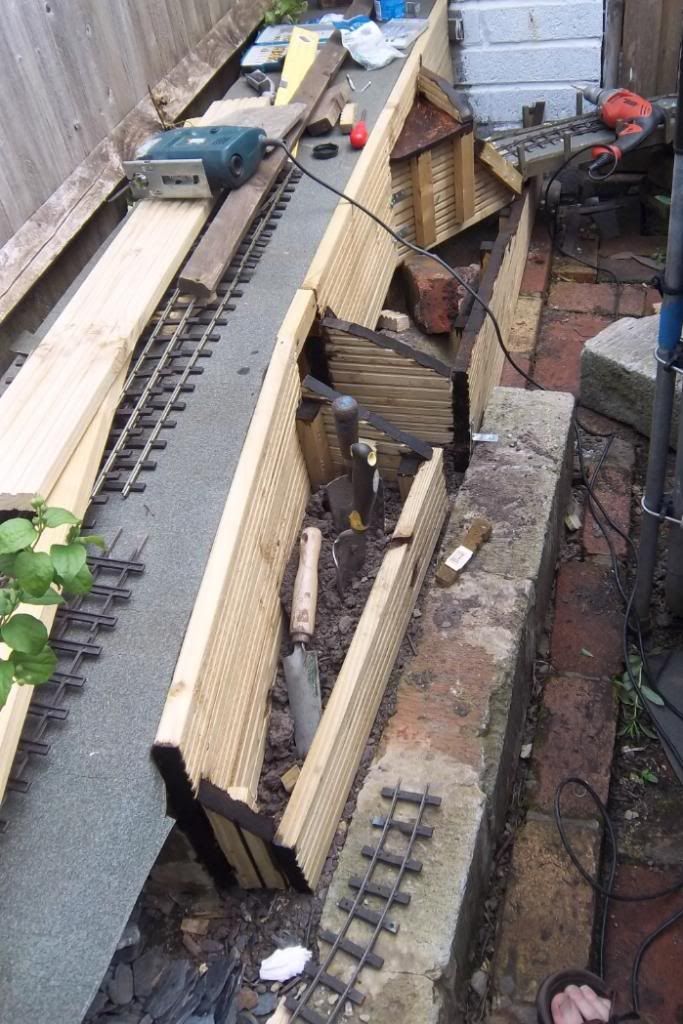
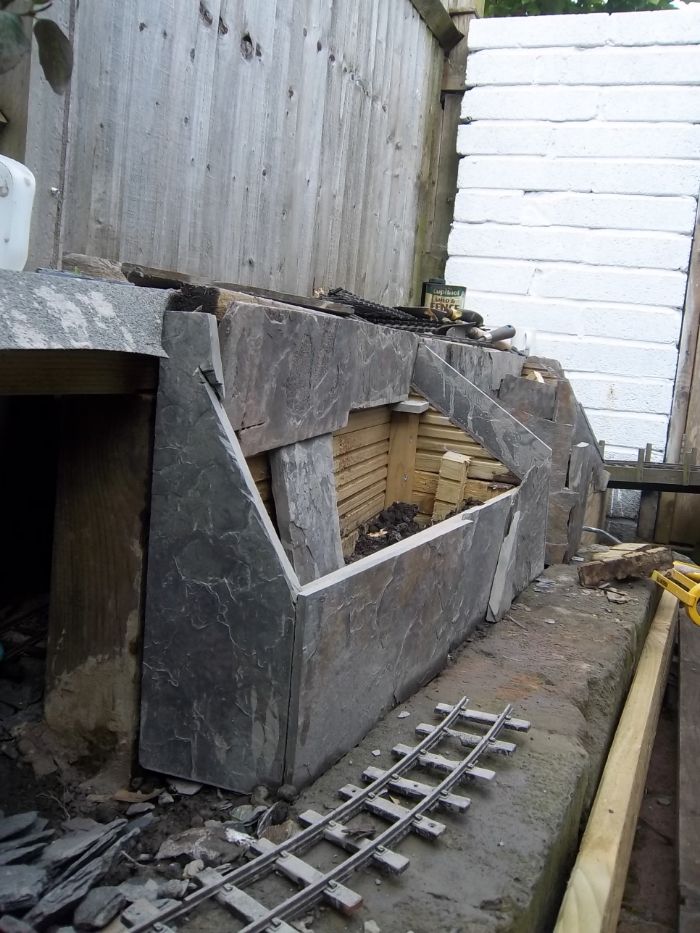
The decking that will form the base of the upper terminus is down and has been covered in roofing felt, I've started cladding the front and the first of the planters is in place:
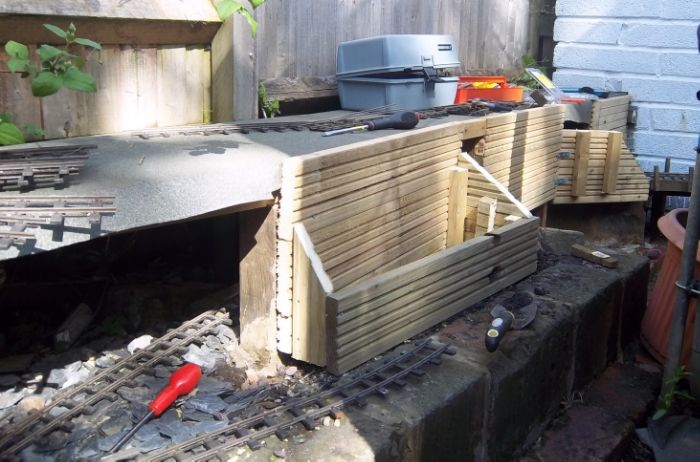
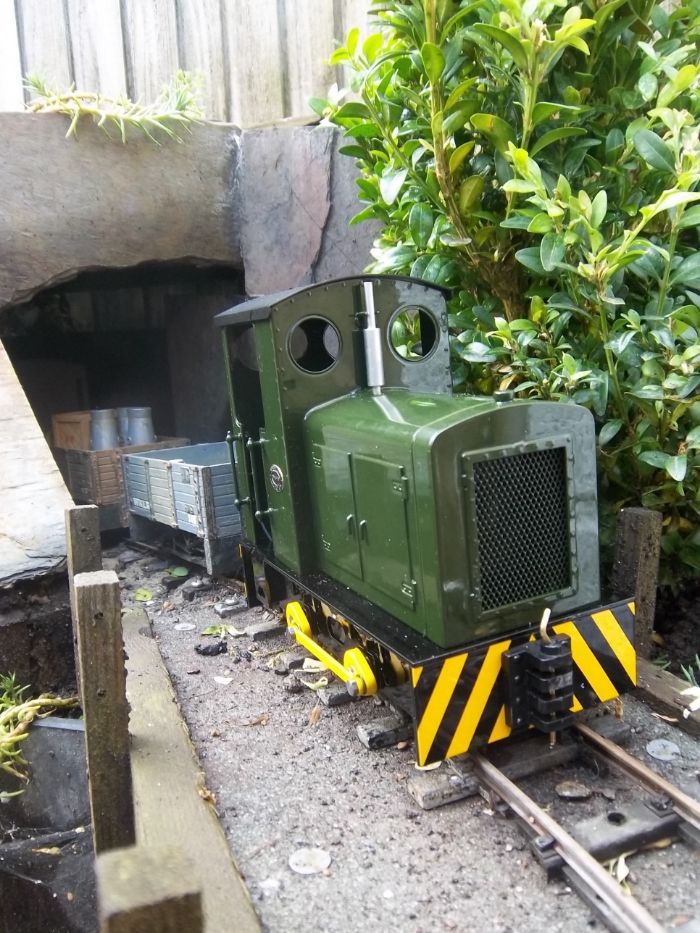
It'll all be clad in slate tiles, filled with earth and planted up. The earth in question is currently in the way of the final straight to the upper station, which is why I'm concentrating on scenics rather than building trackbed.
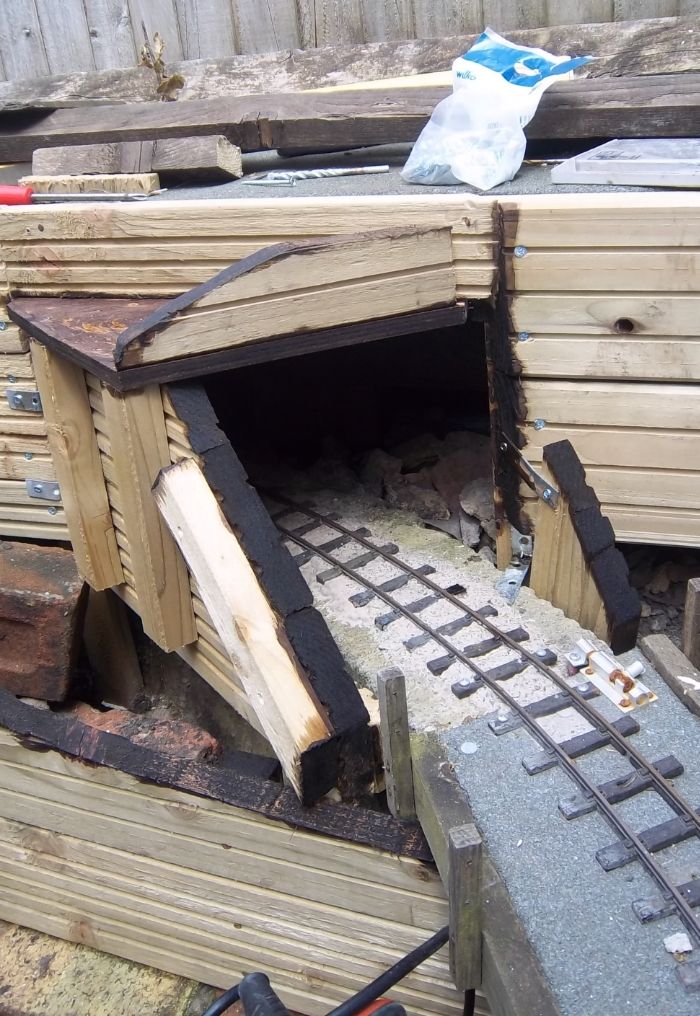
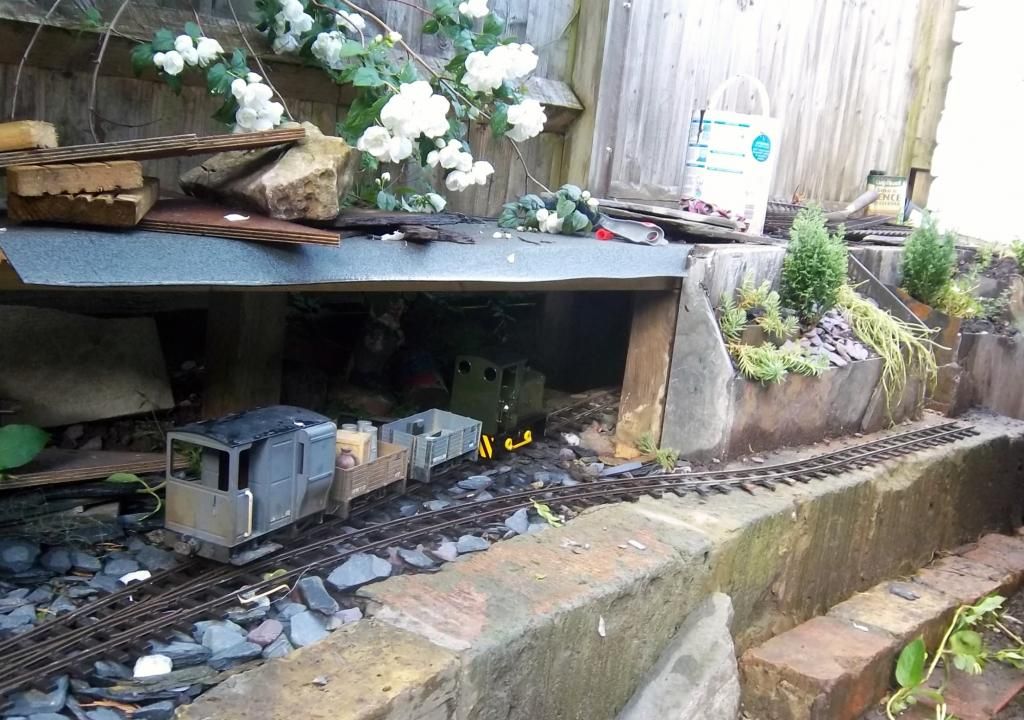
Here's where the tunnel mouth will be, where the running line to the lower terminus enters the tunnel beneath the upper one:
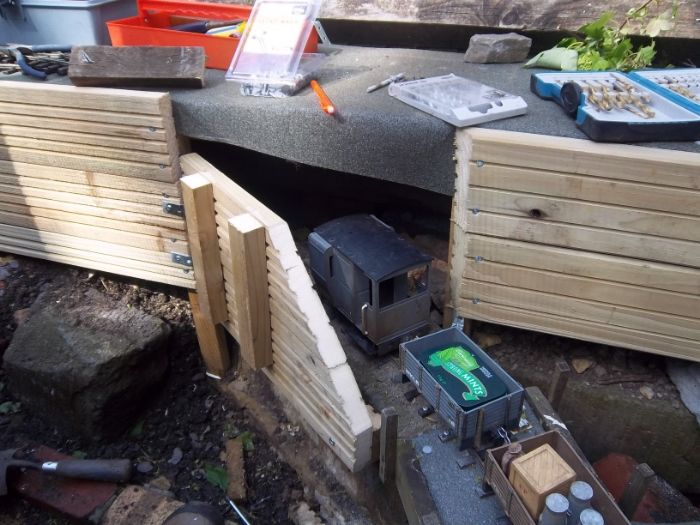
As you can see, it's all a bit cobbled together, but it seems to be working OK. I'm kind of making it up as I go along...
I should get some more woodwork done this week, then I'll start cutting tiles.
Cheers,
Andrew.