So basically what I'm aiming to do is build a Lego based railway to a realistic standard as I can manage to make it. This will be an indoor railway built on panel doors as baseboards, but if I find that a Lego based railway is indeed possible and I'm not mad afterall I might just take it out into the garden.
The prototype will be New Zealand Government Railways during the small engine era when all manner of delightful tank engines were in use as well as the 'R' and 'S' class single Fairlies which have always been my favourite NZ class of locomotive.
My first Enlighten train order arrived today, - and yes I know Enlighten is a clone brick maker, - but then I've never been a Lego purist and to me a brick is a brick is a brick. So wot did I get?
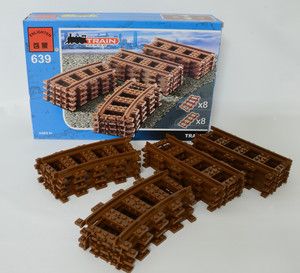
A #639 track set comprising 8 curves and 8 straights for $NZ14
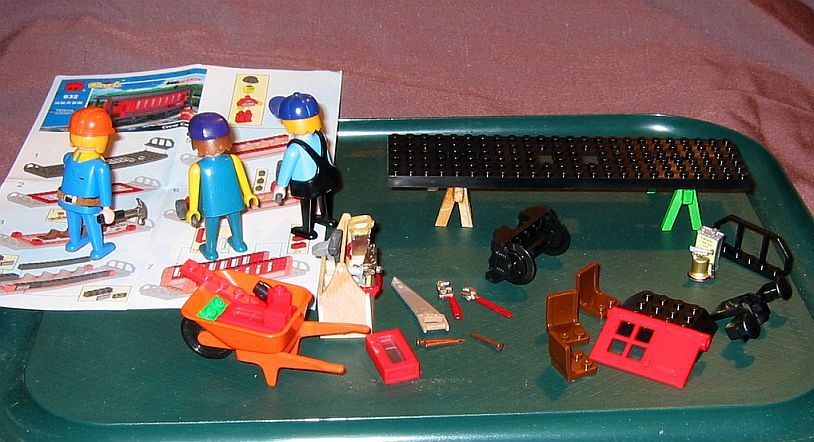
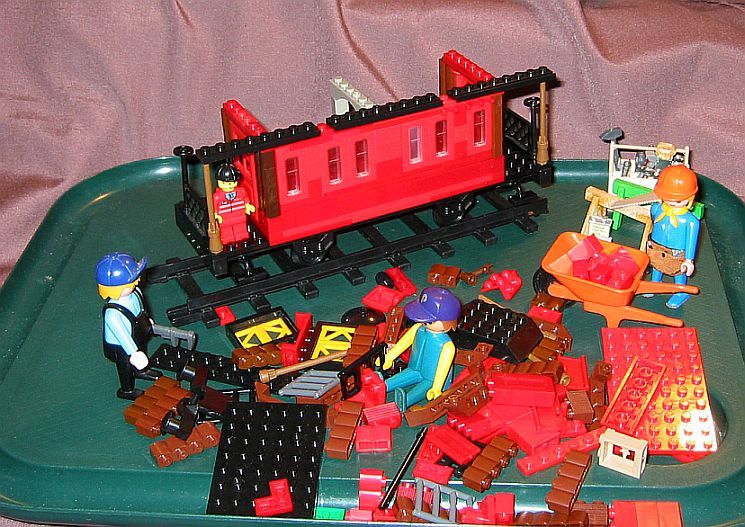
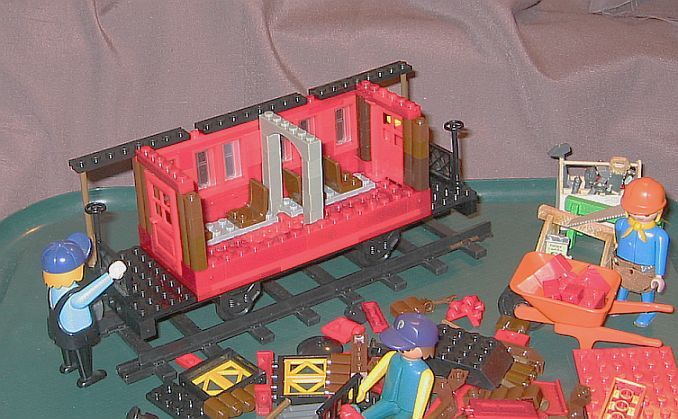
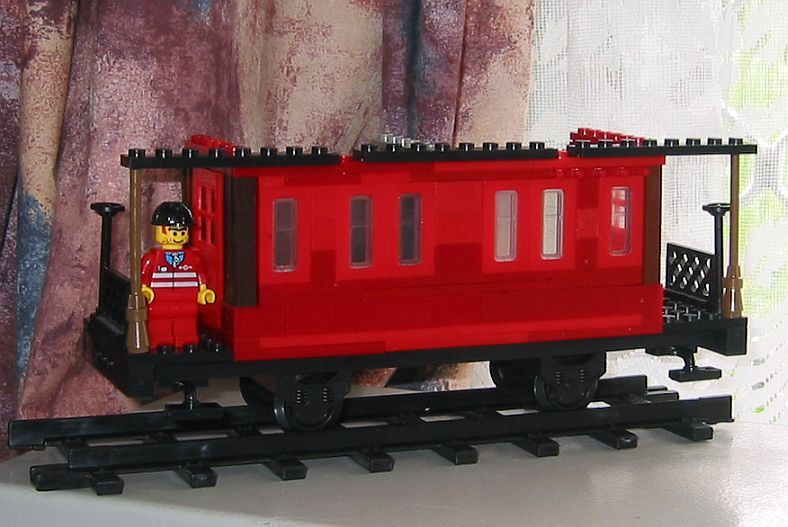
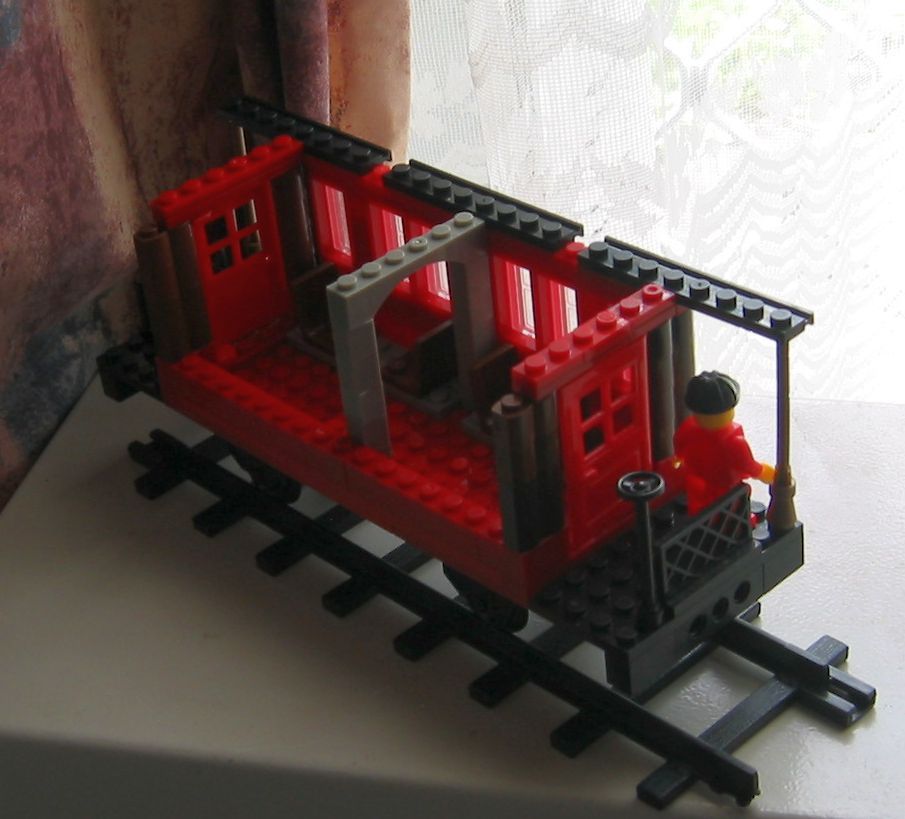
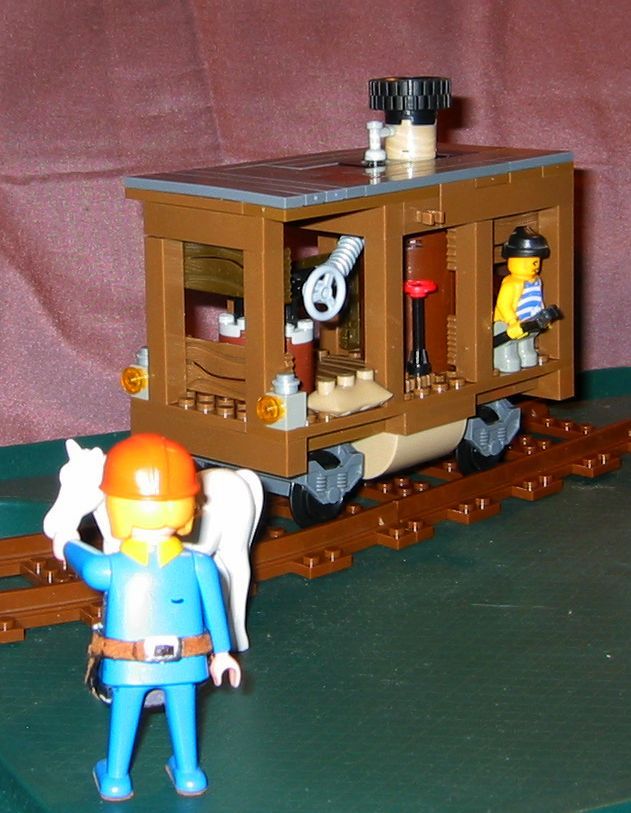
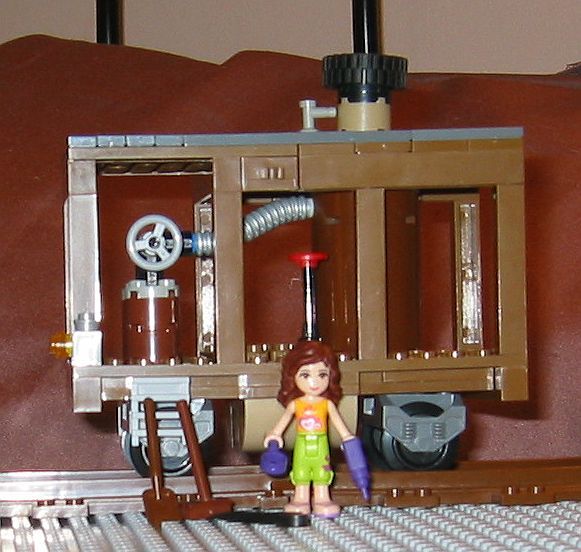
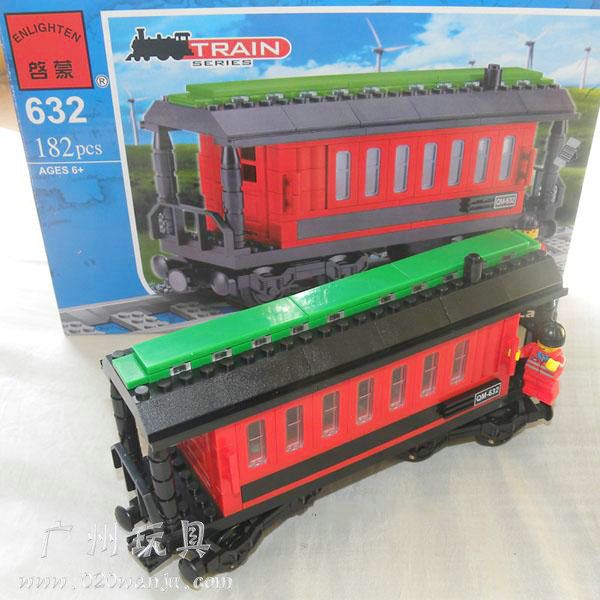
A #632 'crew car' (182 pcs) which is a balcony ended coach for $NZ20
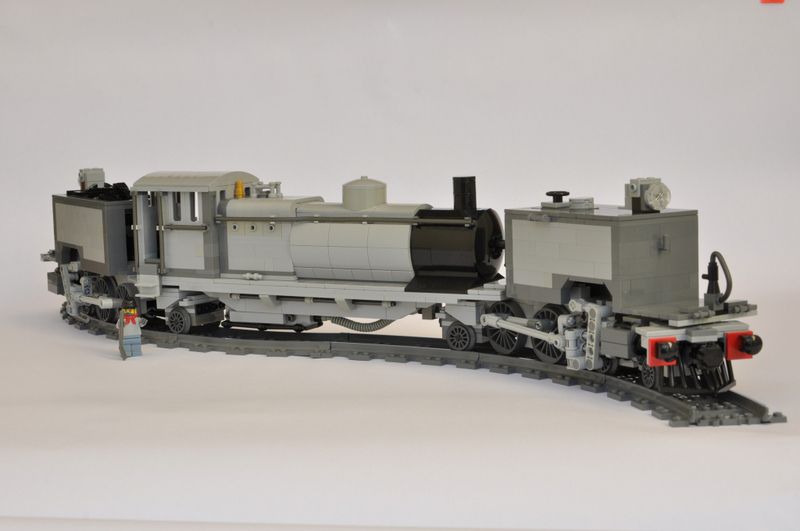
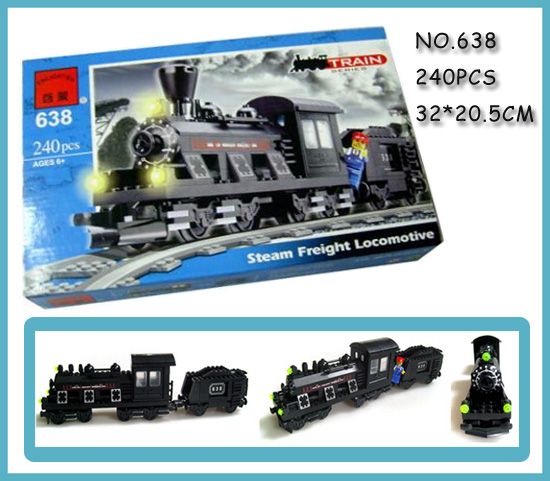
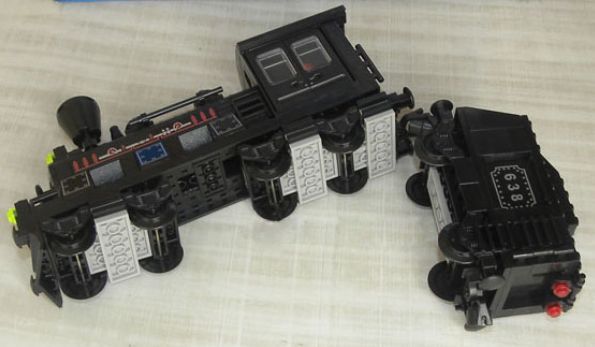
A #638 'Steam Freight Locomotive' (240 pcs) for $NZ24
And a #621 'Express Locomotive' (178 pcs) for $NZ21
The #621 loco is actually a modern Hi-speed electric outline loco which was sent to me by mistake instead of another steam loco, but I've decided to keep it for 'research' purposes and if nothing else it gives me a loco baseplate and two sets of bogies as well as two minifigs and extra bricks that can go into the storage crates for later.
Enlighten track. This is completely compatible with Lego track as well as being much cheaper. Track for Banbao's train series is also compatible as well. To my surprise I've discovered that some track I have left over from breaking cheap battery trainsets down for parts is also 'L' gauge, which is 38mm or an inch and a half.
The end balcony 'Crew Car'. I'm going to do my best to make this coach more like the end balcony coaches that were used here in New Zealand.
The 'Steam Freight Locomotive'. Yes I know it's on bogies, but I'm sure I can work around that and either make it look more like a geared articulated tramway loco, or a single Fairlie.
I've got two Banbao trainsets on layby as well which will give me a whole lot more track, four points, extra wheels and bogies, as well as a pair of radio controlled powered loco motor blocks and all the associated electrical gubbins. Since they're both modern outline electric sets they will be mostly broken down to go into the brick stores, but surprisingly they do also contain many parts that I can use on this project of mine which is why I decided to buy them.