Hi Tony,
No they are the standard RH spectacles fitted to the SL.
Cheers,
Tom
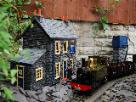
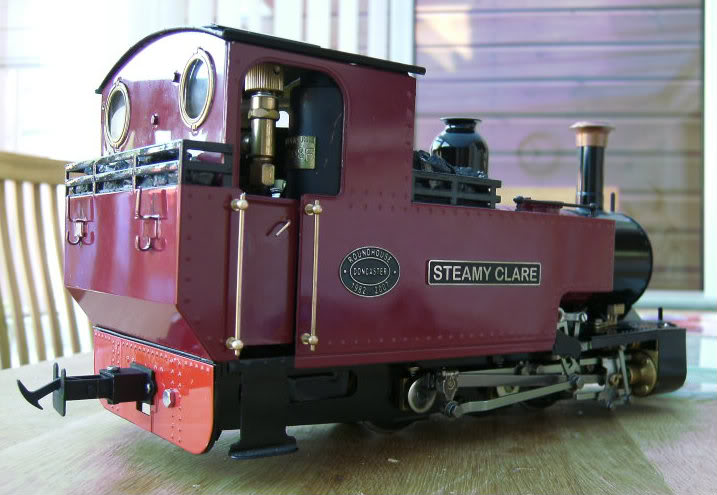
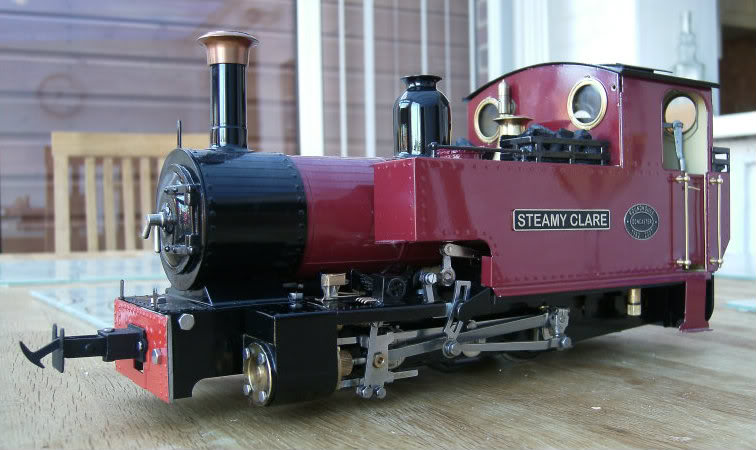
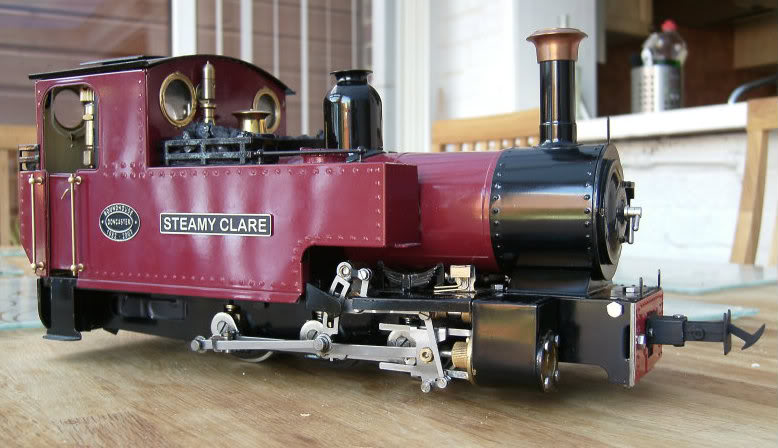
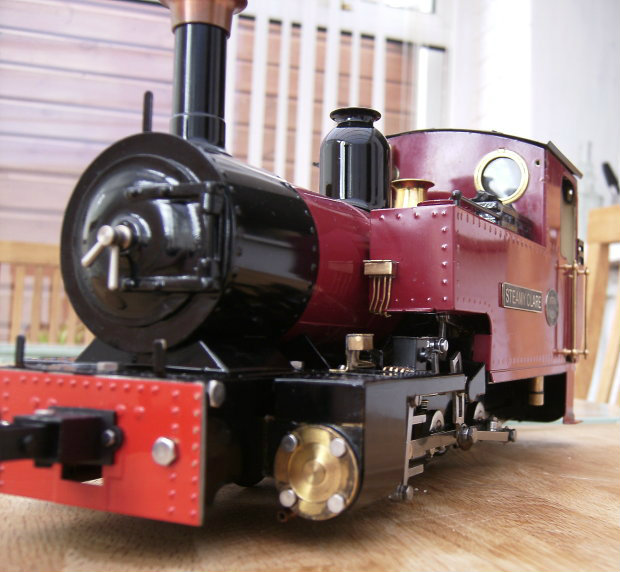
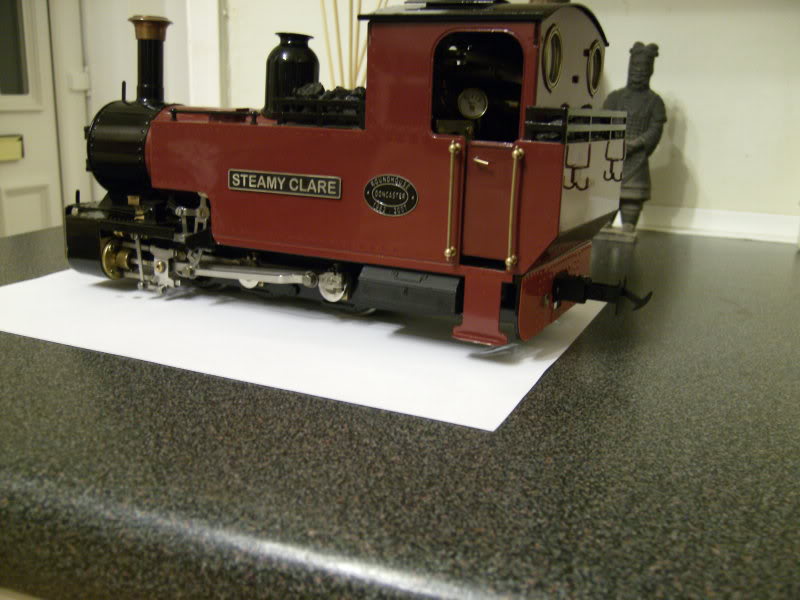
Changing of a Roundhouse Silver Lady - Steamy Clare
-
tom_tom_go

- Driver

- Posts: 4824
- Joined: Wed Feb 23, 2011 3:08 am
- Location: Kent, UK
- Contact:

-
tom_tom_go
- Driver
- Posts: 4824
- Joined: Wed Feb 23, 2011 3:08 am
- Location: Kent, UK
- Contact:
Hi Mike,
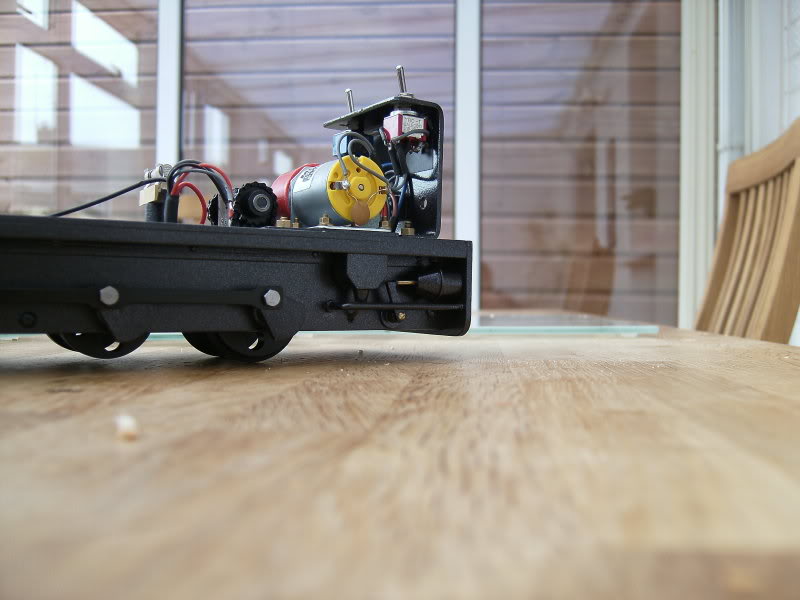
Yes that's right. It's a micro servo fitted to a brass plate.
This was fitted for me when I bought the loco from new, however, now that I have had her apart I think I could of done it myself as my confidence has grown in tinkering
If you need help or some pictures PM me and I will send you some.
Cheers,
Tom
-
tom_tom_go
- Driver
- Posts: 4824
- Joined: Wed Feb 23, 2011 3:08 am
- Location: Kent, UK
- Contact:
-
tom_tom_go
- Driver
- Posts: 4824
- Joined: Wed Feb 23, 2011 3:08 am
- Location: Kent, UK
- Contact:
-
tom_tom_go
- Driver
- Posts: 4824
- Joined: Wed Feb 23, 2011 3:08 am
- Location: Kent, UK
- Contact:
I like the Accucraft chopper couplings because they are cheap, however, they for me leave a too bigger gap between wagons so I had a go at making them smaller:

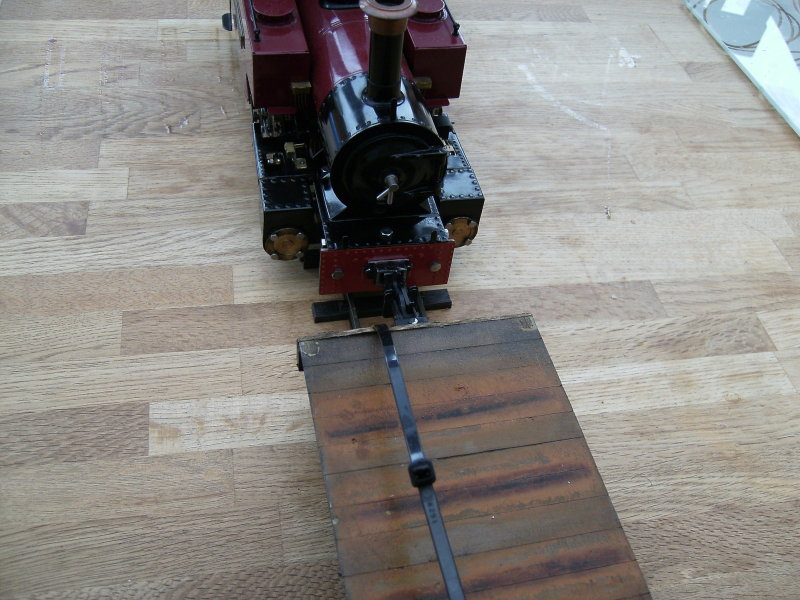
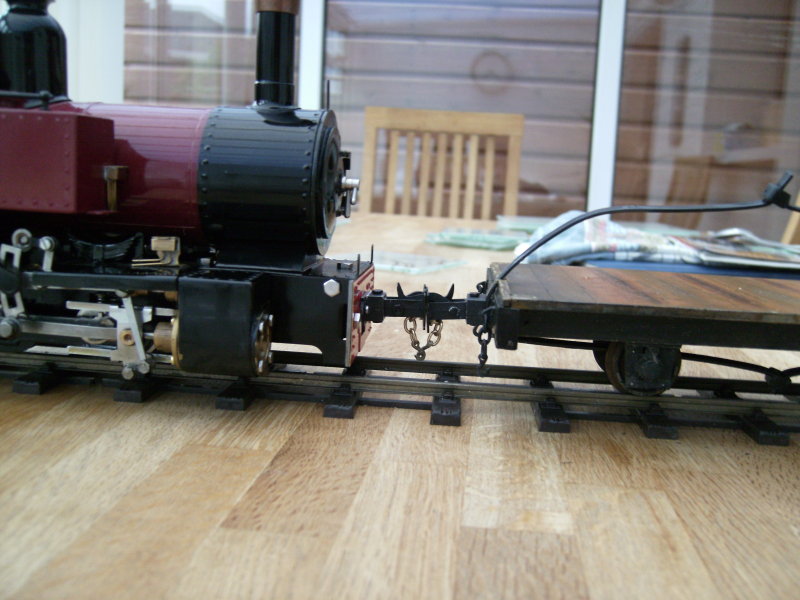
The spacing now is 48mm whereas before it was over 60mm. I have tested this on 2ft 6" curves and I have had no issues.
The safety chain simply glues under the buffer. I might trim the buffer itself to bring it into proportion.
The spacing now is 48mm whereas before it was over 60mm. I have tested this on 2ft 6" curves and I have had no issues.
The safety chain simply glues under the buffer. I might trim the buffer itself to bring it into proportion.

That looks good Tom......tom_tom_go:75643 wrote:I like the Accucraft chopper couplings because they are cheap, however, they for me leave a too bigger gap between wagons so I had a go at making them smaller:.
For my wagons I just embedded them in the headstock, but your method looks much better for mounting on a loco.
What have you done to shorten them? It looks like you've drilled the pivot further back and then shortened the mounting box to match. Have you also modified the coupler shank?
Graeme
.
-
tom_tom_go
- Driver
- Posts: 4824
- Joined: Wed Feb 23, 2011 3:08 am
- Location: Kent, UK
- Contact:
Glad you like them Graeme.
Yes, the coupler shank was cut back and filed so that the edges were rounded off to allow it to swing from left to right. The spring inside the mounting box was also removed (it has made no difference to the performance of the coupler).
Next time I do another one I will post some pics of the mods for you.
-
tom_tom_go
- Driver
- Posts: 4824
- Joined: Wed Feb 23, 2011 3:08 am
- Location: Kent, UK
- Contact:
I had a go at hiding the lubricator drain plug with a toolbox. Would something like this of actually existed - does anyone have any pics?
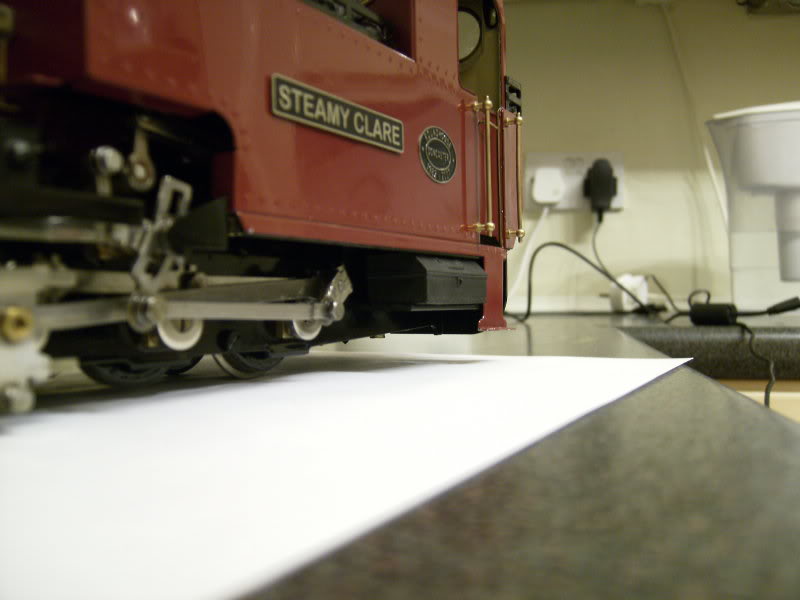
The shelf is plastic so the set up is only temporary as it needs to go under a bit more.
Also, I wondered if this rag over the door looked alright to hid the gas tank?

Would the crews of engines have the rug covering from the inside instead as I can't find a picture showing what they would of done?
Help please
The shelf is plastic so the set up is only temporary as it needs to go under a bit more.
Also, I wondered if this rag over the door looked alright to hid the gas tank?
Would the crews of engines have the rug covering from the inside instead as I can't find a picture showing what they would of done?
Help please


On New Zealand timber tramways loco crews would hang old sacks and even pieces of corrugated iron on the outside of a cab doorway to turn the prevailing wind and weather. I think hanging the canvas outside looks more logical and if it was raining it would prevent water dripping inside the cab.
As to toolboxes I think loco crews would fit them up wherever they could find a place to put them that they wouldn't fall over, but was still handy to get to.
As to toolboxes I think loco crews would fit them up wherever they could find a place to put them that they wouldn't fall over, but was still handy to get to.
What has Reality done for you lately?
-
tom_tom_go
- Driver
- Posts: 4824
- Joined: Wed Feb 23, 2011 3:08 am
- Location: Kent, UK
- Contact:


I fear your toolbox would block access to the ashpan and therefore prevent it being ashed out easily. Also, muck from the footplate would probably run straight into it. Best way of hiding the drain screw is probably painting it with some black paint. Or maybe put something like a steam brake cylinder over it, they are sometimes found under the cab. The sheet over the cab side is quite prototypical though, I've seen pics of them on Isle of Man locos for a start
"What the hell is that?"
"It's a model icebreaker sir."
"It's a bit big isn't it?"
"It's a full scale model sir....."
"It's a model icebreaker sir."
"It's a bit big isn't it?"
"It's a full scale model sir....."
Apart from a rolled up tarpaulin on the other side, the one that is down needs to be tied off, otherwise it will just flap around in the wind.tom_tom_go:75751 wrote: A rug tied up on the other side will look good.
In terms of hiding the lubricator drain, just paint it black and mount the lubricator a bit higher so it doesn't protrude as far.
The drain plug is a pain to use at the best of times (especially when hot), so it's best not to restrict access to it any more than you have to......
Graeme
-
tom_tom_go
- Driver
- Posts: 4824
- Joined: Wed Feb 23, 2011 3:08 am
- Location: Kent, UK
- Contact:
Thanks for the additional comments.
If I decide to add a steam brake cylinder do I then have to model vacuum braking on the train and wagons or could this just be used for braking on the loco only? I decided a while back I did not want to model vacuum braking as it's just another detail to buy, paint, etc!
My knowledge in this area is very poor so if someone could enlighten me please?
-
tom_tom_go
- Driver
- Posts: 4824
- Joined: Wed Feb 23, 2011 3:08 am
- Location: Kent, UK
- Contact:
As a generalisation.........tom_tom_go:75766 wrote: If I decide to add a steam brake cylinder do I then have to model vacuum braking on the train and wagons or could this just be used for braking on the loco only?
Loco and train brake are independent of each other. A vacuum brake fitted loco would have a steam brake on the loco, which had a smaller cylinder than the rolling stock, as it worked on steam pressure.
Locos without continuous brakes would have either a steam brake if fairly modern, or just a handbrake on the old ones.
Air brakes on a loco are also small cylinders, but they have an air tank and a pump somewhere on the loco.
These links give an overview of vacuum brake systems and air brake systems.
http://en.wikipedia.org/wiki/Vacuum_brake
http://en.wikipedia.org/wiki/Railway_air_brake
Graeme
-
tom_tom_go
- Driver
- Posts: 4824
- Joined: Wed Feb 23, 2011 3:08 am
- Location: Kent, UK
- Contact:
Who is online
Users browsing this forum: No registered users and 7 guests