Page 1 of 2
Re: Wagon Scratch Bashes
Posted: Thu Apr 07, 2022 9:05 pm
by ge_rik
PM sent
Rik
Re: Wagon Scratch Bashes
Posted: Thu Apr 07, 2022 9:26 pm
by MrRail
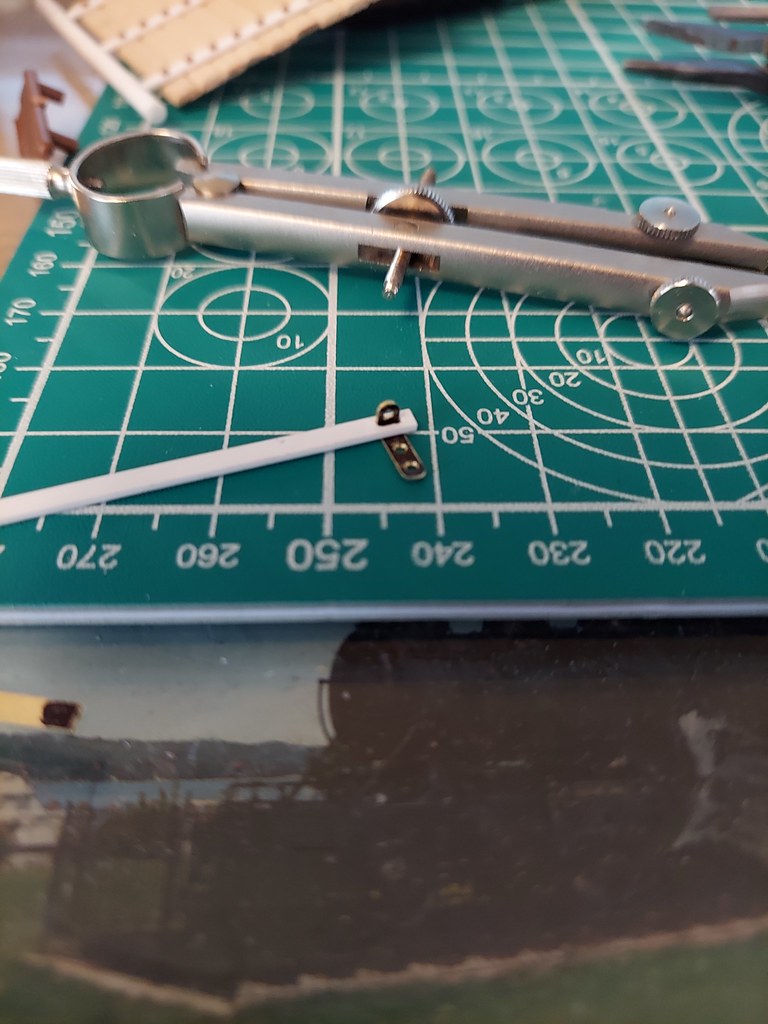
I can't be left alone.... Went through my brass drawer and found some bits I missed.... well a bit of work later and the first latch exists. Still need rod stock though.
ge_rik wrote: ↑Thu Apr 07, 2022 9:05 pm
PM sent
Rik
Those are exactly what I needed, thanks a ton!
Re: Wagon Scratch Bashes
Posted: Thu Apr 07, 2022 10:29 pm
by Lonsdaler
MrRail wrote: ↑Thu Apr 07, 2022 8:44 pm
I actually have some similar ideas to what you've done on that car. I'm going to pick up some brass tomorrow, and hog that out to match the prototype car's locks. I'm then planning to pin it and hold the pins with some 40 link per inch chain work happens to have for ships. Shouldn't actually be too complex to do, so may be able to do that Friday or Sunday. I find that the prototype is nice, as they'll normally build things as simple as possible.
As for the upper doors, will likely make a start on those soon. I think I'm going to do rod stock as opposed to the planks the prototype has on this car. Next car will be done to prototype.
You may have some images already, but these are of one of the originals, photographed in Welshpool in 2016.
My daughter is reading an information board, not staring at the wall!

- WLLR Cattle waggon 2
- P1030359.JPG (6.18 MiB) Viewed 3934 times

- WLLR Cattle waggon
- P1030361.JPG (5.99 MiB) Viewed 3934 times
Re: Wagon Scratch Bashes
Posted: Sat Apr 09, 2022 3:13 am
by MrRail
Door one is on as of today. Started by fitting things up, need to do more rivets.
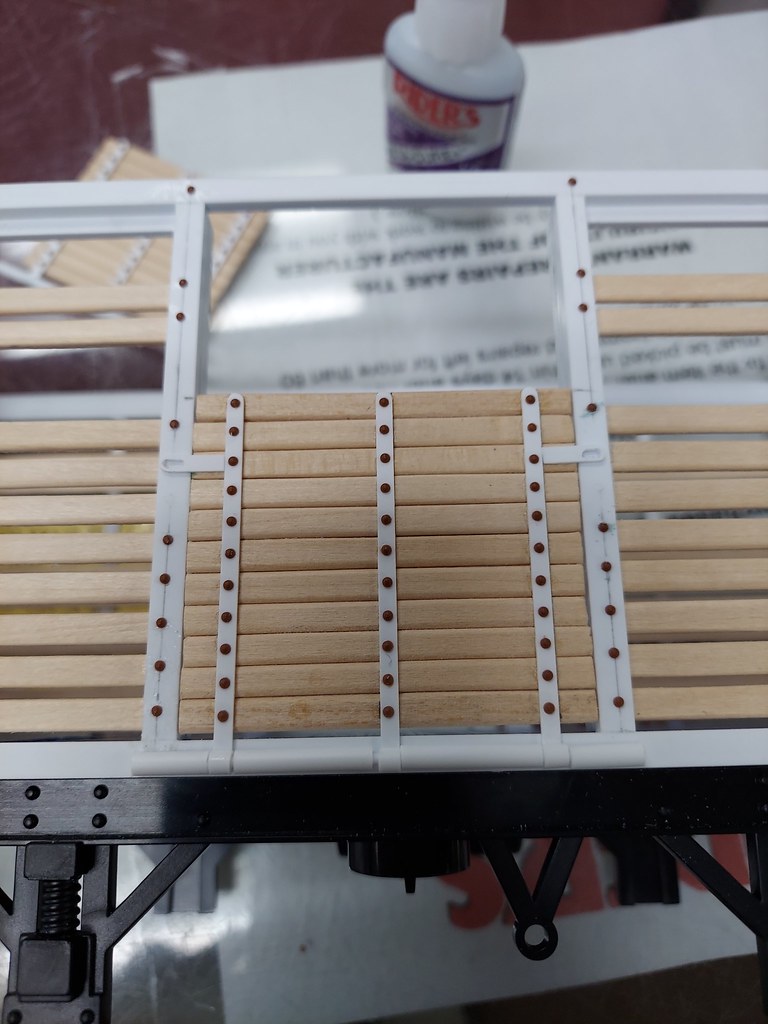
Mounted the brackets up, they'll get a pair of rivets into the styrene. Mechanical fit as well as a glue fit, should help.

Overall, happy with most of the installation. The door latches are a bit small and fall through. So I either need to enlarge the holes, get somewhat larger rod, or some sort of retainer.... details to follow and door two to go.
Also, thanks for the reference photos. Vale of Rheidol also posted a decent amount to their facebook page on the rebuild as well. I think I'll be formulating a full plan soon.
Re: Wagon Scratch Bashes
Posted: Sat Apr 09, 2022 5:40 am
by philipy
That is a work of art, not just a model! Can't wait to see the finished pictures.
Re: Wagon Scratch Bashes
Posted: Sat Apr 09, 2022 8:04 am
by ge_rik
philipy wrote: ↑Sat Apr 09, 2022 5:40 am
That is a work of art, not just a model! Can't wait to see the finished pictures.
I agree! Beautifully done!
Rik
Re: Wagon Scratch Bashes
Posted: Sun Apr 10, 2022 5:03 pm
by BWLR
Looks amazing and the rivets will really help the look of the finished wagon (and keep any rivet counters occupied for a while

)
Splendid work!
Re: Wagon Scratch Bashes
Posted: Sun Apr 10, 2022 5:08 pm
by Old Man Aaron
Beautifully done, sir!
Re: Wagon Scratch Bashes
Posted: Sun Apr 10, 2022 6:16 pm
by Lonsdaler
philipy wrote: ↑Sat Apr 09, 2022 5:40 am
That is a work of art, not just a model! Can't wait to see the finished pictures.
Indeed! Far superior for realism than Lineside Hut's representation of the hinges and latches. Really nice work

Re: Wagon Scratch Bashes
Posted: Wed Apr 13, 2022 8:12 am
by MrRail
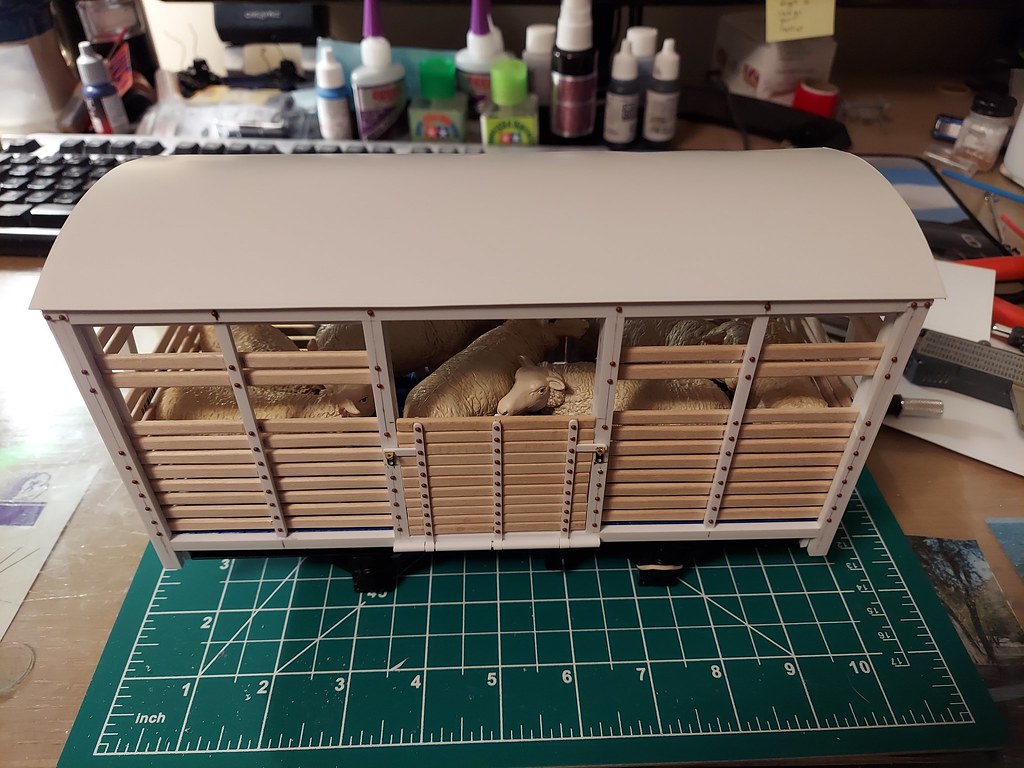
Got back to working on the cattle wagon today, first thought of the day was a load. These little Papo sheep seem to fit pretty well... and well they followed me home.
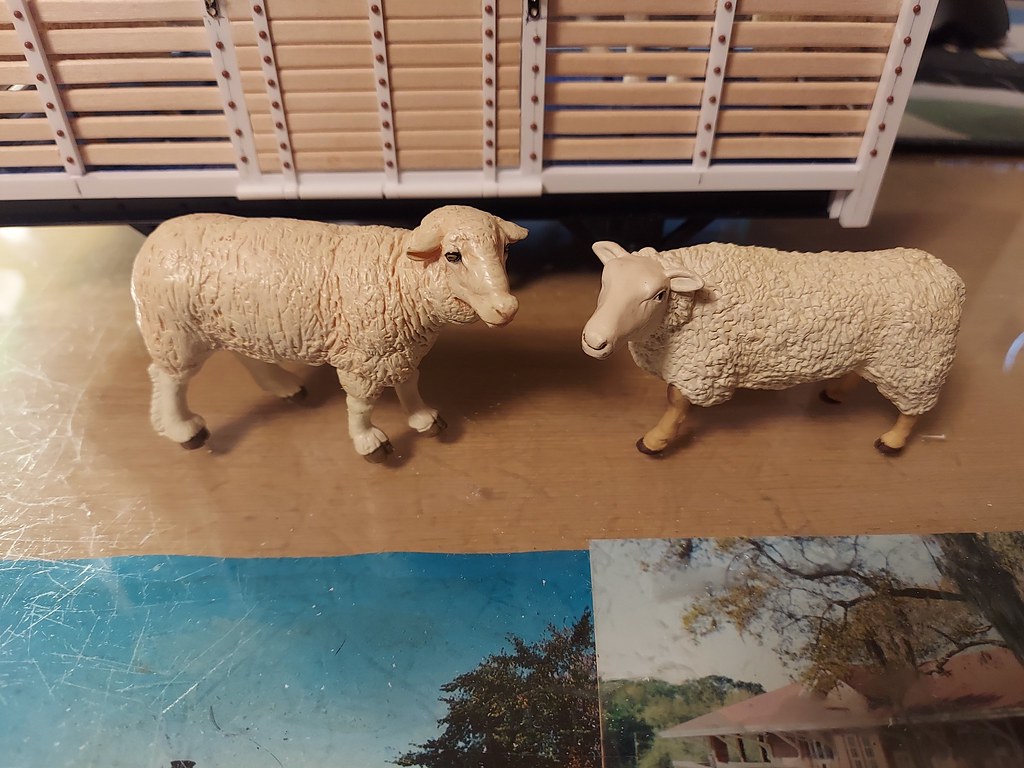
All and all they fit pretty well in the car.

Next step was the roof. I started with a basic square framework (no photos sadly), made myself the top roof center, then proceeded to plank with styrene.

Still a little nervous on actually sheeting the roof, but still coming up with ideas on that. I think I'm going to use 0.02 or 0.03 styrene sheet for the main layer. The planking should only act as a base. I will likely put a sheet of tissue paper with glue over the top layer of styrene for a canvas texture.
Overall though I am happy with the fit. The roof just clicks right into place. The sheep may need to go on a diet, as this car is getting pretty heavy. I think the upper doors are next once I finish the roof.

Re: Wagon Scratch Bashes
Posted: Wed Apr 13, 2022 8:34 am
by philipy
That is looking better and better!
Personally I'd be very wary of using the really thin styrene sheet to cover the planks. Unless you plan to just tack it at the edges there is a real danger of it distorting and bubbling from the solvent over that large an area. I tend to use 1mm ply ( model boat shop) to do that job, and then cover it with fine weave cloth to simulate canvas.
Re: Wagon Scratch Bashes
Posted: Wed Apr 13, 2022 10:54 am
by Peter Butler
philipy wrote: ↑Wed Apr 13, 2022 8:34 am
That is looking better and better!
Personally I'd be very wary of using the really thin styrene sheet to cover the planks. Unless you plan to just tack it at the edges there is a real danger of it distorting and bubbling from the solvent over that large an area. I tend to use 1mm ply ( model boat shop) to do that job, and then cover it with fine weave cloth to simulate canvas.
Ditto.... I find curtain lining material the most suitable for roof covering. It has a fine weave and looks just right after painting.
Re: Wagon Scratch Bashes
Posted: Fri Apr 15, 2022 6:34 pm
by MrRail
Got a chance to get back working on the car, now completed the roof. (I still may do some detailing). First job was to finish up all the planking.

I ended up using the 0.02in sheet, 0.5mm, pretty sucessfully. I used a medium CA superglue in lines to give the glue a chance to vent.

Overall I'm very happy with the fitment. The whole roof just drops into place. I may have to modify my sheep yet, as the whole car is starting to get pretty heavy. Was looking for some 1/24 scale sheep plastic kits at work, but so far no dice.

philipy wrote: ↑Wed Apr 13, 2022 8:34 am
That is looking better and better!
Personally I'd be very wary of using the really thin styrene sheet to cover the planks. Unless you plan to just tack it at the edges there is a real danger of it distorting and bubbling from the solvent over that large an area. I tend to use 1mm ply ( model boat shop) to do that job, and then cover it with fine weave cloth to simulate canvas.
Not a bad idea, but I already had styrene lined up. May try using basswood on the next car, but will look for some fine weave for this one.
Re: Wagon Scratch Bashes
Posted: Sun Apr 17, 2022 4:03 am
by Old Man Aaron
Absolute work of art, that. You might have to use a dremel to hollow out your sheep from underneath, I think Rik did that with his livestock wagons.
Re: Wagon Scratch Bashes
Posted: Sun Apr 17, 2022 11:16 am
by ge_rik
Old Man Aaron wrote: ↑Sun Apr 17, 2022 4:03 am
Absolute work of art, that. You might have to use a dremel to hollow out your sheep from underneath, I think Rik did that with his livestock wagons.
Well remembered - that's exactly what I did. I seem to recall hollowing out the palm of my hand at the same time

Rik
Re: Wagon Scratch Bashes
Posted: Sat Apr 30, 2022 5:38 am
by MrRail
Getting back into the swing of things after a busy spell.

Got the upper cattle doors done for the cattle wagon.
First things first, was the painful process of making the pins for the cattle car functional.
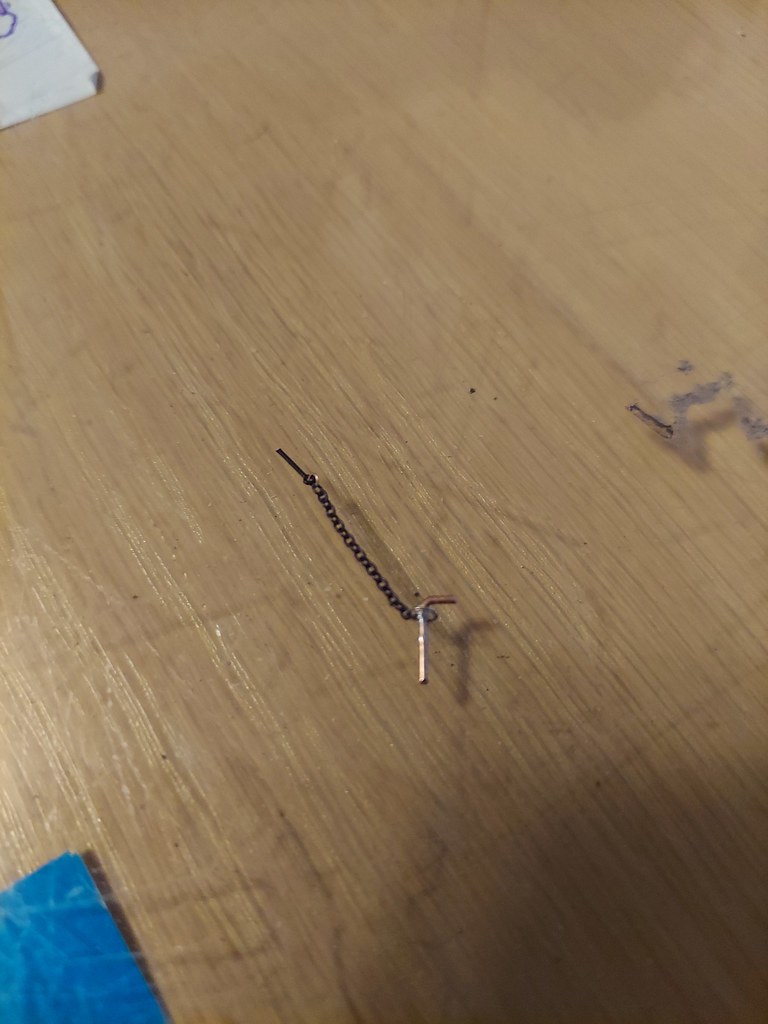
To accomplish this, I looped 27 link per inch chain through loops I made with phosphor bronze wire. This got the smallest dot of flux, then was soldered. The pins have the joint soldered to them, while the plastic loops on the ends the rings "float" and are not mounted to the end pins.
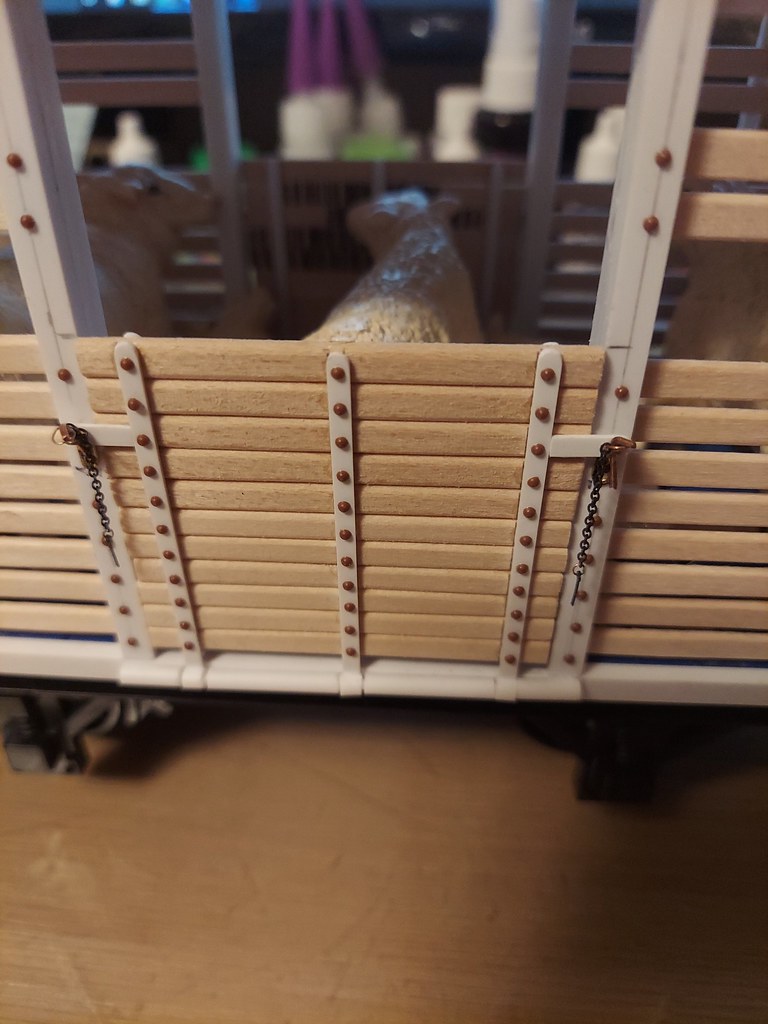
The end look is lovely, but man that took some doing. I get to look forward to repeating this process too. I will be drilling holes to secure the links on the end of the chain to the car. I REALLY don't want these pins wandering off.
The doors themselves went together a lot faster, and I just need to make hinges and apply rivets to them. Aside from that, the car gets guttering and then its pretty much done with assembly and its on to paint.
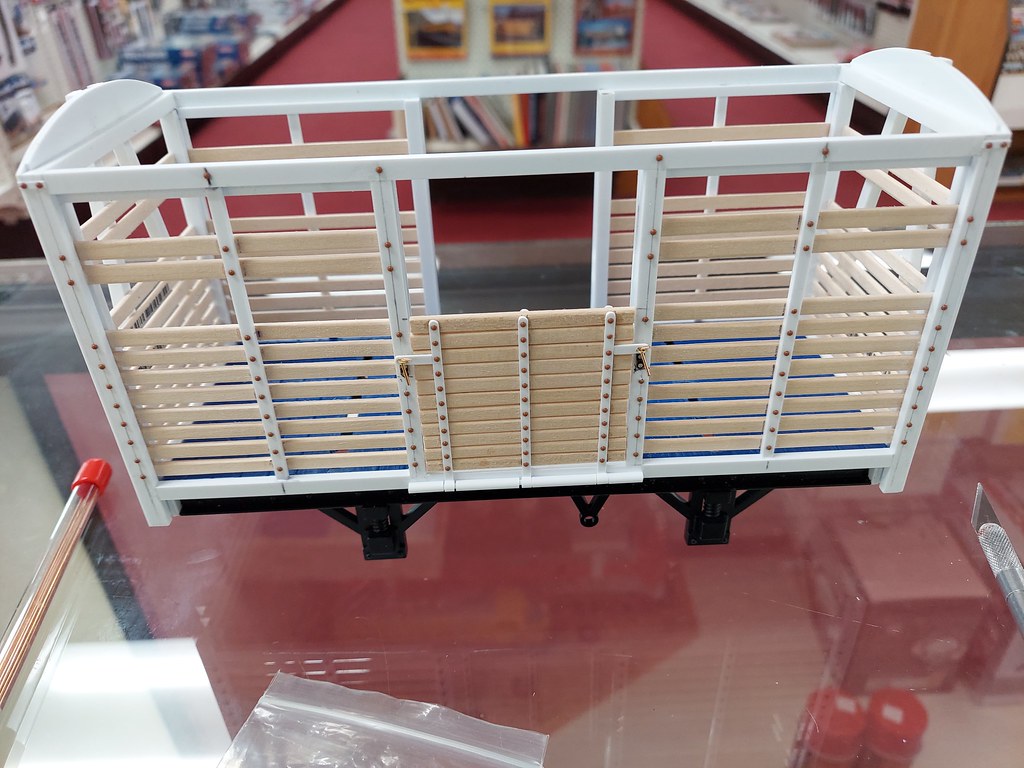
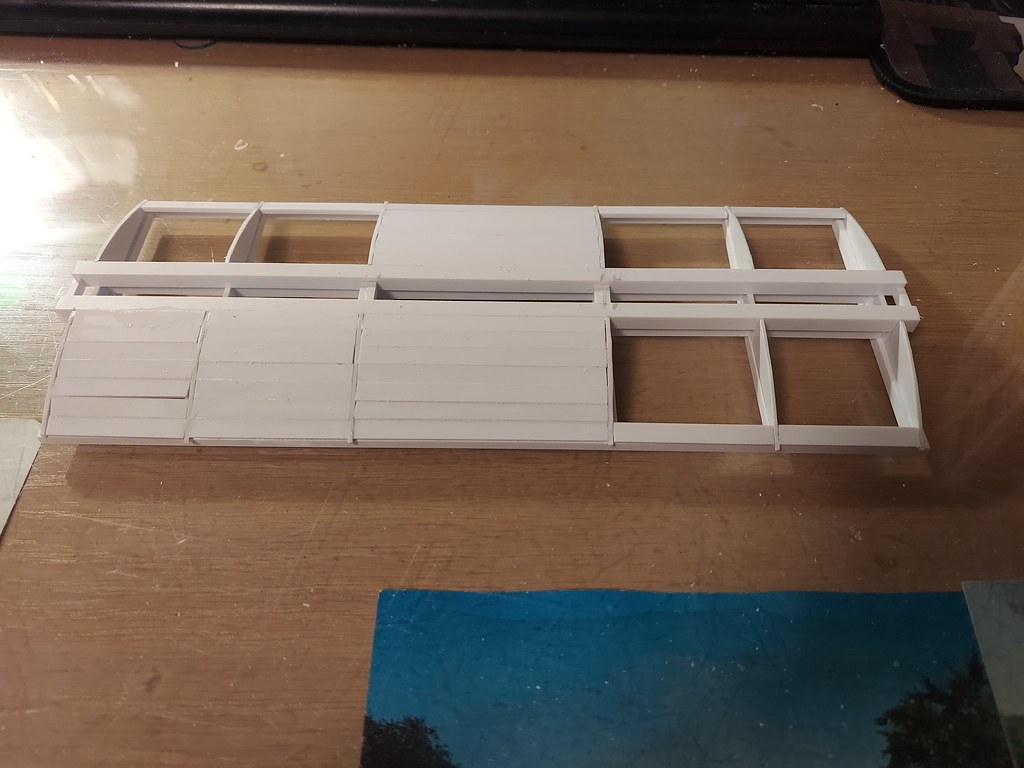
To that end, I have started work on a Welshpool and Llanfair brake van. I don't have any brake vans in my stock yet, so I figure I'll need one or two before I start operating sessions on my future railroad. To that end another LGB Short wheelbase frame was pulled from my stock.
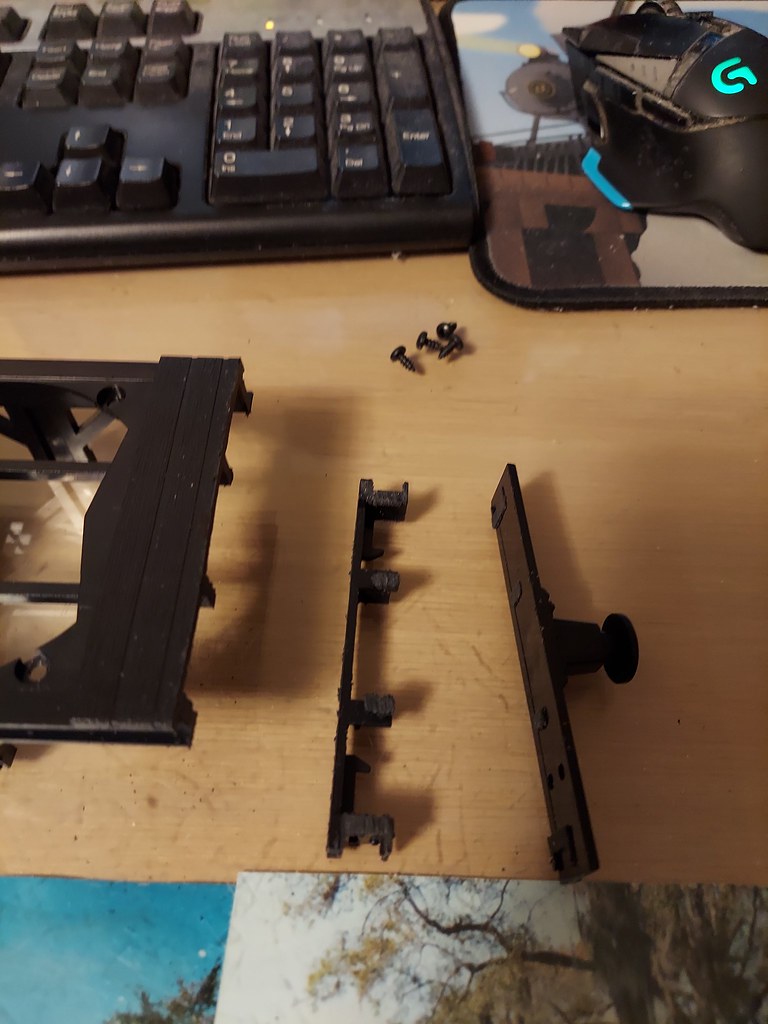
This was immediately shortened, as the offset in LGB short frames just bugs me. The axles are now equal distances from both ends.
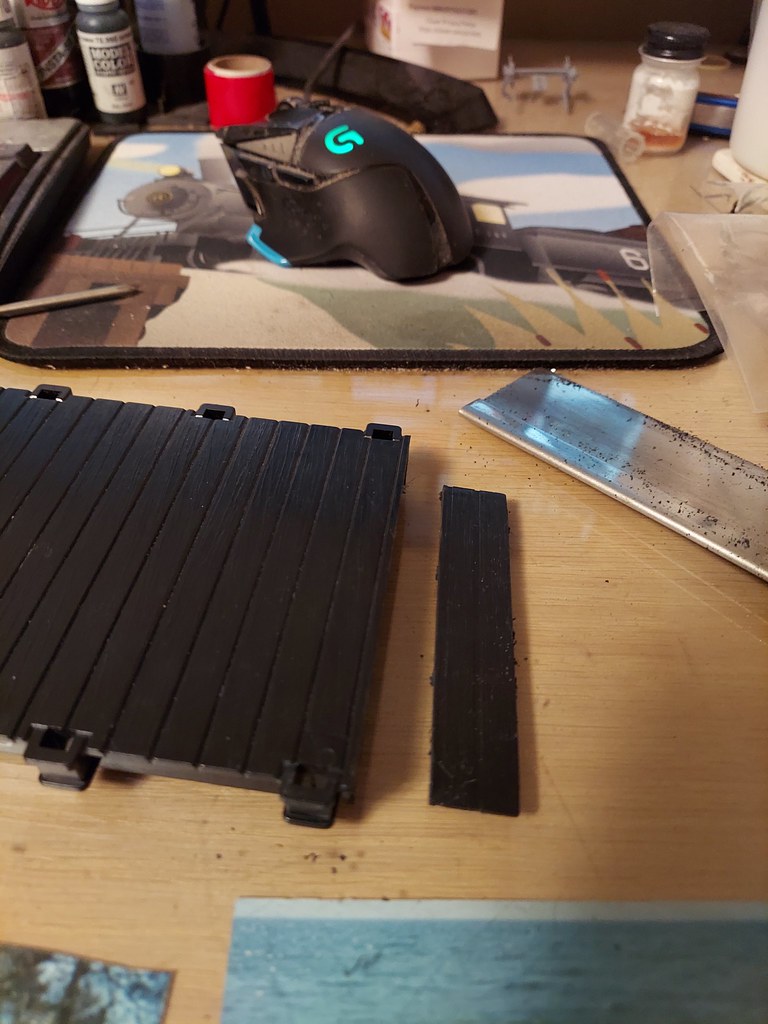
The car's deck was shortened in exactly the same manner.
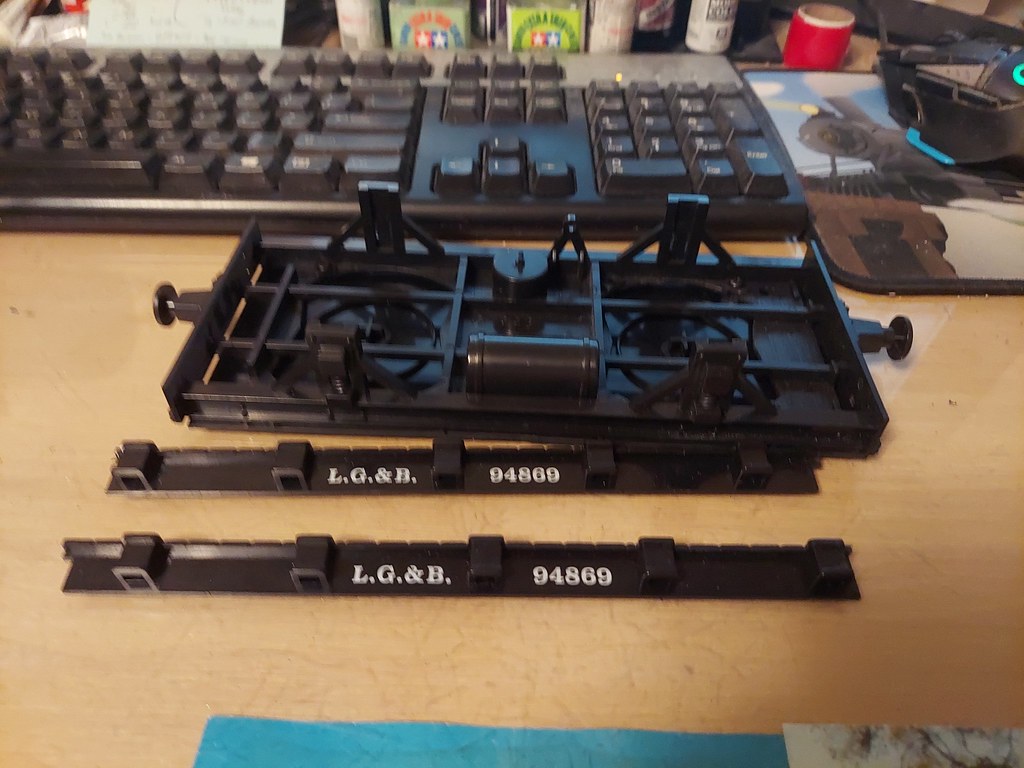
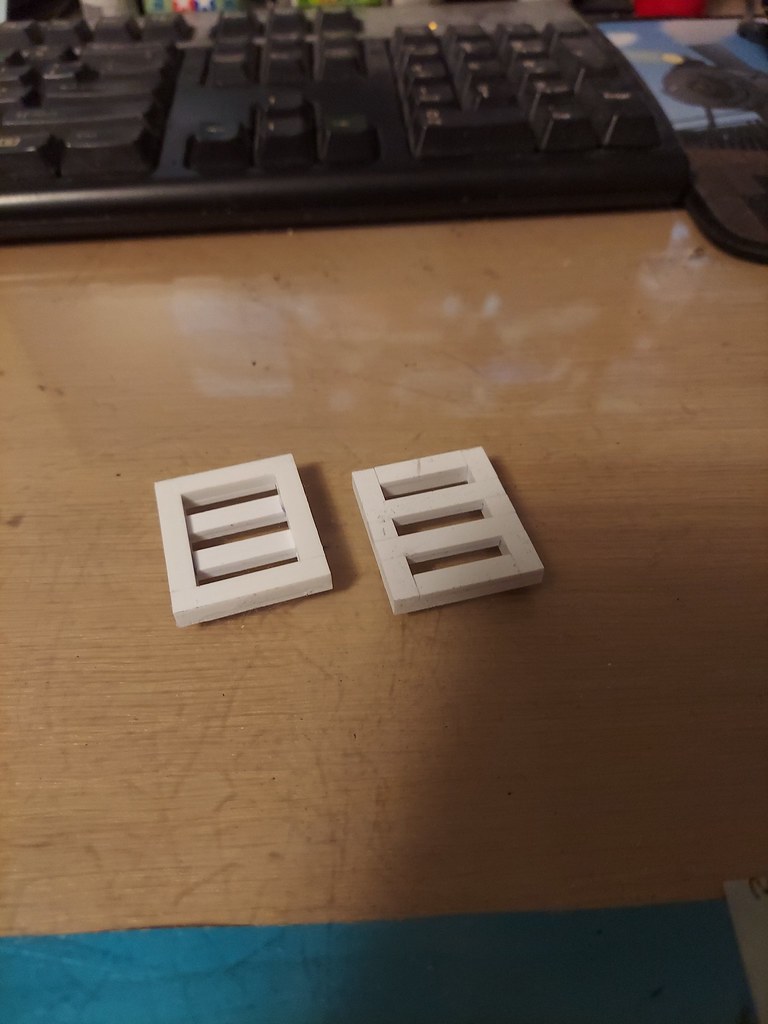
The sides were then cut off, leaving the car you see in the first photo. Drawings show a roughly 6ft wheelbase, with a 2 3/4ft overhang from axle centers. I'm pretty close to these numbers, which I'm quite happy with. Next step will be to build up what would be the steel sections of the sides. This and finishing the cattle car should be my next post.
