The "Bad Old Days" - Anzac Creek Tramway Mk.I, 2014 - 2018 (IMAGE-HEAVY)
Posted: Mon Mar 23, 2020 7:10 am
Many years ago, I was a member of a 5" & 7¼" club here in Queensland. At the 2012 club Xmas party, I met a fellow named Anthony whom had recently joined, and had brought with him, a kit-built Accucraft Ruby. I recognised that loco sitting on the table, from Peter Jones' book, and started a conversation. Turns out we were both primarily interested in sugarcane railways, and we've been good mates ever since. By the end of that day, I decided I wanted a Ruby too.
I received one a year later, for my 18th birthday. As I'd spent the preceding year researching Rubies, I knew the loco inside and out by the time I had one.
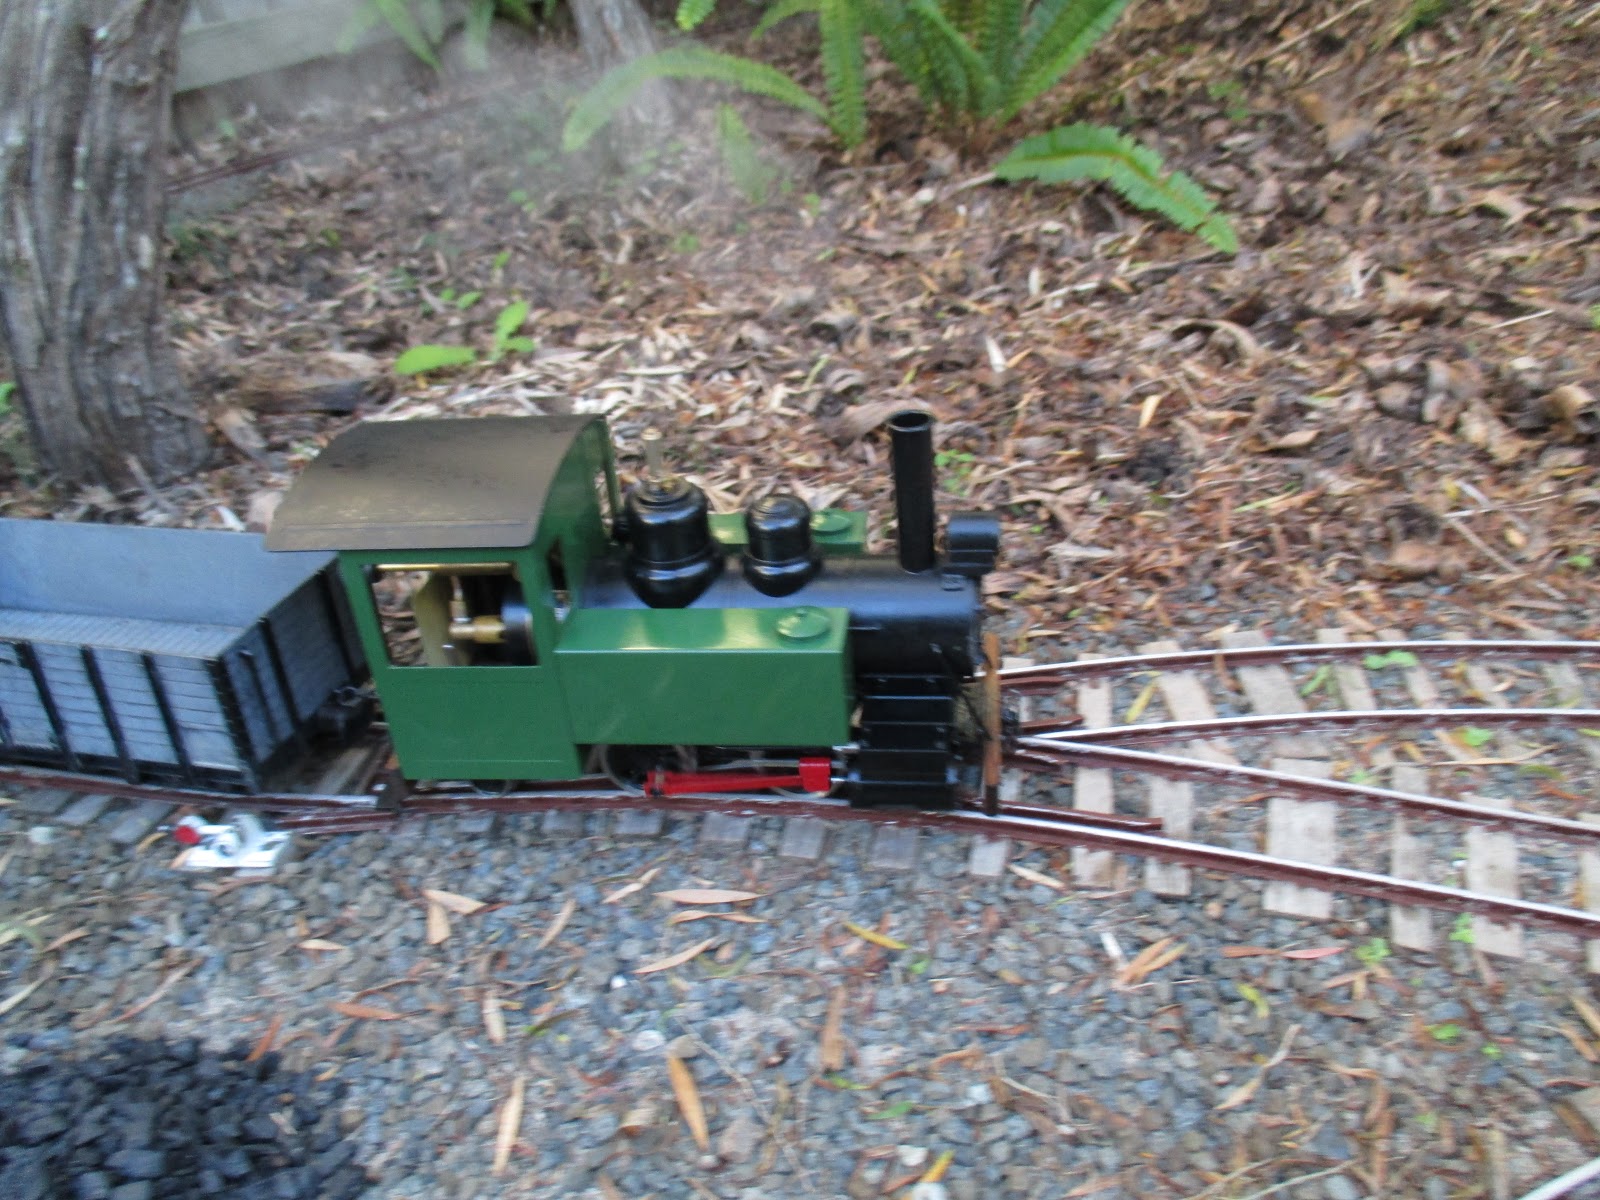
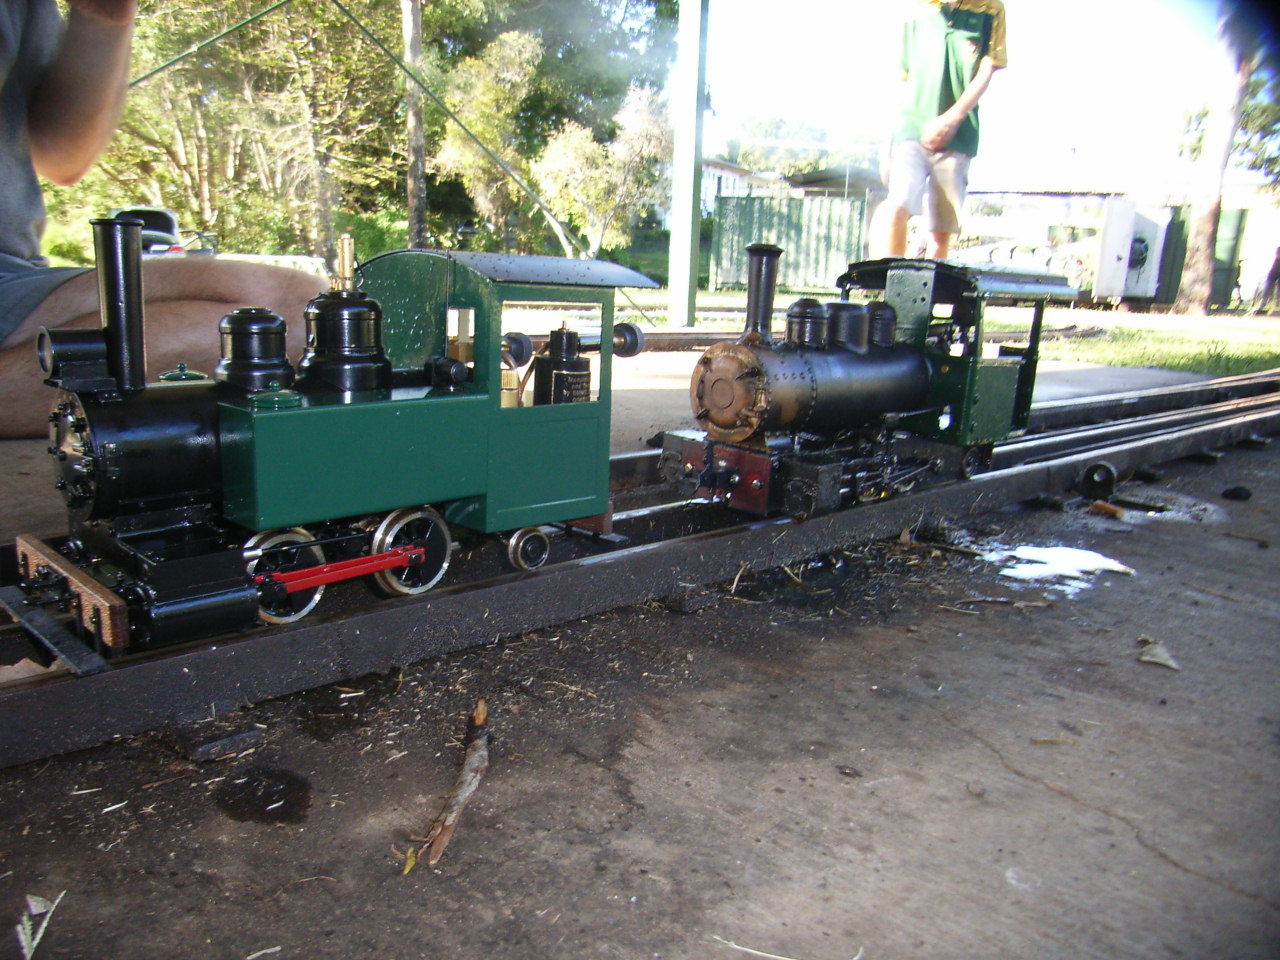
In under a month, I had the loco stripped, repainted, and some minor mods made to turn it into a sugarcane loco. The loco was named "Baron", after a villain in a Playstation game I enjoyed. As is evident, I'm pretty awful at coming up with names - but I think somehow it fits this loco.. By then, Anthony had assembled (most of)a RH Fowler kit. Neither of us had any track at the time, but we got lucky with the dual-gauge ride-on track at the club. Obviously, we couldn't run over the points, and the gauge on the curves varied too much for these much smaller models, but we had fun running back and forth along the straights.
I'd built a pair of wagons from balsa and popsicle sticks in anticipation of the Rubies' delivery. They were loosely based on Mapleton Tramway prototypes.
Link-and-pin couplings in 45mm - never again!
"No, Mum & Dad, I don't want to build a track at home, running at the club is good enough"
Yeah, right.
Eight months later... 17/07/2014
The Fat C*ntroller starts construction on the Anzac Creek Tramway. I've never liked the name - it was only a vaguely-Australian-sounding placeholder until I came up with a better name. But I'm useless for coming up with names, so "Anzac Creek" has unfortunately stuck, for both the line and my blog.
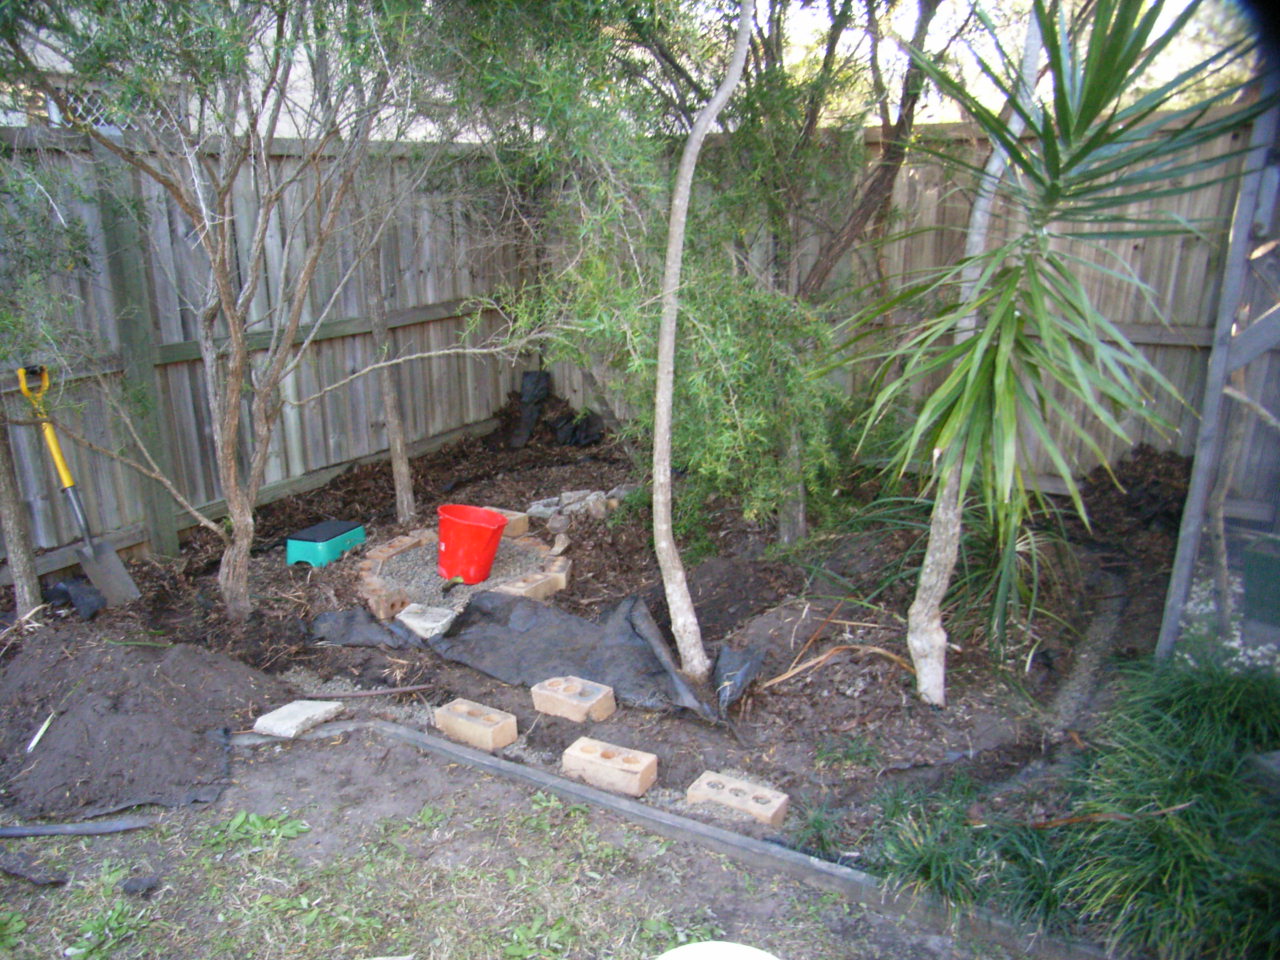
I had no income at the time, save for birthday and Xmas money, so it was always going to be a slow job. I found Mr. Bond of the DVLR's Youtube series on building a garden line to be very informative, (I ought to go back and re-read his line's thread soon) and used his method of building roadbed and track. It was cheap, easy, and could take the annual coastal deluges where I lived. Around that time, I started lurking here on the forum, employing the wealth of knowledge and ideas available.
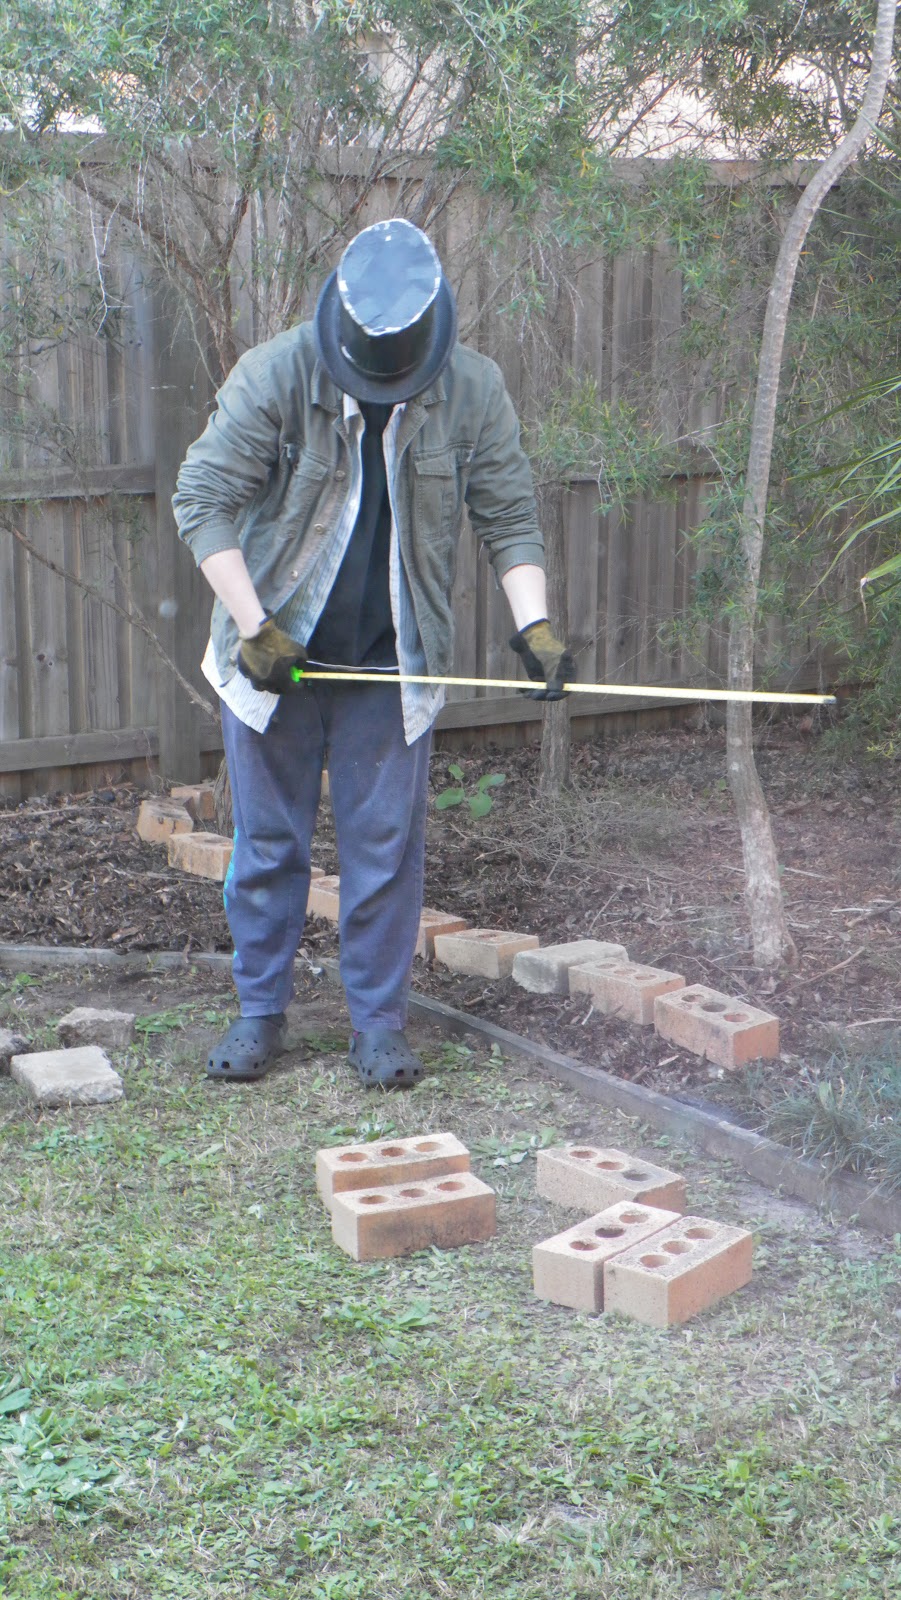
The bricks were scavenged from abandoned lots, alleyways and construction/renovation leftovers around the neighborhood. There was also a large soccer field parking lot, of gravel. A dozen bucketfulls wouldn't go amiss, I thought - brought home one bucket at a time, on the back of my bicycle..
A few buckets of sand were similarly liberated from a nearby man-made lagoon behind the housing estate.
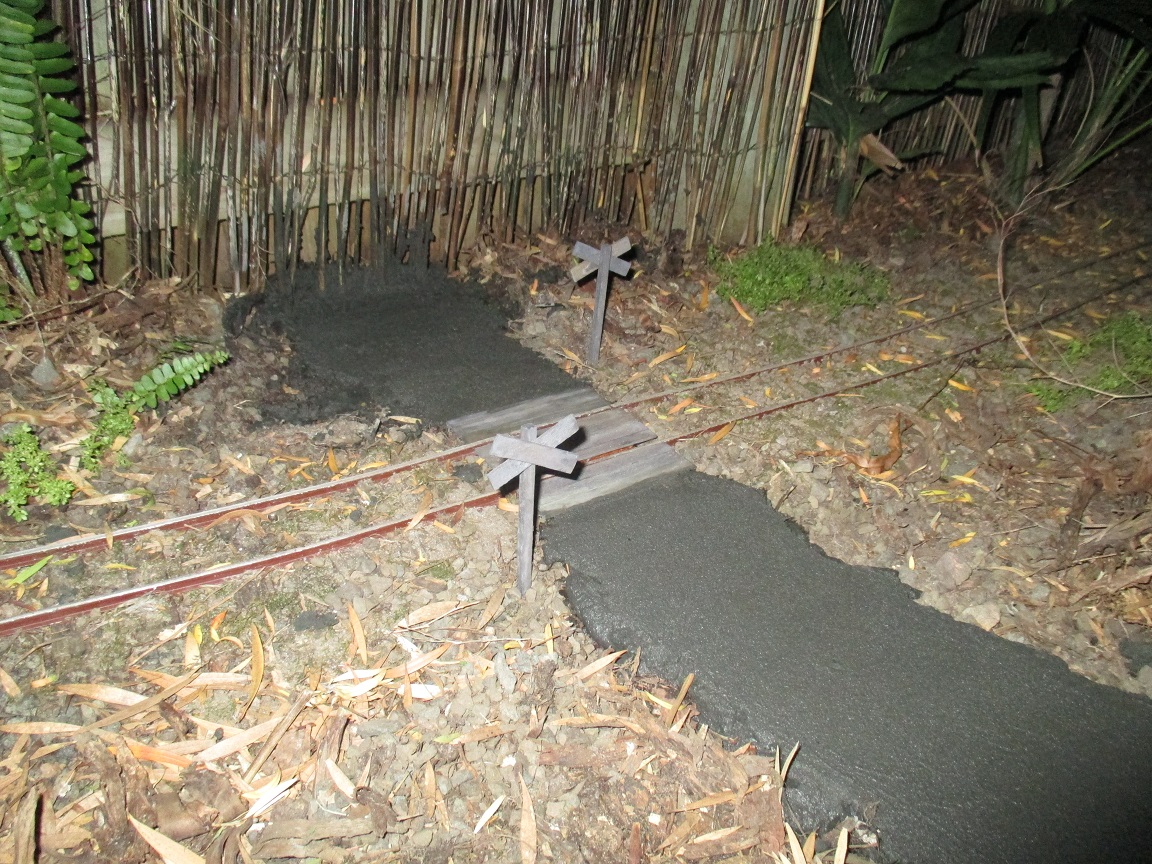
Due to the non-existent budget, the bridge over Anzac Creek was made from whatever I could find. The stringers are cut from a spare rake stick, the pile caps are hardwood offcuts from the light-up scrap box at the club, and the piles themselves are debarked paperbark sticks.

The bridge parts were heavily painted with grey primer. The parts were coloured with an acrylic "weathered timber" paint mix I had on hand, and given several coats of decking oil. This "preservative" worked about as well as one would expect.
I considered making Anzac Creek functional, but that would've required money. Having it as a dry, seasonal creek was good enough.
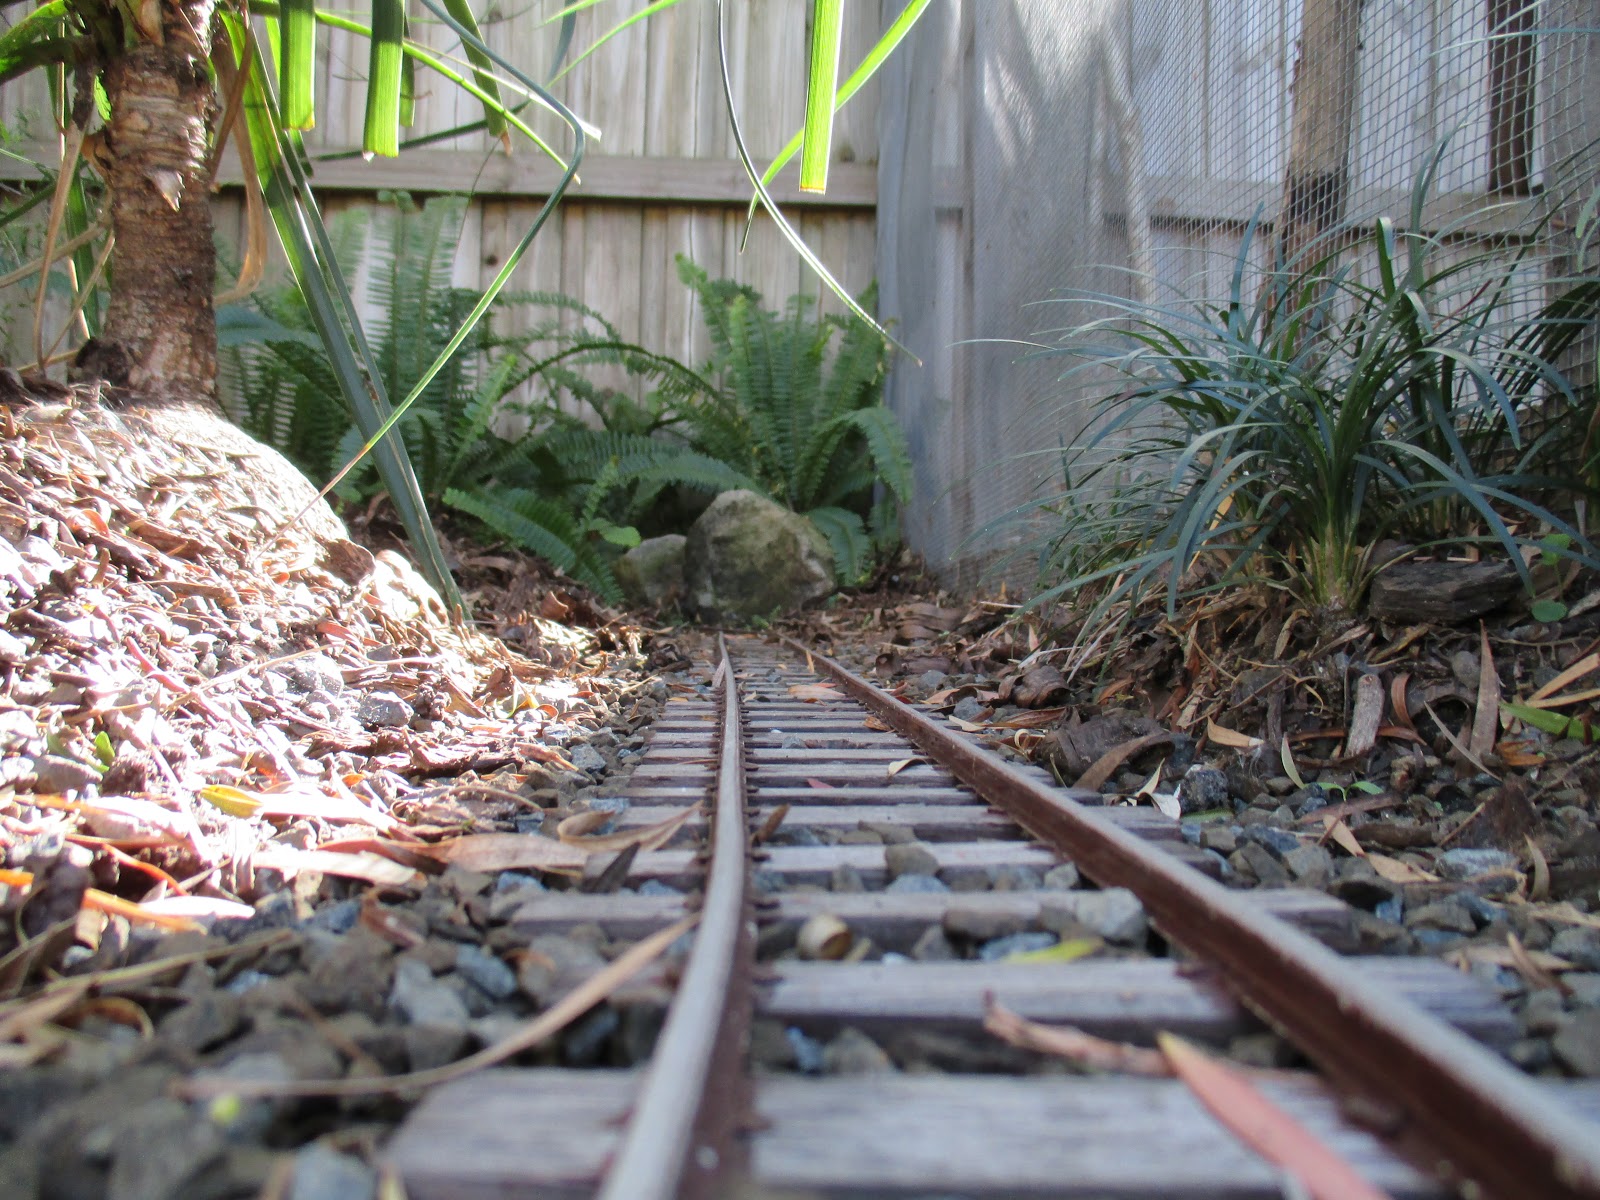
Hand-laid track is the most affordable option, so that's what I picked. A friend from the club lent me a set of handlaid points to study its contruction. I ordered 30 brass rail joiners and 19 six-foot lengths of Sunset Valley aluminium rail from Argyle Loco Works in Melbourne. At the time, the rails were $8ea, joiners were $1ea.
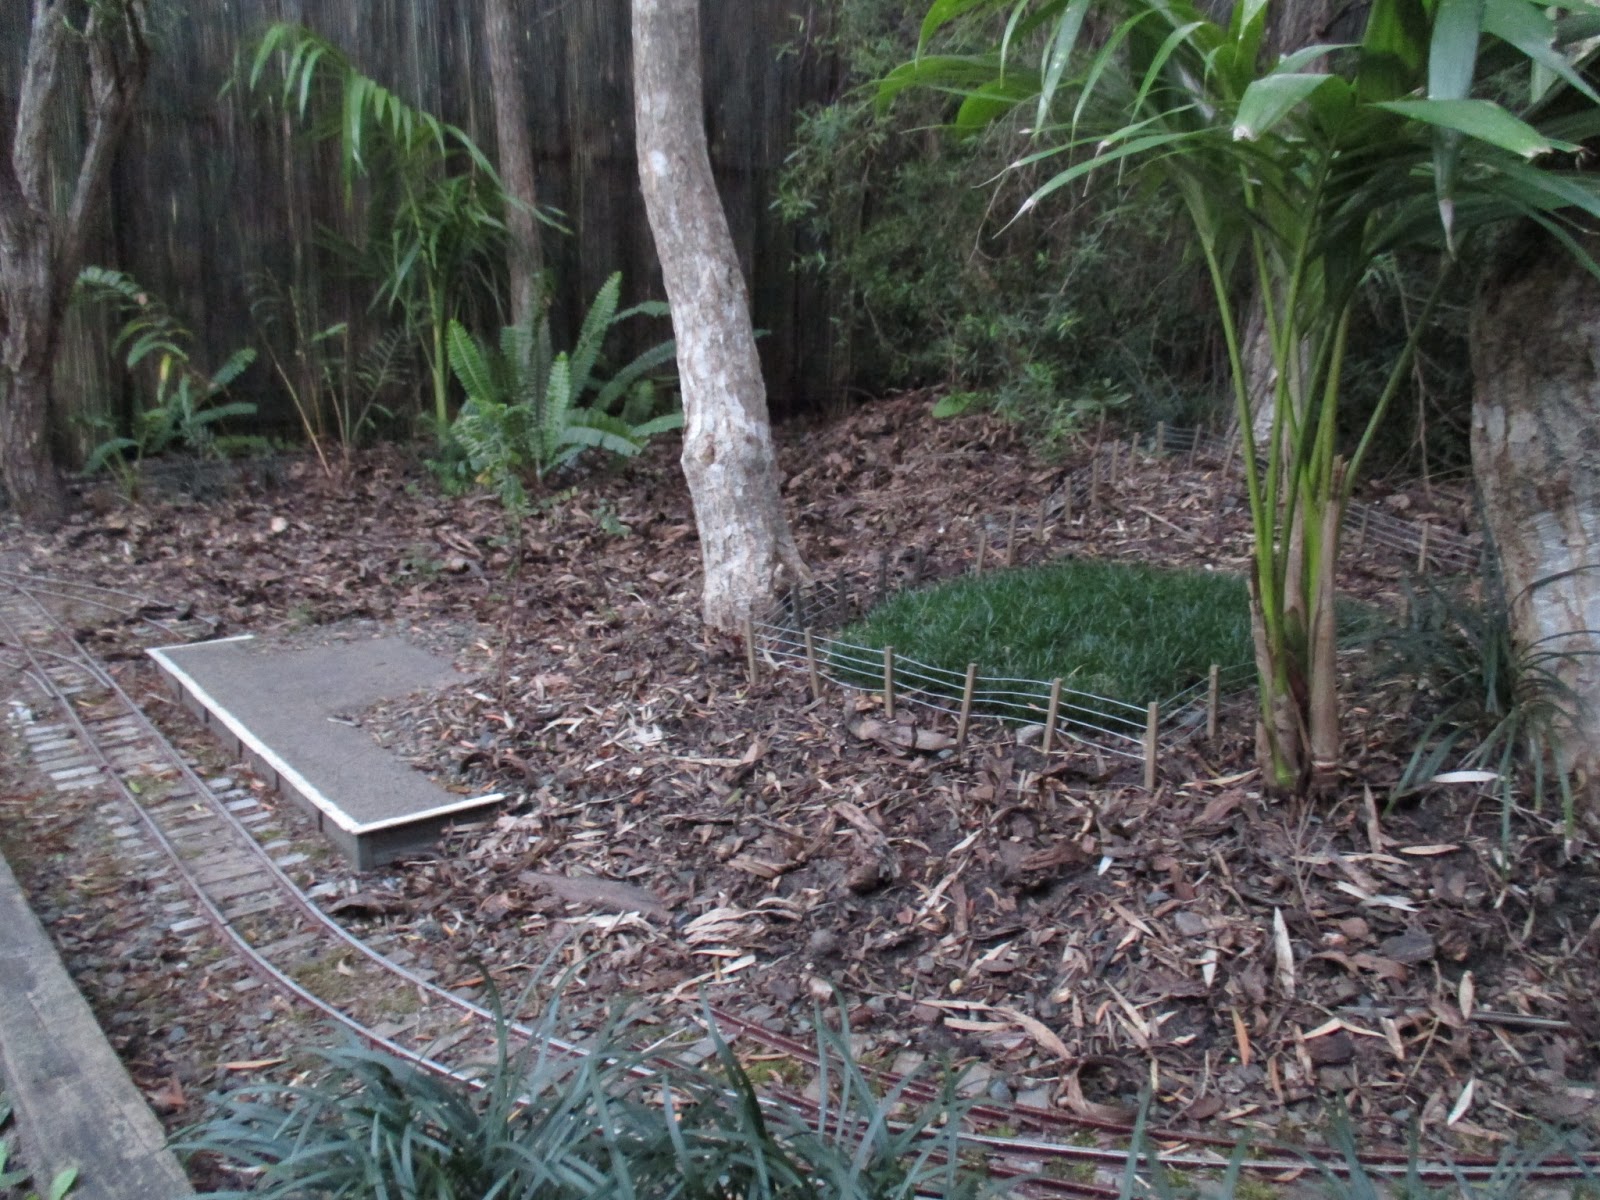
Sleepers were made from planks salvaged from a broken outdoor table someone left on their curb, and hardwood scraps from the club's overflowing light-up bin. To this day I've no idea what kind of timber any of it is, with some of those sleepers having fared far batter than others. The first section of track made, was the carriage siding. I figured if my first bit turns out poorly, it's only a siding and not the mainline. It came out reasonably well.
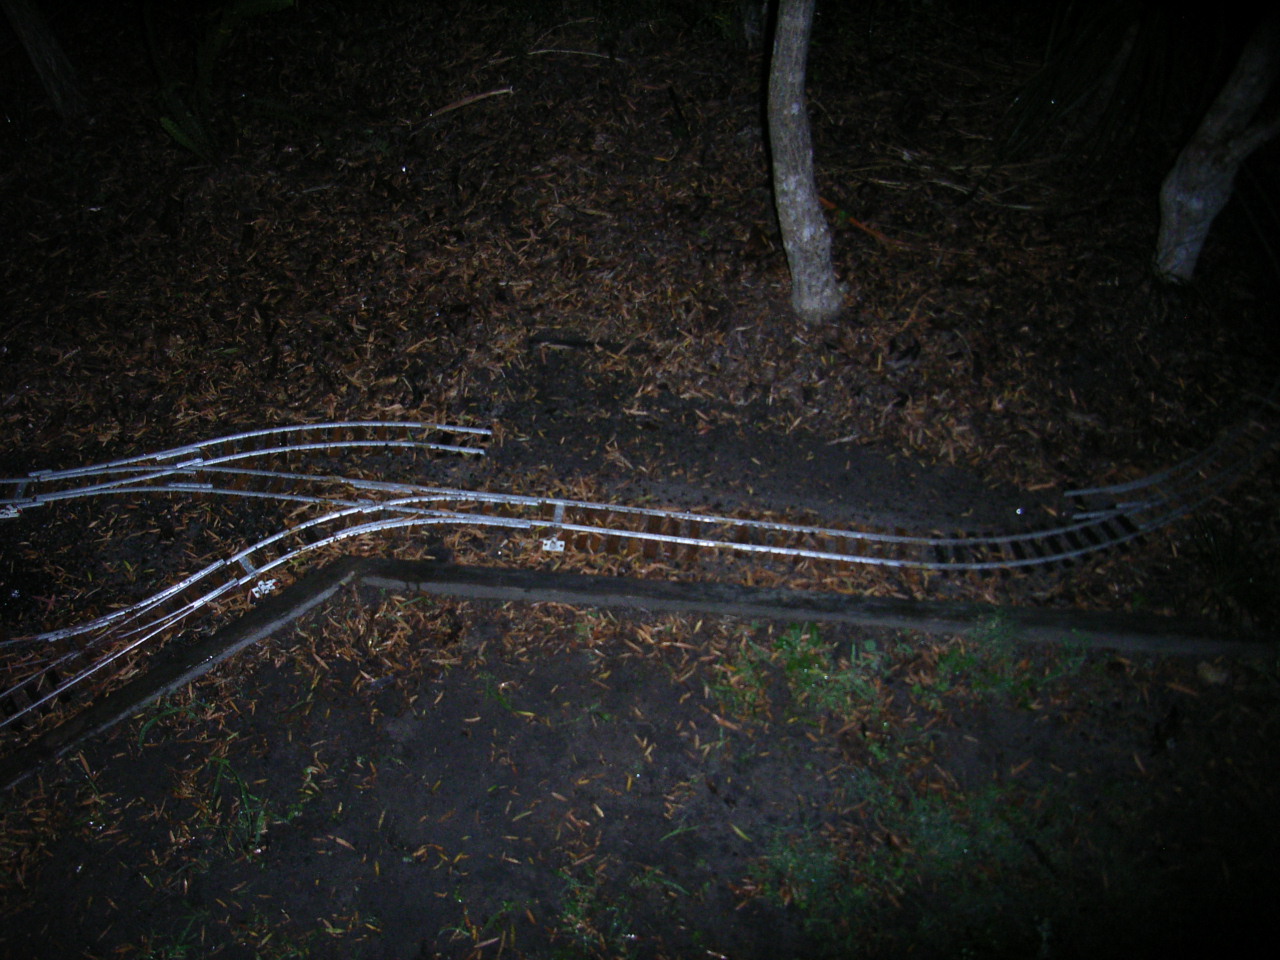
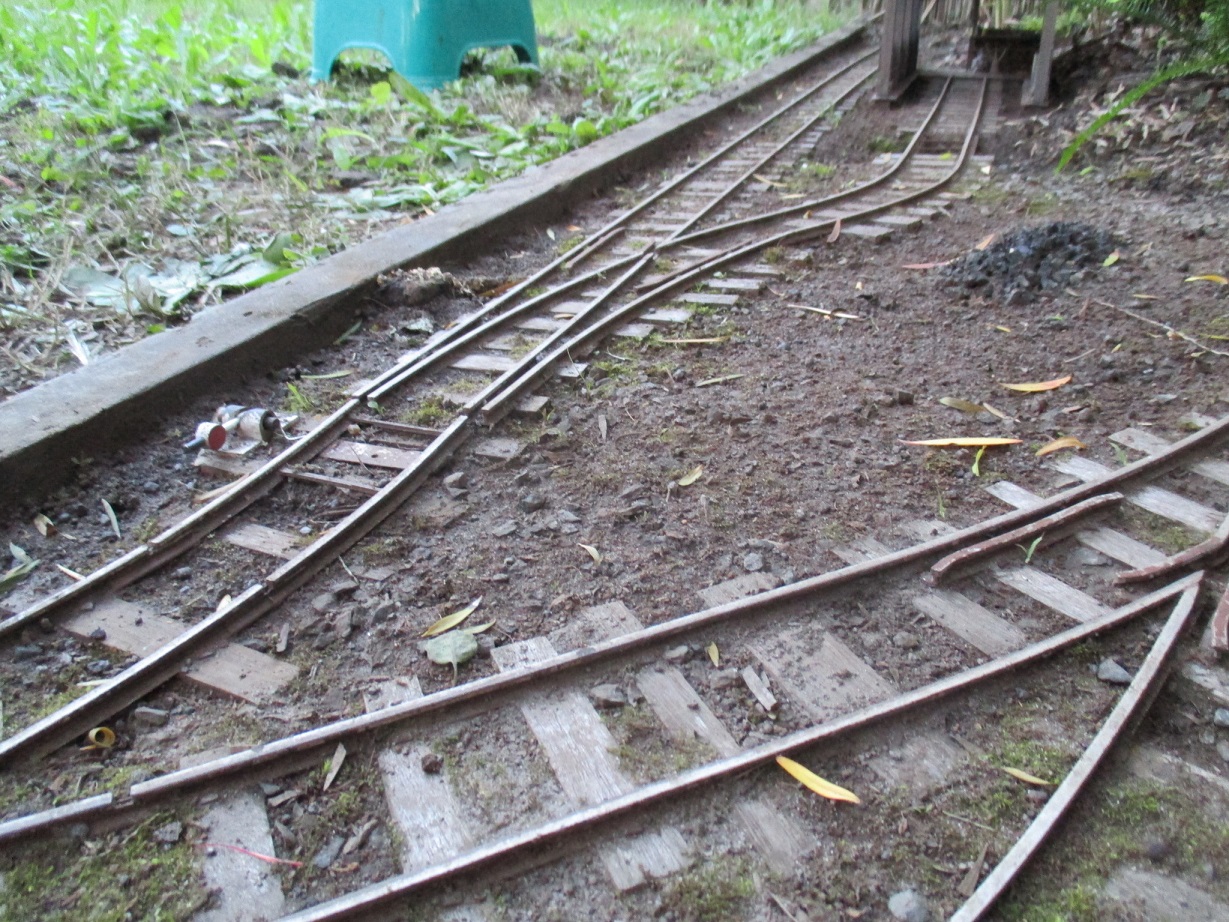
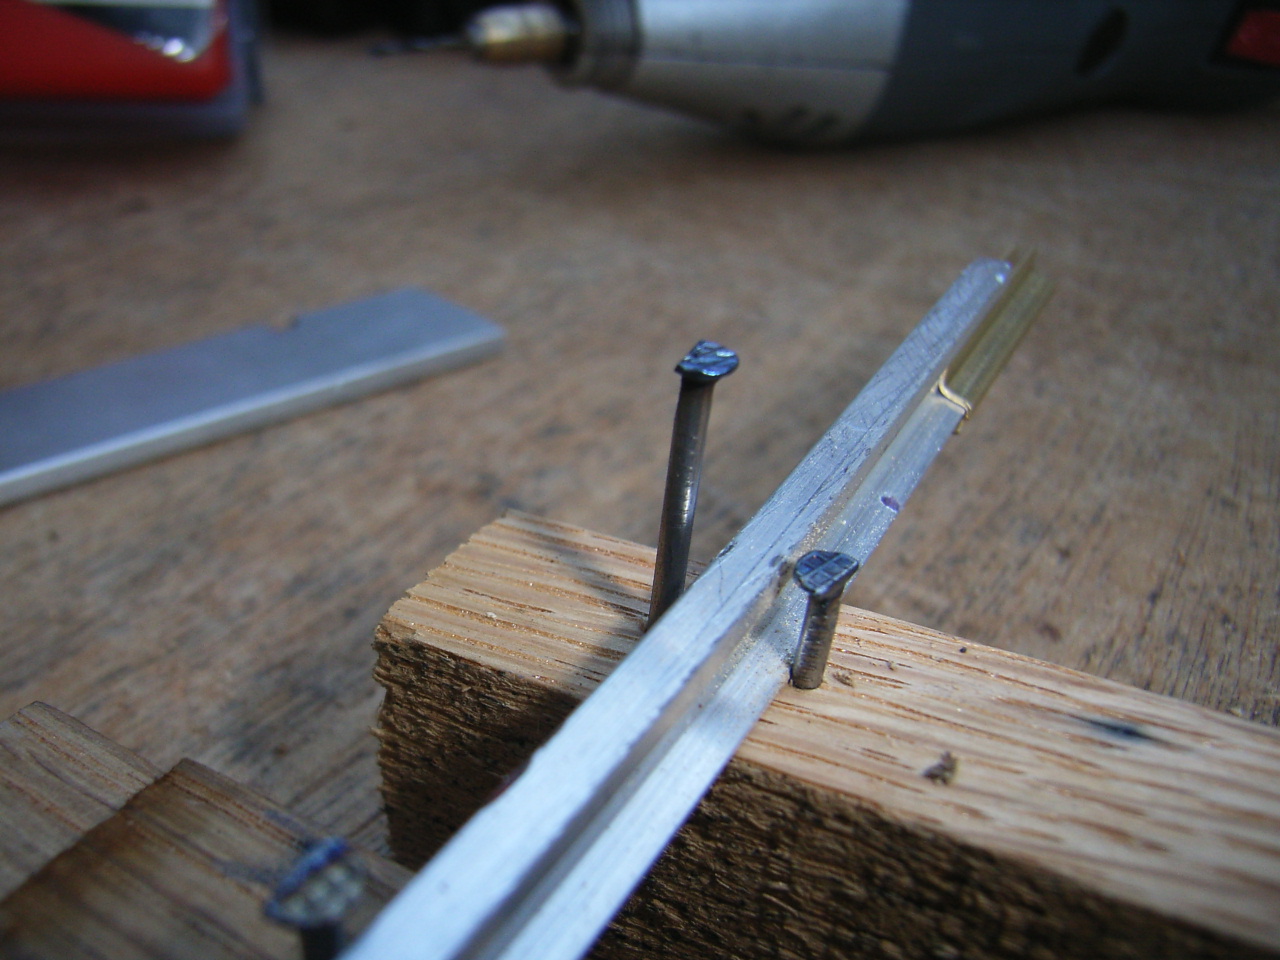
At this point, I jumped into the first set of points at the end of the siding. I was going to make a conventional bladed set of points, but I decided that would be too hard, and made stub points. In hindsight I've realised making bladed points would be no harder than making stub points, and would be far less problematic than these stubs turned out to be. Dogspikes were flat-headed steel nails with their heads ground to a semi-circular shape.
13/09/14
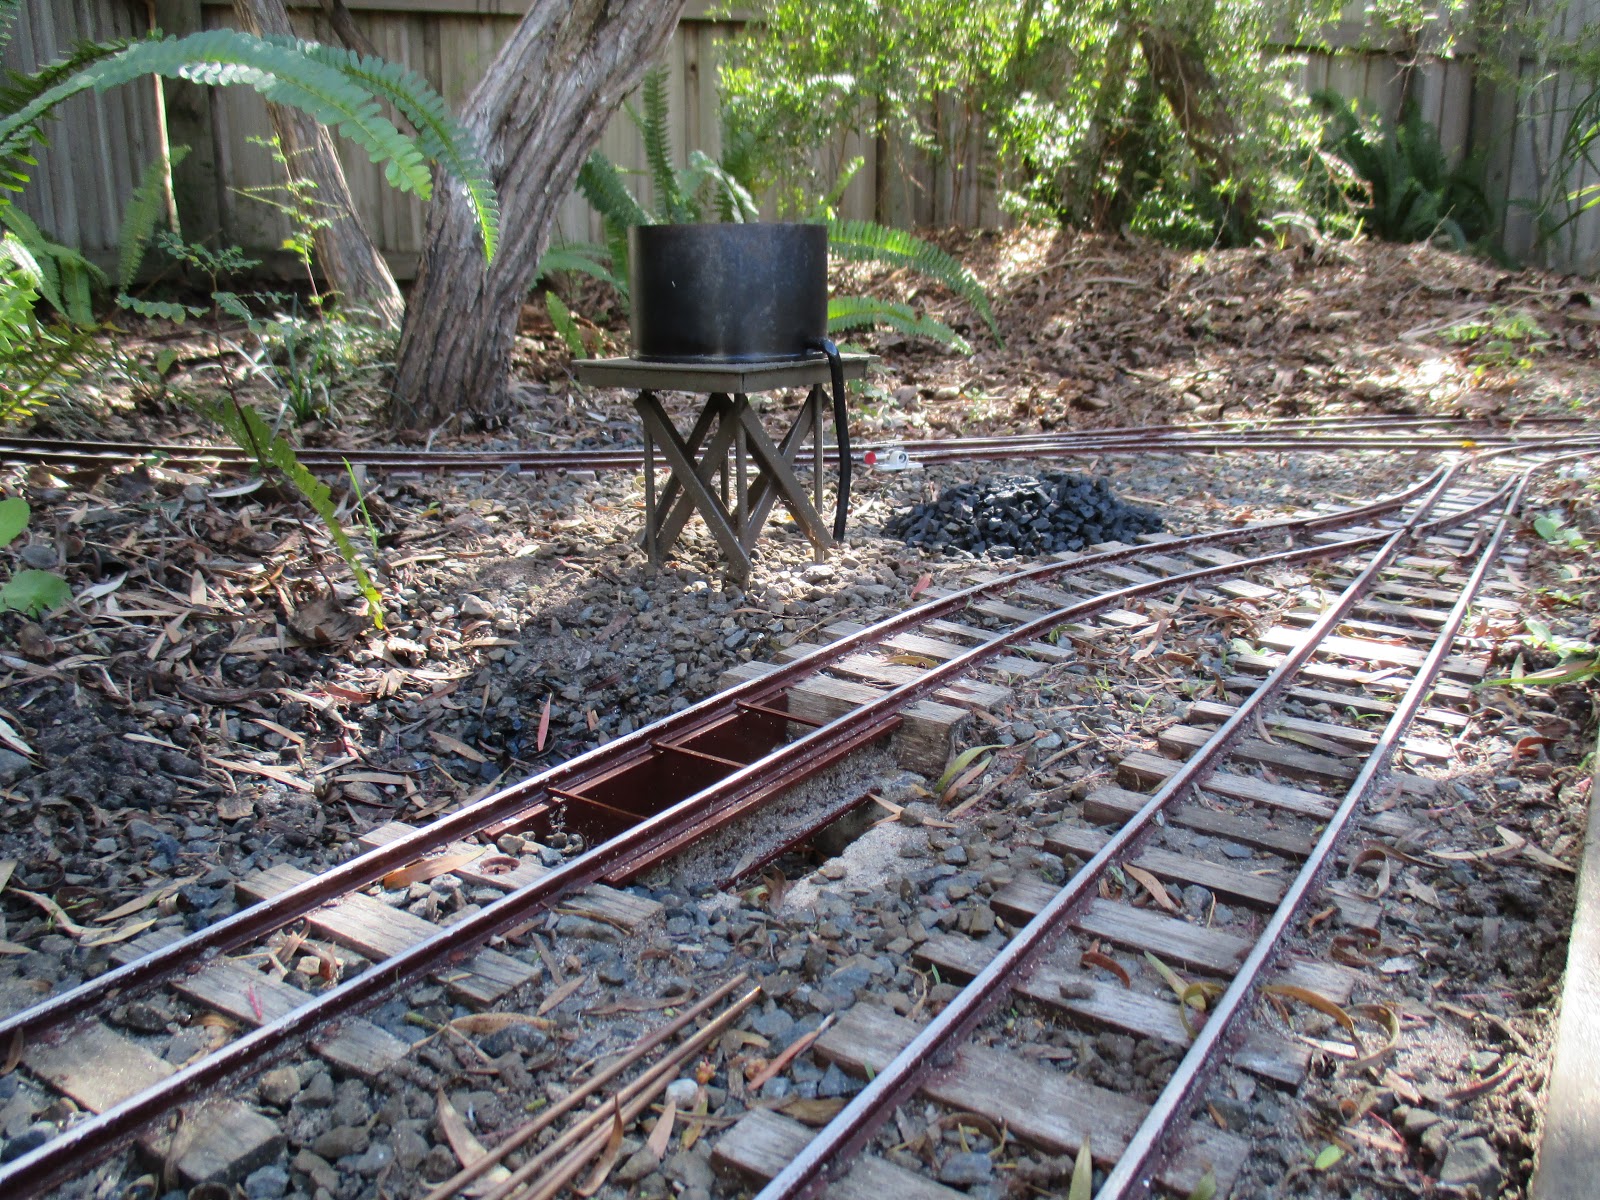
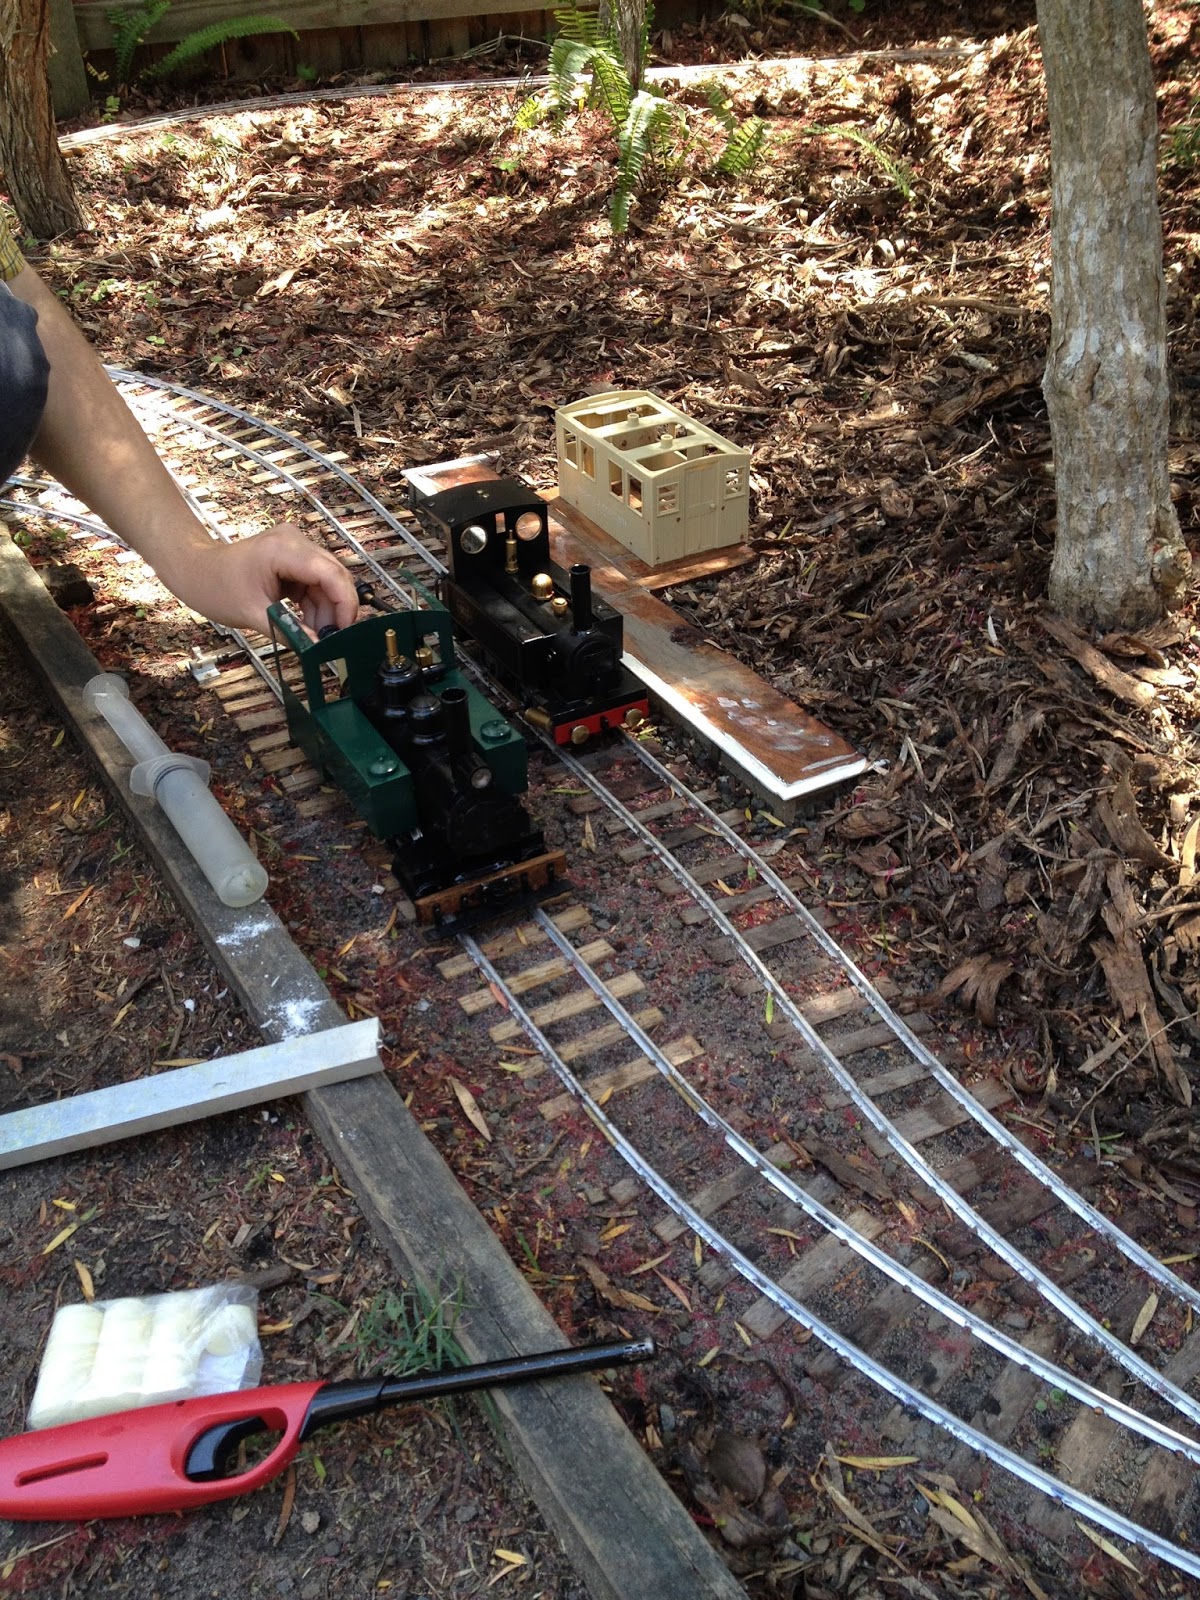
The second set of points is made, along with the moving stubs for both. The track has been ballasted with a mix of gravel, sand and dirt to encourage moss growth. A Lego mock-up of a Malcolm Moore loco (a future project at the time) is being used to test the track. Seems okay so far..
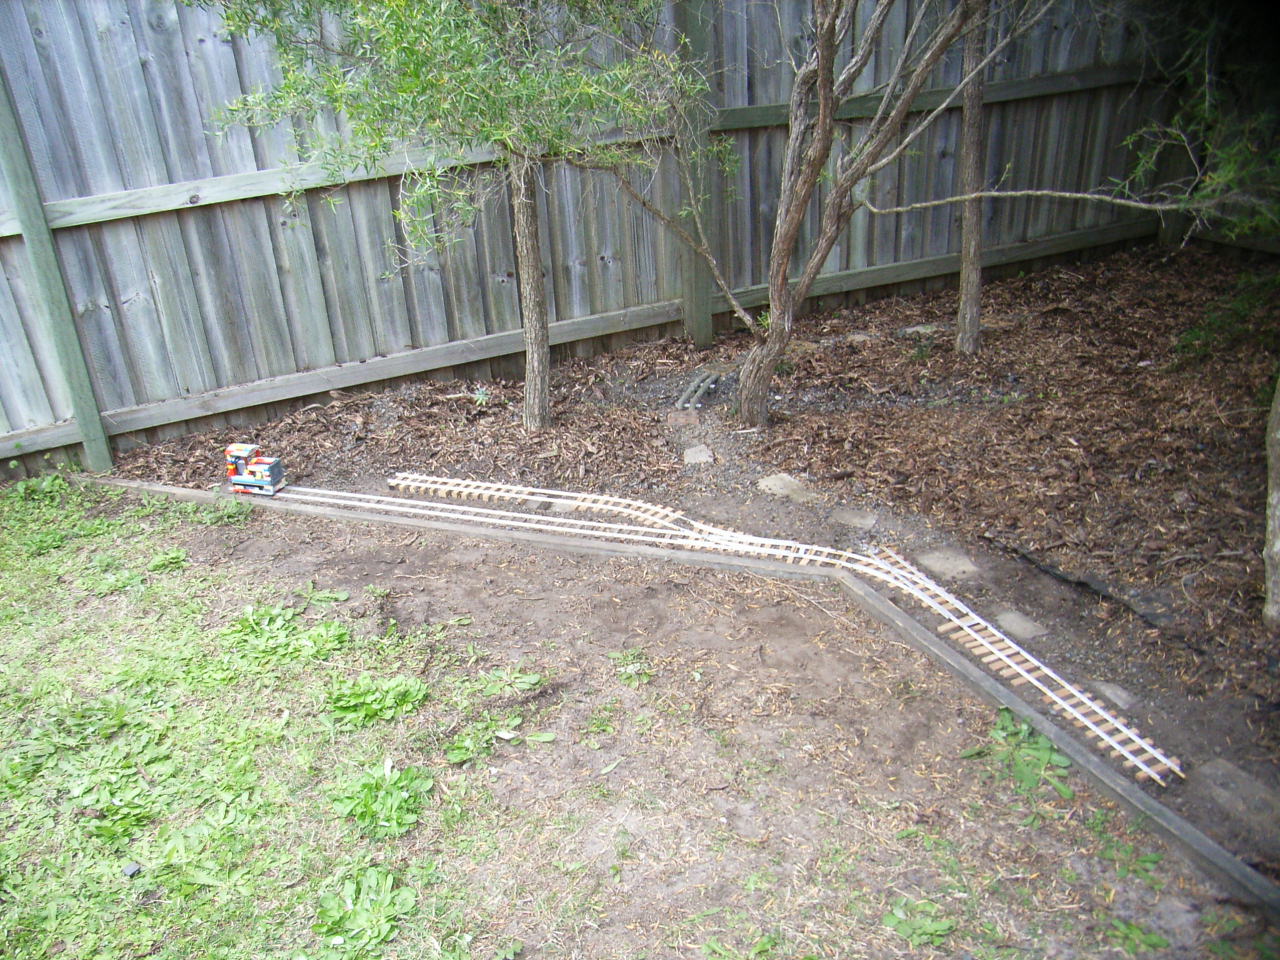
One reason the stubs didn't work was that the tiebars were all superglued to the rails. It really needs to be a mechanical joint rather than a glued one. Quite frankly, this is dodgy and half-arsed as all hell. It wasn't until 2017 that I got around to remaking this trash with threaded rods holding the rails at the right gauge. Dirt, leaves etc. do still get under the rails and further upset the rails' alignment. Stub Points: Never Again.

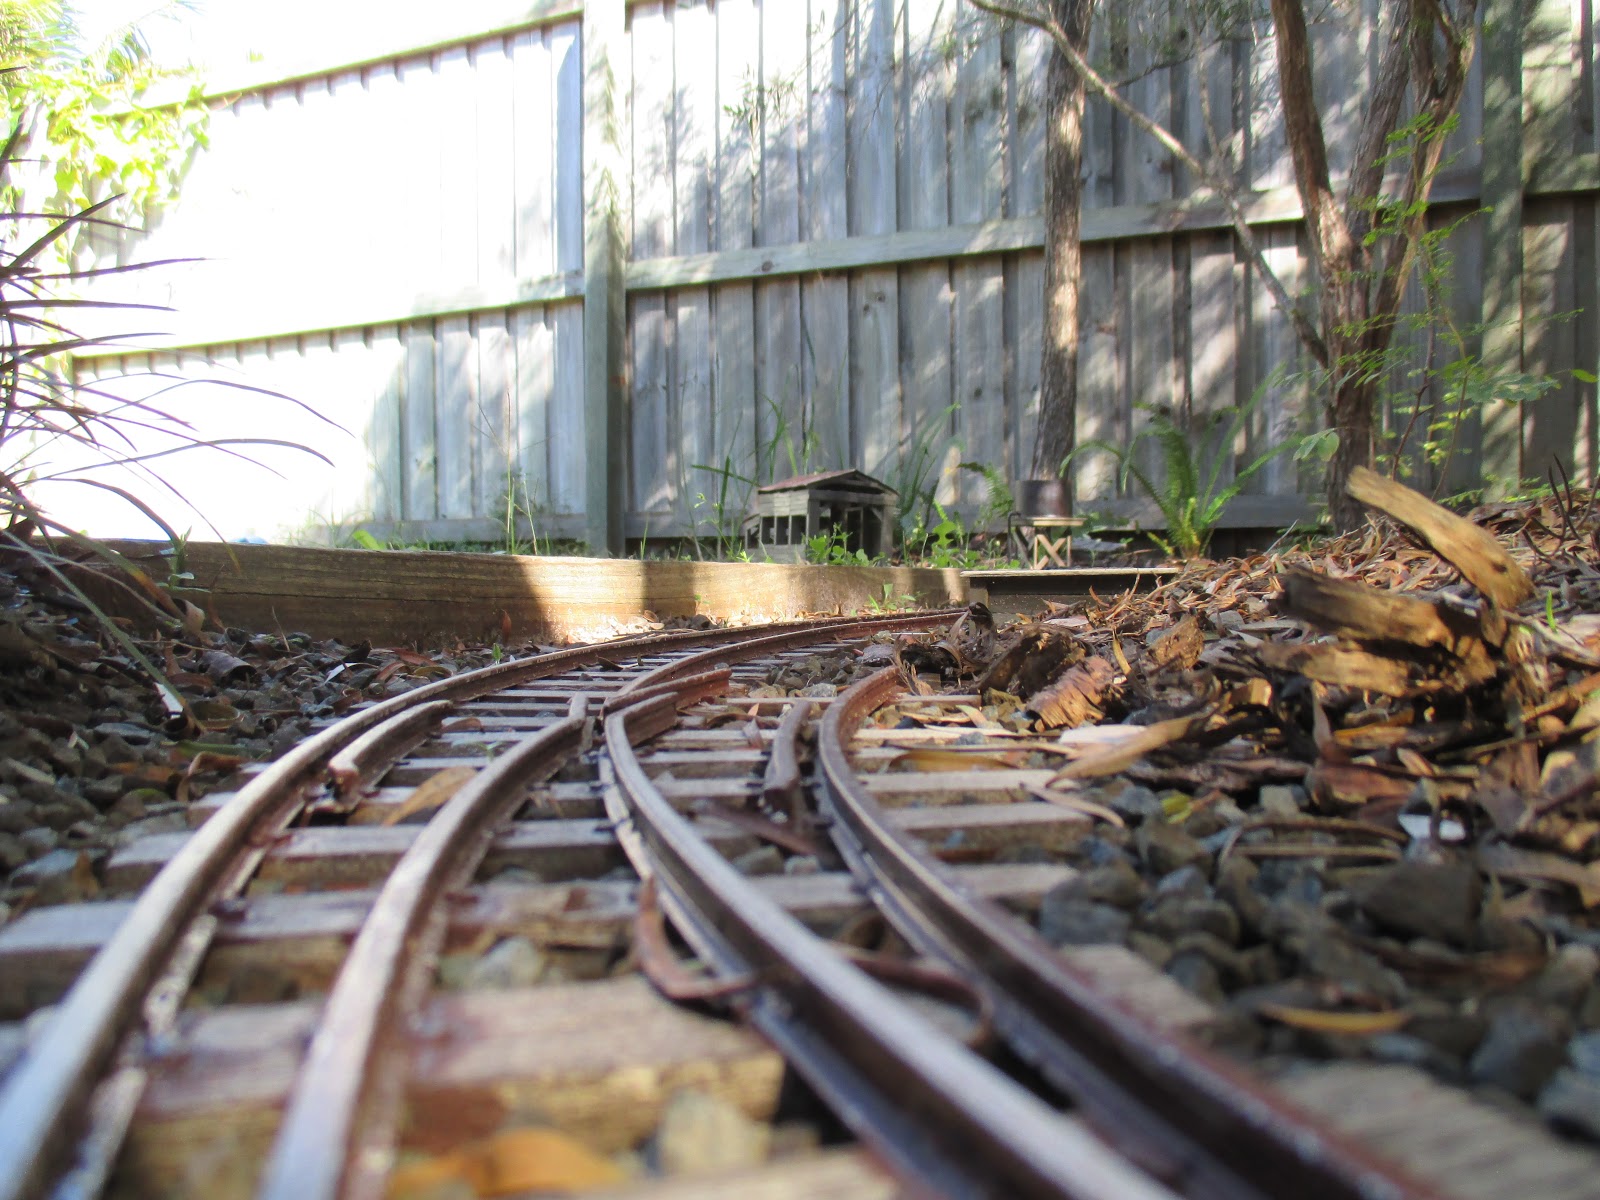
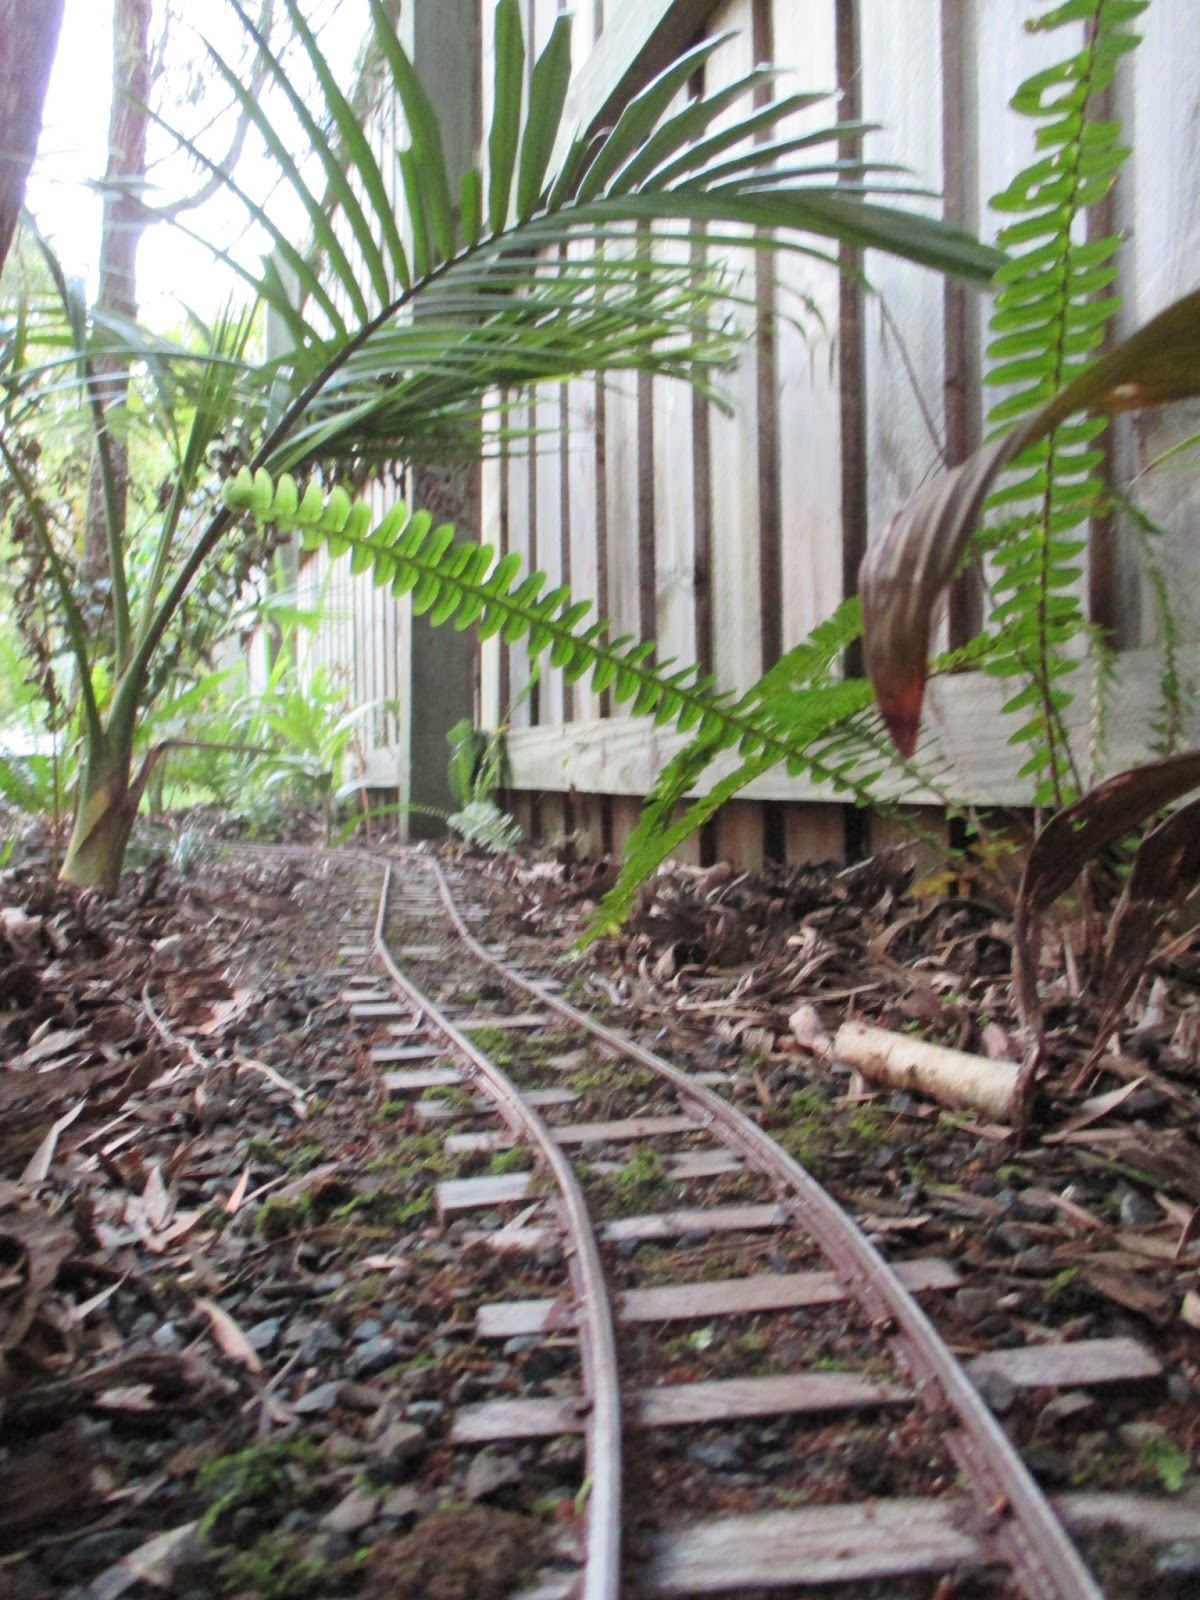
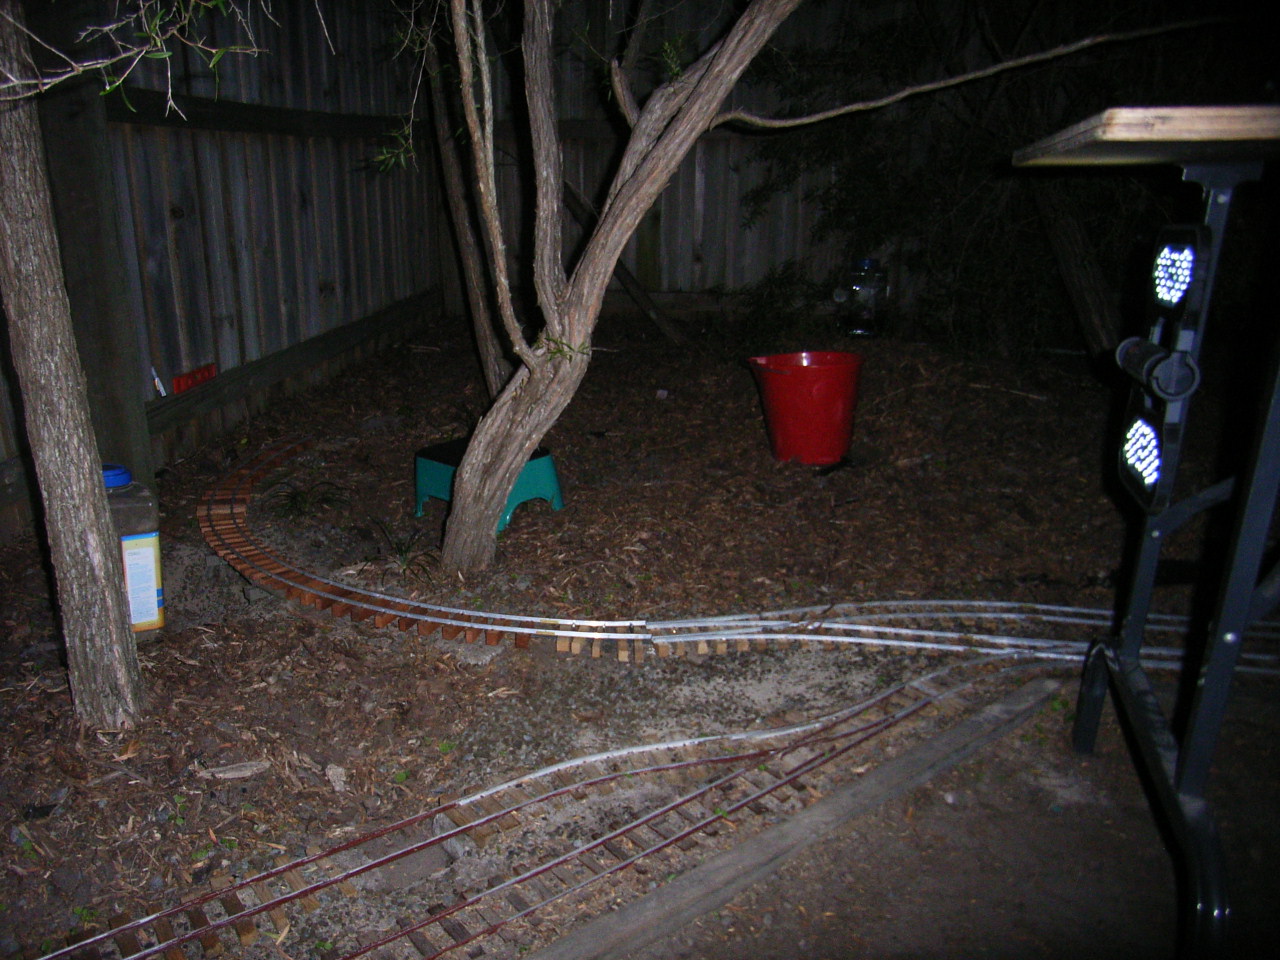
Sometimes track-laying continued into the night. Some of the rails have been brush-painted with Gloss Indian Red which over a few months, dulls down to a nice rusty brown. This was a b*st*rd to do once the track was fixed down. That said, I couldn't do it before laying the track, as ballasting would've scraped it all off, especially being aluminium rail.
6/10/14. The last spike is finally being driven. I briefly considered painting it gold, but then realised I wanted this tracklaying over with, and in my book, a gold spike is a bit of a cliche at this point.
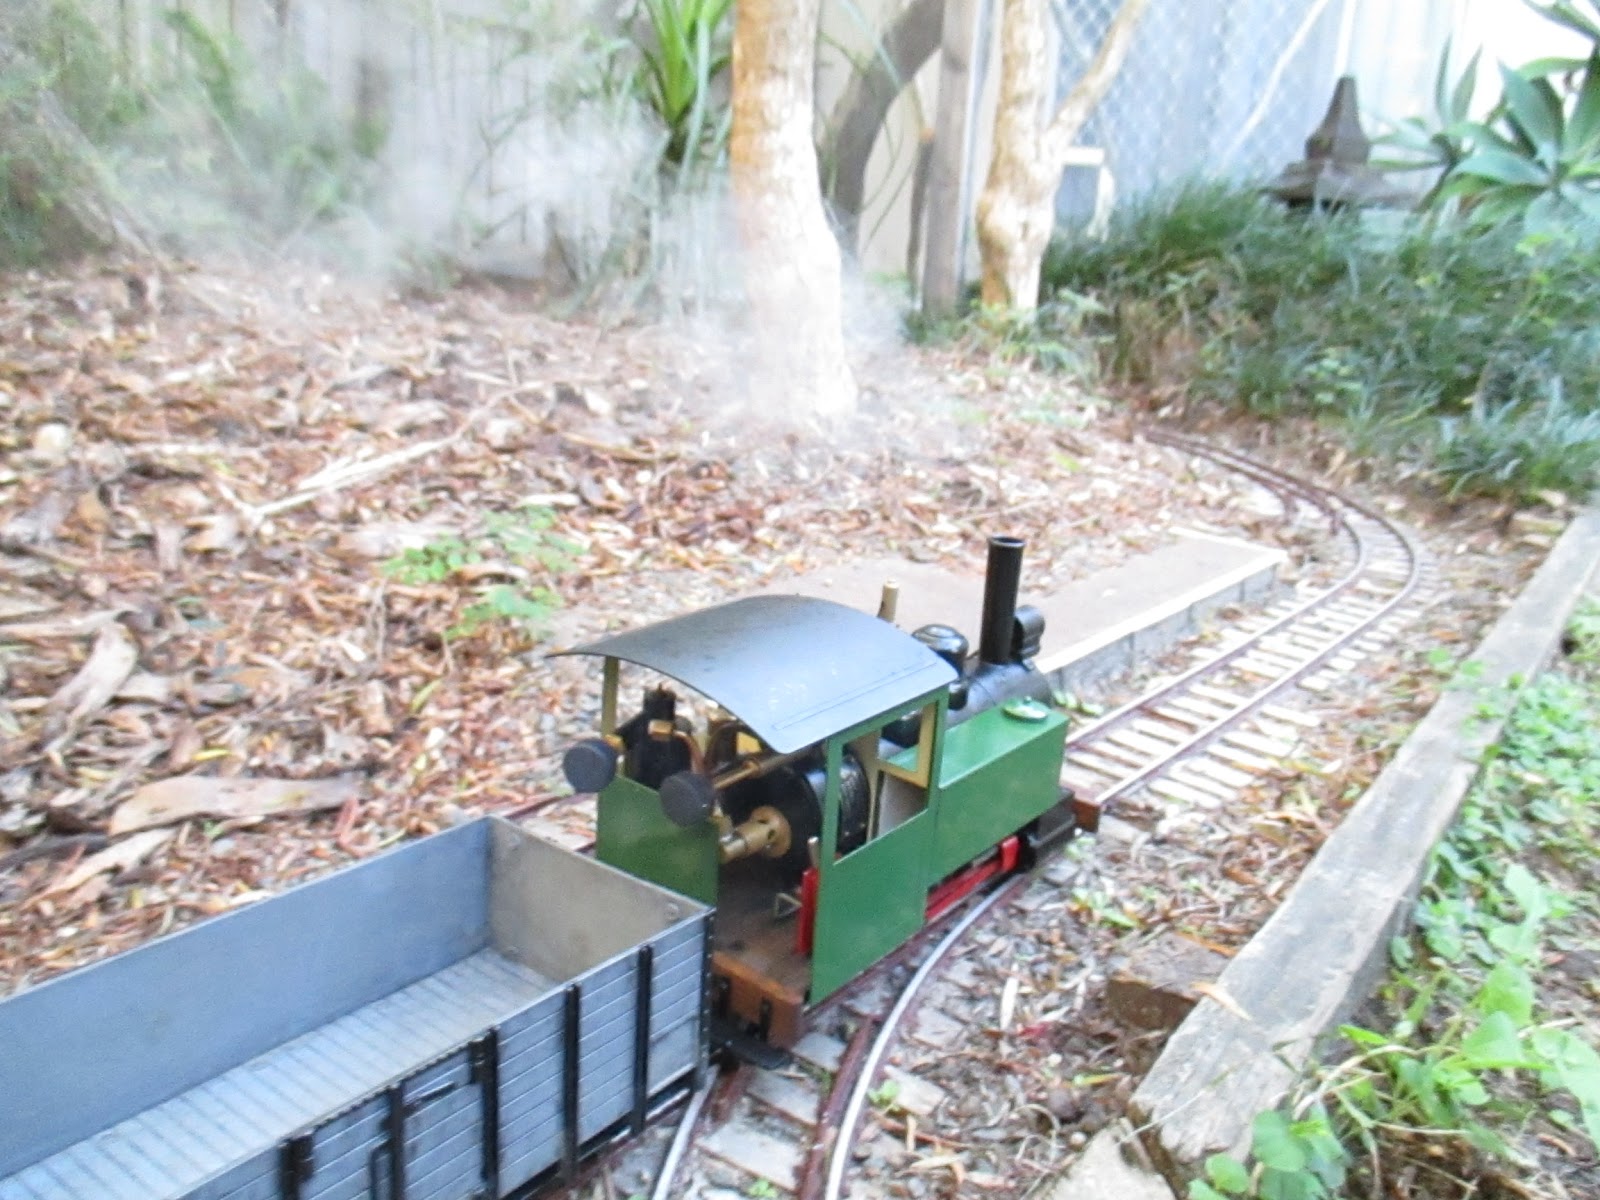
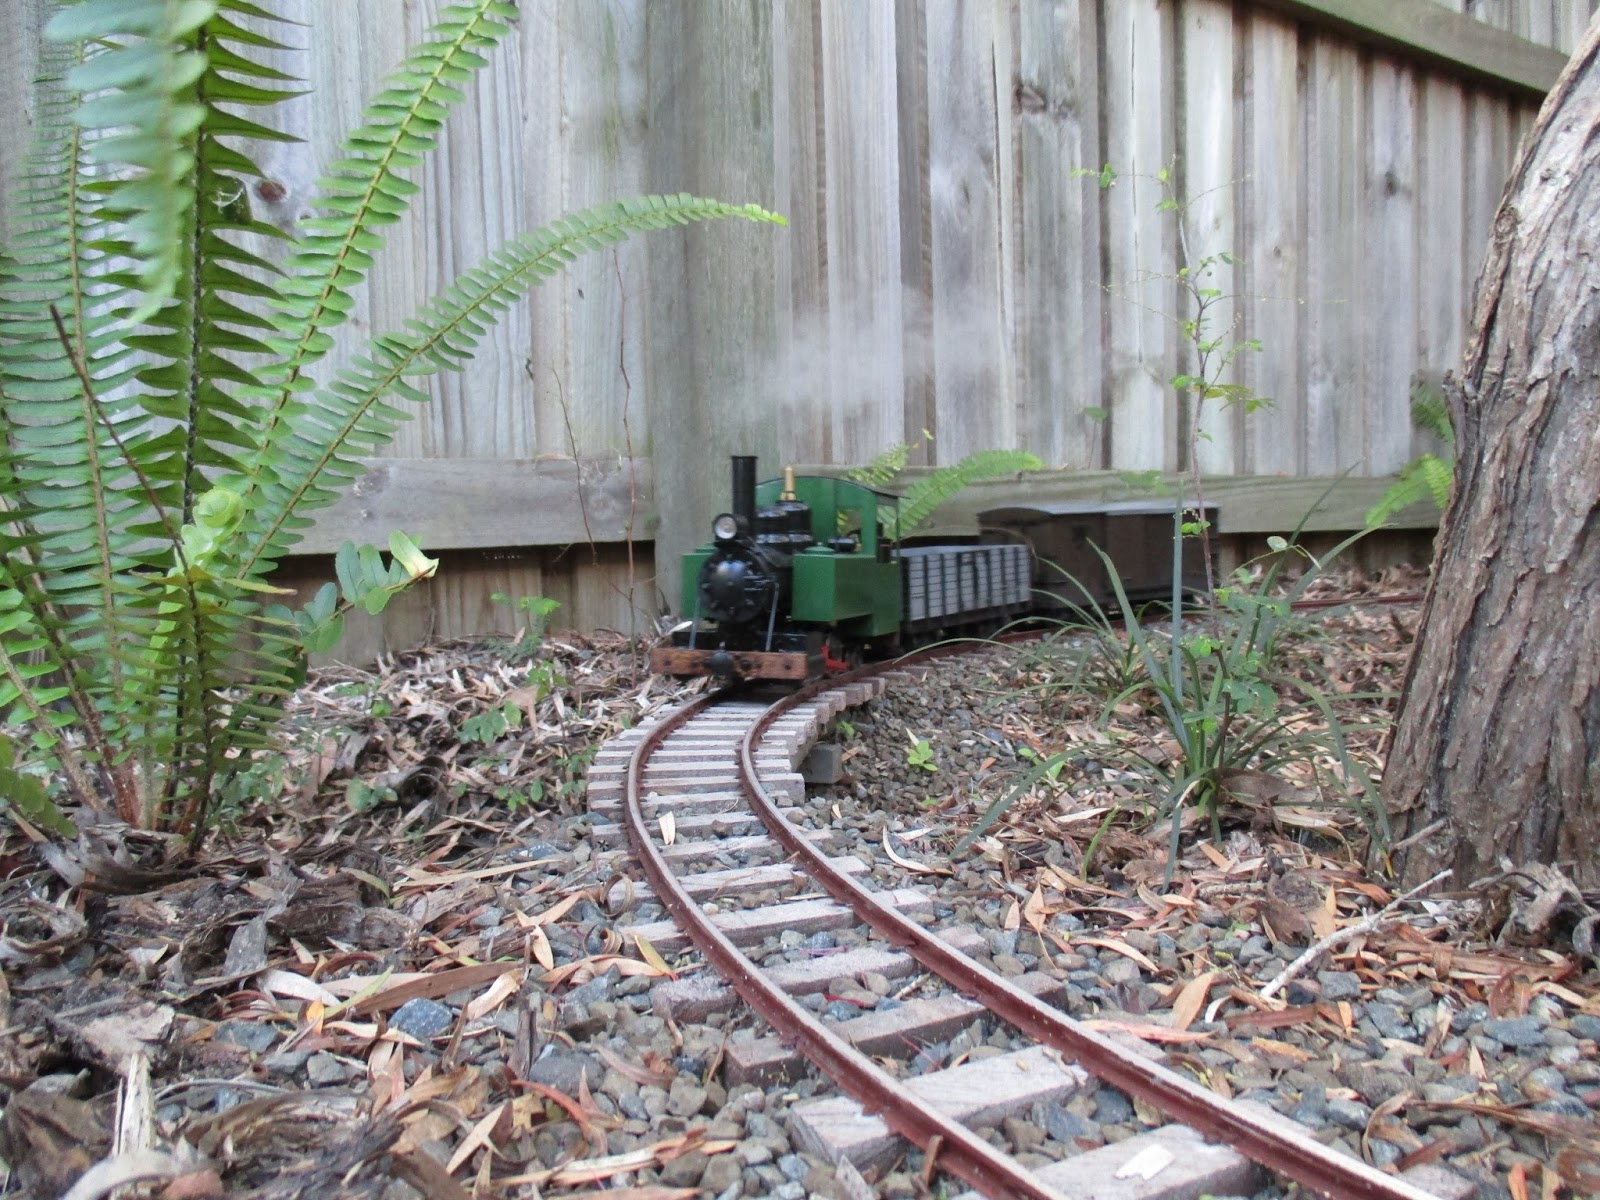
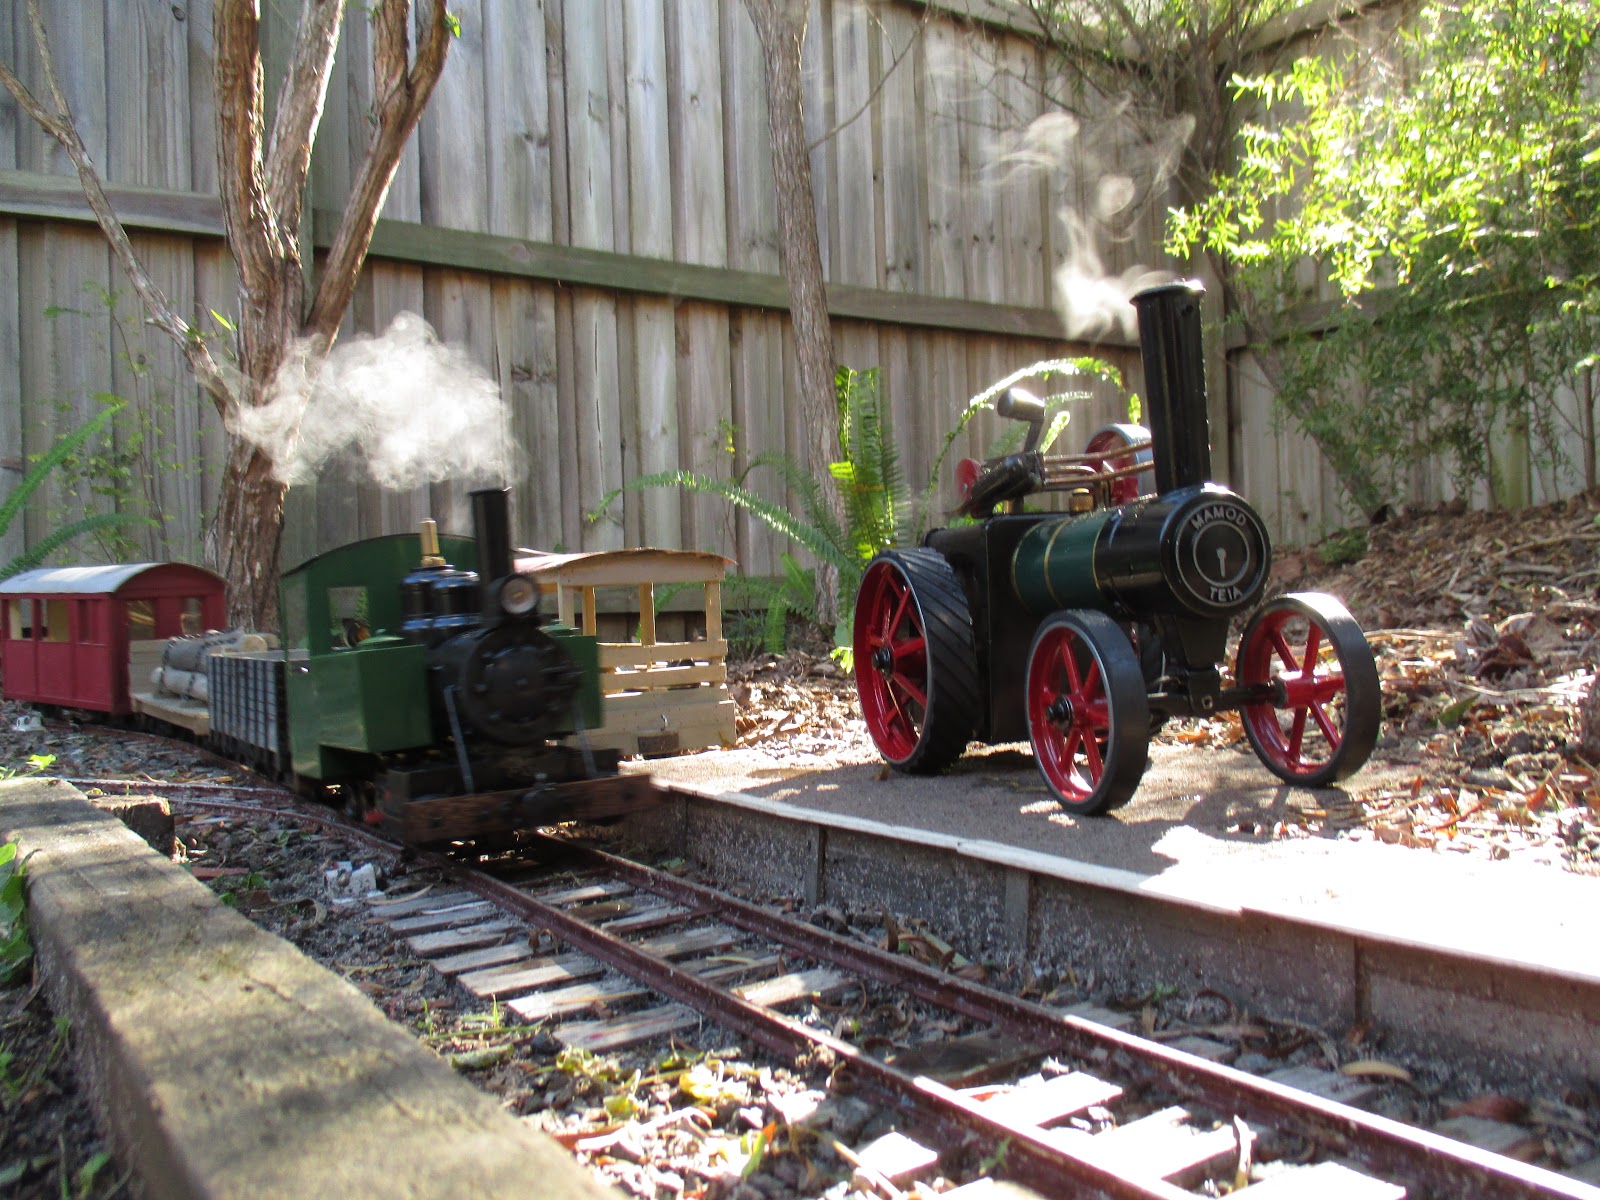
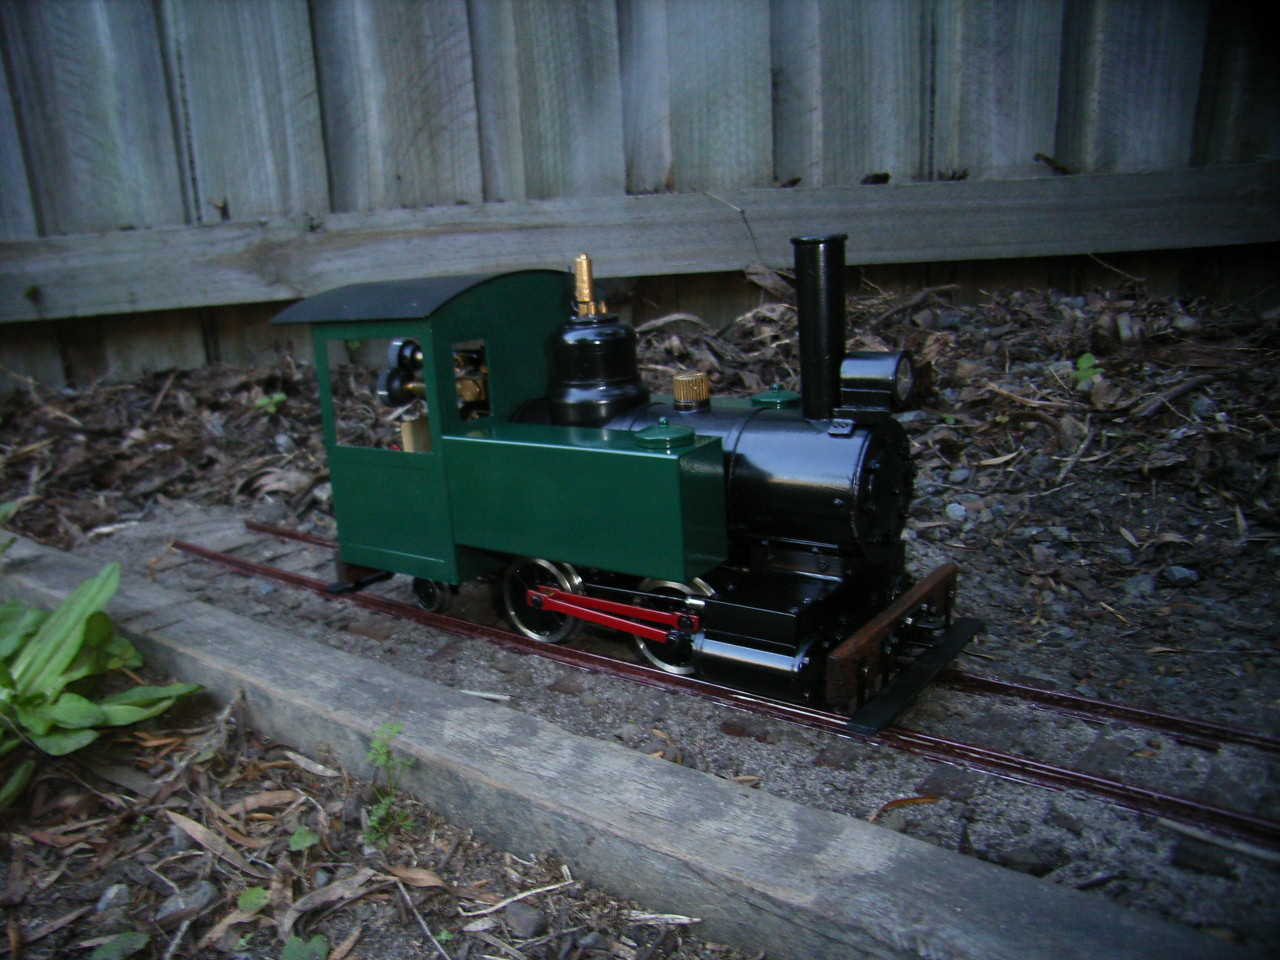
Baron testing the track. Most of the track was ok, but all the points were nightmares, as were the steep grades I didn't realise I'd made - as was an ill-conceived reverse-curve into a set of points near the front of the layout.
I was anxious to have some friends over to play trains on the new tramway, before Spring ends. Gets to +40°C pretty quickly where I lived back then. Doesn't help that that we were than a mile from the beach, so it's always humid.
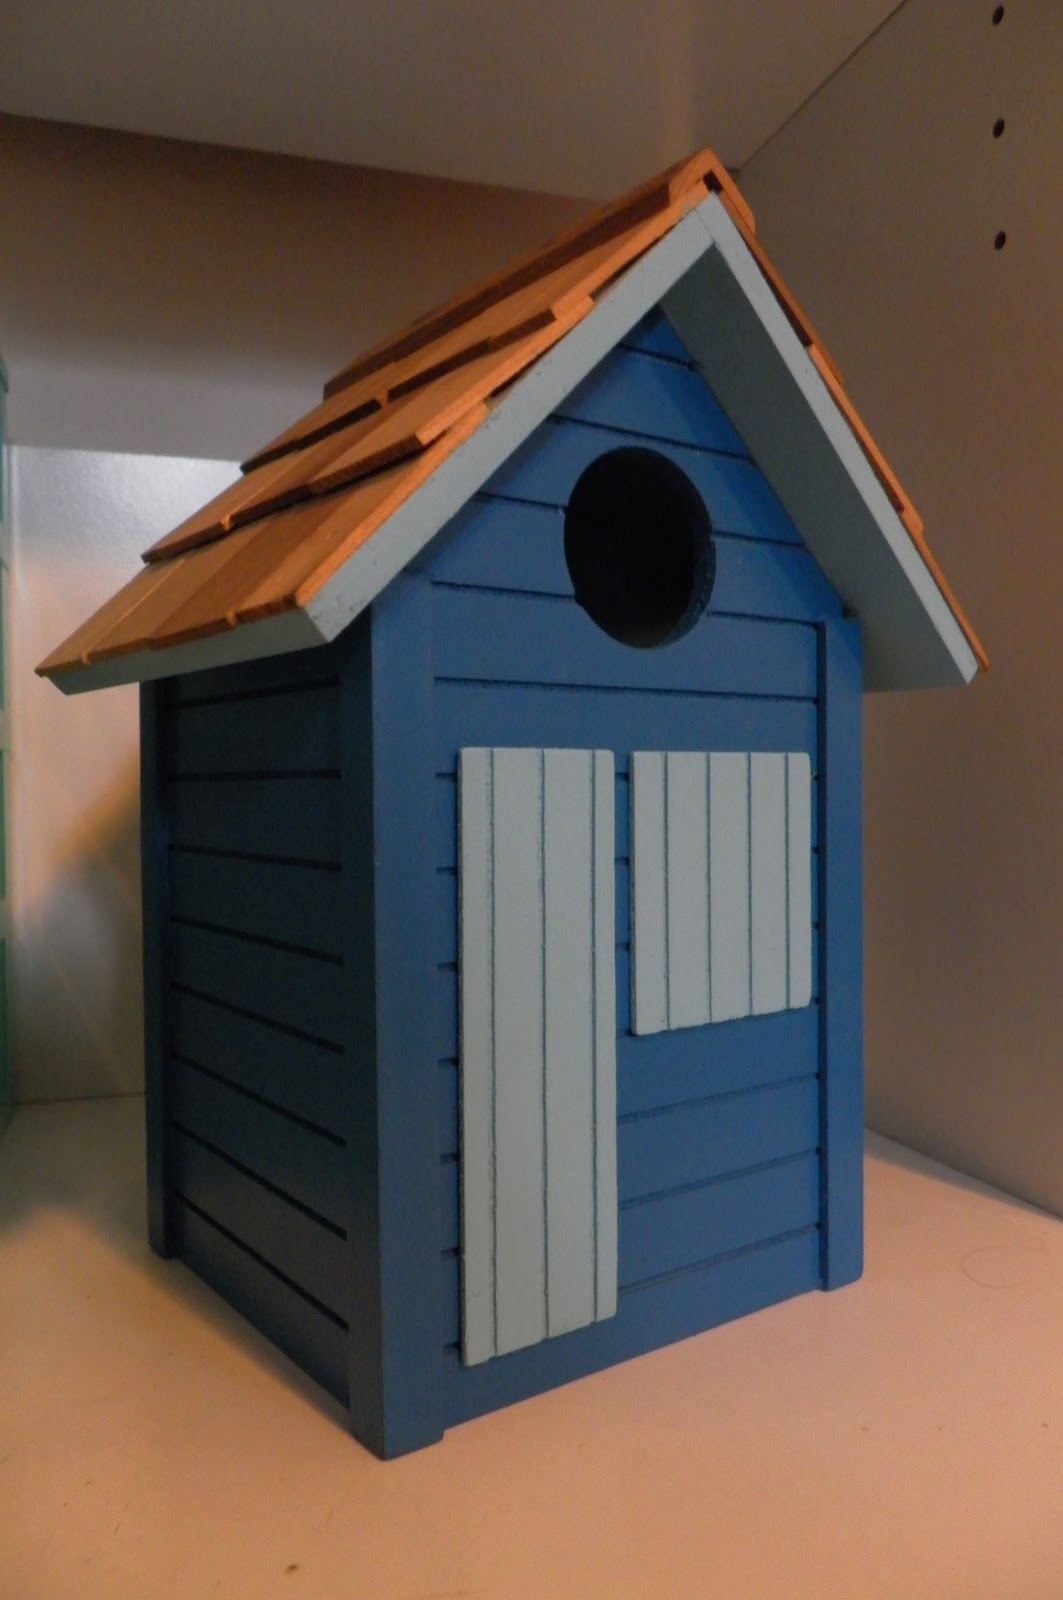
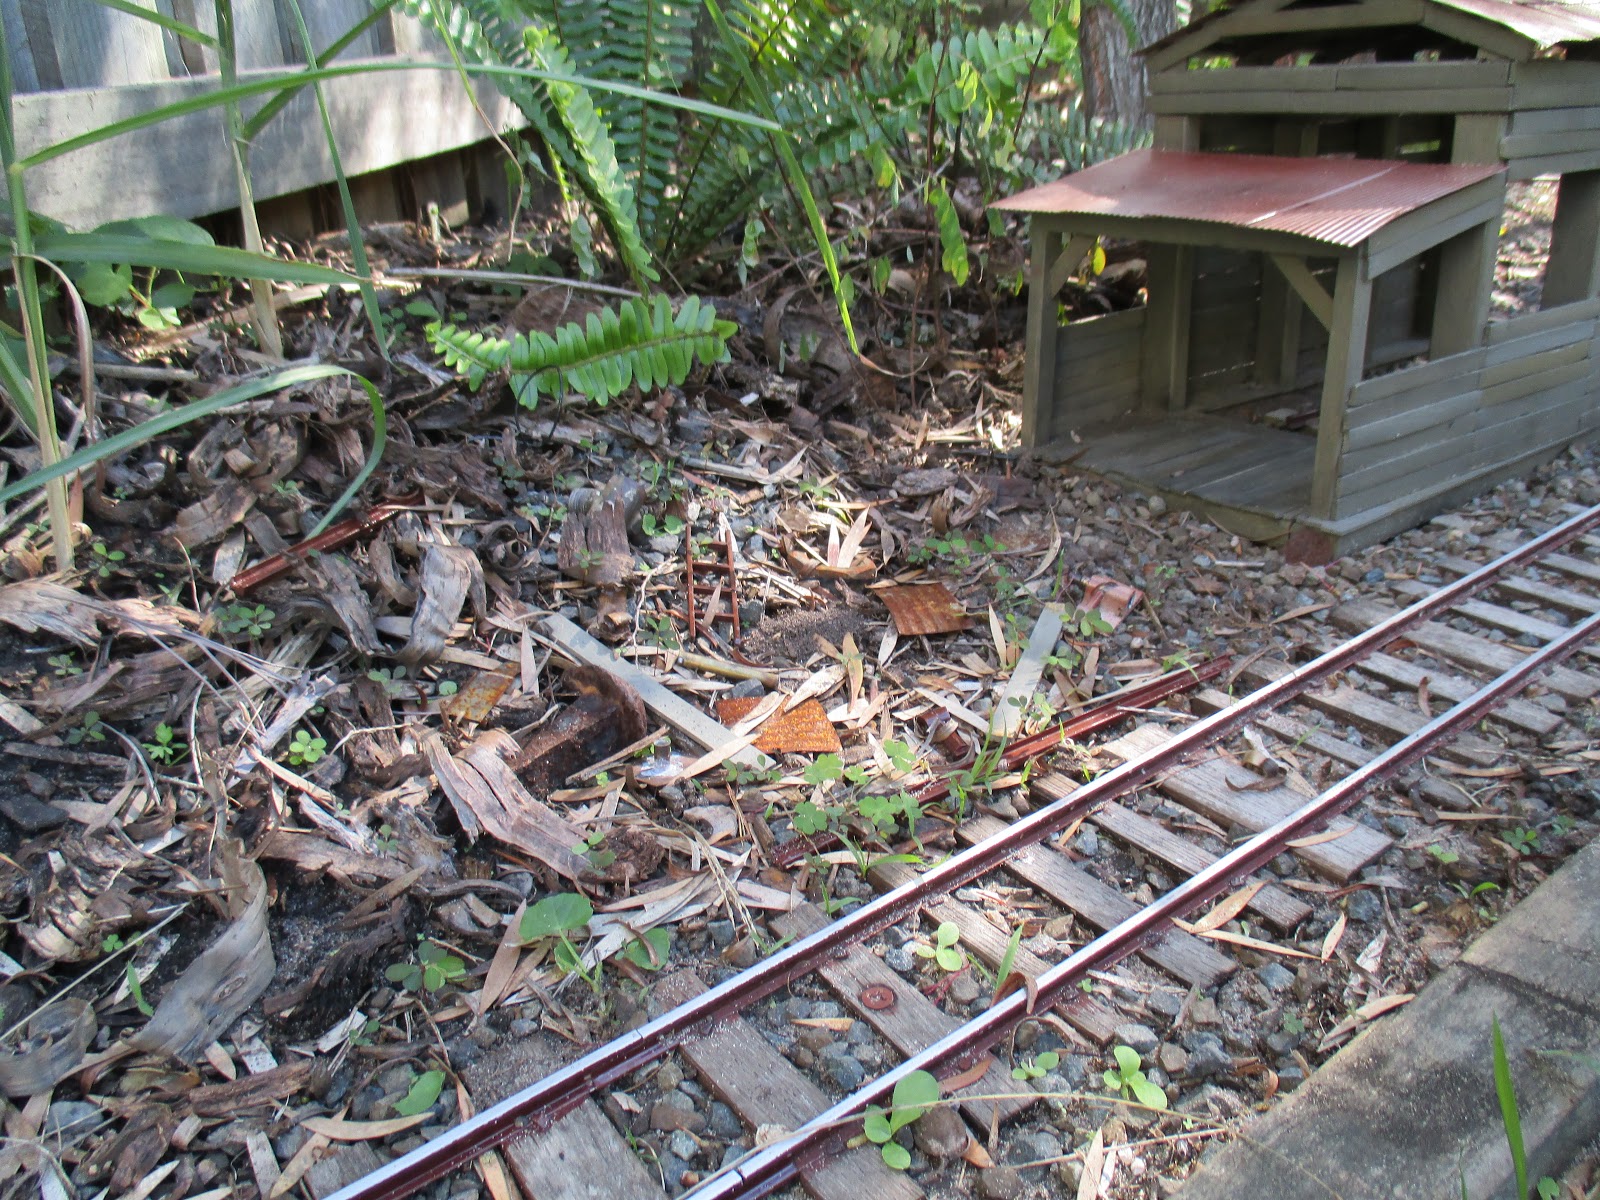
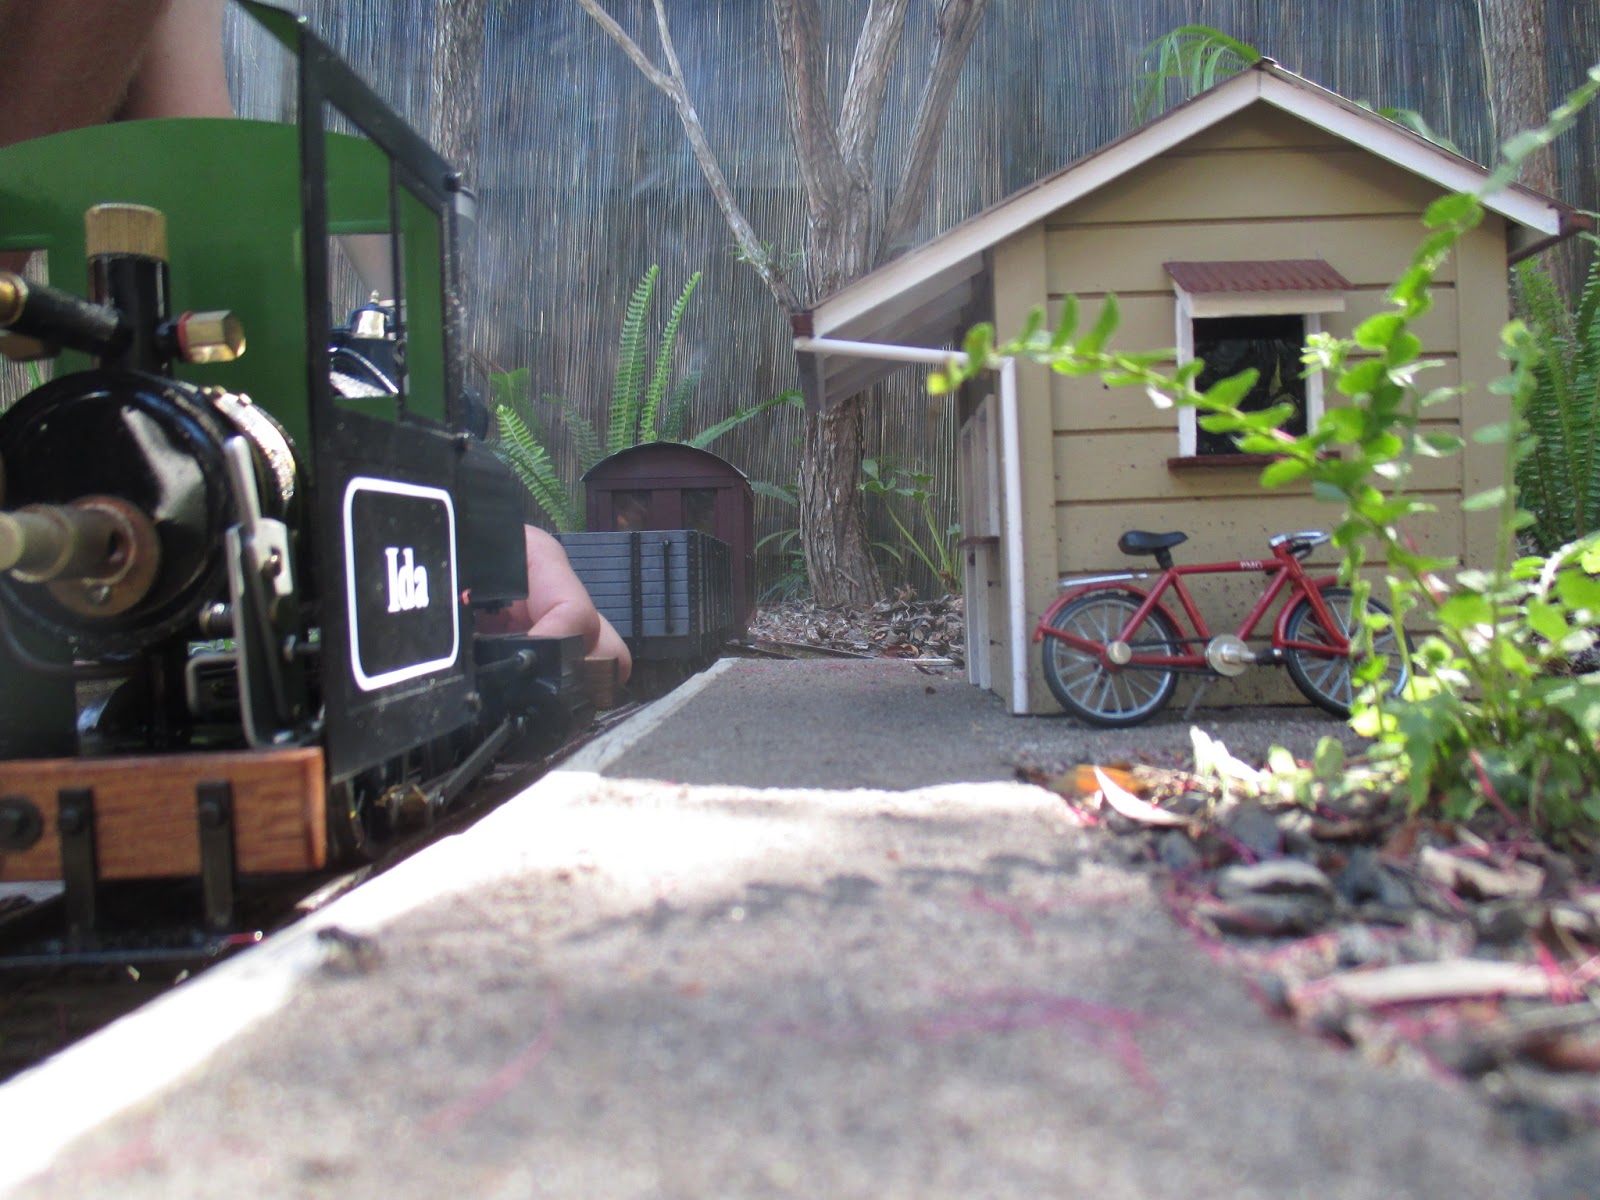
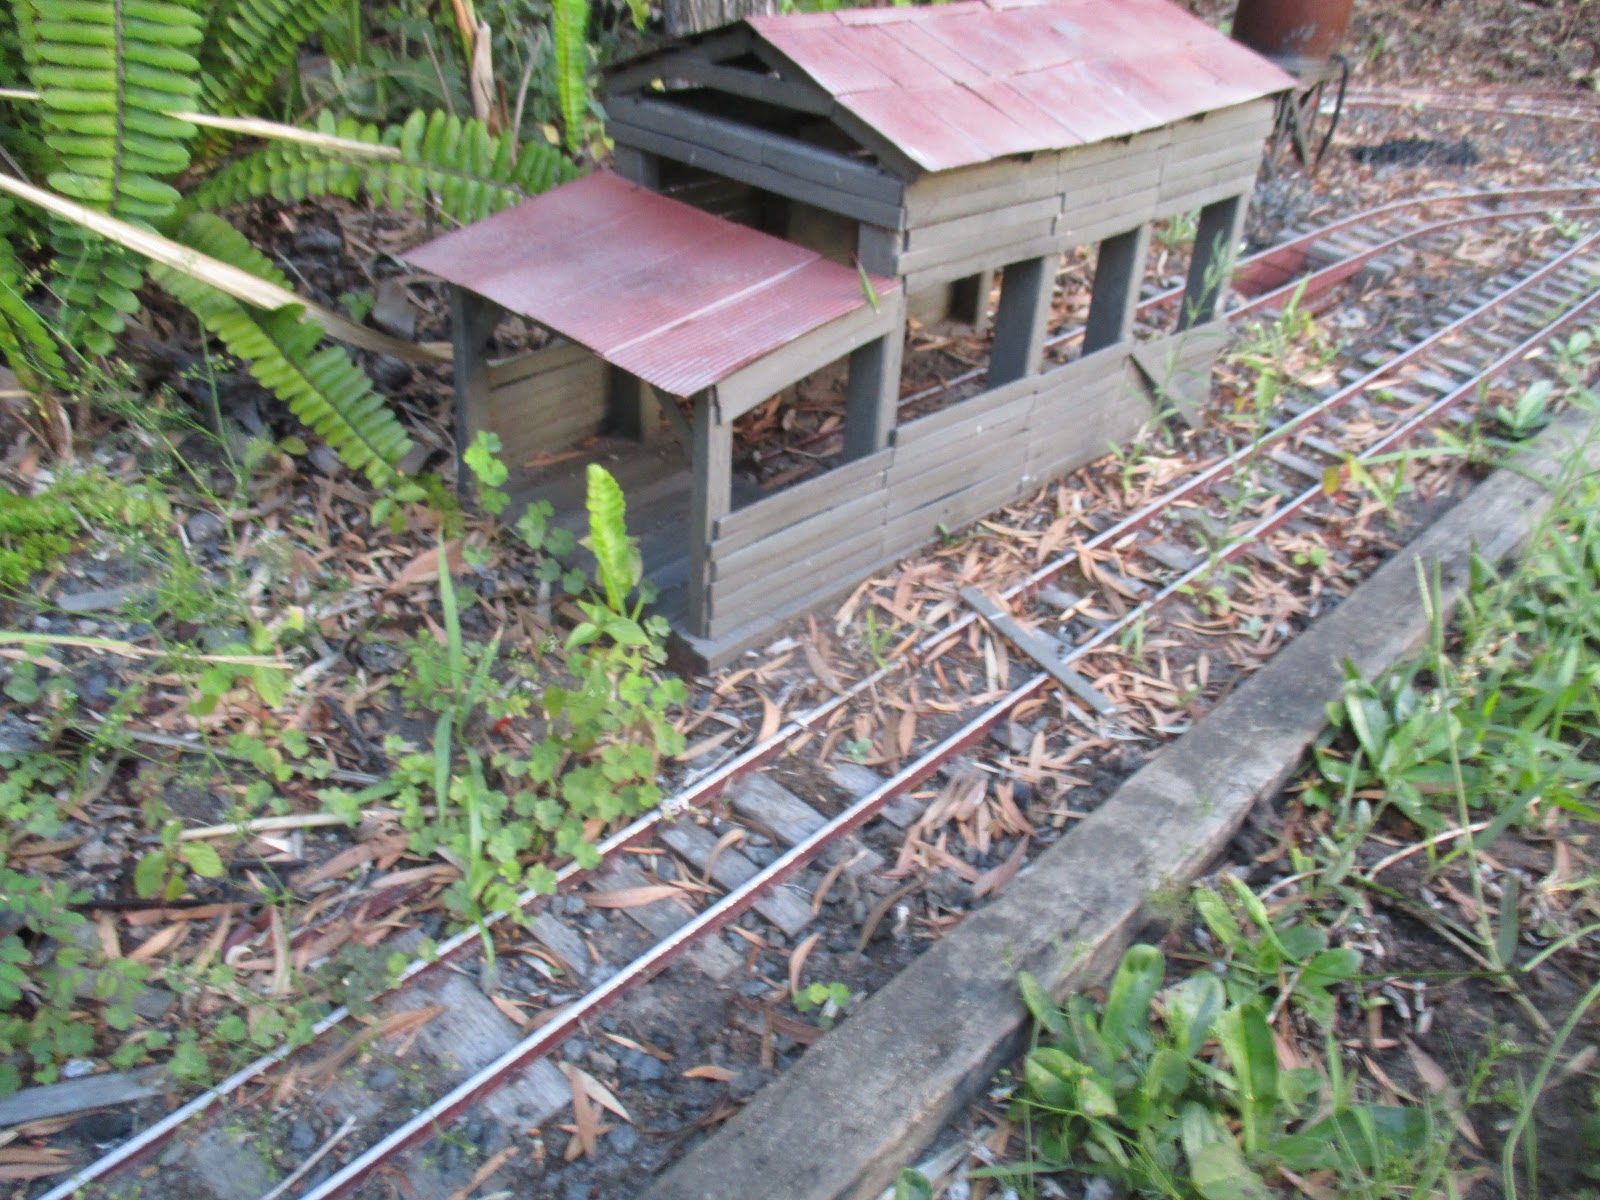
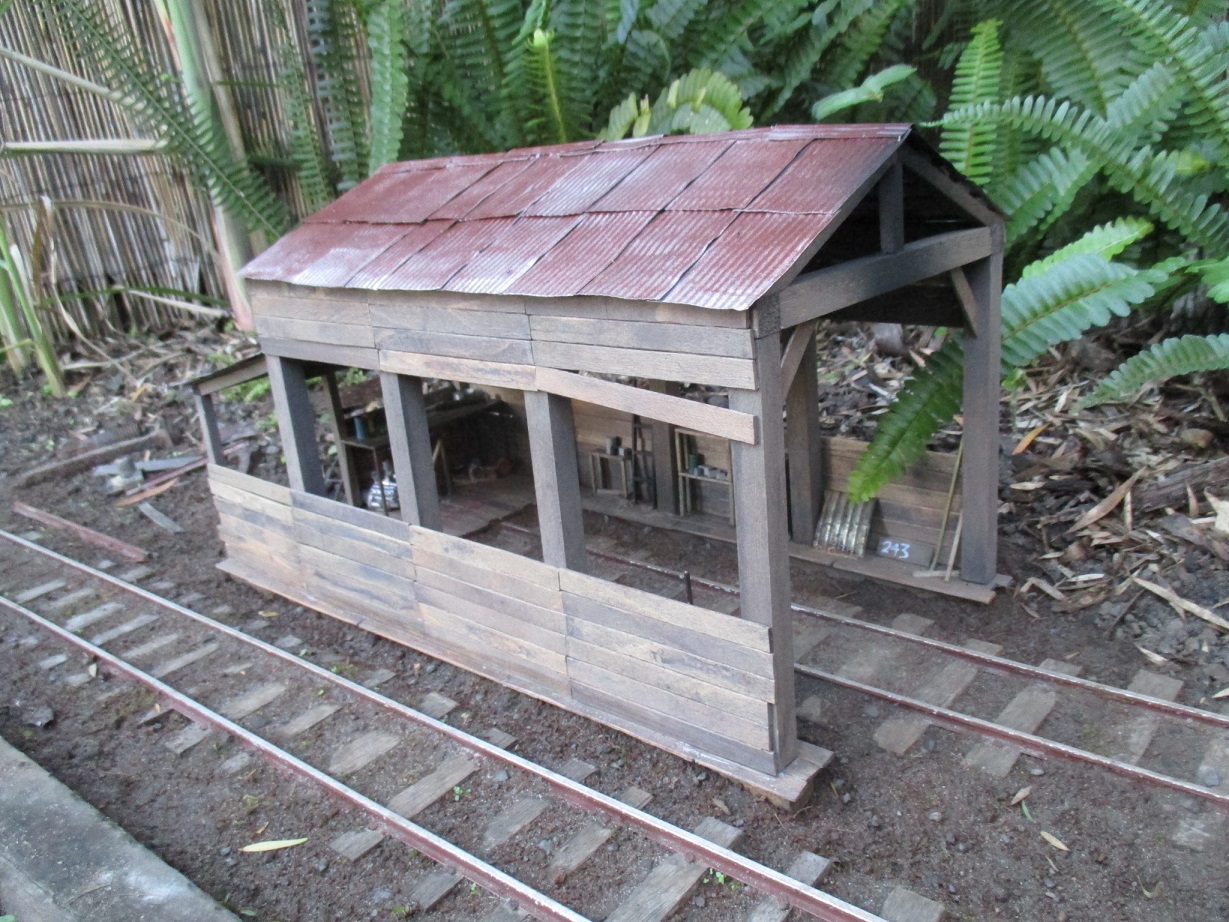
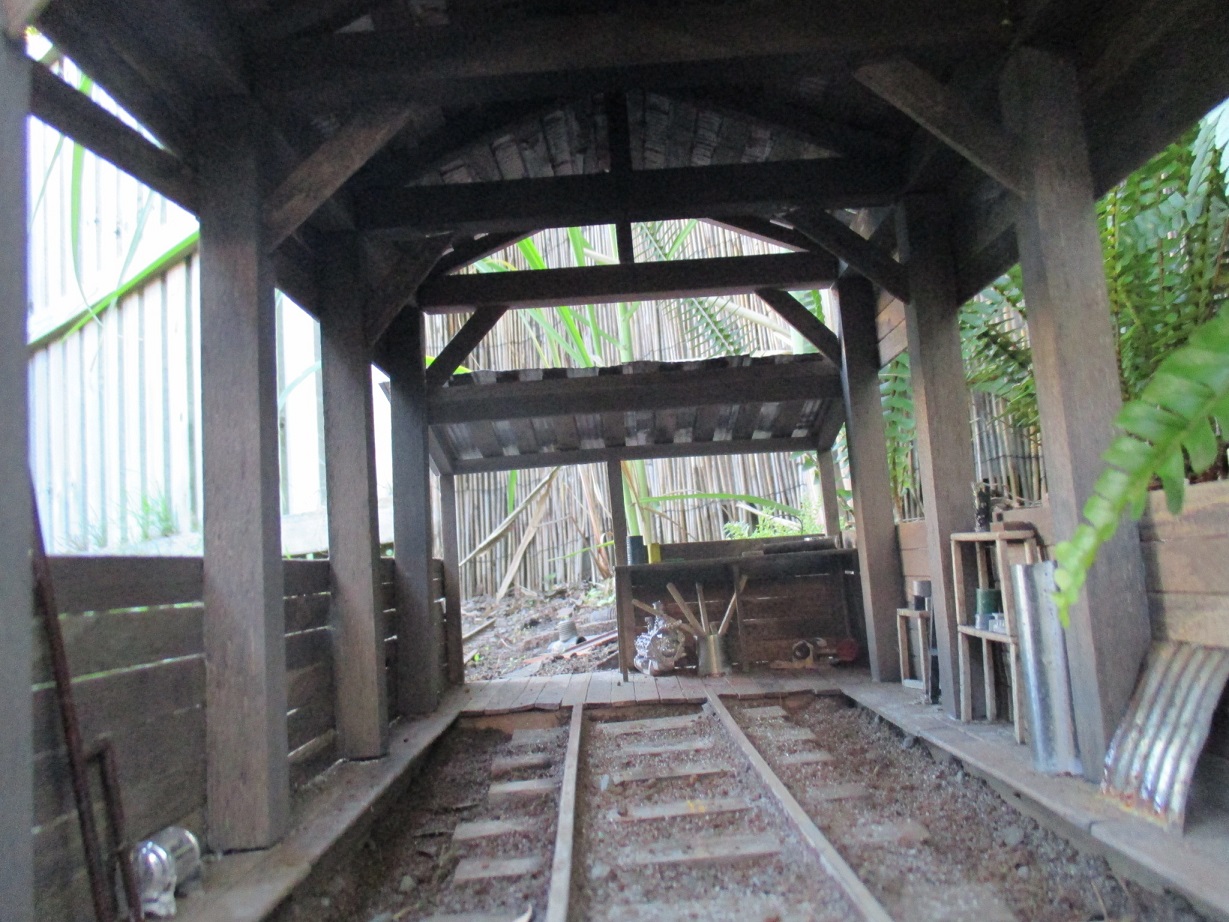
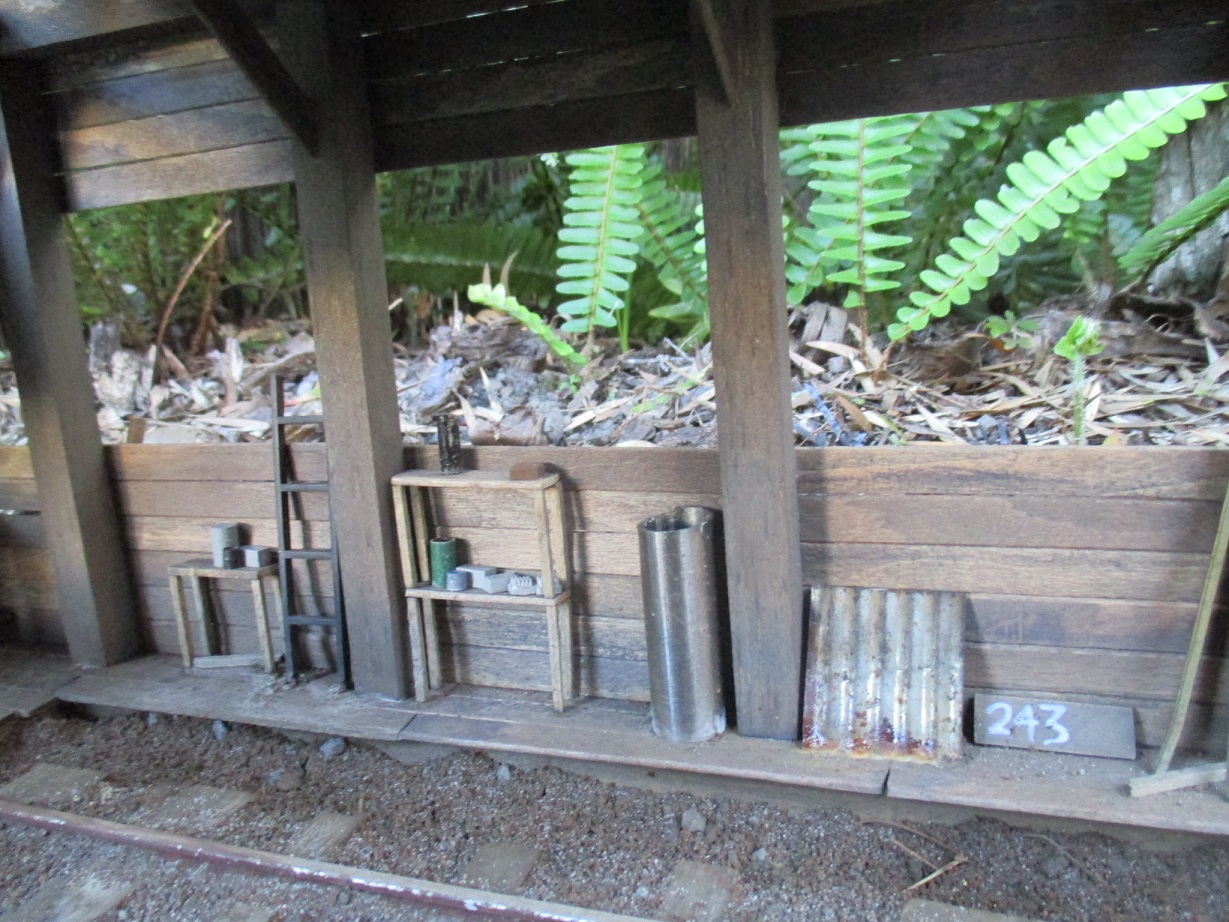
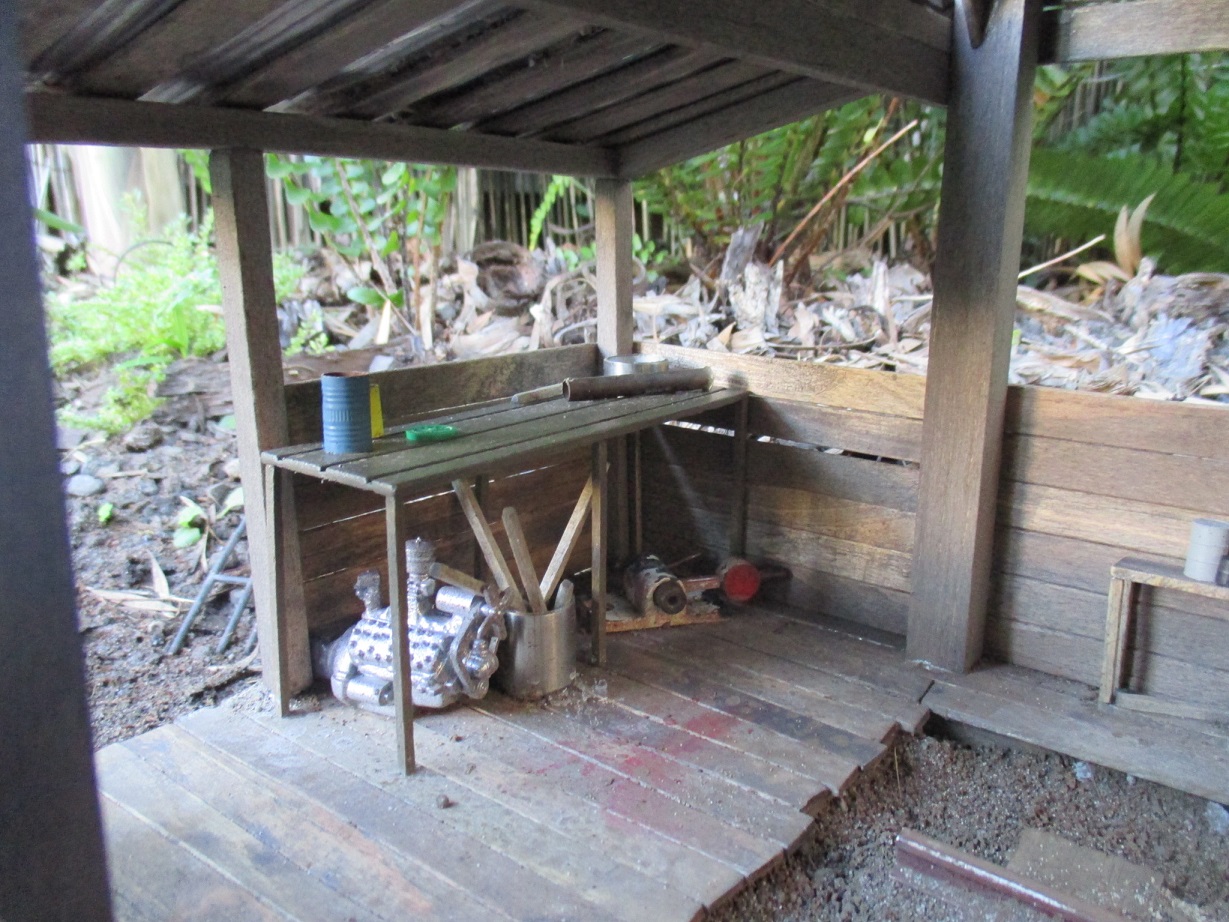
So I set a date to invite some friends and members of the ride-on club over, for the 18th of October 2014. This was a dumb move, as it didn't give me enough time to properly troubleshoot the track and make sure everything actually worked. Some buildings were knocked up from mostly popsicle sticks, scrap wood & spaghetti tins.
The day turned out a farce. Everything derailed in both directions over all the points and the reverse-curve, the inside curve of the passing loop was too tight, the clearances in the rock cutting up the back were too tight for most stock, and to top it off, Baron's burner was, well after all, an Accu-crap burner.. Looking back, it was all so bad that it's really just hilarious..
Yet more to come..
I received one a year later, for my 18th birthday. As I'd spent the preceding year researching Rubies, I knew the loco inside and out by the time I had one.
In under a month, I had the loco stripped, repainted, and some minor mods made to turn it into a sugarcane loco. The loco was named "Baron", after a villain in a Playstation game I enjoyed. As is evident, I'm pretty awful at coming up with names - but I think somehow it fits this loco.. By then, Anthony had assembled (most of)a RH Fowler kit. Neither of us had any track at the time, but we got lucky with the dual-gauge ride-on track at the club. Obviously, we couldn't run over the points, and the gauge on the curves varied too much for these much smaller models, but we had fun running back and forth along the straights.
I'd built a pair of wagons from balsa and popsicle sticks in anticipation of the Rubies' delivery. They were loosely based on Mapleton Tramway prototypes.
Link-and-pin couplings in 45mm - never again!
- R0031564.JPG (243.17 KiB) Viewed 69758 times
"No, Mum & Dad, I don't want to build a track at home, running at the club is good enough"
Yeah, right.
Eight months later... 17/07/2014
The Fat C*ntroller starts construction on the Anzac Creek Tramway. I've never liked the name - it was only a vaguely-Australian-sounding placeholder until I came up with a better name. But I'm useless for coming up with names, so "Anzac Creek" has unfortunately stuck, for both the line and my blog.
I had no income at the time, save for birthday and Xmas money, so it was always going to be a slow job. I found Mr. Bond of the DVLR's Youtube series on building a garden line to be very informative, (I ought to go back and re-read his line's thread soon) and used his method of building roadbed and track. It was cheap, easy, and could take the annual coastal deluges where I lived. Around that time, I started lurking here on the forum, employing the wealth of knowledge and ideas available.
The bricks were scavenged from abandoned lots, alleyways and construction/renovation leftovers around the neighborhood. There was also a large soccer field parking lot, of gravel. A dozen bucketfulls wouldn't go amiss, I thought - brought home one bucket at a time, on the back of my bicycle..
A few buckets of sand were similarly liberated from a nearby man-made lagoon behind the housing estate.
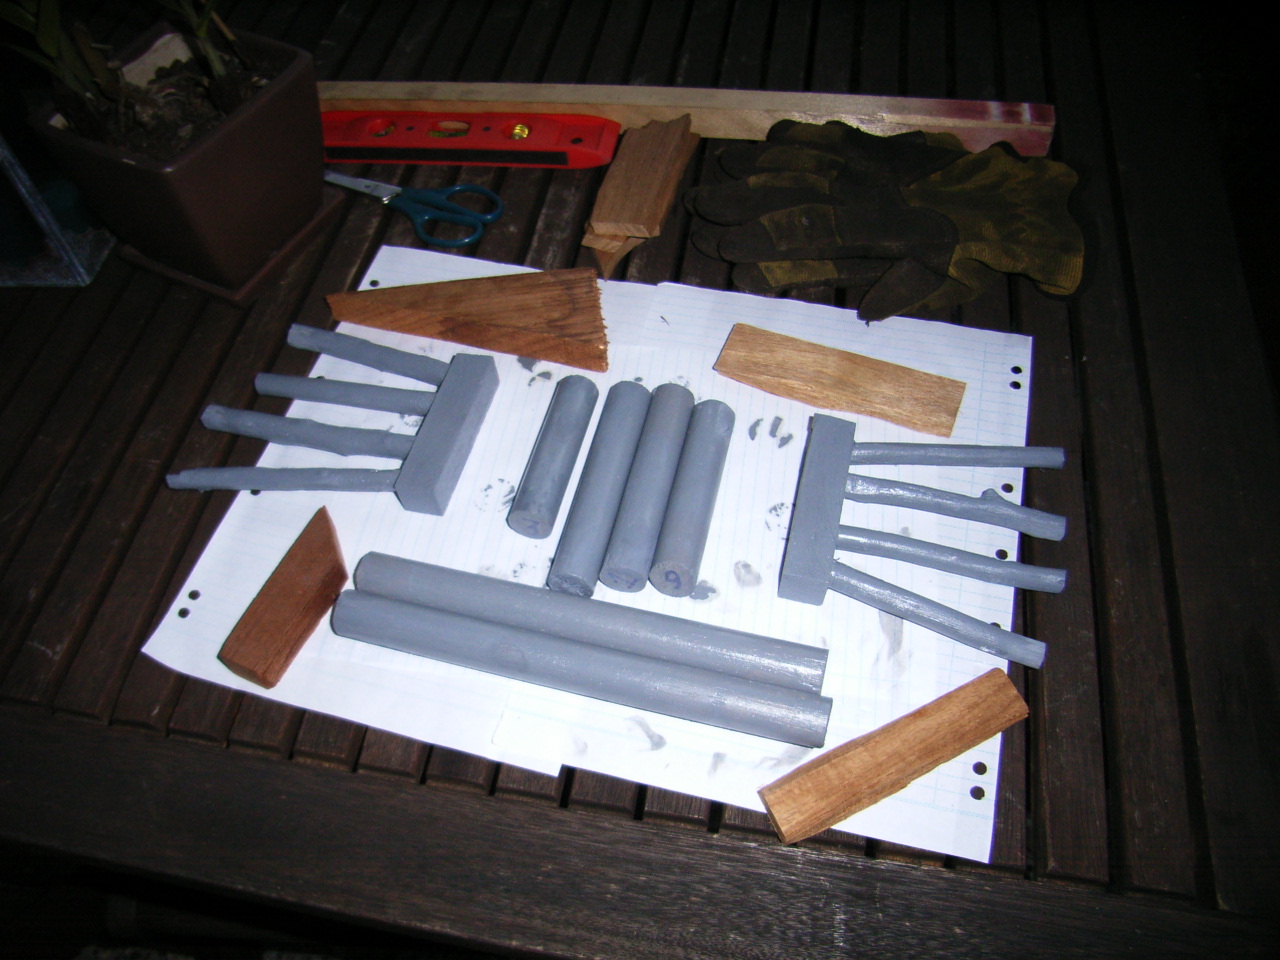
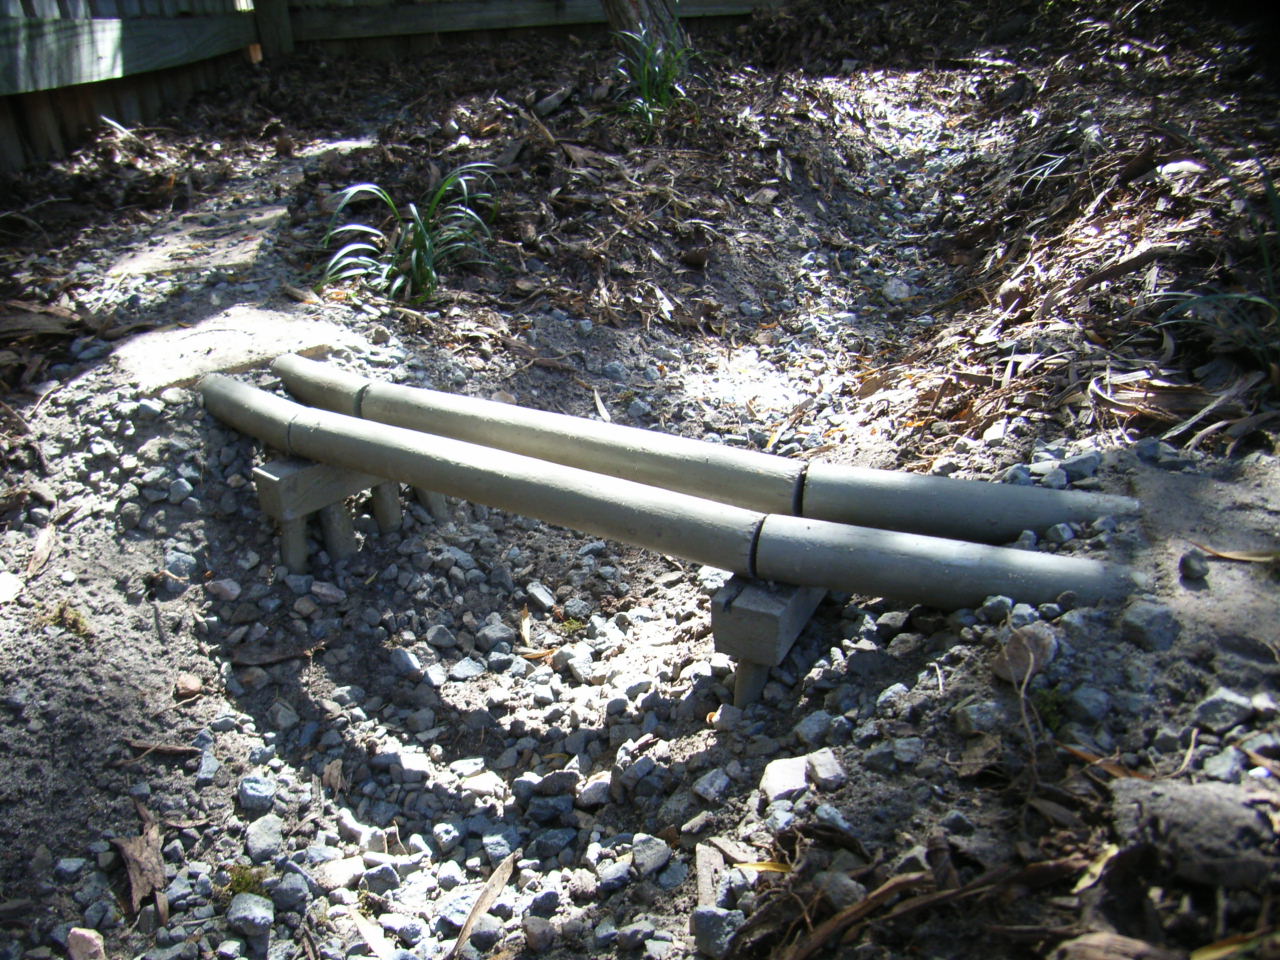
Due to the non-existent budget, the bridge over Anzac Creek was made from whatever I could find. The stringers are cut from a spare rake stick, the pile caps are hardwood offcuts from the light-up scrap box at the club, and the piles themselves are debarked paperbark sticks.
The bridge parts were heavily painted with grey primer. The parts were coloured with an acrylic "weathered timber" paint mix I had on hand, and given several coats of decking oil. This "preservative" worked about as well as one would expect.
I considered making Anzac Creek functional, but that would've required money. Having it as a dry, seasonal creek was good enough.
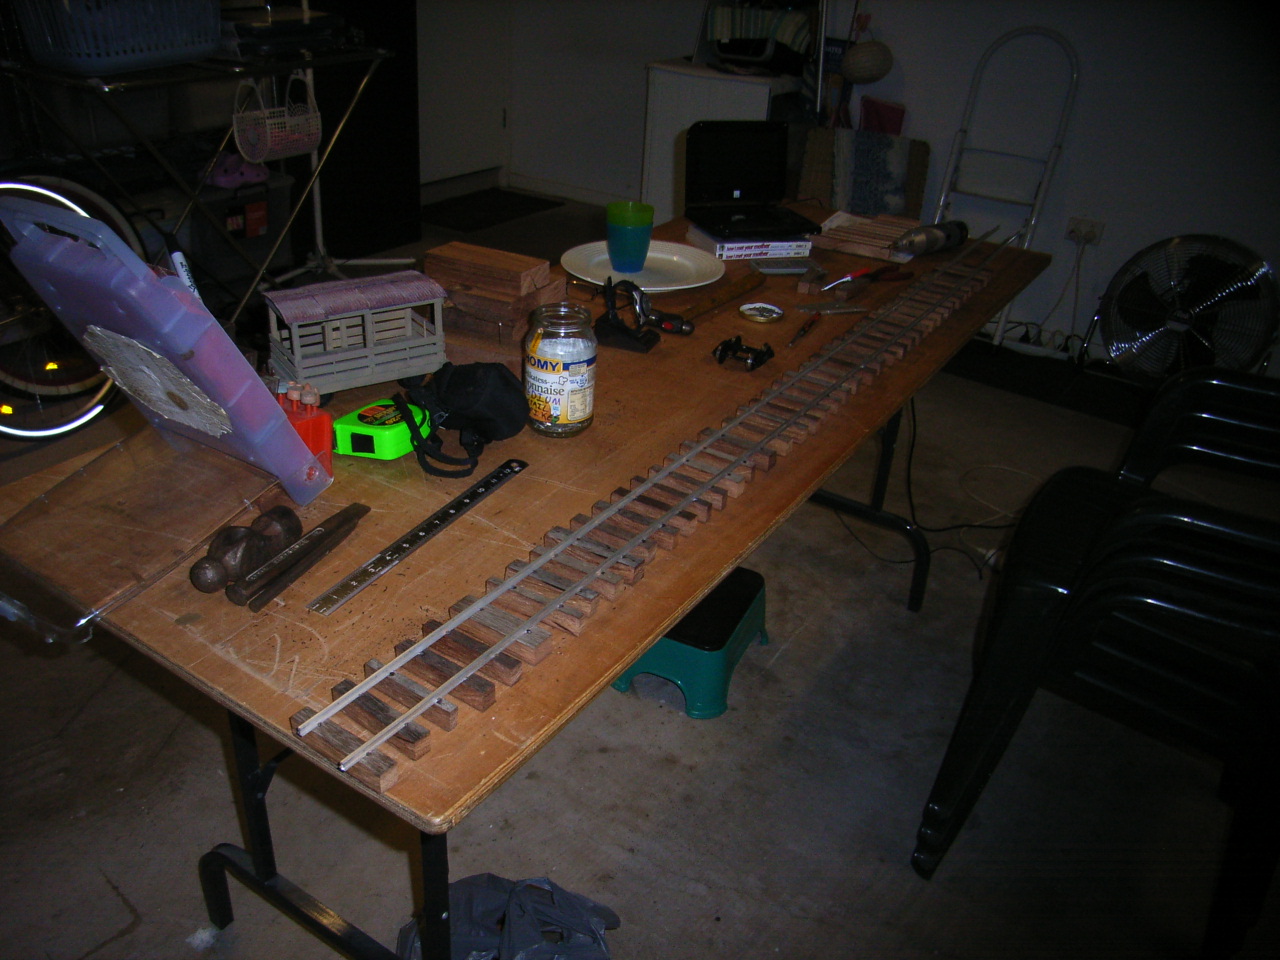
Hand-laid track is the most affordable option, so that's what I picked. A friend from the club lent me a set of handlaid points to study its contruction. I ordered 30 brass rail joiners and 19 six-foot lengths of Sunset Valley aluminium rail from Argyle Loco Works in Melbourne. At the time, the rails were $8ea, joiners were $1ea.
Sleepers were made from planks salvaged from a broken outdoor table someone left on their curb, and hardwood scraps from the club's overflowing light-up bin. To this day I've no idea what kind of timber any of it is, with some of those sleepers having fared far batter than others. The first section of track made, was the carriage siding. I figured if my first bit turns out poorly, it's only a siding and not the mainline. It came out reasonably well.
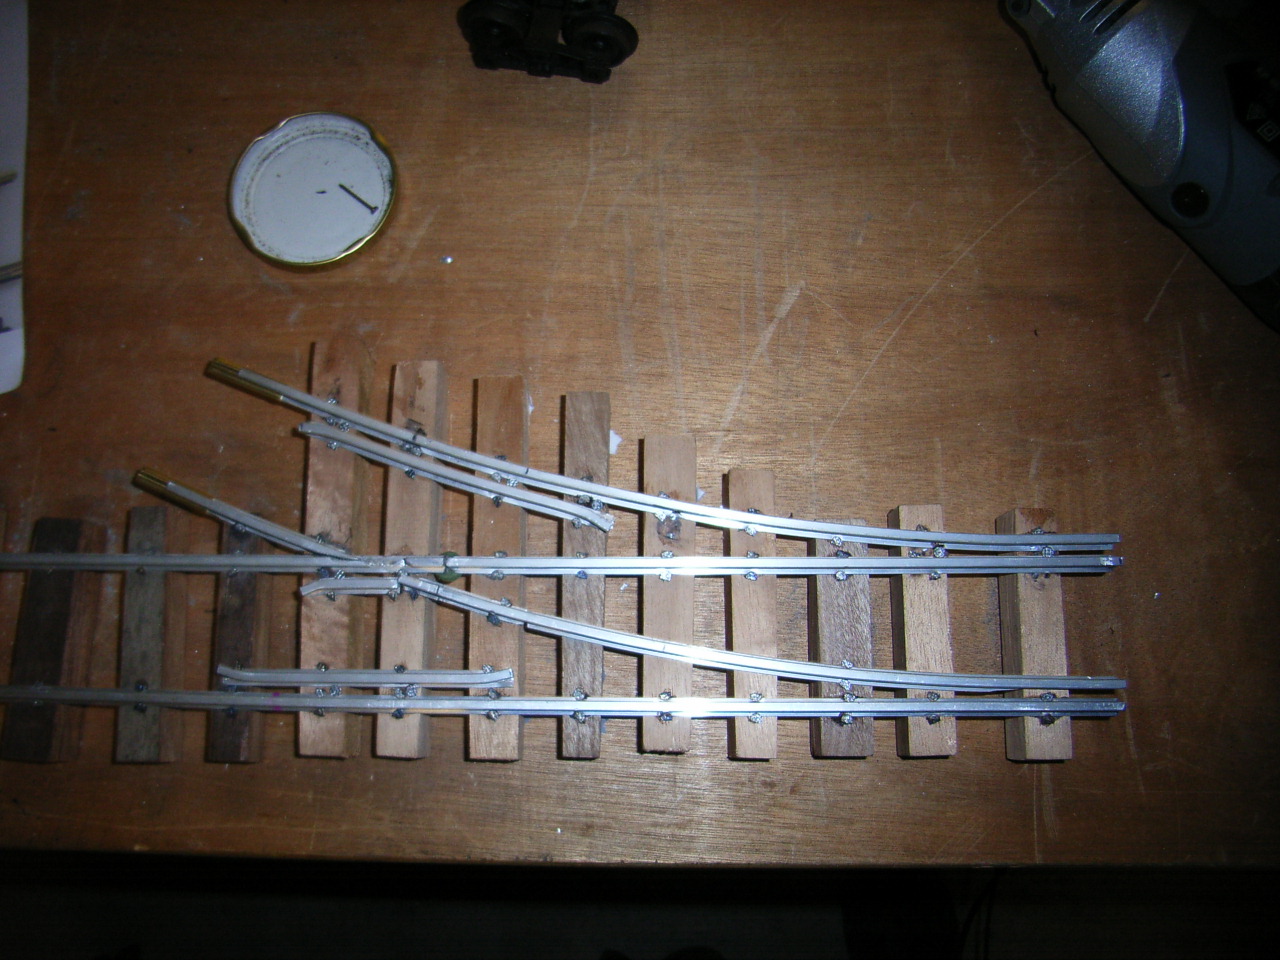
At this point, I jumped into the first set of points at the end of the siding. I was going to make a conventional bladed set of points, but I decided that would be too hard, and made stub points. In hindsight I've realised making bladed points would be no harder than making stub points, and would be far less problematic than these stubs turned out to be. Dogspikes were flat-headed steel nails with their heads ground to a semi-circular shape.
13/09/14
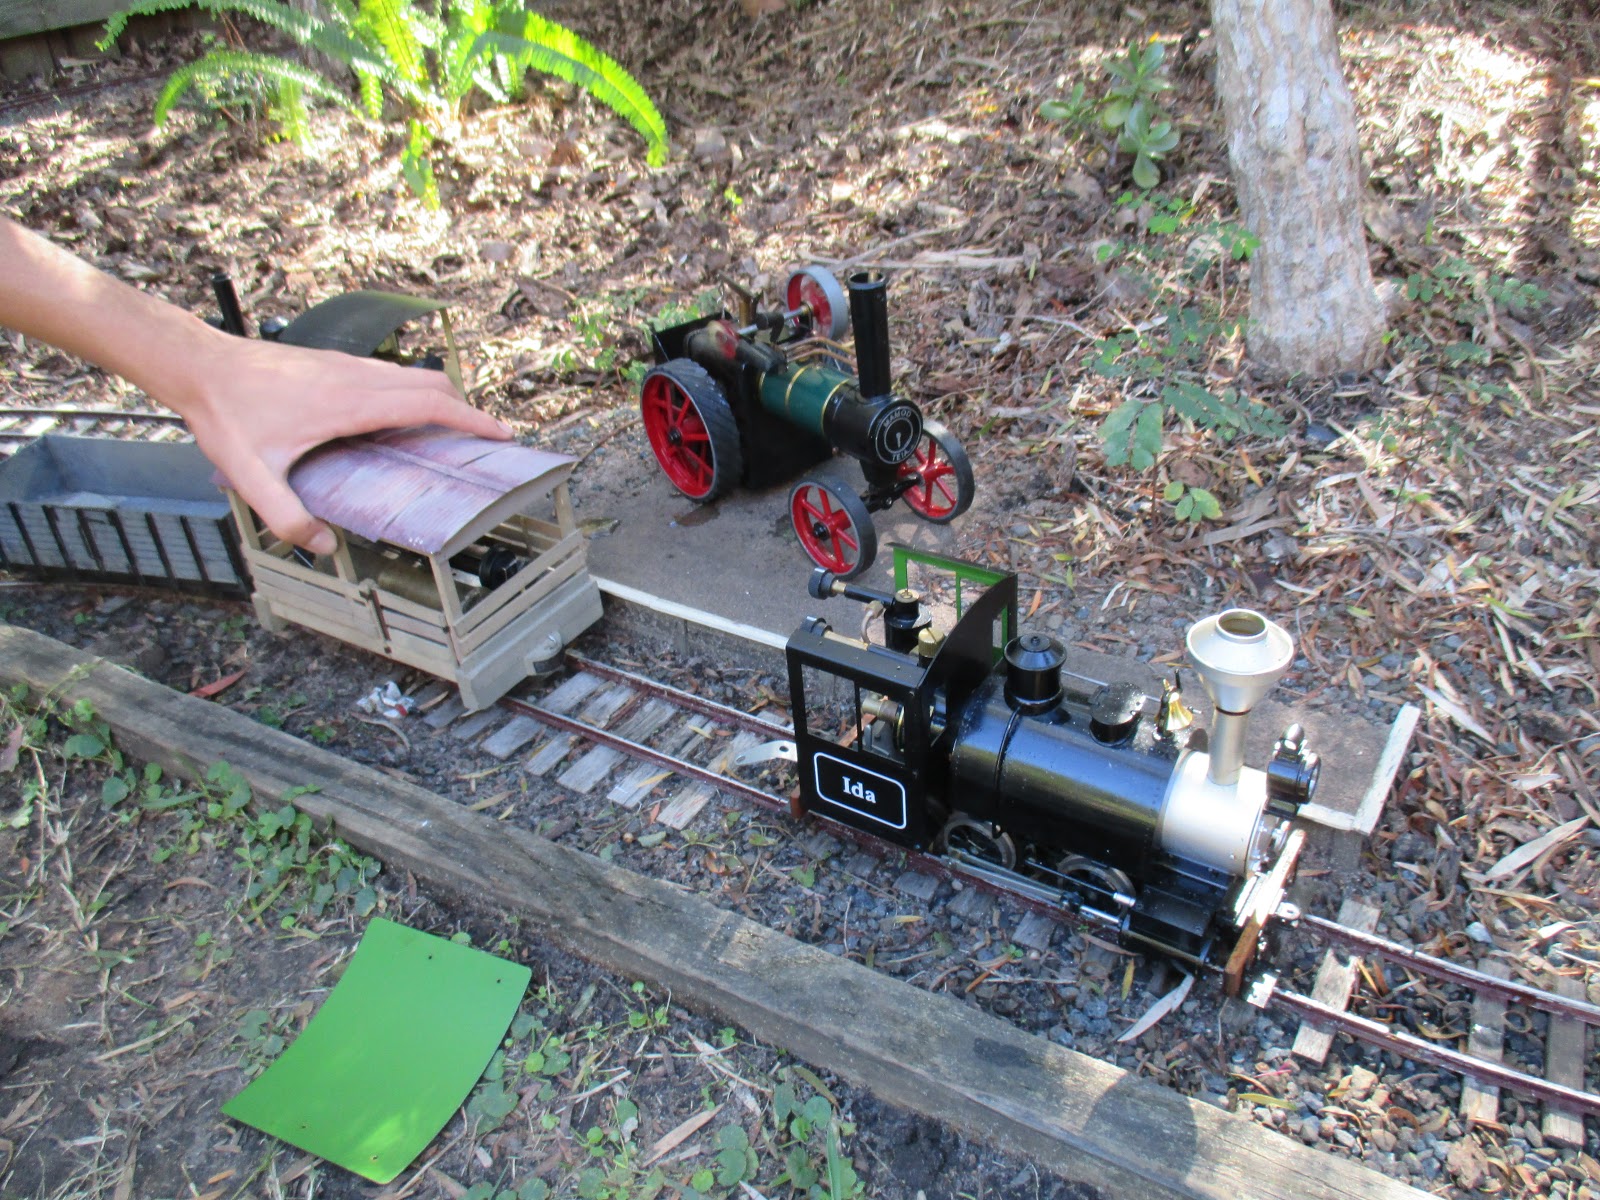
The second set of points is made, along with the moving stubs for both. The track has been ballasted with a mix of gravel, sand and dirt to encourage moss growth. A Lego mock-up of a Malcolm Moore loco (a future project at the time) is being used to test the track. Seems okay so far..
One reason the stubs didn't work was that the tiebars were all superglued to the rails. It really needs to be a mechanical joint rather than a glued one. Quite frankly, this is dodgy and half-arsed as all hell. It wasn't until 2017 that I got around to remaking this trash with threaded rods holding the rails at the right gauge. Dirt, leaves etc. do still get under the rails and further upset the rails' alignment. Stub Points: Never Again.
Sometimes track-laying continued into the night. Some of the rails have been brush-painted with Gloss Indian Red which over a few months, dulls down to a nice rusty brown. This was a b*st*rd to do once the track was fixed down. That said, I couldn't do it before laying the track, as ballasting would've scraped it all off, especially being aluminium rail.
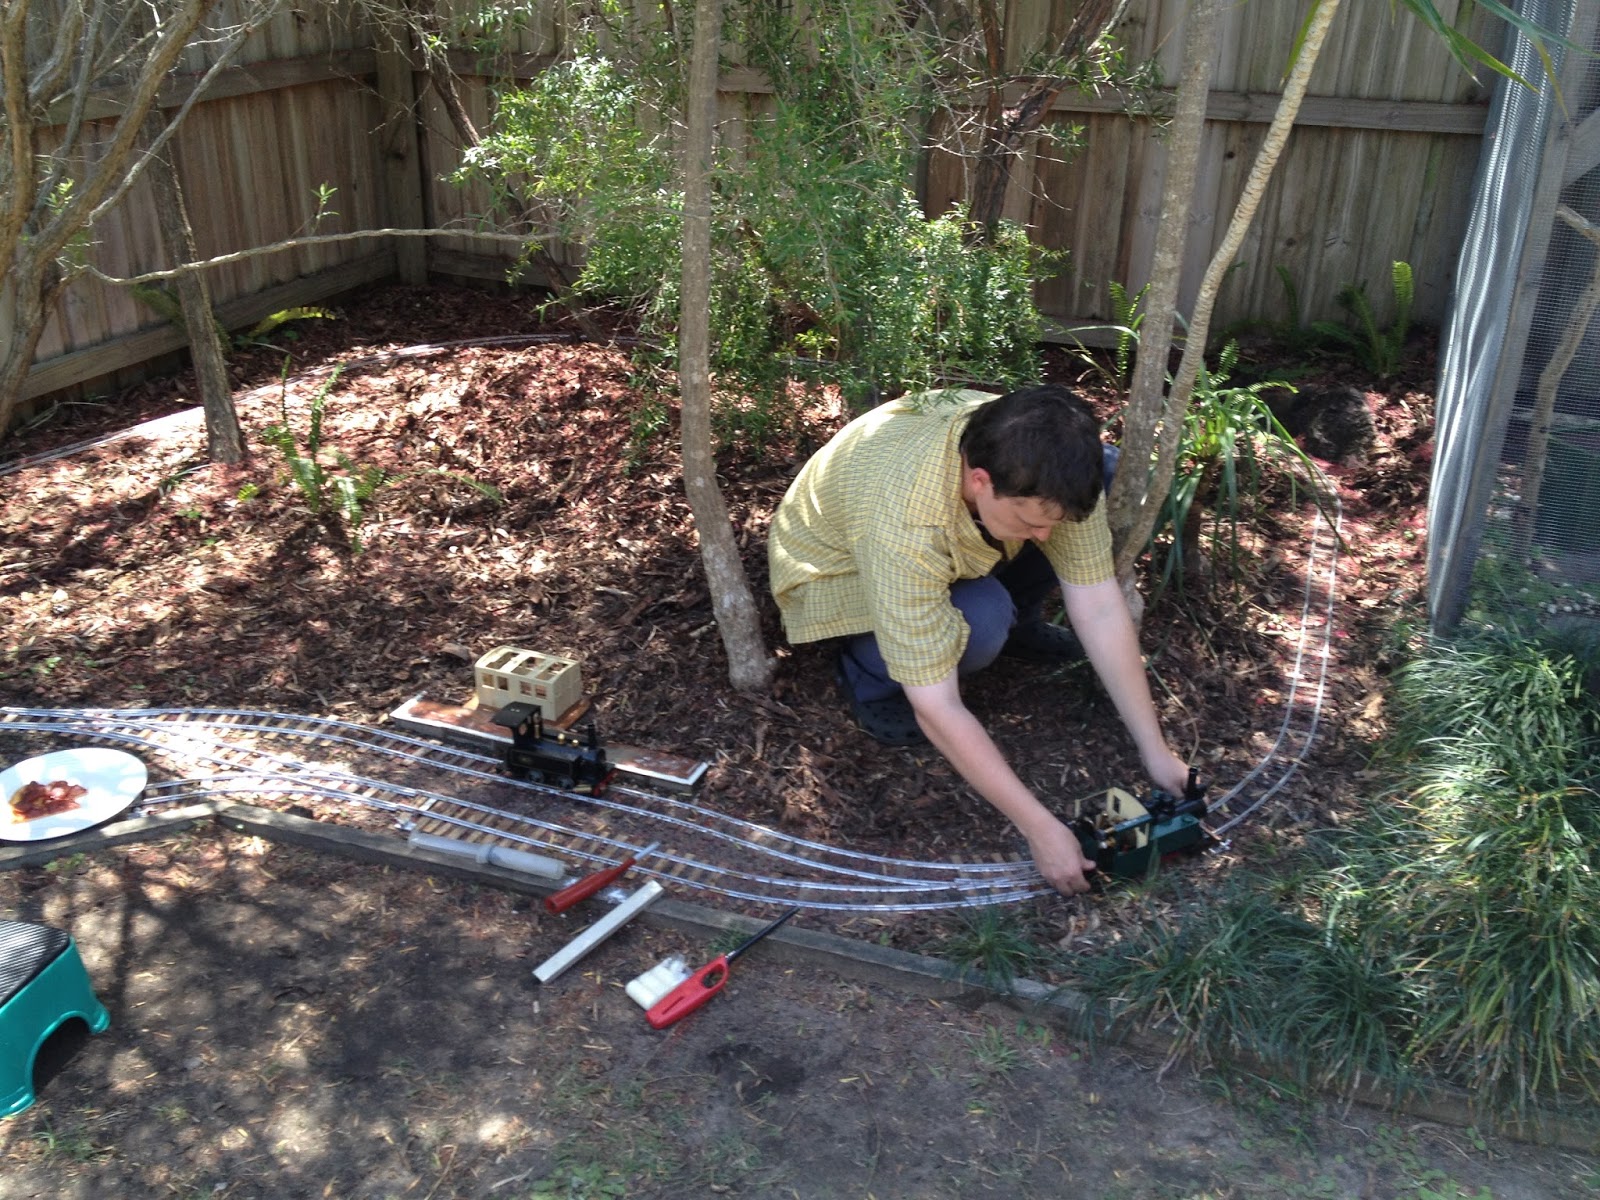
6/10/14. The last spike is finally being driven. I briefly considered painting it gold, but then realised I wanted this tracklaying over with, and in my book, a gold spike is a bit of a cliche at this point.
Baron testing the track. Most of the track was ok, but all the points were nightmares, as were the steep grades I didn't realise I'd made - as was an ill-conceived reverse-curve into a set of points near the front of the layout.
I was anxious to have some friends over to play trains on the new tramway, before Spring ends. Gets to +40°C pretty quickly where I lived back then. Doesn't help that that we were than a mile from the beach, so it's always humid.
So I set a date to invite some friends and members of the ride-on club over, for the 18th of October 2014. This was a dumb move, as it didn't give me enough time to properly troubleshoot the track and make sure everything actually worked. Some buildings were knocked up from mostly popsicle sticks, scrap wood & spaghetti tins.
The day turned out a farce. Everything derailed in both directions over all the points and the reverse-curve, the inside curve of the passing loop was too tight, the clearances in the rock cutting up the back were too tight for most stock, and to top it off, Baron's burner was, well after all, an Accu-crap burner.. Looking back, it was all so bad that it's really just hilarious..
Yet more to come..