Page 5 of 11
Posted: Tue Aug 30, 2011 8:30 pm
by Pendo Pilot
That is looking superb, the coach especially looks amazing. Nice woodwork skills there. Really like the diesel although one thing I would do & this is no discredit to the amazing job you have done. But I would add dummy axleboxes to the sides & maybe dummy hornblocks & leaf springs. Maybe just me but I think that would break up the slab side nicely.
Posted: Thu Sep 01, 2011 8:15 am
by Nomis
Dummy axleboxes are planned - just got to figure out how to make them!
I suspect plastikard may be involved......
I am really pleased at how the coach is turning out, the body is really simple - it's just 4 lengths of timber from b&q, bolted together with angle brackets. The planked effect was made by taking the guard off the table saw and dropping the blade do that it only has 2-3mm showing. Run the timber over the top, and hey presto - instant planking!
I got some more 15mm rod for the axles yesterday (via eBay), so I can get on with widening the bogies.
Posted: Mon Sep 05, 2011 7:44 pm
by Nomis
Updates from this weekend:
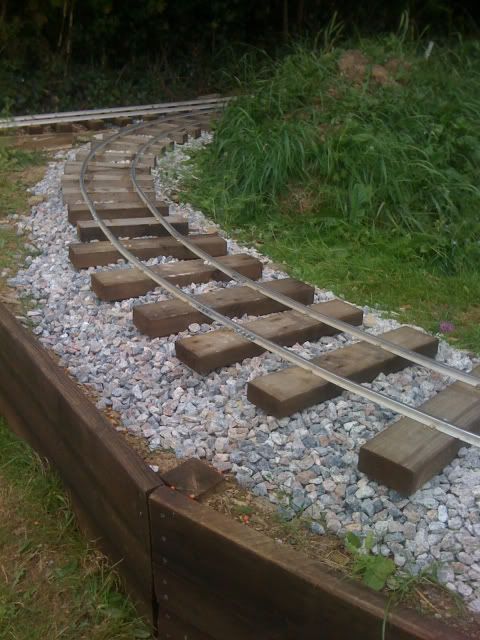
I got some ballast (20mm crushed granite) down on the curve by the lawn:
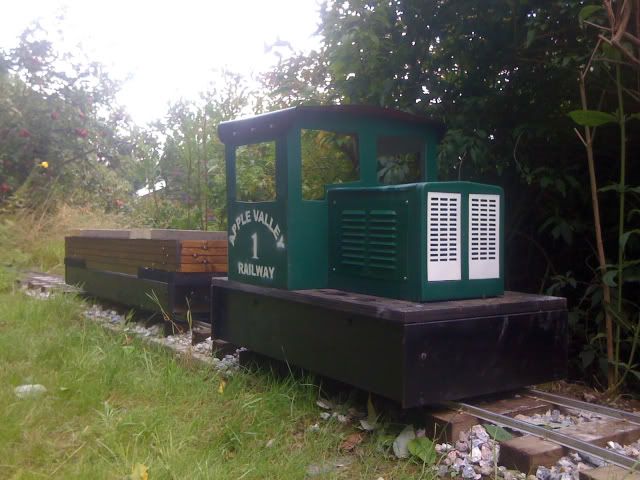
And I got the new bogies made for the passenger wagon, it rides pretty well now - much more stable than on 5", even with the higher seating position. After a little adjustment of the bogie pivots, all the wheels clear the inside of the chassis, even on the tightest curves (just!):
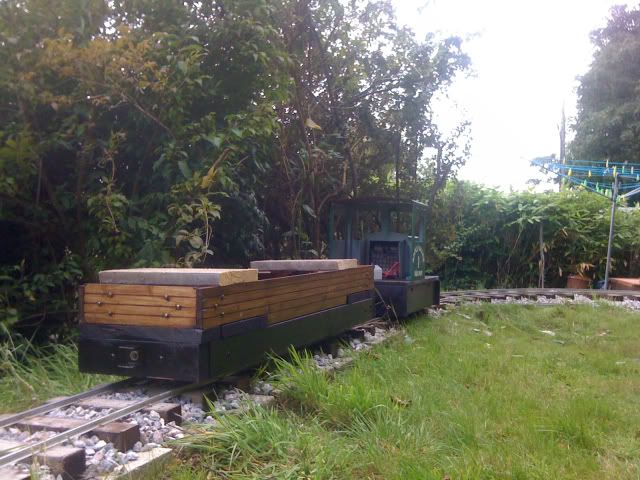
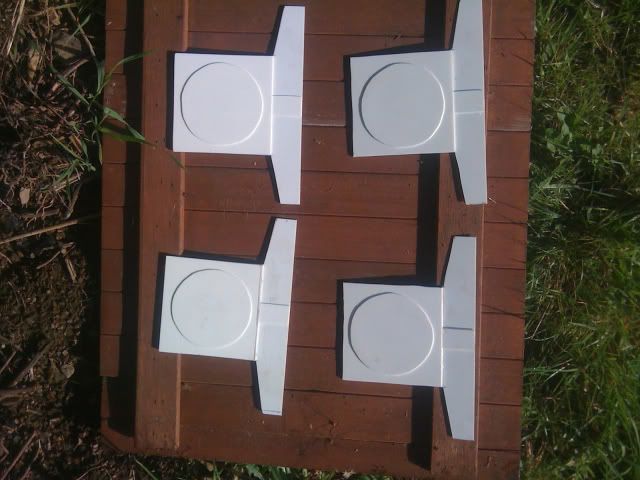
I made up some mock axle boxes using plasticard. I have since glued these to the sides of the chassis:
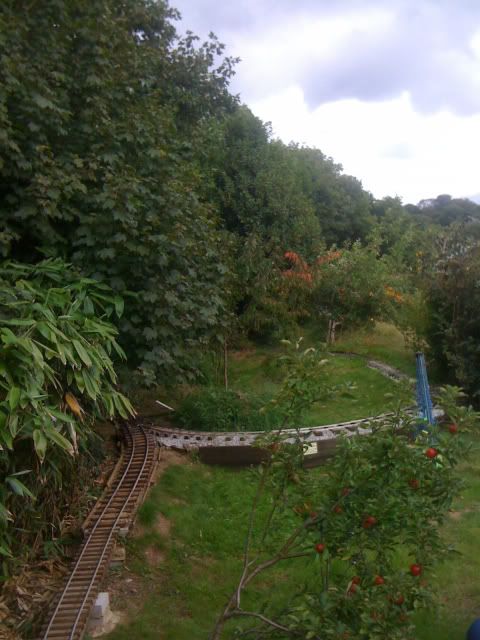
An overview of the railway, taken standing on the decking bench:
I also discovered a new trick this weekend. A spray of WD40 over the outer running rail really smooths out the sharp curves

I will be keeping a can in the cab of the loco from now on.
Next little project is to make some arch bar type bogies (trucks?) for a flat car. I dropped off 8 wheels at a local engineering place this afternoon to be bored out for mounting to a 15mm axle.
Posted: Thu Oct 20, 2011 8:25 pm
by Nomis
It's been a while since the last update - so here is what has been happening;
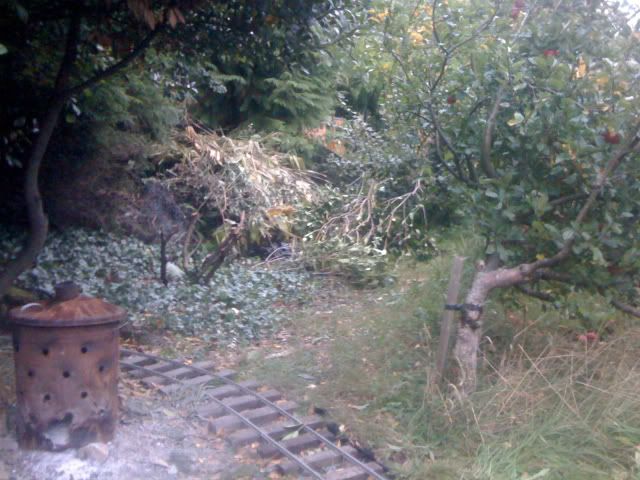
A "before" shot - I have been clearing this area ready for a track extension:
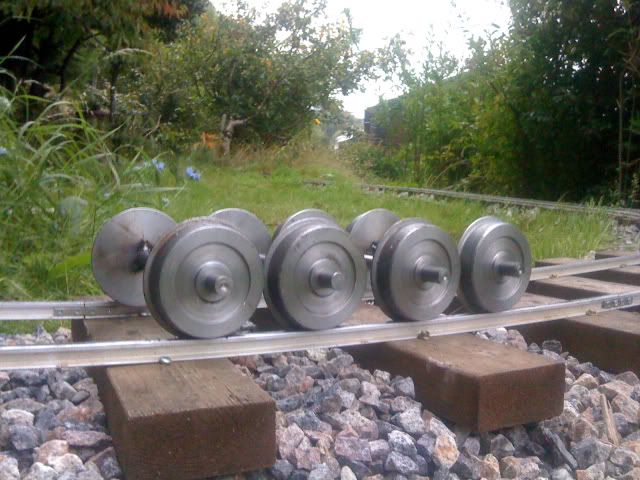
Wheelsets made up ready for bogies:
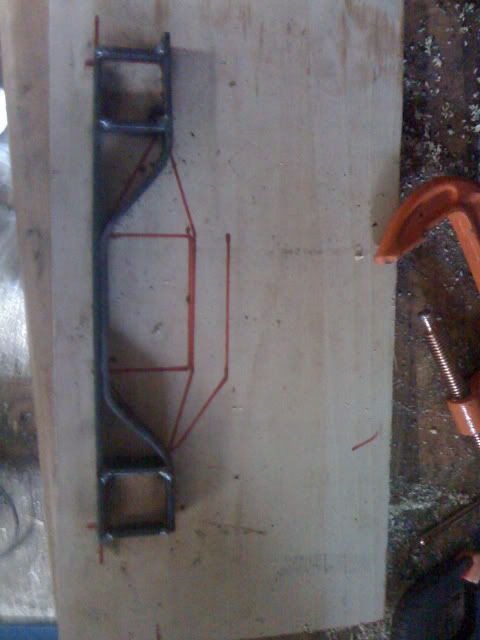
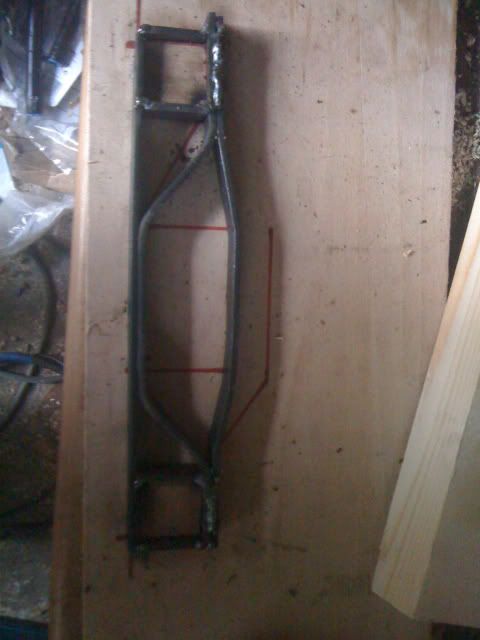
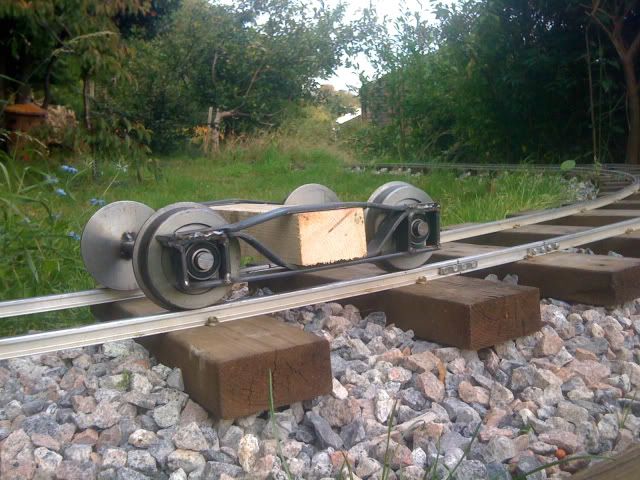
I decided to build up some simple arch bar bogies, using steel strip (from b&q), with eBay bearings, and a timber bolster.
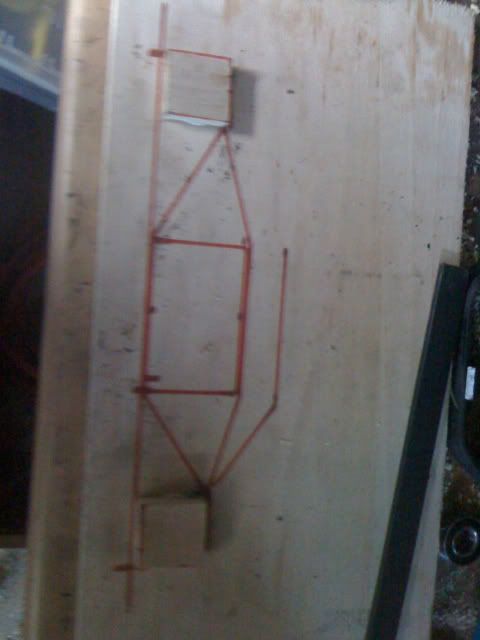
The template is MDF, assembled with some no-nails. A couple of G clamps make welding easy:
A rolling bogie being tested:
Posted: Thu Oct 20, 2011 8:32 pm
by Nomis
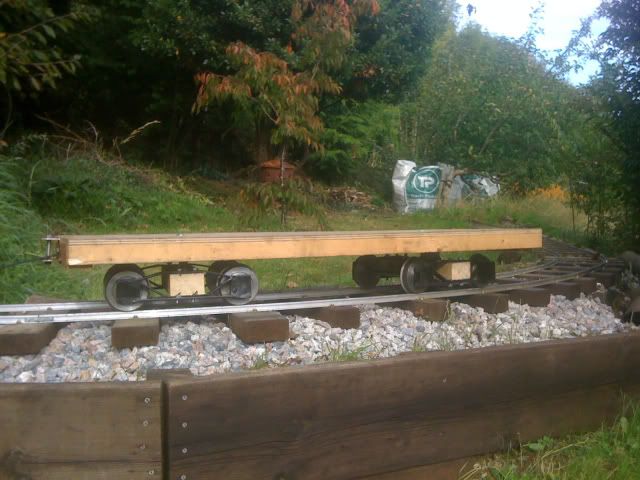
And after finishing off, cleaning up (with the angle grinder), and fitting to the flat wagon:
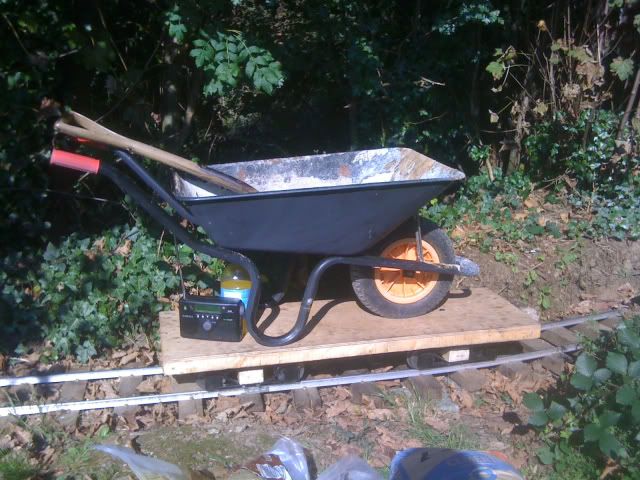
At work, carrying a barrow for cement mixing:
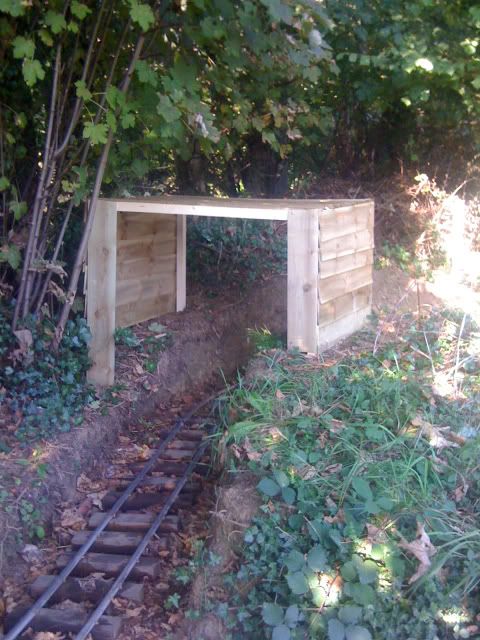
Because I have been building a tunnel / storage shed:
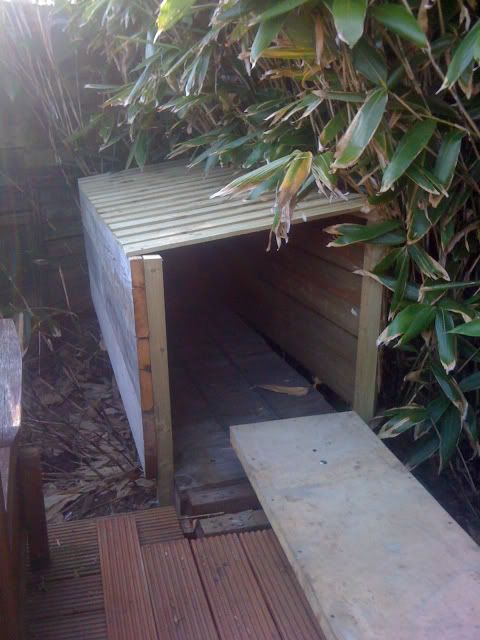
The engine shed has also been coming along:
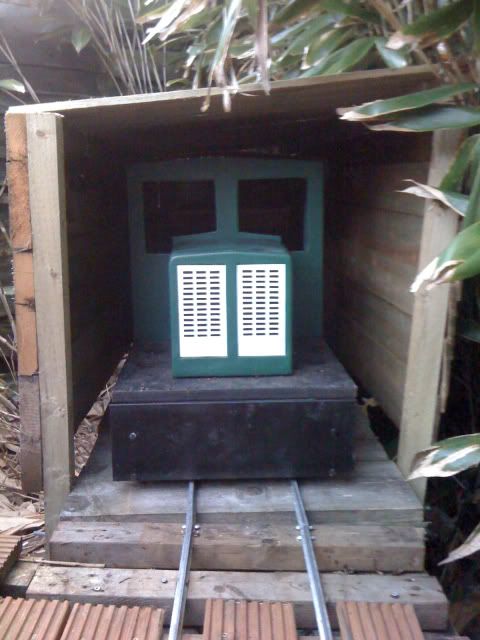
One of the really nice things about having a garden railway is watching the effects of the changing seasons:
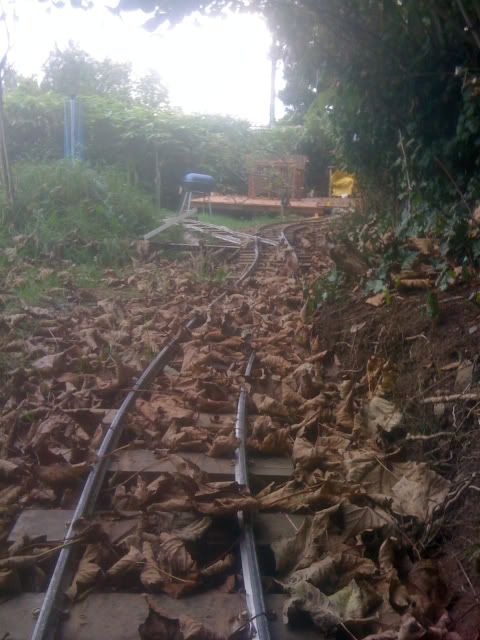
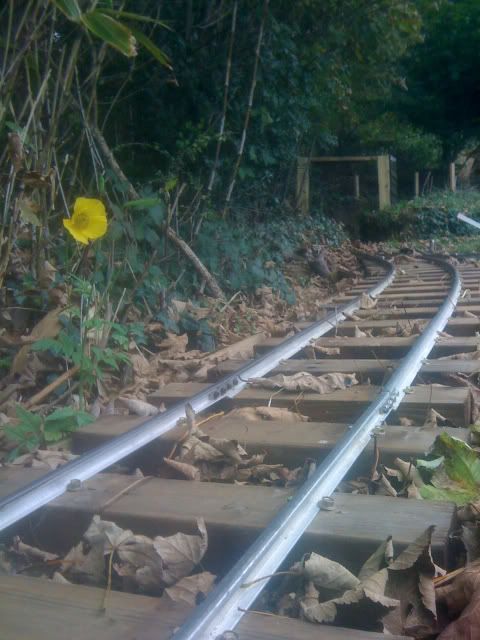
Posted: Thu Oct 20, 2011 9:37 pm
by Dr. Bond of the DVLR
Wow looks like its coming along!
Posted: Sat Nov 26, 2011 8:08 pm
by Nomis
Recent updates:
I have made the points sprung, using some strip steel, and a piece of CB radio aerial for a spring:
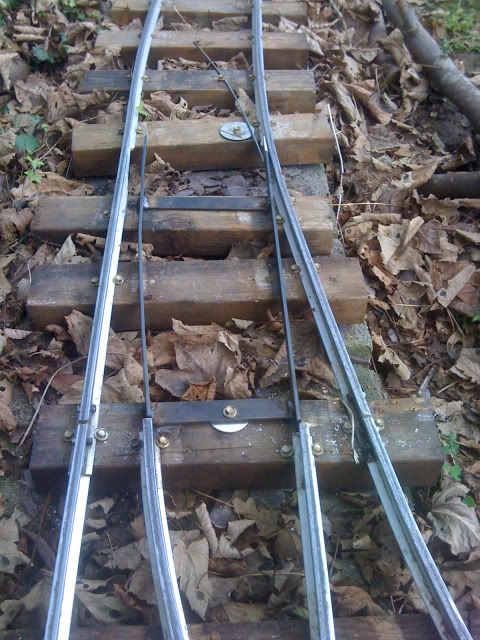
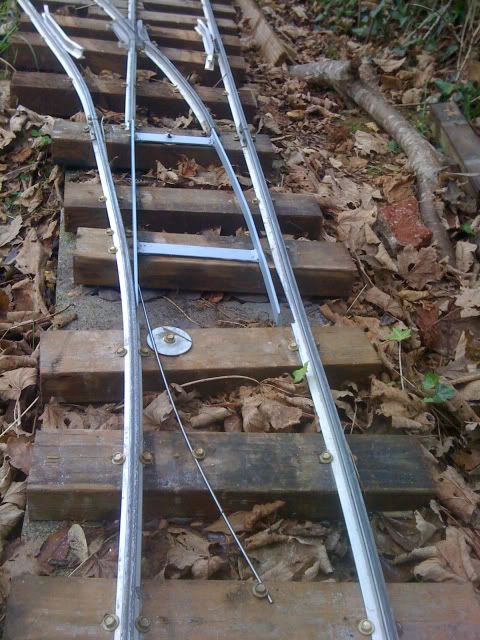
I have started to extend the decking to allow a second station road:
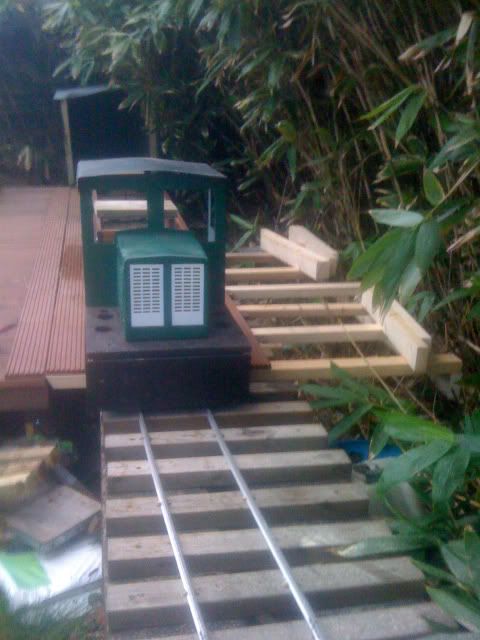
And I have been cutting up sleepers for the extension:
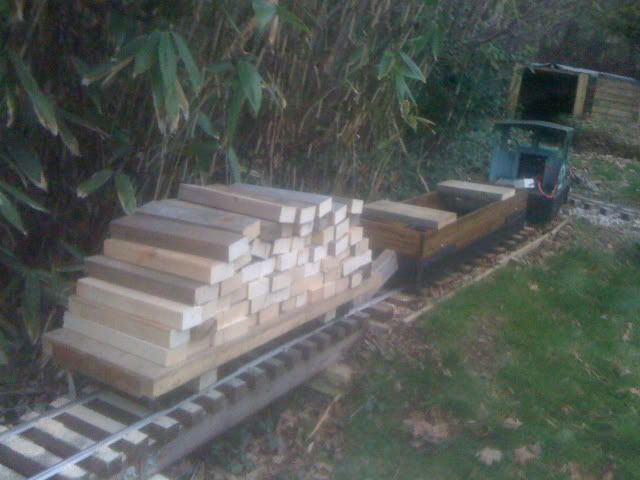
Transporting some scrap timber for burning:
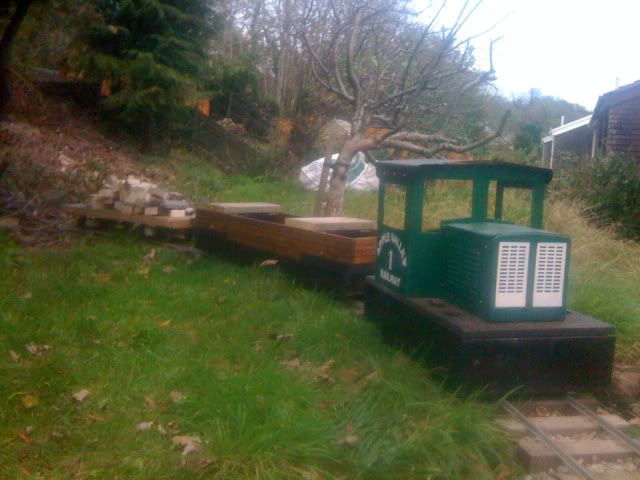
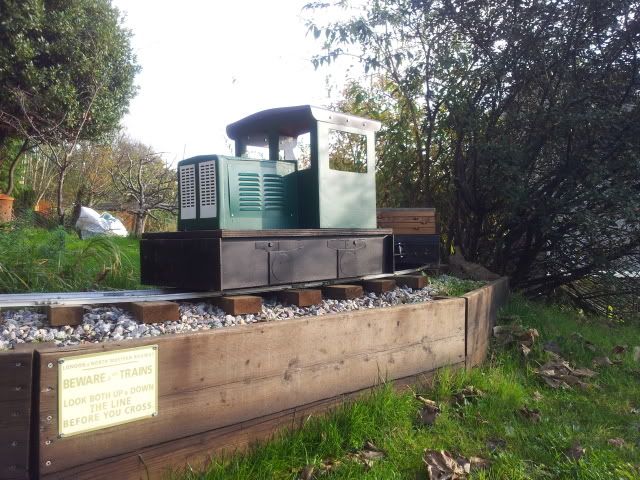
A few higher quality pics taken in the recent sunshine:
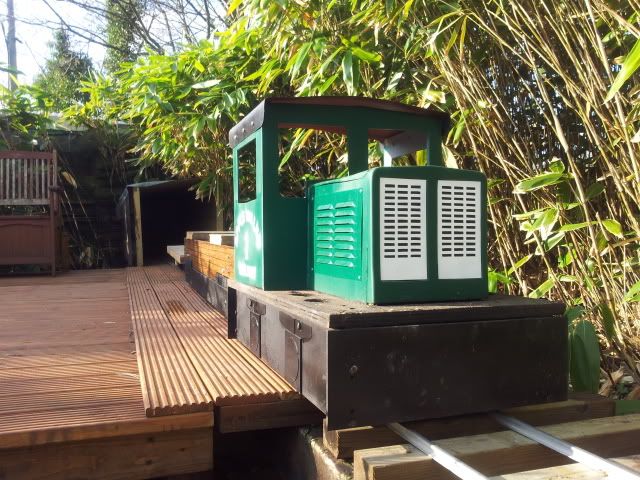
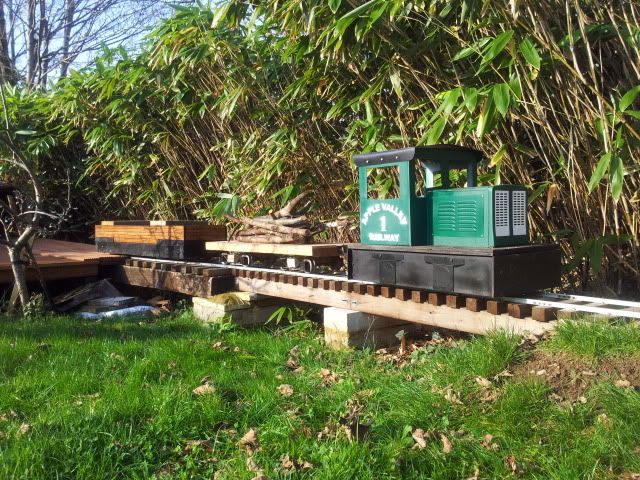
Posted: Sat Nov 26, 2011 9:07 pm
by Dr. Bond of the DVLR
Lovely jubbly! interesting point arrangement, remind me, where did you buy the criss-cross casting?
Posted: Sat Nov 26, 2011 9:14 pm
by Pretoria
Mr. Bond of the DVLR:61787 wrote: .......... the criss-cross casting?
Hint ------

Posted: Sat Nov 26, 2011 9:20 pm
by Dr. Bond of the DVLR
I thought the "frog" are the wedge shaped rails which move across to change the direction. I thought this was the frog as it jumped across...
Posted: Sat Nov 26, 2011 9:35 pm
by Pretoria
Nope -- the frog is the crossing point of two rails

Posted: Sat Nov 26, 2011 9:52 pm
by Narrow Minded
Pretoria:61793 wrote:Nope -- the frog is the crossing point of two rails
Compare the "V" of the rails and the "V" of a horses hoof - both called the "Frog"

Posted: Sat Nov 26, 2011 10:43 pm
by Pendo Pilot
Funny enough I have never heard it once called a frog in 1 to 1 scale ever, just the crossing nose?
Posted: Sat Nov 26, 2011 10:54 pm
by Pretoria
Posted: Sat Nov 26, 2011 11:00 pm
by Pendo Pilot
Don't get me wrong I refer to it as a frog. What I mean't though is that during my BR/RT/NR days no one at all has ever said frog or called it that. It seems it doesnt exist. I said once when I was M.O.M that a frog was cracked on a set of points to the P-way gang & no one had a clue what I was on about??

Posted: Sat Nov 26, 2011 11:05 pm
by Pretoria

Pendo Pilot:61804 wrote:Don't get me wrong I refer to it as a frog. What I mean't though is that during my BR/RT/NR days no one at all has ever said frog or called it that. It seems it doesnt exist. I said once when I was M.O.M that a frog was cracked on a set of points to the P-way gang & no one had a clue what I was on about?? :roll:
Given their track record on point repairs -- that explains a lot !

Posted: Sat Nov 26, 2011 11:12 pm
by Pendo Pilot
Pretoria:61806 wrote:
Given their track record on point repairs -- that explains a lot !
Very true indeed!!
Posted: Sun Nov 27, 2011 10:26 am
by Nomis
The point frog came from the miniature railway supply co.
Do full sized lines even use cast frogs anymore?
Perhaps it is an out of date term?
I know that the Americans still use them on the mainlines. They have some very clever cast steel units that are flange guiding - no need for check rails.
Posted: Sun Nov 27, 2011 10:30 am
by Nomis
NEW VIDEO:
http://www.youtube.com/watch?v=_c-doLno ... ata_player
sorry about the poor quality - it was shot using a free app on my phone. One day I will get around to doing a better one!
Posted: Sun Nov 27, 2011 11:38 am
by Pretoria

Nomis:61836 wrote:NEW VIDEO:
Great -- Just one question -- the tunnel looks a tight fit -- Do you need to wear a safety helmet ?
Seriously, how do you fit ?
