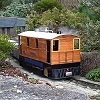
Blue Goblin, a basic repair turned into a full rebuild...
-
Lner fan Sam

- Fireman

- Posts: 491
- Joined: Sun Nov 25, 2012 7:57 pm
- Location: Sunderland, north east of England
-
Chris Cairns

- Driver

- Posts: 2366
- Joined: Mon Oct 29, 2007 7:25 pm
- Location: Glasgow, Scotland
Removing/Replacing Coupling Rod e-clips
OK, here goes. Please excuse the darkish photos as it is night time now and I do not have a remote studio light.
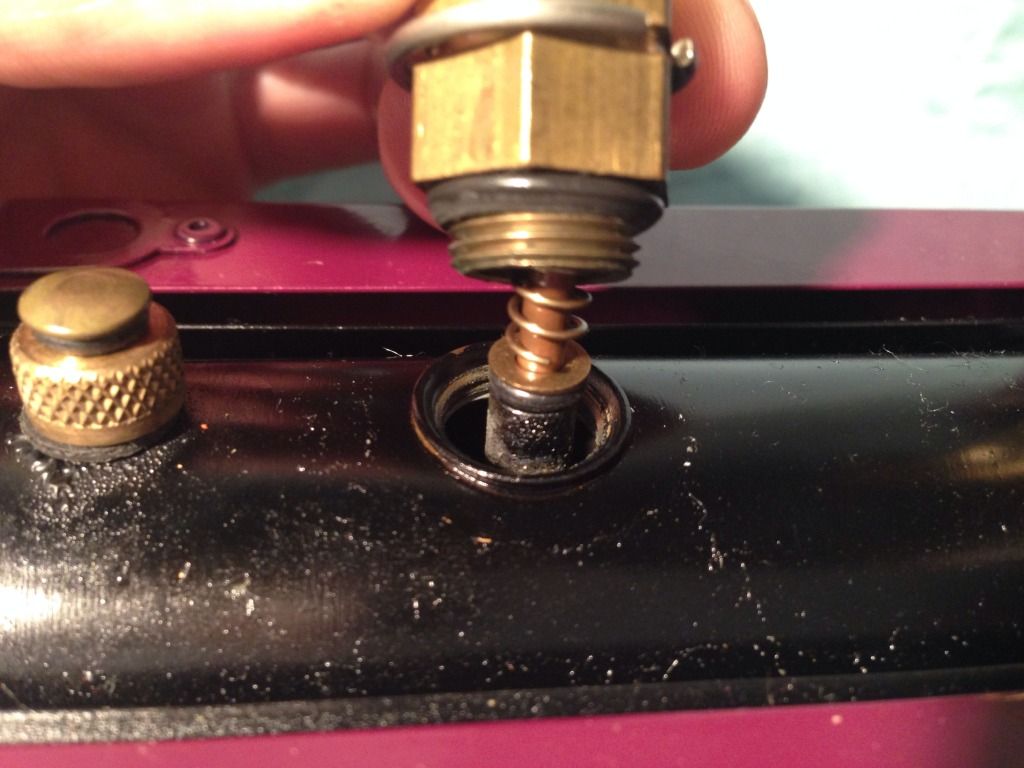
So here is the e-clip secured on the crank pin. You can see there are 2 small slots either side of the middle tang on the e-clip.

So you need to find a screwdriver which has a blade small enough to fit into that slot. Mine has No.3 marked on it. Place the blade inside that slot then lever the screwdriver gently against the crank pin with a finger on the outside of the e-clip so it does not spring off.

You will get the e-clip out to this position where it can be carefully removed. This is also the position that you will slide the e-clip back to manually on refitting.

This is the difficult part and where you can lose the e-clip if you are not careful. Place one jaw of your needle nose pliers over the extruding end of the e-clip, the other jaw needs to be placed over the crank pin but it must be high enough to allow the e-clip to fully engage in the slot, thus the pliers will be at an angle. You need to have a finger over the e-clip so that it does not spring off due to this sideways force being applied (I've left my finger out in the photo for clarity).

Once the e-clip is fully home in the crank pin slot (make sure the middle tang is engaged as per the first photo above), then use your needle pliers to gently pinch it tight again.

Job Done.
Hopefully you can now complete this relatively simple task, and not lose your e-clips in the process (you usually find them again after you have bought replacements - been there done that before now!).
Chris Cairns.
So here is the e-clip secured on the crank pin. You can see there are 2 small slots either side of the middle tang on the e-clip.
So you need to find a screwdriver which has a blade small enough to fit into that slot. Mine has No.3 marked on it. Place the blade inside that slot then lever the screwdriver gently against the crank pin with a finger on the outside of the e-clip so it does not spring off.
You will get the e-clip out to this position where it can be carefully removed. This is also the position that you will slide the e-clip back to manually on refitting.
This is the difficult part and where you can lose the e-clip if you are not careful. Place one jaw of your needle nose pliers over the extruding end of the e-clip, the other jaw needs to be placed over the crank pin but it must be high enough to allow the e-clip to fully engage in the slot, thus the pliers will be at an angle. You need to have a finger over the e-clip so that it does not spring off due to this sideways force being applied (I've left my finger out in the photo for clarity).
Once the e-clip is fully home in the crank pin slot (make sure the middle tang is engaged as per the first photo above), then use your needle pliers to gently pinch it tight again.
Job Done.
Hopefully you can now complete this relatively simple task, and not lose your e-clips in the process (you usually find them again after you have bought replacements - been there done that before now!).
Chris Cairns.
-
Chris Cairns
- Driver
- Posts: 2366
- Joined: Mon Oct 29, 2007 7:25 pm
- Location: Glasgow, Scotland
-
Lner fan Sam
- Fireman
- Posts: 491
- Joined: Sun Nov 25, 2012 7:57 pm
- Location: Sunderland, north east of England
Who is online
Users browsing this forum: No registered users and 0 guests