Page 2 of 2
Posted: Tue Sep 10, 2013 8:42 pm
by ace
Chris Cairns:88305 wrote:As far as I'm aware Mamod used solder paste on all of the SL boilers, and similarly MSS uses solder paste on their loco boilers as well (although probably not enough as owners have found out to their cost).
I guess it is all a matter of keeping costs down by having the boilers made in batches rather than the individuality that soldering all the boiler inserts would cause in extra man hours. That is probably why the current Mamod locomotives are more expensive as the boilers are silver soldered, and the wheel sets & oscillating cylinders are made for (not by) Mamod.
I have a selection of soldering tips for my butane torch but putting one of these into an insert did not seem to get it hot enough to remelt the solder paste so you have to end up damaging the surrounding paintwork by using the open flame option.
Chris Cairns.
Absolutely Chris, the remainder of the boiler just takes too much away from the solder area. Forget the paint, a blow torch is the only way to go there.
Even something as just a little bigger like a roundhouse copper boiler is still too much for a blow torch. The last time I had to solder my Billy boiler, I took it to work wrapped it in the fibreglass matting and used the oxy acetylene torch set. That just heated the area up in seconds. Overkill? Maybe but the job was done neatly and with out fuss.
Having said all that copper is an excellent heat conductor so it is of no wonder the blowtorch struggled.
Posted: Tue Sep 10, 2013 9:22 pm
by ace
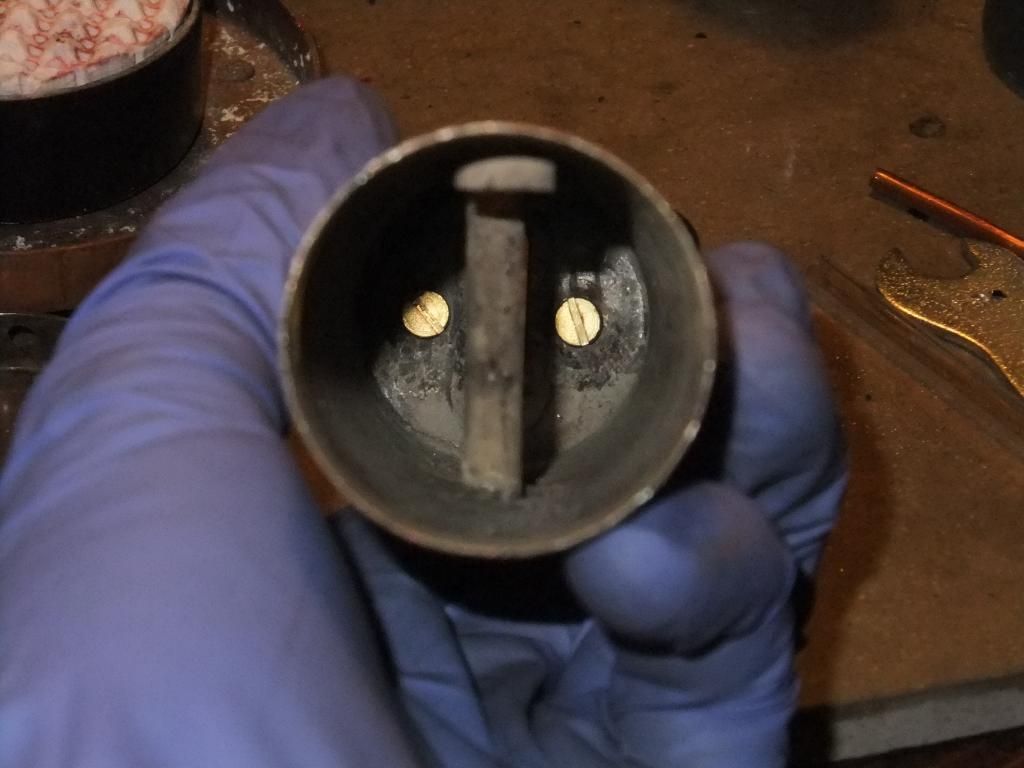
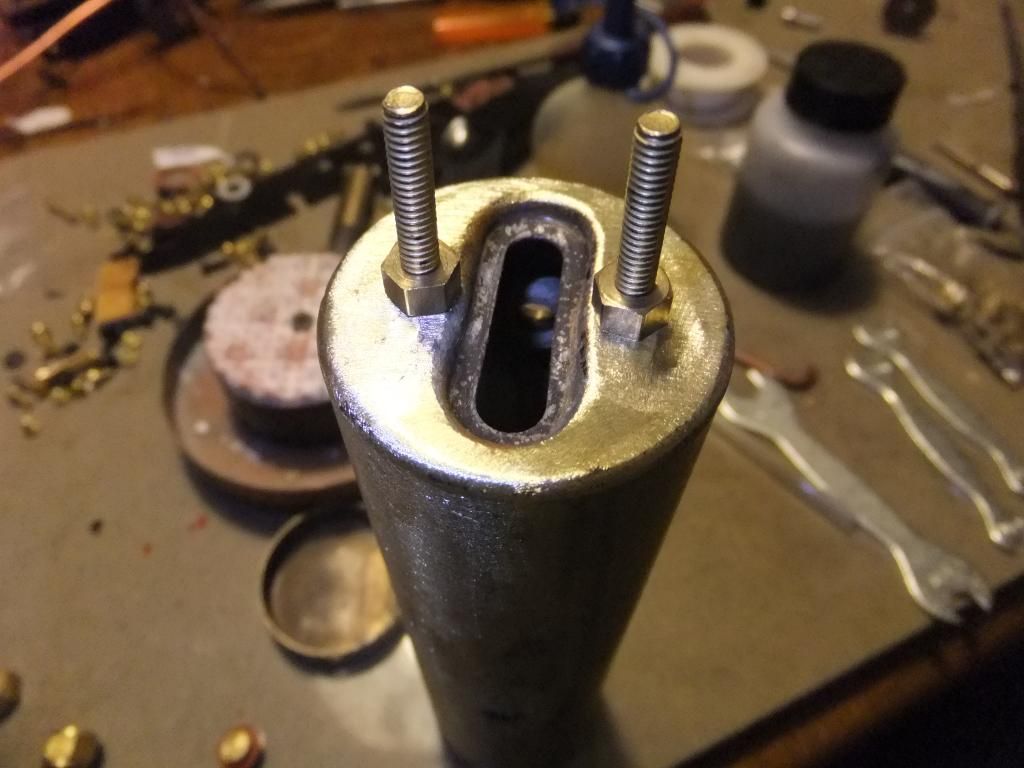
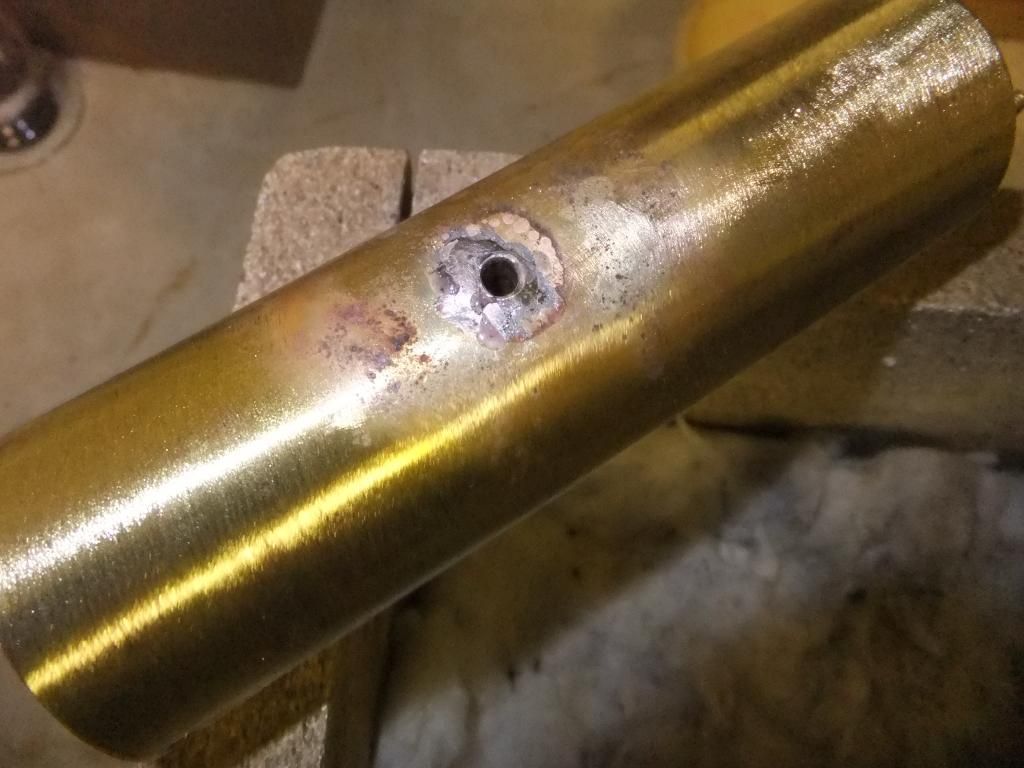
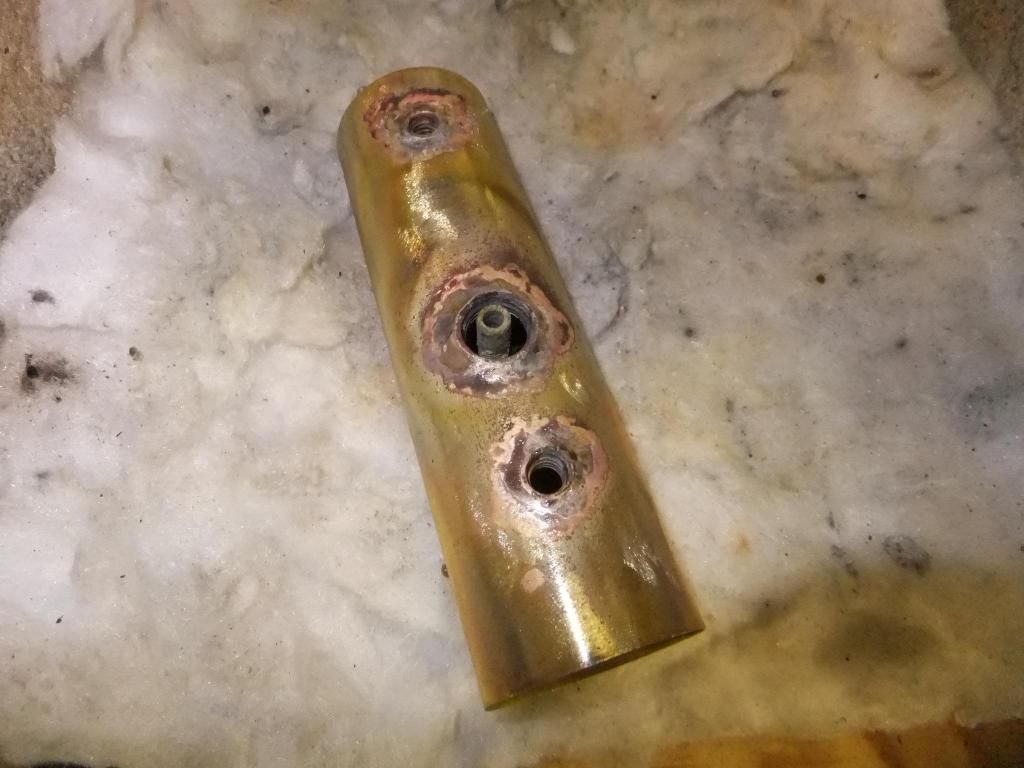
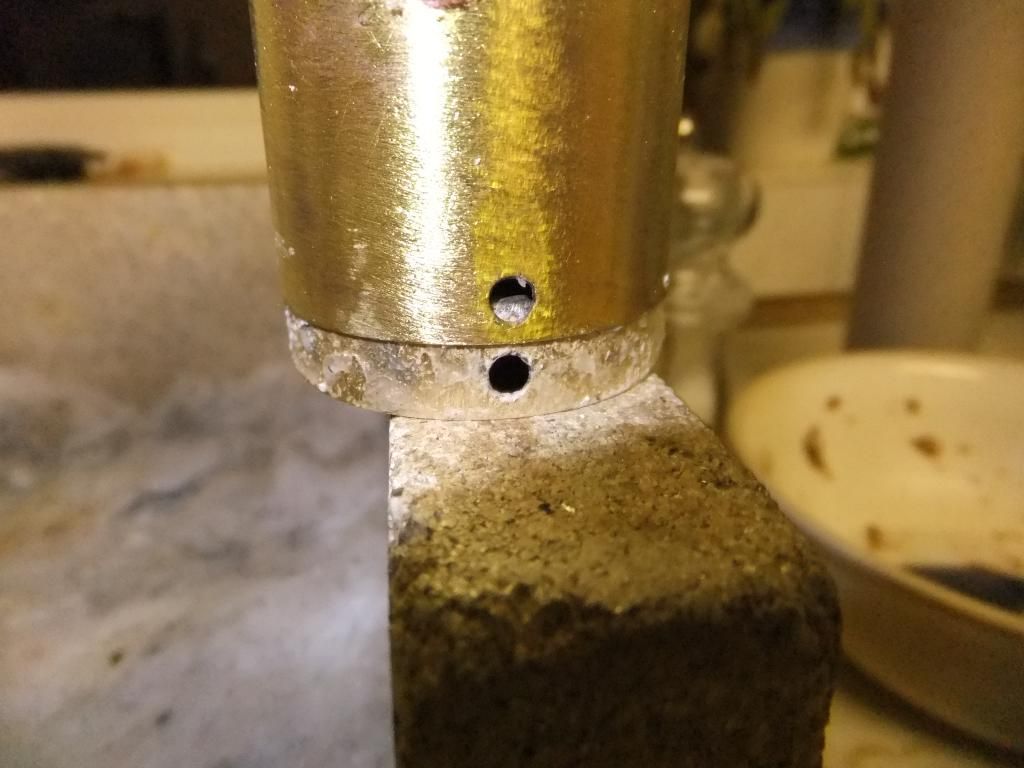
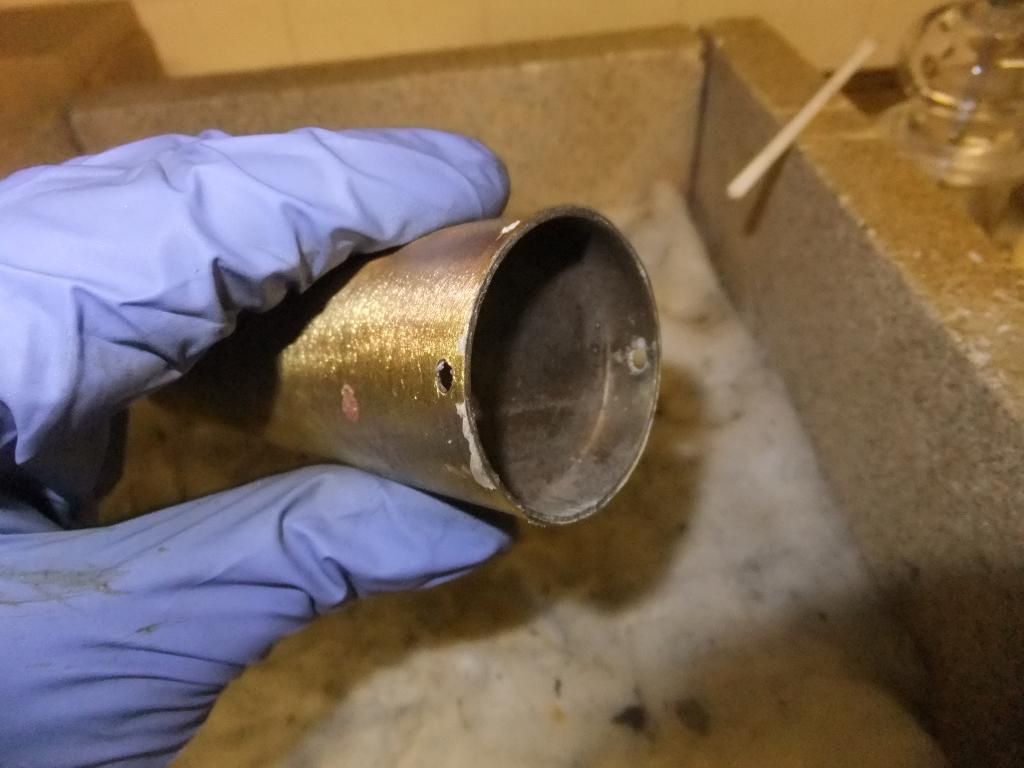
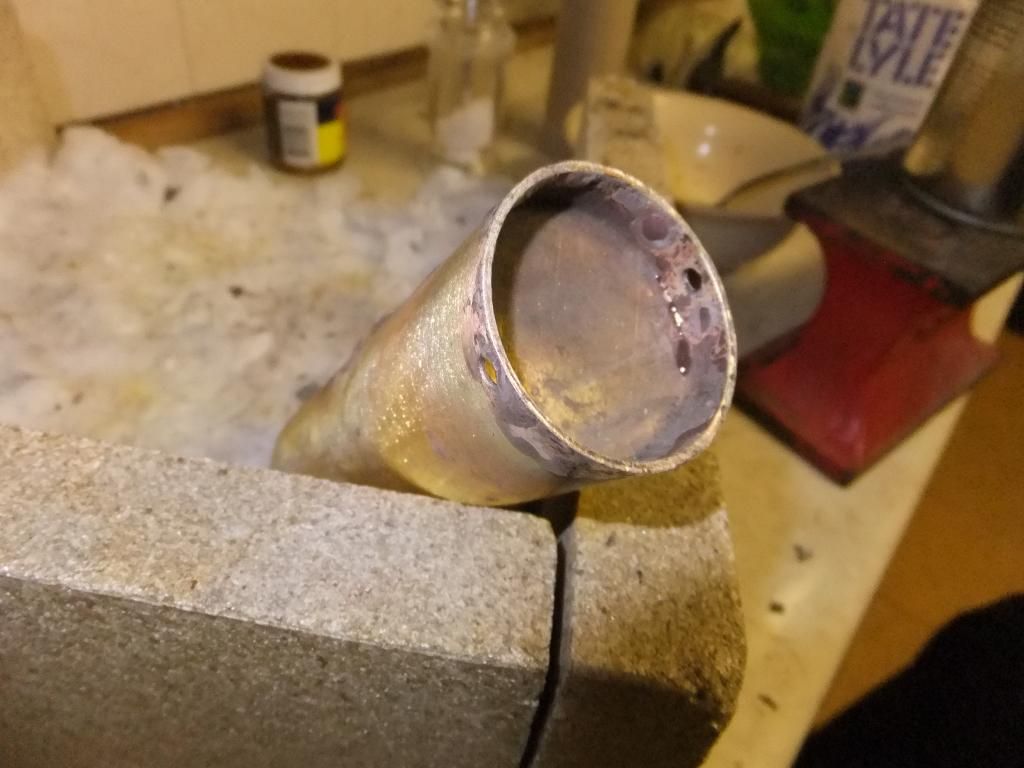
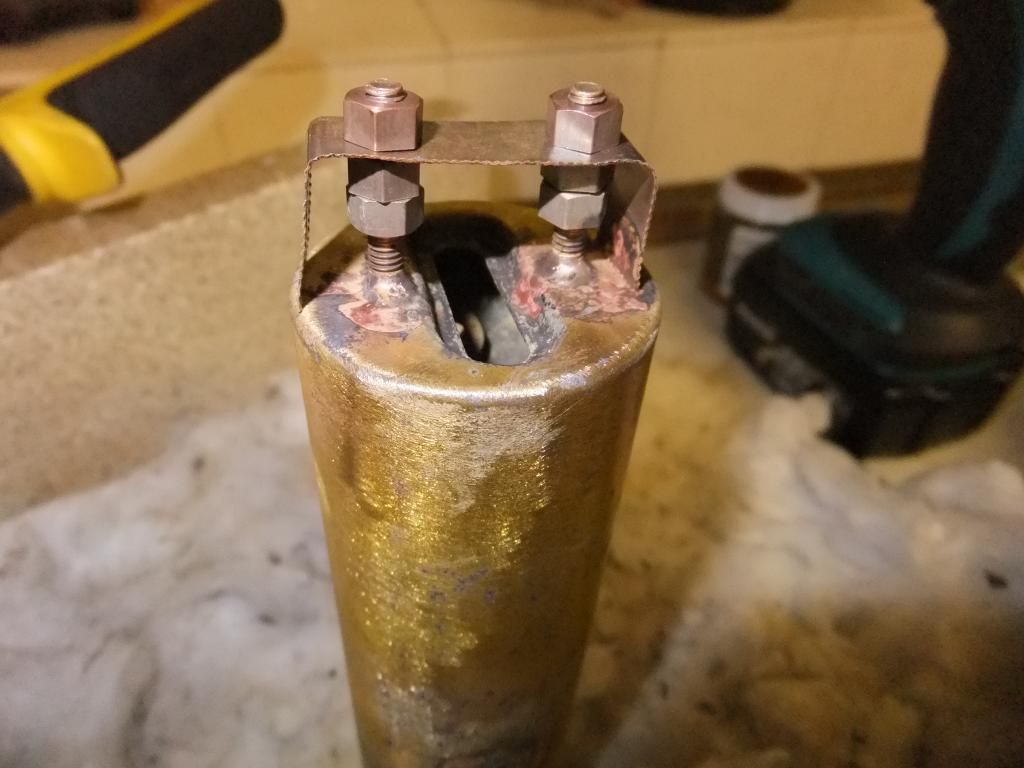
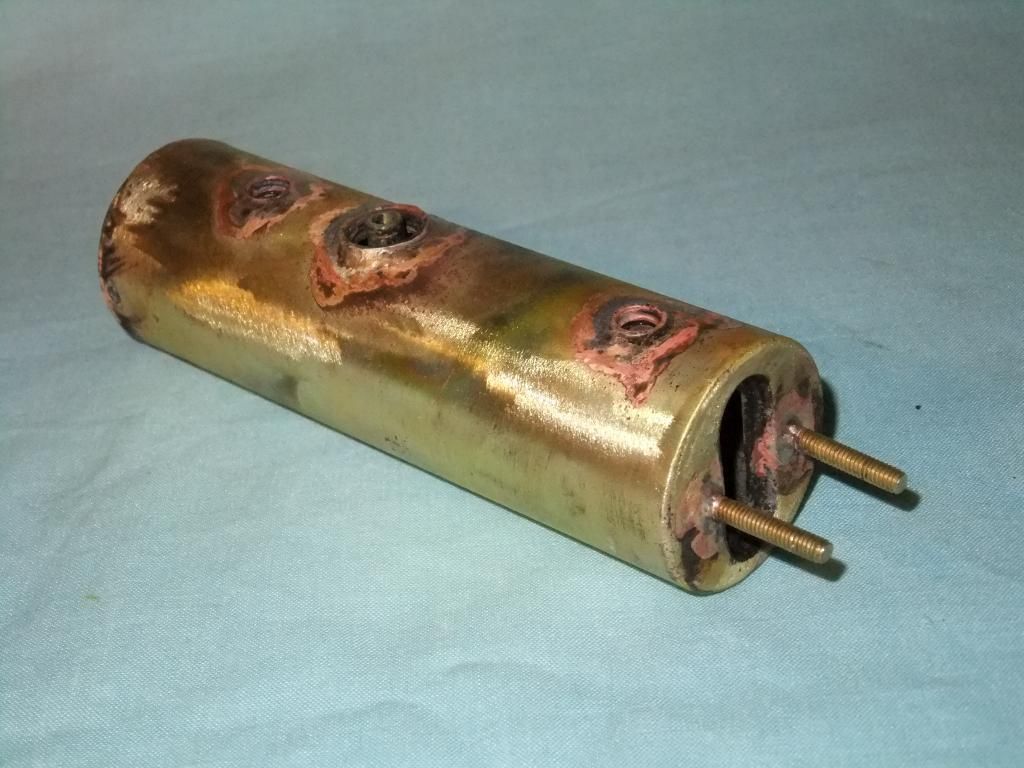
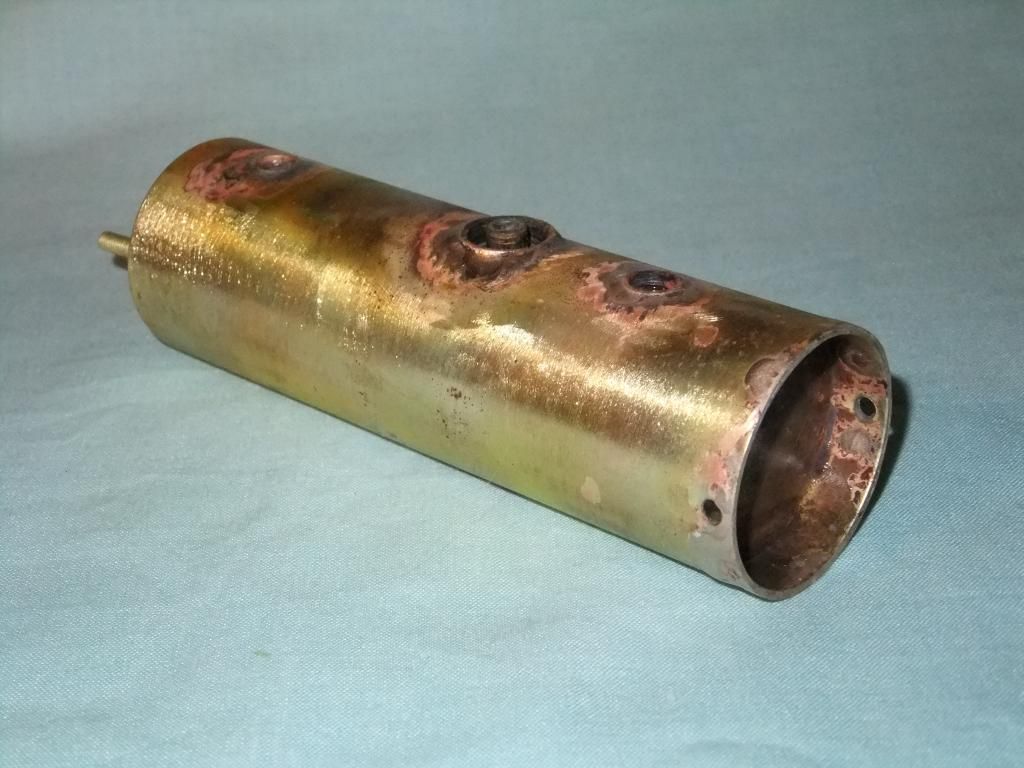
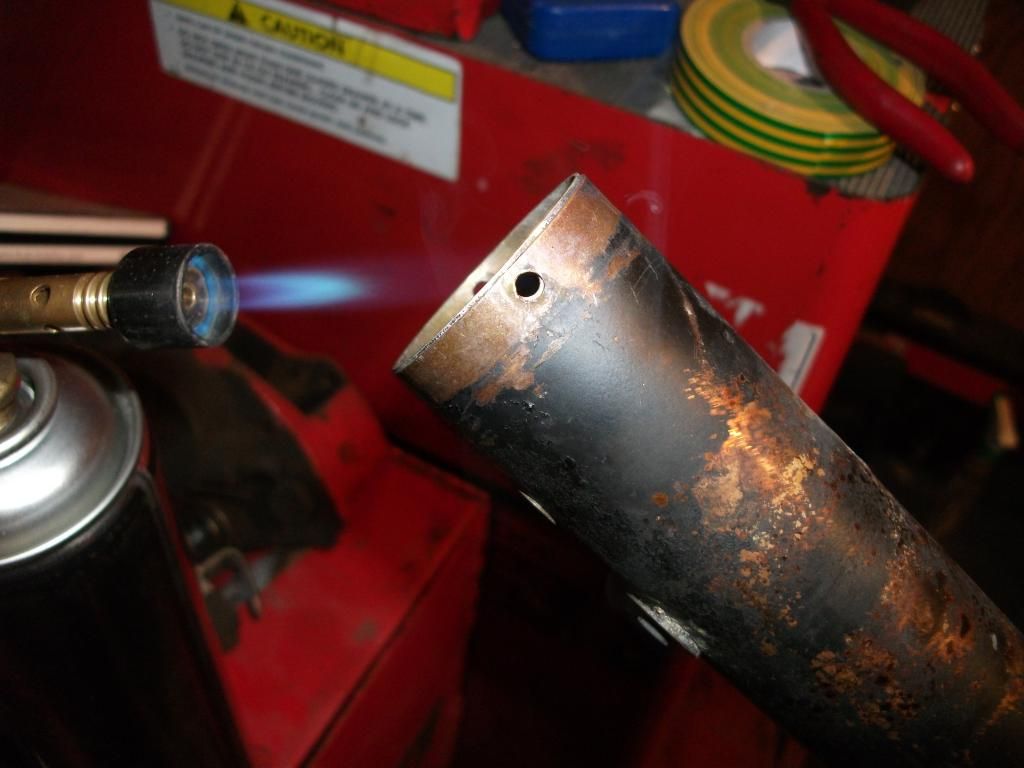
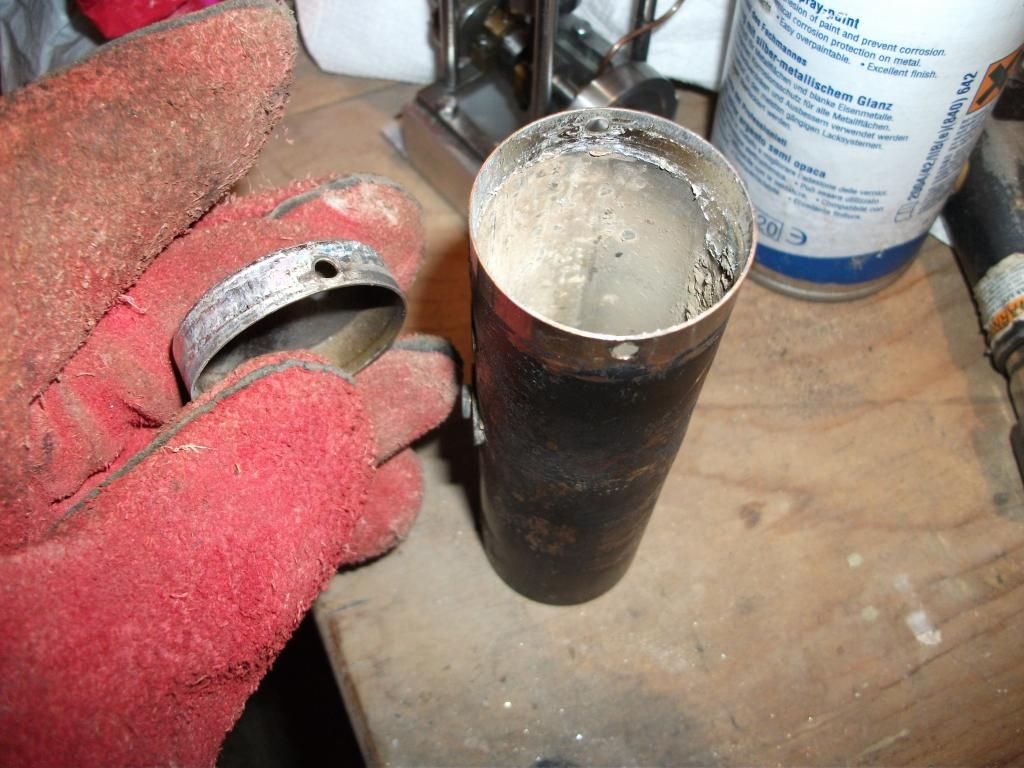
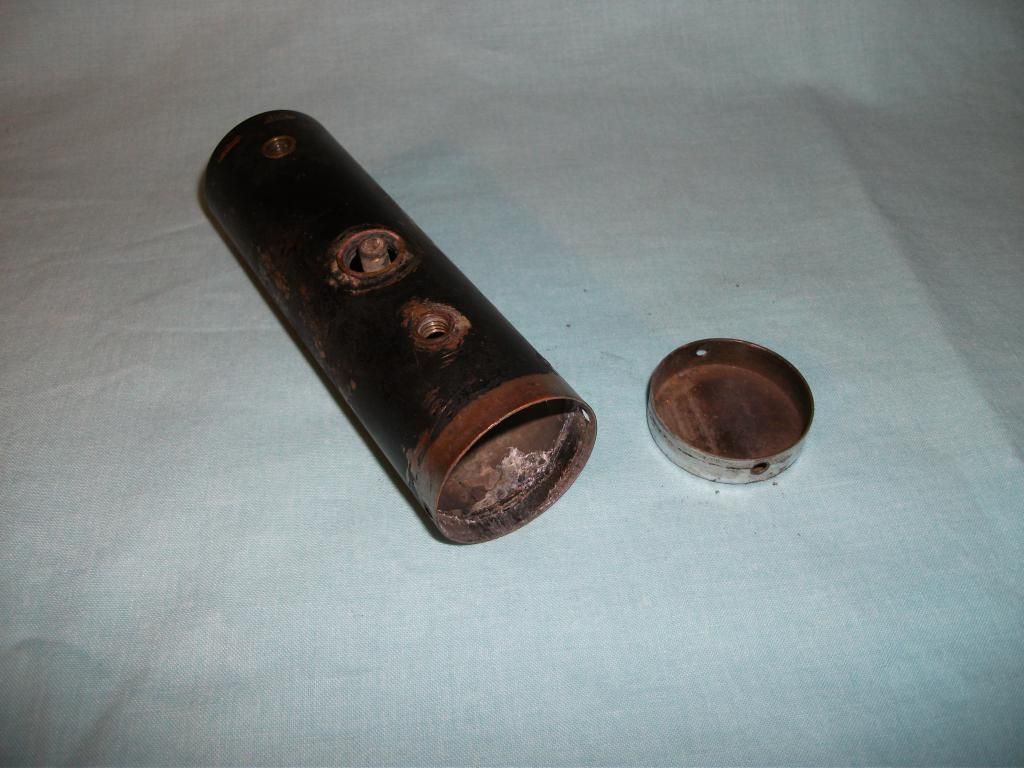
I just found the photos of one that I did a while ago. To be fair once the soft solder is melted and the heat is maintained, the solder acts like a lubricant and the cap literally flies off, if it is going to come off.
Cap just starting to come off.
Posted: Tue Sep 10, 2013 9:39 pm
by Chris Cairns
Those photos are brilliant Ace.
The first ones I have seen posted on-line clearly showing how the front boiler recessed cap is fitted. And looking at the inside of that boiler it is the only way to get rid of the deposits stuck to the inside. I have a boiler on my workshop SL3 which still suffers from priming due to a lot of build up inside the boiler which cannot be removed by flushing out with vinegar.
Perhaps when I'm feeling brave I'll try to remove the end cap.
Chris Cairns.
Posted: Tue Sep 10, 2013 11:35 pm
by ace
Posted: Mon Sep 23, 2013 9:24 pm
by ace
Hi Guys,
I thought it time for an update. As I have now got well and truly deeper into this project, I have now got a working model of Sir Huffalot. Essentially I have put him together to get some use out of the upgrades and see if my little tweaks and new parts all work together. After all I want Sir Huffalot to live up to his name.

First a few hours running in on the rolling road
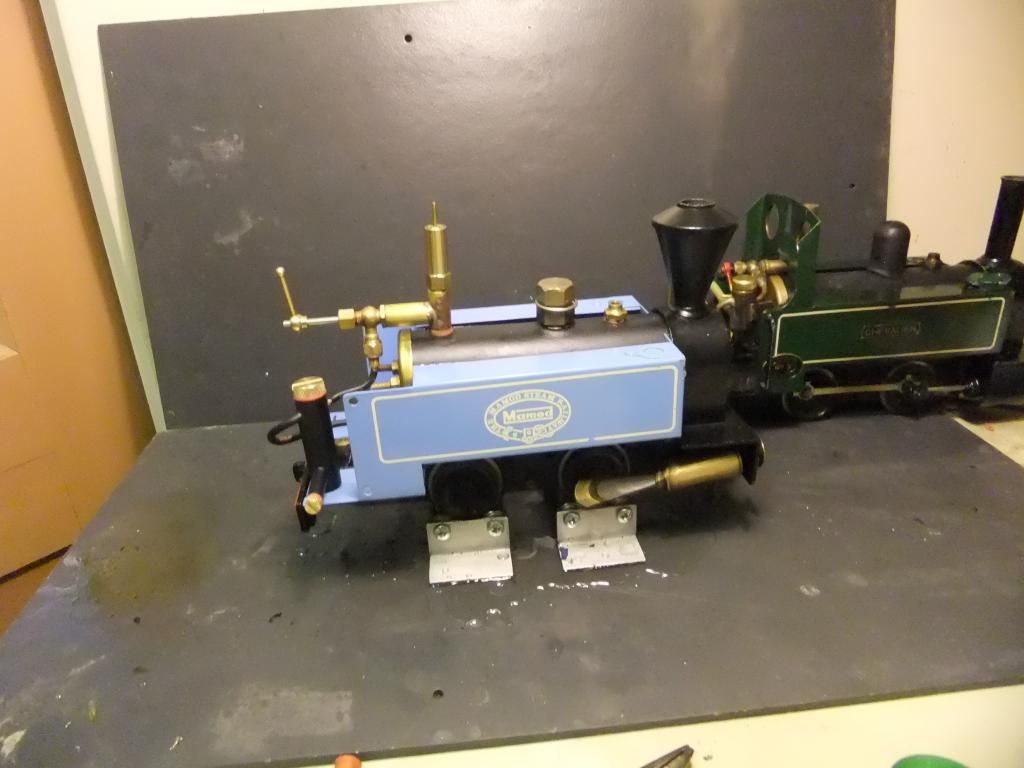
Then a quick run light
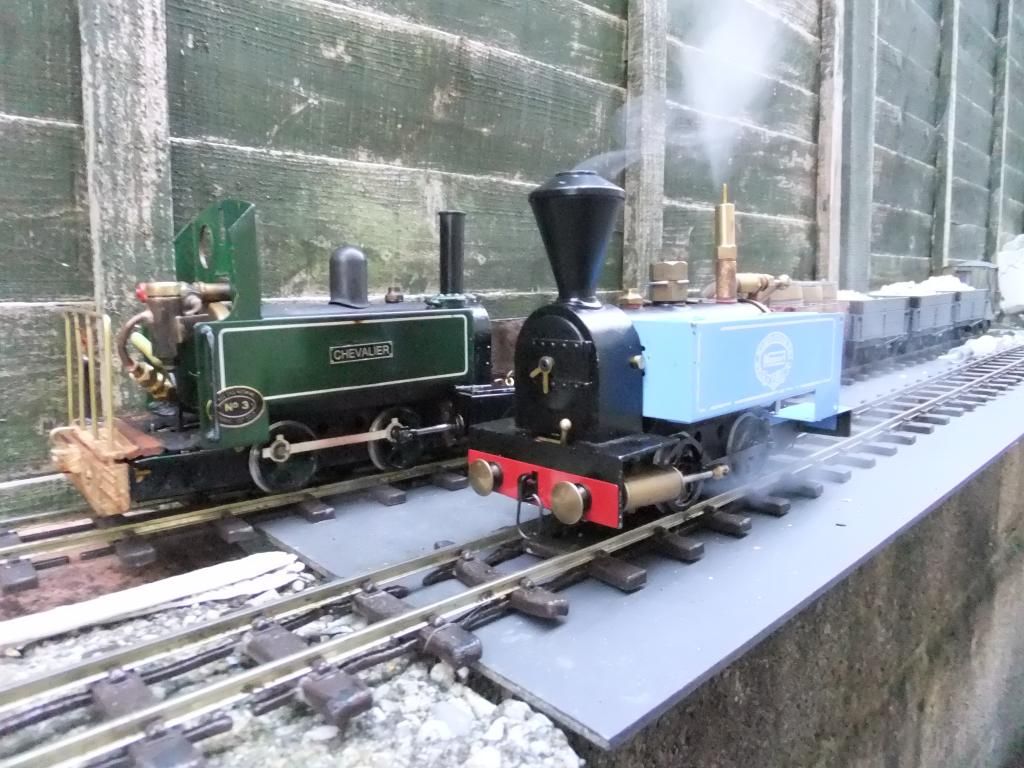
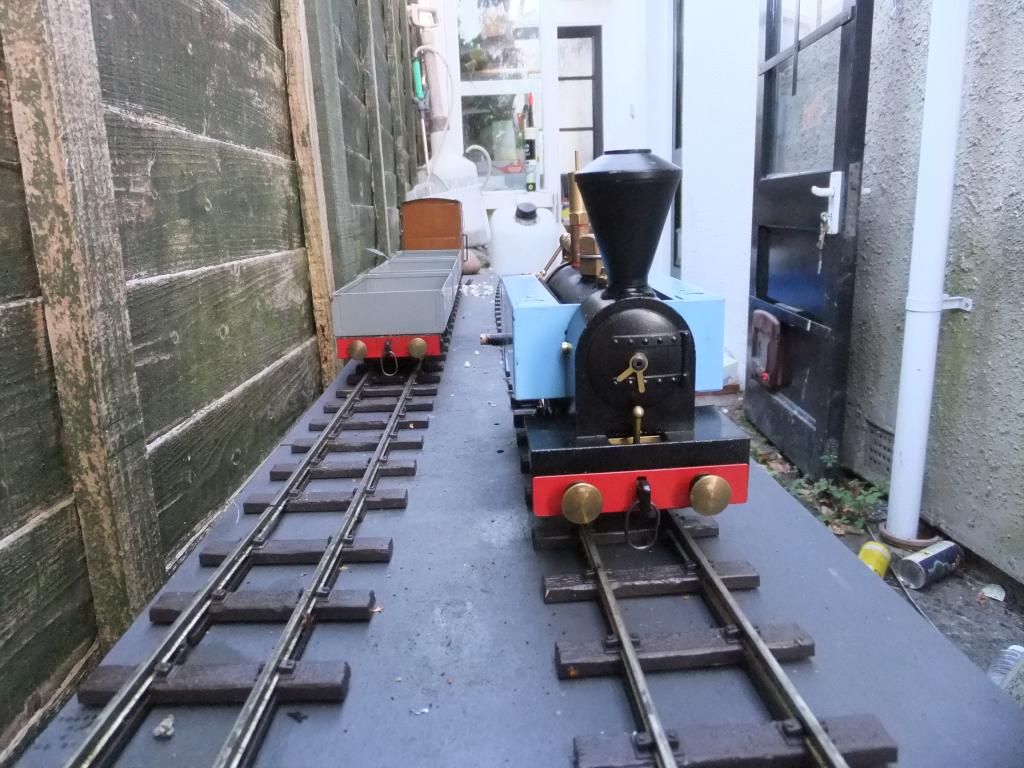
And finally coupled up to a small train for some pulling tests
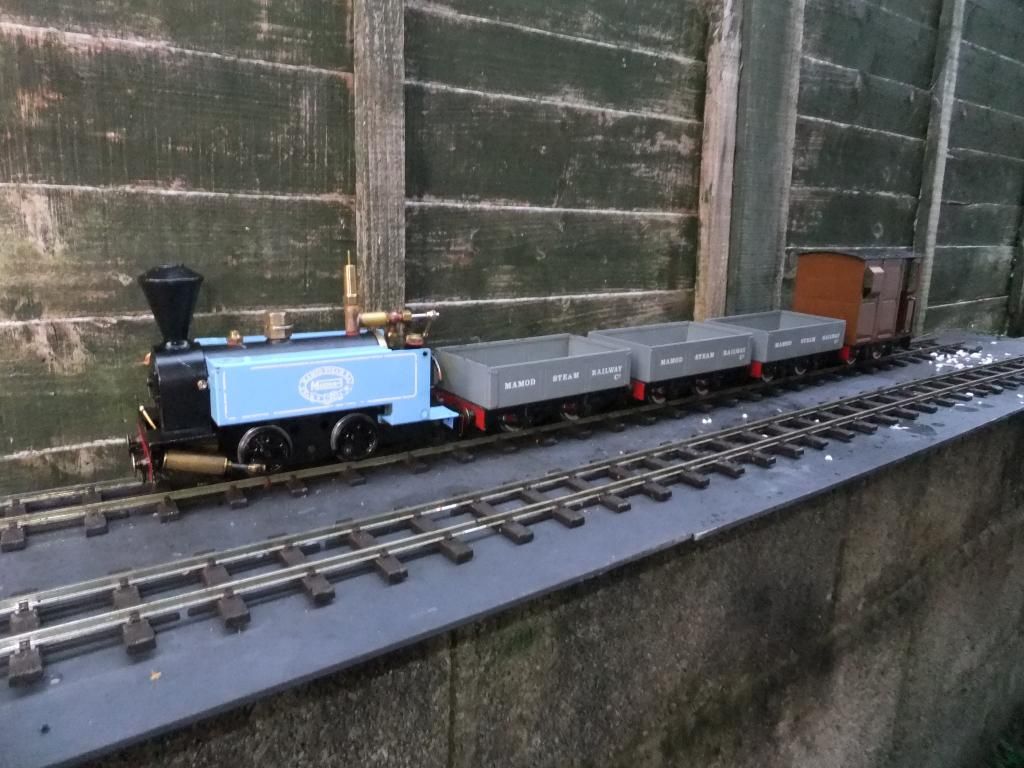
And finally a video.
<object width="800" height="600"><param name="movie" value="//
www.youtube.com/v/EP34cBjIy_w?version=3 ... ram><param name="allowFullScreen" value="true"></param><param name="allowscriptaccess" value="always"></param><embed src="//
www.youtube.com/v/EP34cBjIy_w?version=3&hl=en_GB&rel=0" type="application/x-shockwave-flash" width="800" height="600" allowscriptaccess="always" allowfullscreen="true"></embed></object>
Basically now I am at a good point to start with the bodywork modifications. A member of another forum and I have come up with a design that we are both going to have. It started out with me wanting a saddle tank engine and after chatting over PM, email and Skype we both come up something that we want. I am going to fabricate the whole project in one go and do the testing on my Sir Huffalot and double up the prototype for the other members model to wear. Both engines will essentially have the same body, but with some subtle differences. You will all have to wait and see what is going to happen!
Posted: Mon Sep 23, 2013 9:55 pm
by Chris Cairns
Ace,
Good to see that you have got the RWM reverser valve to work OK. Is that an RWM lubricator? Seems to have an excessively long drain screw fitting but I guess it depends where you will fit it into the final version of Sir Huffalot.
Appears to be a far bit of steam leaking from the cylinder to back plate interface - is it possible to put stronger springs on the pivot screws/bolts?
Look forward to Phase 2.
Chris Cairns.
Posted: Mon Sep 23, 2013 10:04 pm
by ace
Chris Cairns:89511 wrote:Ace,
Good to see that you have got the RWM reverser valve to work OK. Is that an RWM lubricator? Seems to have an excessively long drain screw fitting but I guess it depends where you will fit it into the final version of Sir Huffalot.
Appears to be a far bit of steam leaking from the cylinder to back plate interface - is it possible to put stronger springs on the pivot screws/bolts?
Look forward to Phase 2.
Chris Cairns.
Hi Chris,
Yes it is an RWM lubricator and it does have a long drain. It means I can stow it away in the cab a little further and still have good access. Yes the reverser is almost finished, just a bit more playing around with it to get it right.
The steam leaking was done on purpose, I removed the stronger springs. There is a bloody good reason why, but a clue is in the name. I will say it is so hard to make a model leak when you have so many great parts fitted, you have absolutely no idea!
It may be difficult to see now but when the new body and effects are done on the completed model the steam leak will fit in well.