Page 6 of 187
Posted: Thu Jul 04, 2013 11:30 pm
by Narrow Minded
Looking great and I
love those buildings! Bags of character

As for the foot crossing - best to have done it now, I
still haven't got around to installing the ones for the W&L

Posted: Fri Jul 05, 2013 6:59 am
by hussra
Peter Butler:85618 wrote:The attached 'plan' therefore is not a plan at all. It is an end result after all the track had been finally laid.
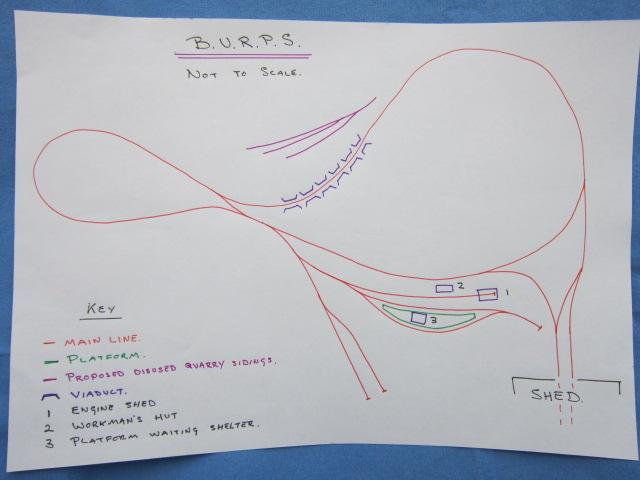
Very many thanks, Peter - it all makes sense now! Wasn't quite clear if the outdoor terminus connected straight into the lines into the shed. Two termini, both accessible in either direction - very swish.
Posted: Fri Jul 05, 2013 8:02 am
by LnBmad
That's a great looking layout! Very tidy and a wonderful nice big loop for continual running! Keep it up

Posted: Fri Aug 09, 2013 11:39 pm
by Peter Butler
More work on scenic detail now the line is laid down.
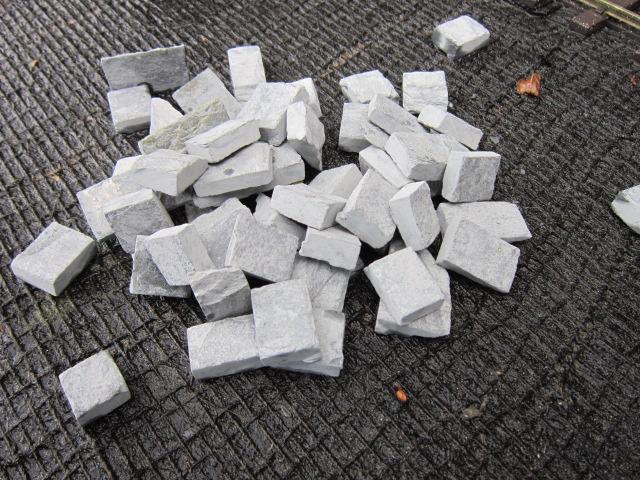
I found some old roofing slates amongst the various items we inherited from previous owners of our property. These are good old thick Welsh slates, too far gone to use on a roof but great potential for structures on the line!
I dug out my tile cutter and made a few hundred blocks:
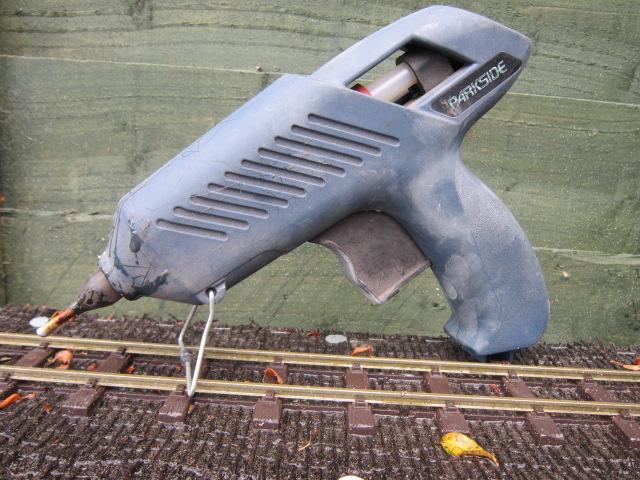
Next on the list was an adhesive which would be weather resistant, (I hope!):
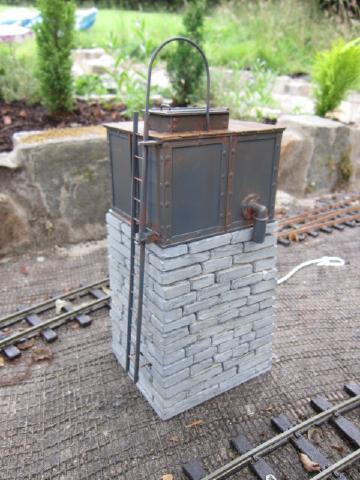
In order to keep the structure vertical I made a simple jig and started to build..... Can you guess what it is yet???
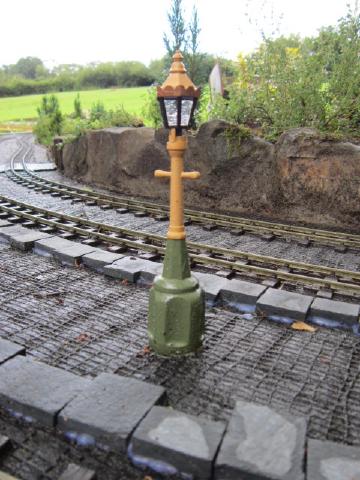
Here is the first of my structures of natural material.
Posted: Fri Aug 09, 2013 11:47 pm
by Peter Butler
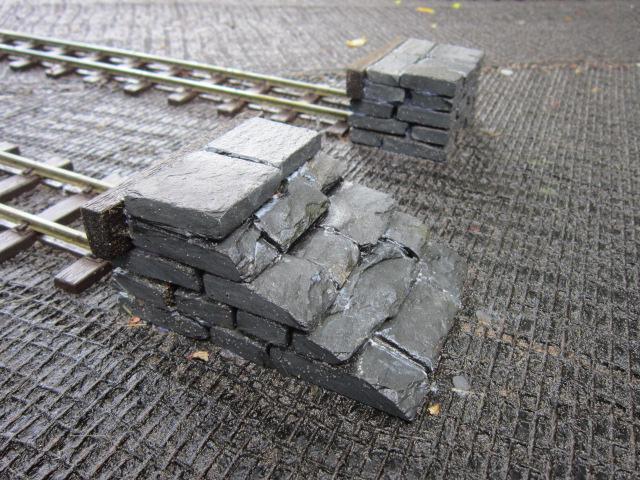
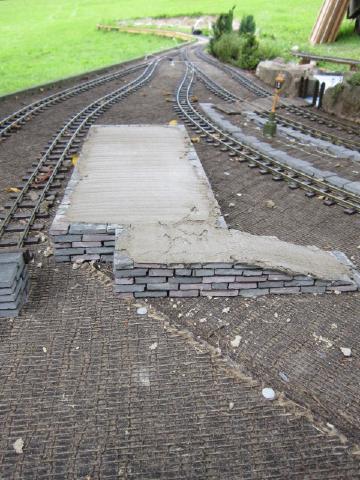
Moving on with my new found building material I have put down the platform edging, made buffer blocks and begun a cattle dock.
There's a lot of blocks needed for all this!
Posted: Fri Aug 09, 2013 11:47 pm
by LnBmad
Loving that!
Posted: Fri Aug 09, 2013 11:53 pm
by Big Al
Some Impressive looking work their Peter, I like the slate building blocks must be a pain cutting all them out.
Posted: Sat Aug 10, 2013 12:43 pm
by Peter Butler
Thanks Big Al.... not so much a pain, just time consuming.
The worst part is cleaning out the cutting machine afterwards as the sludge begins to set.
Posted: Sat Aug 10, 2013 4:52 pm
by The Denying Dutchman
I'm going to follow this topic with great interest, the work you've done sofar looks absolutely great!
Posted: Sat Aug 10, 2013 5:59 pm
by Peter Butler
Thank you Paul,
As you can see, this has been a labour of love (most of the time!). My time is taken up with little else at the moment. However, I am very pleased with the result to date and there is still masses to do to keep me occupied for many years.
Posted: Sat Aug 10, 2013 8:48 pm
by laalratty
What lovely results! I'll be interested to see how the hot gun glue method works, if it is weather resistant I'd be very interested in trying it out myself
Posted: Tue Oct 08, 2013 10:25 pm
by Peter Butler
Since my last post (Aug 10th) we have held our Open Day, (see another thread) and not done a great deal more.
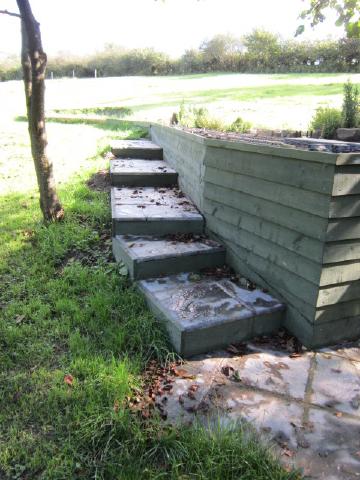
However, I have managed to fit the steps alongside the steam-up area,
before.......

after.....
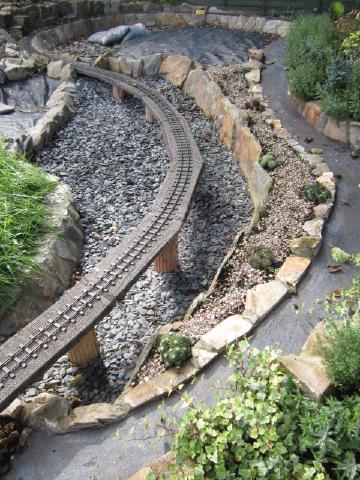
I have also noticed how well all of the plants are doing, and the general appearance of the viaduct over the quarry spoil now that it is filled with slate chippings. The sides of the viaduct will keep me busy for a long time throughout the winter months.
Posted: Wed Oct 09, 2013 5:17 pm
by invicta280
This is looking very good. I like the scenic treatment
Posted: Tue Oct 15, 2013 9:05 am
by pauly
Peter Butler:86749 wrote:More work on scenic detail now the line is laid down.
I found some old roofing slates amongst the various items we inherited from previous owners of our property. These are good old thick Welsh slates, too far gone to use on a roof but great potential for structures on the line!
I dug out my tile cutter and made a few hundred blocks:
Next on the list was an adhesive which would be weather resistant, (I hope!):
In order to keep the structure vertical I made a simple jig and started to build..... Can you guess what it is yet???
Here is the first of my structures of natural material.
In my experience hot glue doesn't last outside, I built a small building out of it and did a few repairs with it last autumn and by spring all the joints had given way.
It only works if you literally cover what your gluing to give a physical wraparound hold because after some rain and frost it looses its adhesion.
For the record hot glue outside lasts longer on wood but not long enough to be considered a success
Posted: Tue Oct 15, 2013 10:20 am
by Peter Butler
Thanks for your message of doom Pauly!
I've tried it now so will give it the opportunity to prove itself (or not),
I did have a fail during early construction by the slate delaminating and taking the glue with it. My cure for that was to soak the slates in bonding agent and after drying, stick them with the hot glue. Following regular soakings from the rain we have here in Wales, the slates still appear to be firm.
I do hope it works as the effect is well pleasing and very effective.
Posted: Tue Oct 15, 2013 12:00 pm
by RylstonLight
Hi Peter
Did the bonding agent alter the surface appearance of the slate at all?
I have used "No nail" type grab adhesive with some success in that it lasts outside (10years plus) without the stones separating. The drawback is that it is really messy and fiddly at the time of application.
I'd be interested if the appearance of the material is compromised and the length of time it lasts ( I guess I have to wait for that feedback

)
I like the way this railway is developing. Look forward to updates.
Posted: Tue Oct 15, 2013 4:02 pm
by Peter Butler
The bonding agent only made the slate look wet... slight sheen, but this wears off outdoors leaving the contact areas stuck together. So far so good!
Frost will be the one to watch.
Posted: Thu Oct 17, 2013 7:20 pm
by Peter Butler
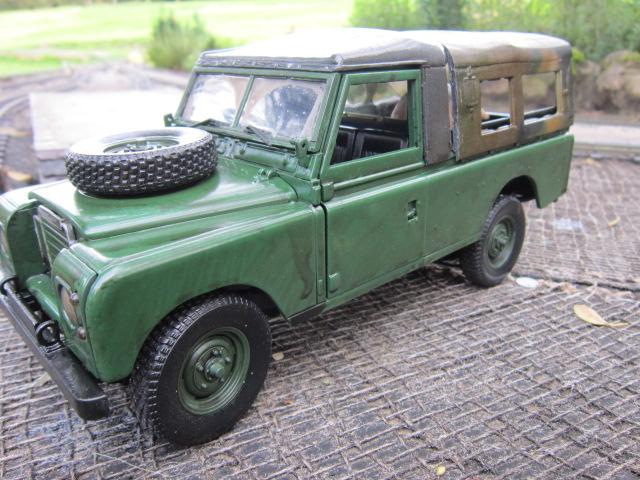
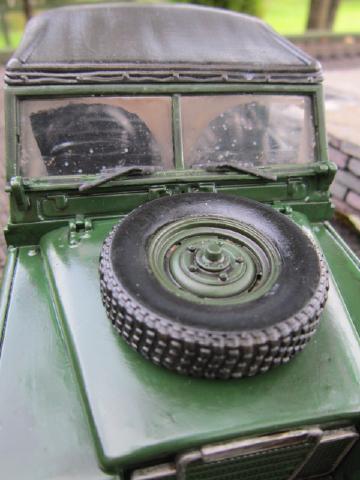
Another addition to the scenics..
I have had this long wheelbase LandRover for ages and was never happy with it. It came in camouflage colours with a full length canvas effect cover over the back and had a red cross on both front doors!
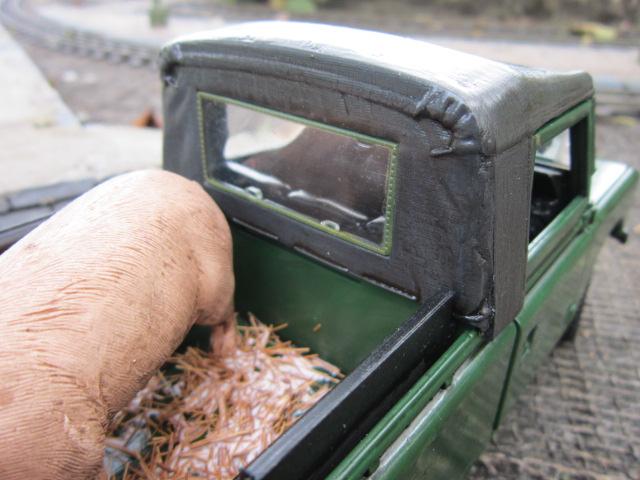
I decided to cut the canvas effect cover down to just be over the front seats. This was done by sawing off the rear section and just behind the seats, then gluing back together again.
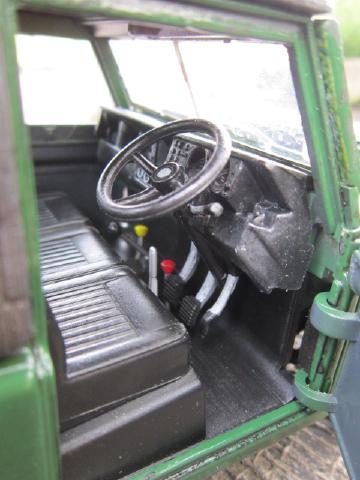
Next came the swap over from left to righthand drive... Now this was a bit more complicated and meant the pedals, steering column, and dashboard had to be cut into 6 sections and rearranged. Now it's back together, you can't see the joins!
Finally, to give it a purpose, I have put a large pig on the back because farmer, Dilwyn Davies, is taking her to market.
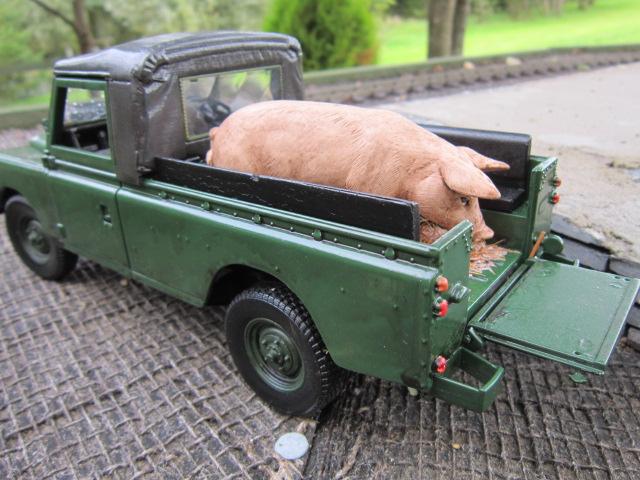
A coat of paint, some weathering and the job is complete.
Posted: Thu Oct 17, 2013 7:47 pm
by Dannypenguin
Like it!
Where did you get it from?
Posted: Thu Oct 17, 2013 9:04 pm
by Peter Butler
It's one of those things I've had for so long I can't remember where it came from. I'll have a look tomorrow to see if there is a manufacturers name on it.