RWLR - Robin Wood Light Railway


-
tom_tom_go

- Driver

- Posts: 4824
- Joined: Wed Feb 23, 2011 3:08 am
- Location: Kent, UK
- Contact:
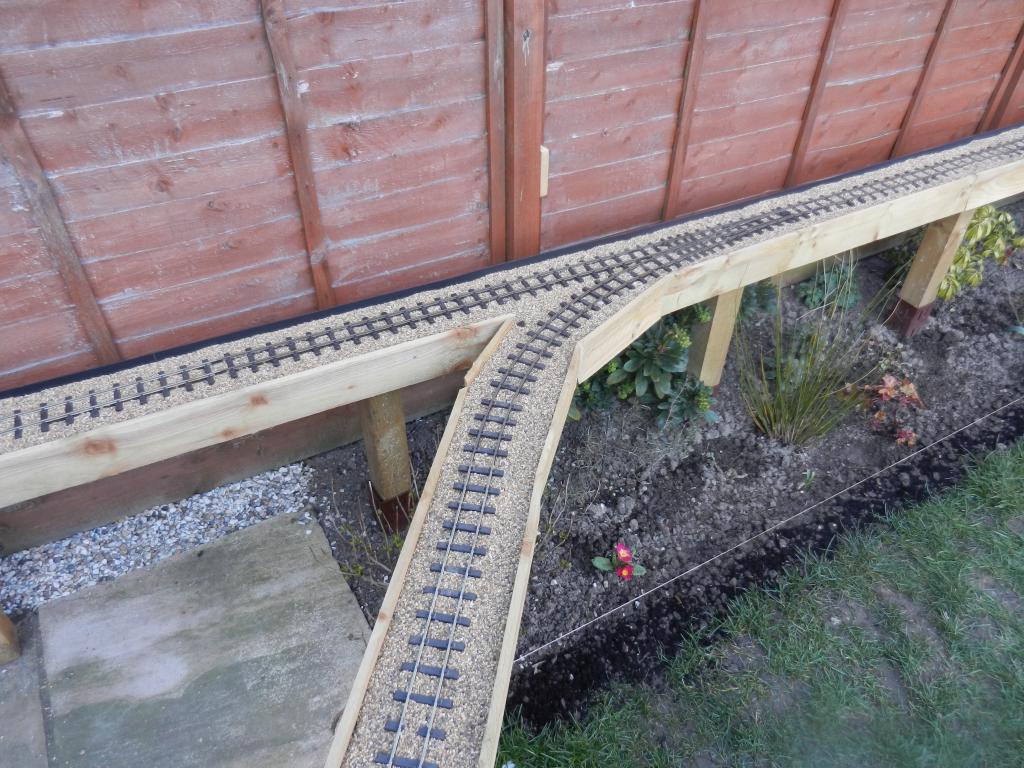
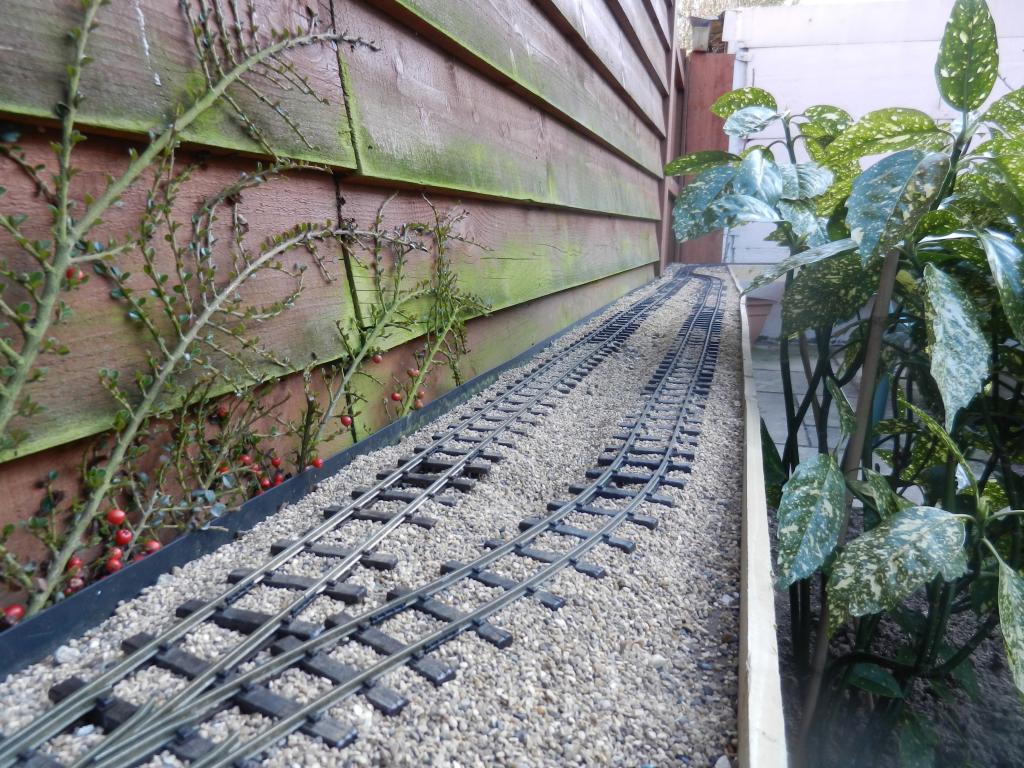
After two weeks of braving the cold (and getting a cold in the process) I have finally completed a circuit of track 
This is my first go at a YouTube video as Photobucket does not allow you to host videos at a decent resolution:
Watch the 'First complete run on the RWLR'
I did film this in HD, however, my Internet connection is rubbish so excuse the quality. I also had to drive the train at the same time so the stalling on the curves is not down to poor track laying
I hope though it gives you an idea of what I have built.
The noise you hear near the end of the clip is Eurostar on its way to France...
Cheers,
Tom
This is my first go at a YouTube video as Photobucket does not allow you to host videos at a decent resolution:
Watch the 'First complete run on the RWLR'
I did film this in HD, however, my Internet connection is rubbish so excuse the quality. I also had to drive the train at the same time so the stalling on the curves is not down to poor track laying
I hope though it gives you an idea of what I have built.
The noise you hear near the end of the clip is Eurostar on its way to France...
Cheers,
Tom
-
Lner fan Sam
-
tom_tom_go
- Driver
- Posts: 4824
- Joined: Wed Feb 23, 2011 3:08 am
- Location: Kent, UK
- Contact:
Cheers chaps, its taken a while!
I think the only changes I will make in the future is to replace the points on the loops with the new Peco short radius versions so I can have a gentler curve connected to them (these were not available at the time).
Still plenty to do. Scenery, station, buildings, etc...
I think the only changes I will make in the future is to replace the points on the loops with the new Peco short radius versions so I can have a gentler curve connected to them (these were not available at the time).
Still plenty to do. Scenery, station, buildings, etc...
-
tom_tom_go
- Driver
- Posts: 4824
- Joined: Wed Feb 23, 2011 3:08 am
- Location: Kent, UK
- Contact:





-
tom_tom_go
- Driver
- Posts: 4824
- Joined: Wed Feb 23, 2011 3:08 am
- Location: Kent, UK
- Contact:
-
tom_tom_go
- Driver
- Posts: 4824
- Joined: Wed Feb 23, 2011 3:08 am
- Location: Kent, UK
- Contact:
My recent test day went very well with a good turn out from Kent members. The passing loop proved very useful for running two or more trains!
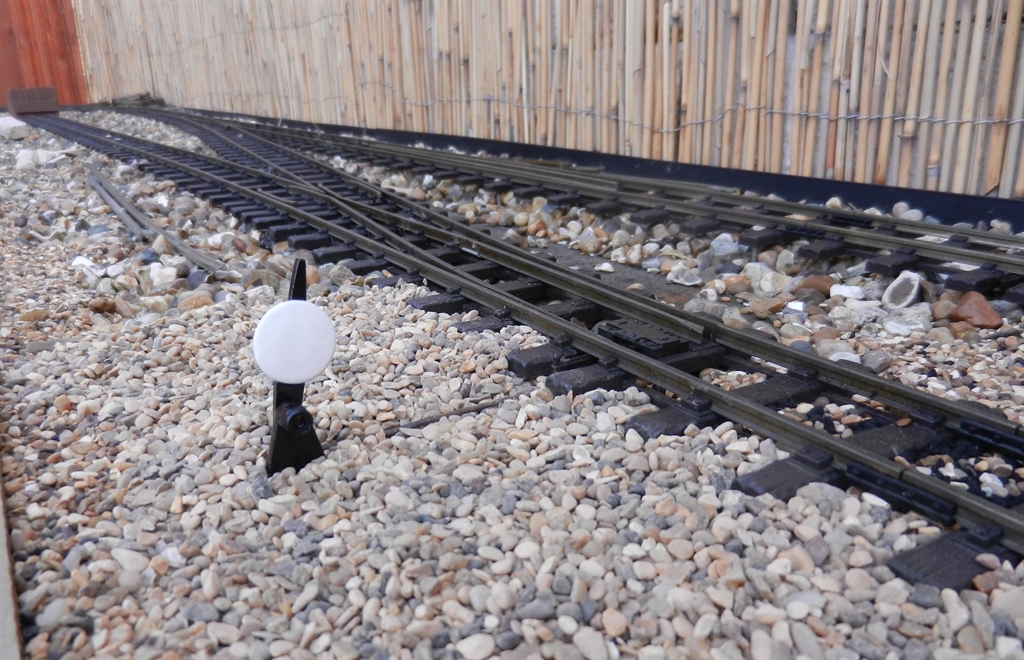
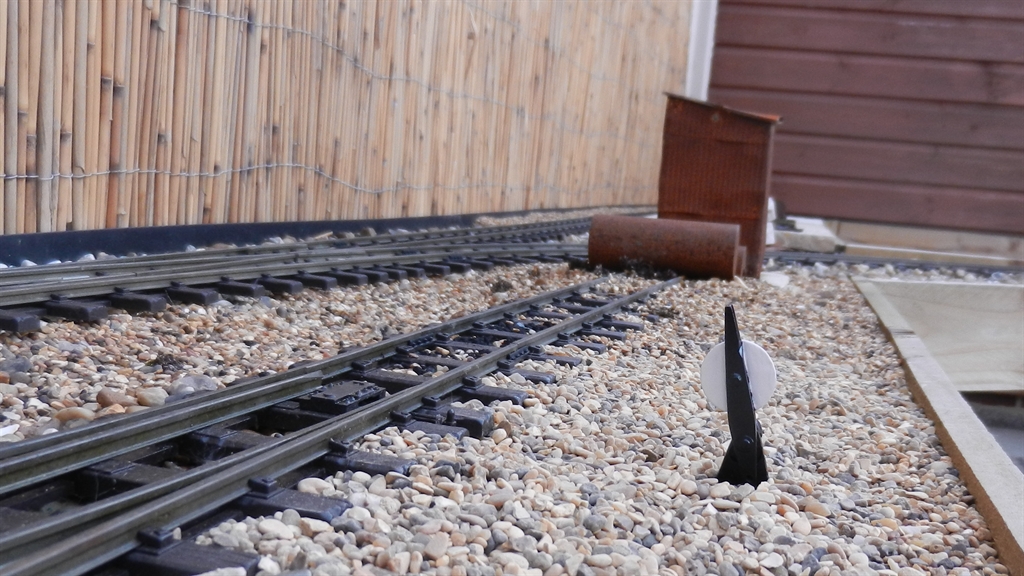
Test fitted the point levers I am going to use on the line today:


The base will be covered in ballast to hide the screws and the lever itself I will paint black with the iron weight painted white on both sides.
The rodding is just electrical wire (ring main type) which does not flex easily unlike wiring used for lighting circuits.
Test fitted the point levers I am going to use on the line today:
The base will be covered in ballast to hide the screws and the lever itself I will paint black with the iron weight painted white on both sides.
The rodding is just electrical wire (ring main type) which does not flex easily unlike wiring used for lighting circuits.
-
Colinjamesporter
-
tom_tom_go
- Driver
- Posts: 4824
- Joined: Wed Feb 23, 2011 3:08 am
- Location: Kent, UK
- Contact:
Thanks Colin.
You can buy them from Cliff Barker at www.cliffbarker.talktalk.net
I use his A.S.A fish plates as well which make fitting Peco track a breeze.
You can buy them from Cliff Barker at www.cliffbarker.talktalk.net
I use his A.S.A fish plates as well which make fitting Peco track a breeze.
-
tom_tom_go
- Driver
- Posts: 4824
- Joined: Wed Feb 23, 2011 3:08 am
- Location: Kent, UK
- Contact:
-
LnBmad
Was looking at my line and garden again today and feeling a bit down about it as its nowhere near where I want it to be and I was feeling uninspired... I remembered our plans were similar so have just reread all of this and can honestly say I want to make my line work! Totally reinspired! Cheers Tom! Next time I'm at the in-laws I may have to bring a loco to run as will be in your end of the country.... 
-
tom_tom_go
- Driver
- Posts: 4824
- Joined: Wed Feb 23, 2011 3:08 am
- Location: Kent, UK
- Contact:
I am glad it's given you the motivation (as other people's lines have for me).
Everything just takes time. The garden you see now was nothing like that when we first moved in. The patio was not laid, no flower beds or plants, rotten decking and a shed that was about to fall over.
Even now there is plently still to do.
You would be very welcome to visit. Runnning more than one train on my little line is possible now due to the passing loop and makes for much more interesting running.
Whenever of if ever you get fed up or down about the quality of your work with 16mm just have a look around at other members achievements. That always gives me a boot up the a!#e to be grateful and get on
Everything just takes time. The garden you see now was nothing like that when we first moved in. The patio was not laid, no flower beds or plants, rotten decking and a shed that was about to fall over.
Even now there is plently still to do.
You would be very welcome to visit. Runnning more than one train on my little line is possible now due to the passing loop and makes for much more interesting running.
Whenever of if ever you get fed up or down about the quality of your work with 16mm just have a look around at other members achievements. That always gives me a boot up the a!#e to be grateful and get on
-
tom_tom_go
- Driver
- Posts: 4824
- Joined: Wed Feb 23, 2011 3:08 am
- Location: Kent, UK
- Contact:
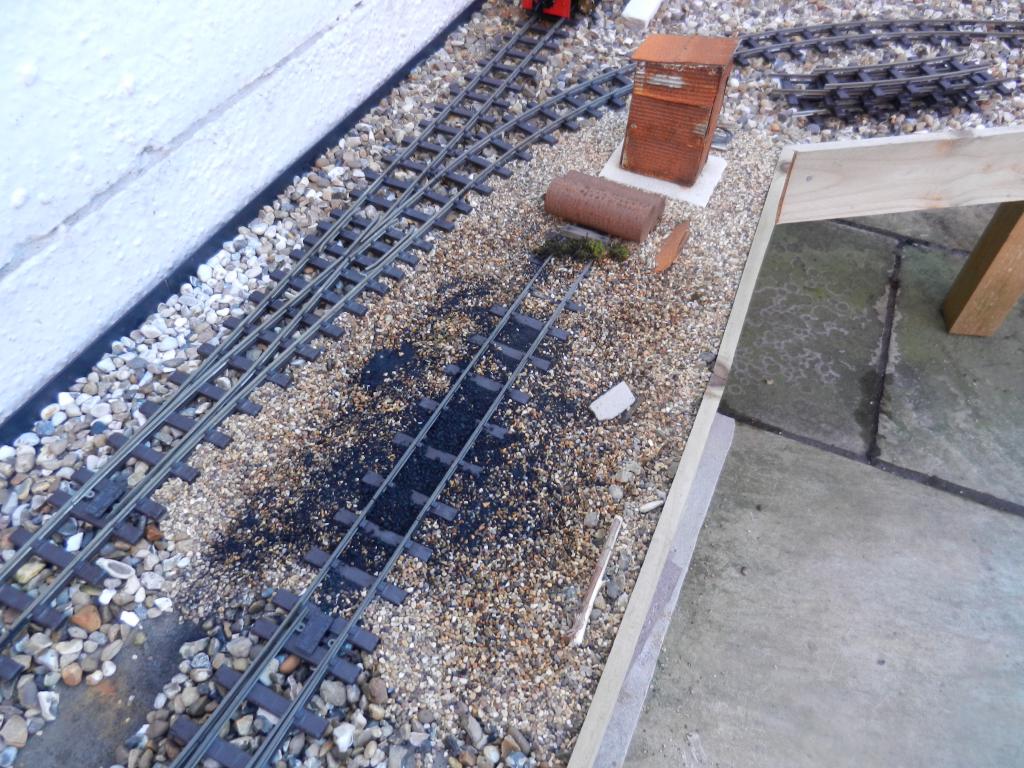
Clarey finally get's a steam-up bay:


There is another point lever to go on the point you see in the picture (currently drying) and I will see how the wood naturally weathers. If it does not weather to the look I want I will use my wire-wool/vinegar treatment instead.
When time allows I want to scratch build a metal water tower so it will rust.
There is another point lever to go on the point you see in the picture (currently drying) and I will see how the wood naturally weathers. If it does not weather to the look I want I will use my wire-wool/vinegar treatment instead.
When time allows I want to scratch build a metal water tower so it will rust.

Who is online
Users browsing this forum: No registered users and 2 guests