After the basic plywood box has been made, the structure is then drilled all over with lots of small holes, say about 3mm and then covered in PVA. Filler is then applied. I find that the cheap stuff works just as well as car body filler. After lots and lots of sanding, the whole structure is then etched with bricks. Each one is painted indivitualy using a scouring pad and then re etched over the mistakes. Once dry the lot is dry brushed and painted with other colours to give the bricks a weathered look. Once done it will be covered in clear varnich for water proofing. Using white filler is better as it gives a more realistic brick colour, but then the mortar lines have to be washed in grey... anyway pictures!

Applying PVA to the sides and the roof. The roof is to be green corogated iron.

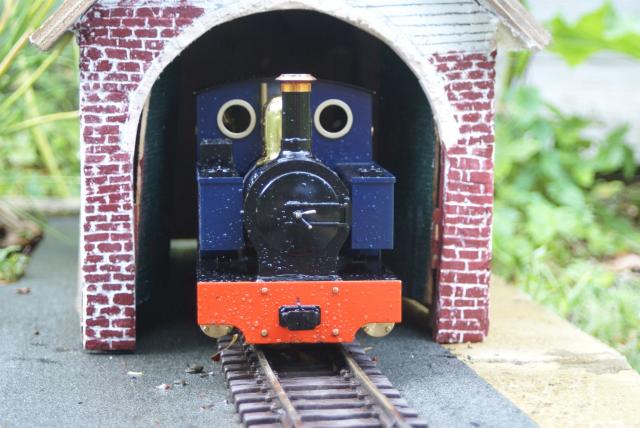
In position with doors on and filler on the side.