It's now that time to give members my take on a Guards Van.....

It has taken most of the summer (what summer) holidays to finish due to the fact of our Grandkids minding duties...

Still it's been fun doing it, but after having the Grandkids, 4 of them at times, mostly 3, I have been knackered after 8-9 hours of them every day for 6 days all summer..
So here we go. Forgive me if it's a rather long update on my build. I could just show the finished Van, but then were is the fun in that...

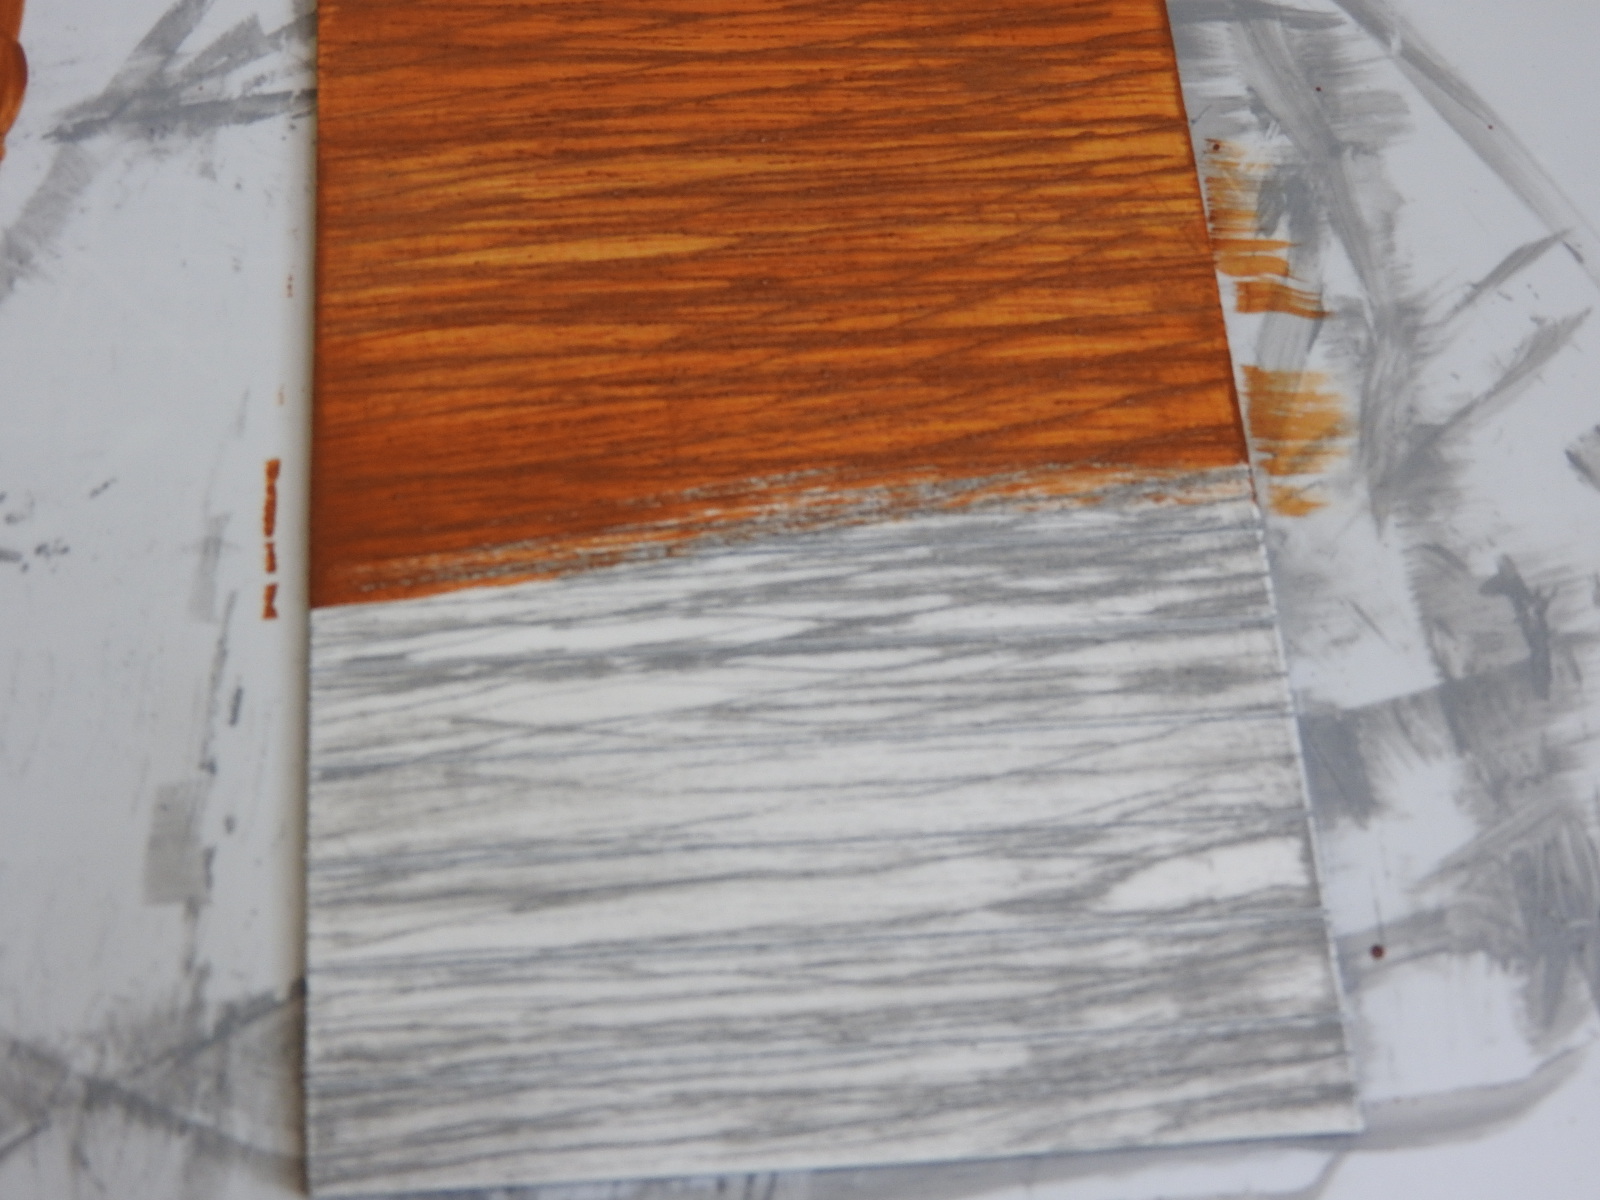
After the chassis, the floor was cut, scored and painted.

- DSCN4110.JPG (443.03 KiB) Viewed 7328 times
- DSCN4120.JPG (469.3 KiB) Viewed 7328 times
I was going to just leave all of the van with just the grey paint, but maybe next time. There really does need to be a wood colour under the grey, so a little bit of experimenting will be done...
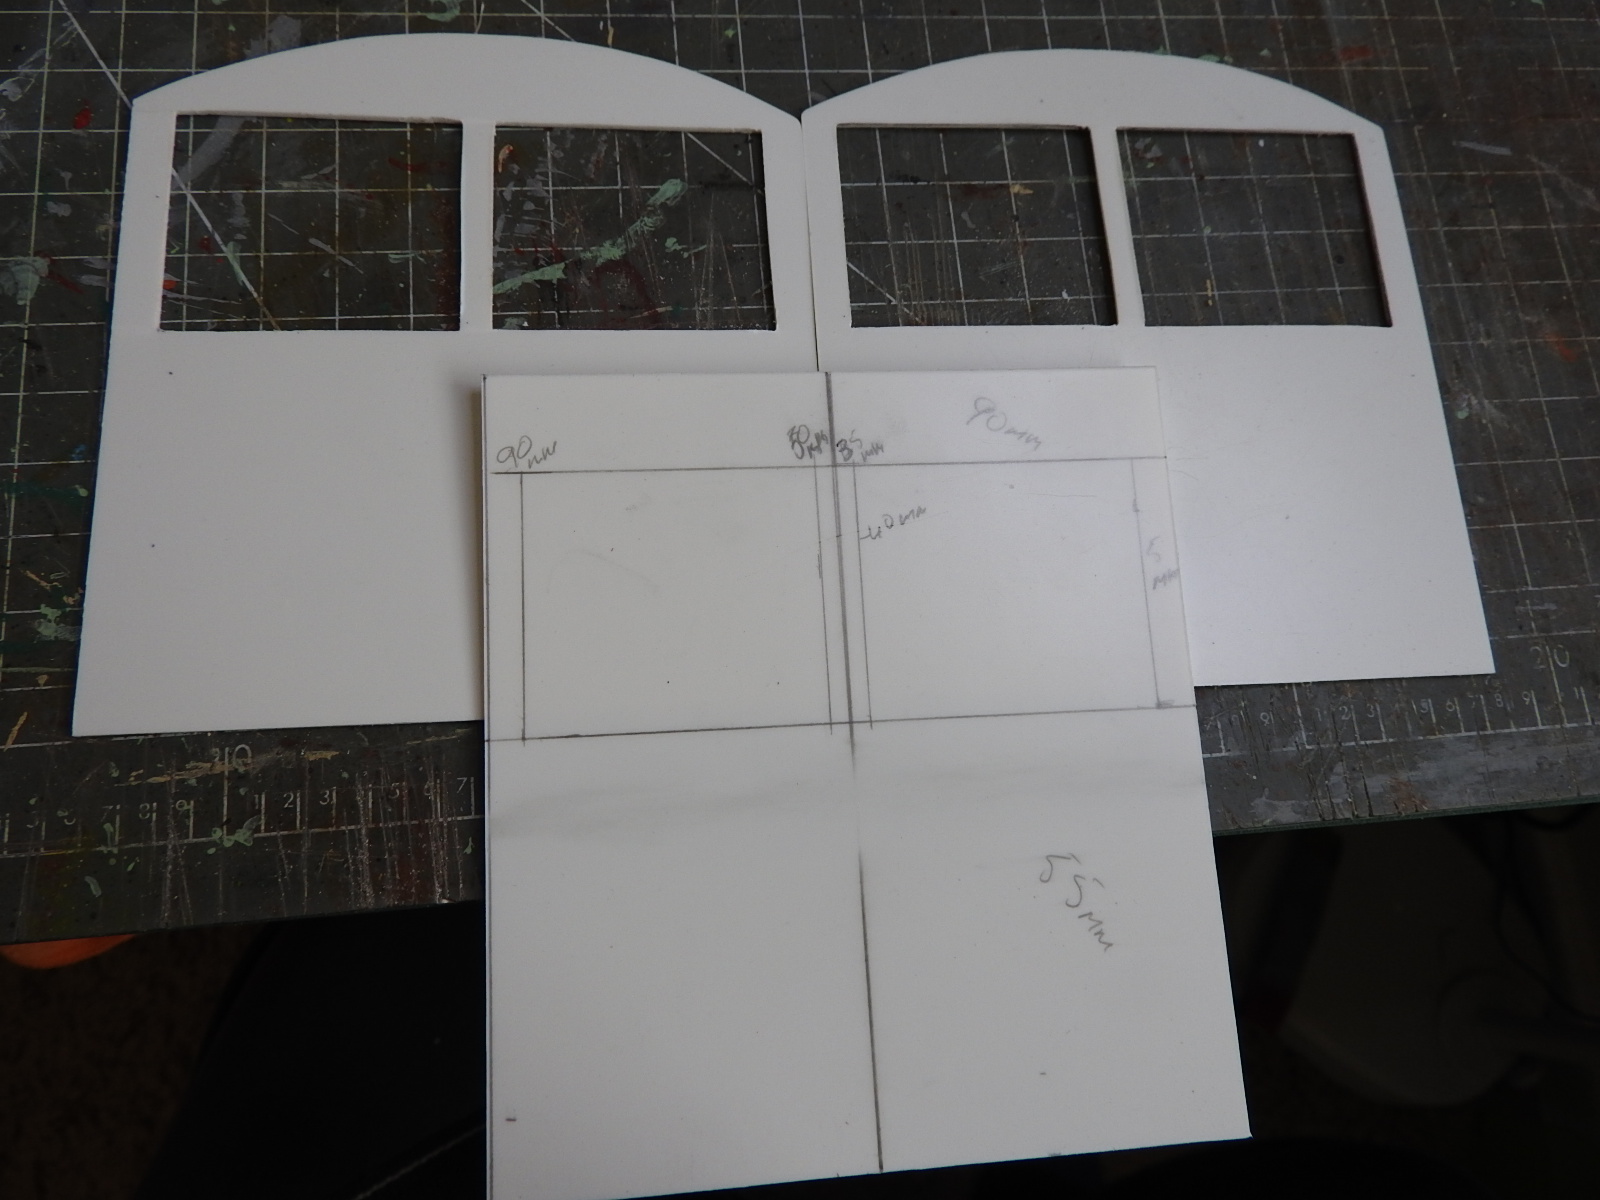
Next is four ends, four ends I hear you say. All will be revealed in a few minutes...

- DSCN4121.JPG (475.93 KiB) Viewed 7328 times
- DSCN4122.JPG (452.1 KiB) Viewed 7328 times

- DSCN4123.JPG (485.48 KiB) Viewed 7328 times
The two inner ends and sides,

- DSCN4124.JPG (439.17 KiB) Viewed 7328 times

- DSCN4125.JPG (469.39 KiB) Viewed 7328 times
Now the outer ends of the van,

- DSCN4126.JPG (459.05 KiB) Viewed 7328 times

- DSCN4127.JPG (455.56 KiB) Viewed 7328 times
I made two jigs for the roof so I could cut the four roof supports out, they needed to be different for the inner ends because of the height of the doors.

- DSCN4129.JPG (484.93 KiB) Viewed 7328 times
With the roof on,

- DSCN4132.JPG (447.79 KiB) Viewed 7328 times
I am sorry I haven't took any more photos showing the making and fitting of the buffer beams and the other things, like the running boards. But they are a simple build and one that most of us can do, some a lot better than I can do..
I did however put some glazing in the van ends and Anne suggested there should be some wipers on the windows so the Guard can see out, (I need a Guard I said) hint...So I thought it would do no harm. I ordered two of them plus some made to order grab rails, plus 4 Milk cans and a chimney from SLR models for £10, which Nicki did has a favour for me, all of them would have been a little bit more though..
After fitting the wipers I did think they don't look right and also the roof....maybe I shouldn't of gone with the crumpled look, at the time it looked good, BUT.....
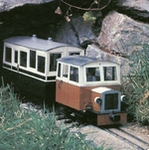
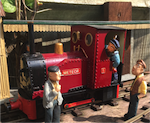
Anyway here it is, weathered and done. The couple of photos of it behind the coach and Anne's Tram are purely for photo purposes, I am going to have it behind some coal and flat wagons, that was the idea anyway......

- DSCN4133.JPG (450.28 KiB) Viewed 7328 times

- DSCN4134.JPG (463.64 KiB) Viewed 7328 times

- DSCN4135.JPG (481.2 KiB) Viewed 7328 times

- DSCN4136.JPG (451.44 KiB) Viewed 7328 times

- DSCN4138.JPG (493.28 KiB) Viewed 7328 times

- DSCN4139.JPG (452.4 KiB) Viewed 7328 times

- DSCN4140.JPG (476 KiB) Viewed 7328 times

- DSCN4141.JPG (487.74 KiB) Viewed 7328 times

- DSCN4143.JPG (463.06 KiB) Viewed 7328 times
I think It come has to the end of the allowed space for this post. So I will put the other couple of photos up later.
I hope you like my take on a Guards Van, it may not be proctypicial, but I don't pretend to do proctypicial. I do what I think looks good for us. I don't really have the knowledge anyway of how railways should or should not be. I just love railways in all its forms......