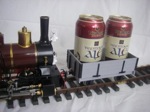
This project started out as a quickie kitbash when I first moved into garden scale. A seller in Aust. was selling J-S cars on Ebay Oz, split from Bachmann sets and at less than half normal retail price. That was about five years ago.........
It was only completed with the kind help of ge_rik, who let me have the left over roofs from his own Bachmann conversions.
Most of the Aust railway systems bought US passengers cars in the 19th century, as an improvement over the bone-shaking fixed wheelbase british designs of the time. The usual process was to buy a couple from the US to try out, before building the rest locally.
The Bachmann Jackson Sharp cars are typical of the type, but have one major problem, they are built to 1:22 scale (more or less), which makes them a bit small for the 1:20 scale commonly used for 3' gauge models. I think Bachmann borrowed LGB's rubber ruler when they were designing these.
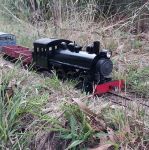
Anyway, with the Fowler loco completed and running, I finally bit the bullet and pulled out these two models to see what could be done.
I was unimpressed with the plated die cast wheels, although the LGB clone bogies were OK, so the first task was to turn up some new wheel sets to my usual design. There was a rats nest of wiring for the battery powered lights which I removed as well.
The model bodies were mounted too low on the chassis moulding for a 1:20 scale adult to stand under the end canopies and the end platform was also too short. After some head scratching and back of the envelope calculations, I decided it would be easier to make new underframes based on my standard design, so the existing jigs could be used. US pass cars were usually built with trusses in the body and didn't have separate underframes, but the ones the VR imported from the Gilbert Car Co. in the 1870s did, so the TVT cars are loosely based on these bg cars and have full underframes.
This pic. is the new wooden chassis built to fit under the Bachmann bodies.

The other issue with the Bachmann models is that the roof canopies are too short for the larger scale and had to be extended. Splicing in extensions wasn't going to be easy and the project sat around for several years taking up space until I was able to get the spare roofs from Rik.
This composite pic. shows a modified body with the extended roof and new under frame, with the unmodified body below for comparison.

At this point I figured I was over the hump..... hah!
This next pic shows where new polystyrene was added to the ends to make it sit at the right height and to fill in under the extended roof. By this time the roof joints had been filled and sanded flat and the lettering had been removed. The gas lamp tops and water tank filler on the roof are simple brass turnings. The platform handrails have also been soldered up from K&S brass rod and fitted. These are based on the type fitted to early VR ng cars.
Bachmann in their wisdom at some point over the years decided to 'texture' the roof. Apart from disliking very rough roof surfaces, the texture made the splices extremely visible and it took a lot of time to smooth out the roof mouldings. I first tested various ways of removing the texture on the leftover roof bits. Sandpaper was as slow as a wet week and risked leaving flat spots, as well as rounding off edges. Eventually I settled on scraping the roof smooth with what amounted to a small cabinet scraper made from an old utility knife blade.

Then came seats. Once the windows are fitted, the interior isn't very visible, so I don't bother panelling out interiors, but I do fit simple seats assembled from bits of ply and wood profiles.
This composite pic shows the parts and some assembled seats with the wood stained and the upholstery painted. The saloon seating arrangement is 1+2 with a centre corridor. Seating capacity is 34, definitely in the cattle class in a ng car where the saloon scales out at 6'6" wide by 27" long.

Now we are in the home straight, with just painting and lettering to do. I hate painting. I used to enjoy it, but modern enamels leave much to be desired and I hate acrylics even more. It took a fortnight for the colour coats to dry hard enough to handle for lettering and lining. Then another fortnight for the clear coat to harden enough for fitting windows and final assembly.
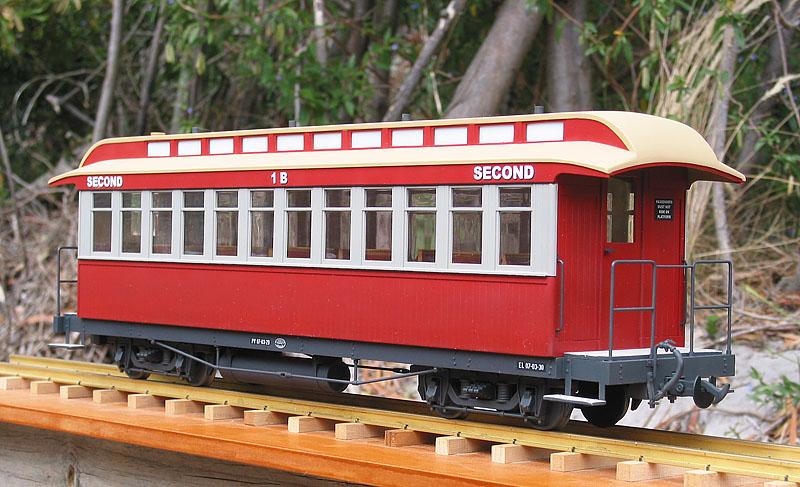
This pic shows one of the two finished models. The enamel sign on the end under the canopy informs passengers that they are not permitted to ride on the end platform. The clerestory windows have been lightly sprayed very light grey on the inside to simulate opal glass which was commonly used for clerestory windows in Aust. Presumably to let in light, but not heat. The colour scheme is otherwise the same as my other pass cars.
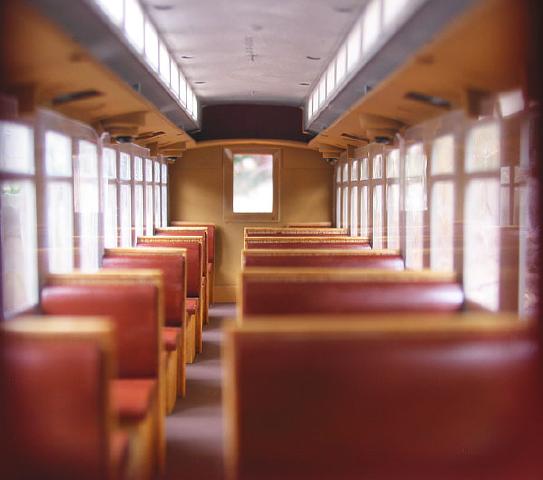
Just for fun, this is a shot through the end door showing the interior arrangements. Note the light coming through the translucent "opal glass' clerestory windows.
The final pic. shows how one of the new cars blends in size wise with an arc roof van. If the body hadn't been lifted, the top of the clerestory of the model roof wouldn't be much higher than the arc roof of the van.

TVT Story
As the area served by the TVT developed with the improved transport, passenger traffic increased and the railway also became popular for local church picnics and other excursion traffic.
Around this time a 3'6" gauge railway in Tasmania closed and the TVT secured a cheap deal on some US style passenger carriages suitable for conversion to high seating capacity for excursion traffic.
The passengers didn't complain too much, as they were still better off than sitting on a wooden bench in an open wagon, which was the alternative.
The TVT management were also happier than they might have been, as the purchase and conversion costs were a fraction of what new cars would have cost.
Regards,
Graeme