Bolt together Mamod locomotive body.
Posted: Wed Dec 03, 2014 9:17 am
Hi,
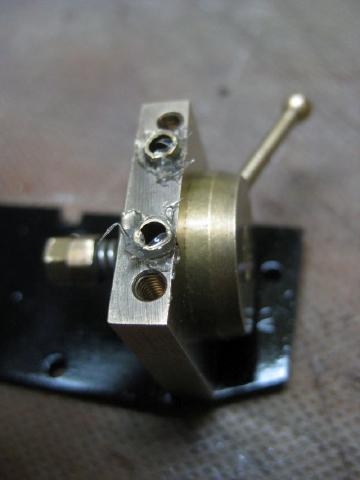
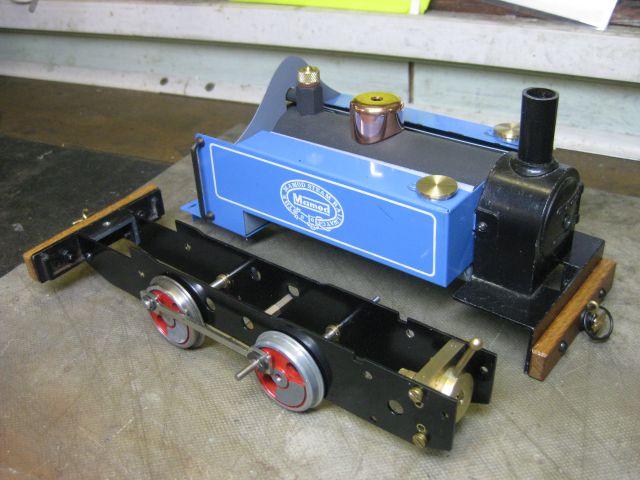
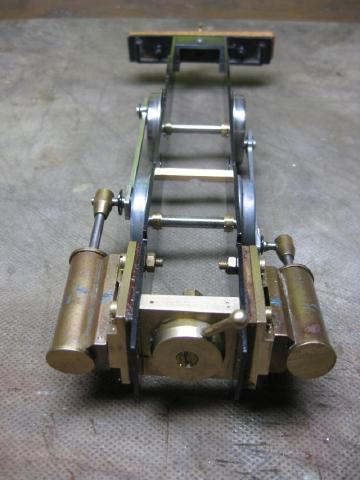
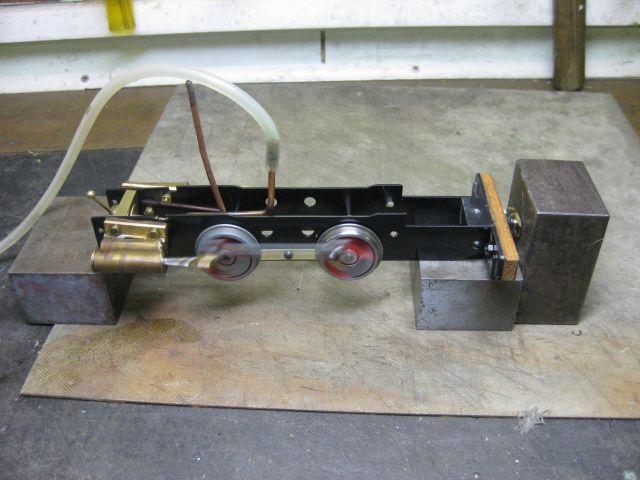
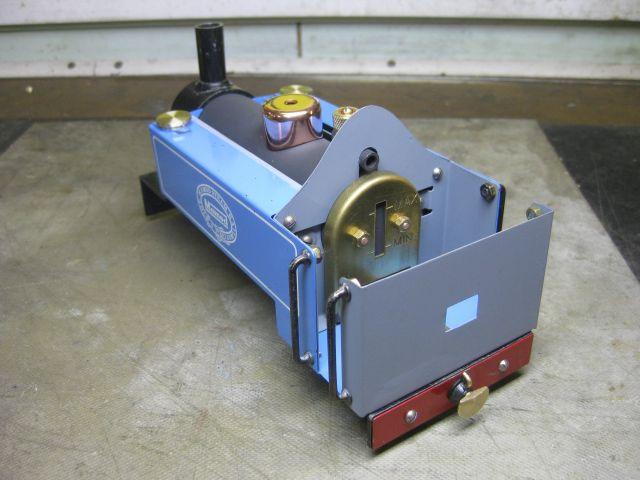
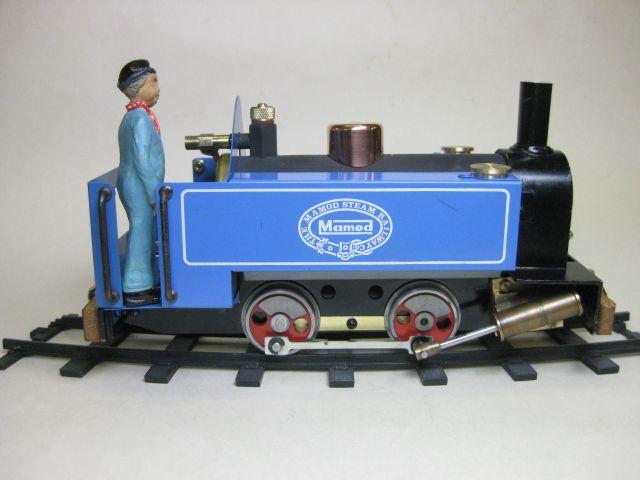
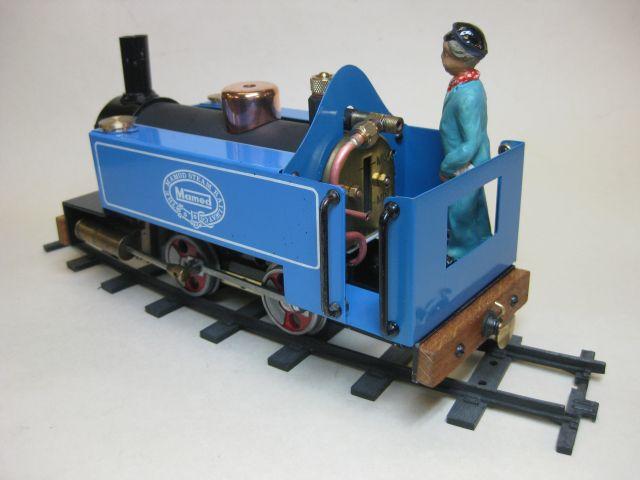
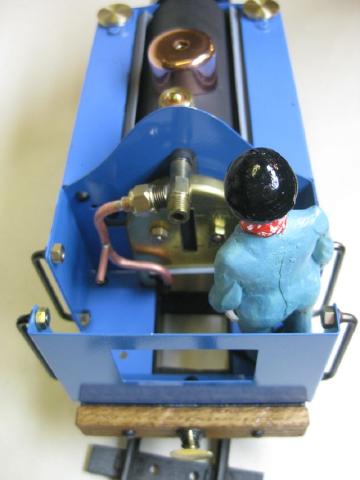
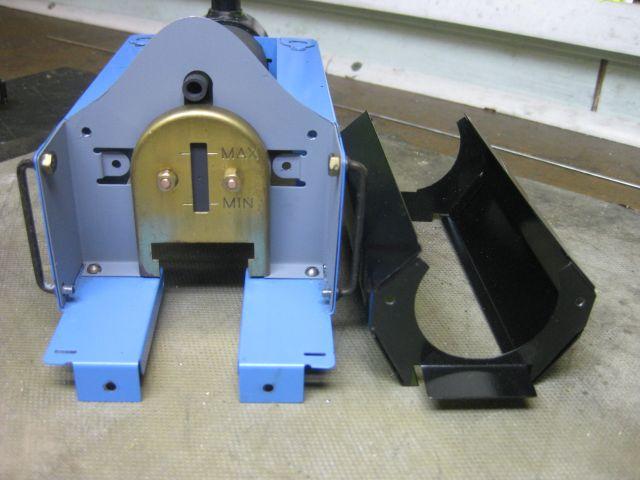
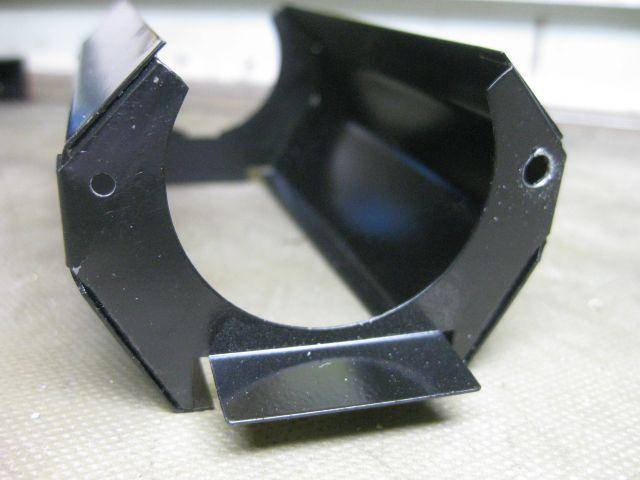
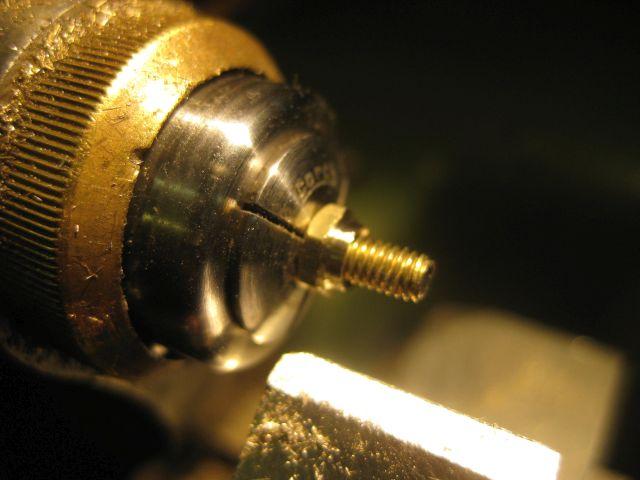
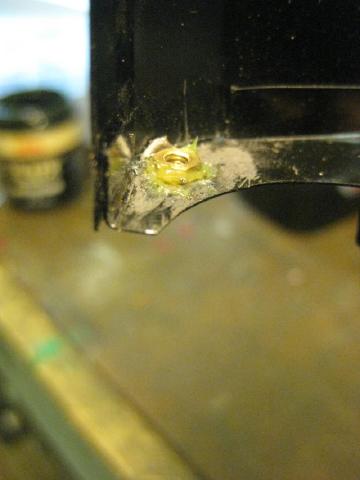
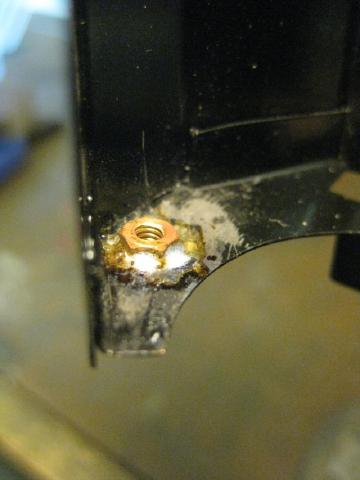
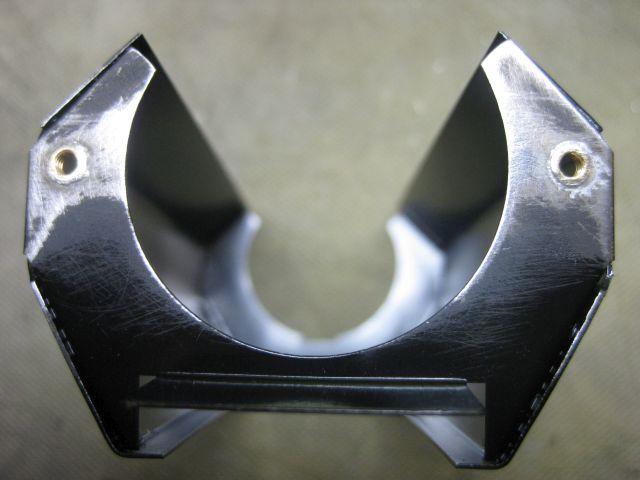
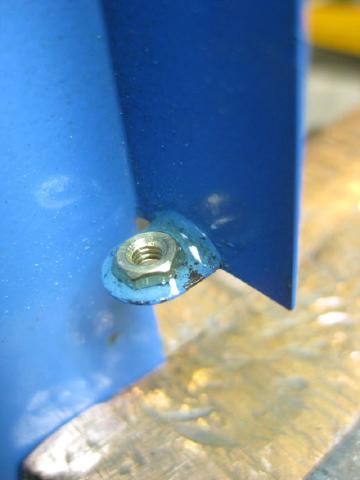
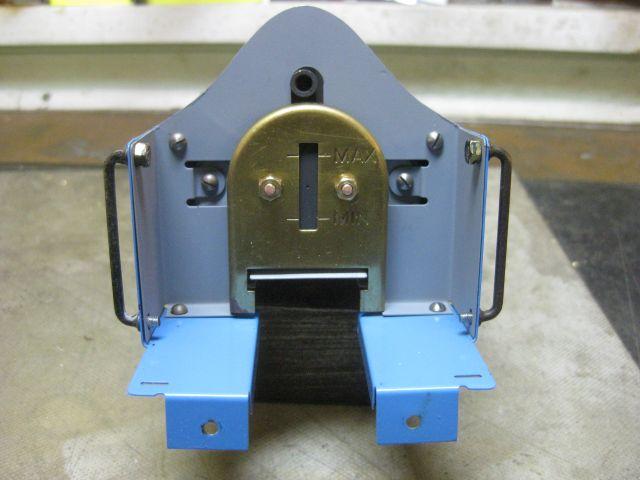
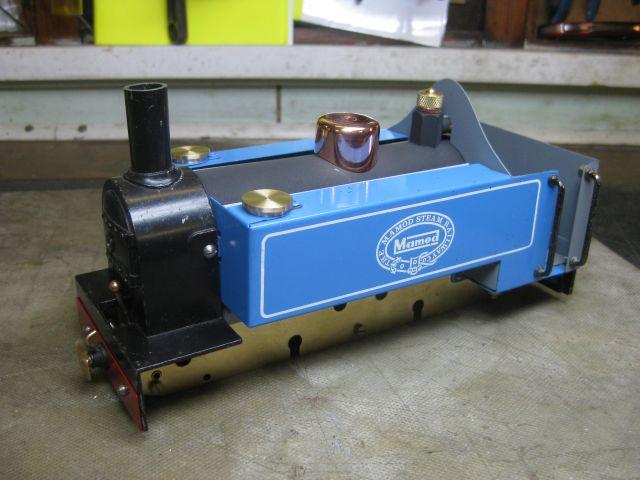
Yesterday I had a bit of time and decided to finish the body on my BSA Mamod. As the Mamod locomotive as made has a lot of its body held together with 'Pop' rivets which make it a little difficult to work on. So if I am doing major work on a Mamod locomotive I usually drill out the 'Pop' rivets and replace them with 6BA/3mm nuts and bolts. First all the rivets are drilled out using the clearance size drill for the screws to be used 2.9/3.10mm. The smoke box rivets are usually replace by 5BA screws the smoke box being tapped for the screws and the hole in the boiler made larger to accommodate the screws, sometimes 6BA is used with a shouldered nut soldered inside the end of the boiler . As this boiler is a new hard soldered copper one the fixing points have been tapped 6BA. Regard the rest of the body just nuts and bolts are needed to attach the cab front to the foot plate. The four awkward ones are those that attach the cab front to the side tanks and the flame guard. For this bit it is helpful if you have access to a lathe to shoulder the nuts but I have used plain nuts soldered or glued in place. If shouldered nuts are being used the holes where they will fit are made larger I used a 4mm drill. The shouldered nuts are soft soldered in place if the model is to be repainted or glued (Standard Araldite) in place. I think I would always solder the nuts in the flame guard I used ordinary B&Q's plumbers solder and flux.
I hope the photographs show the process of fitting the nuts.


Regards Tony.
Yesterday I had a bit of time and decided to finish the body on my BSA Mamod. As the Mamod locomotive as made has a lot of its body held together with 'Pop' rivets which make it a little difficult to work on. So if I am doing major work on a Mamod locomotive I usually drill out the 'Pop' rivets and replace them with 6BA/3mm nuts and bolts. First all the rivets are drilled out using the clearance size drill for the screws to be used 2.9/3.10mm. The smoke box rivets are usually replace by 5BA screws the smoke box being tapped for the screws and the hole in the boiler made larger to accommodate the screws, sometimes 6BA is used with a shouldered nut soldered inside the end of the boiler . As this boiler is a new hard soldered copper one the fixing points have been tapped 6BA. Regard the rest of the body just nuts and bolts are needed to attach the cab front to the foot plate. The four awkward ones are those that attach the cab front to the side tanks and the flame guard. For this bit it is helpful if you have access to a lathe to shoulder the nuts but I have used plain nuts soldered or glued in place. If shouldered nuts are being used the holes where they will fit are made larger I used a 4mm drill. The shouldered nuts are soft soldered in place if the model is to be repainted or glued (Standard Araldite) in place. I think I would always solder the nuts in the flame guard I used ordinary B&Q's plumbers solder and flux.
I hope the photographs show the process of fitting the nuts.
Regards Tony.