Posted: Thu May 08, 2014 2:24 pm
Hi,
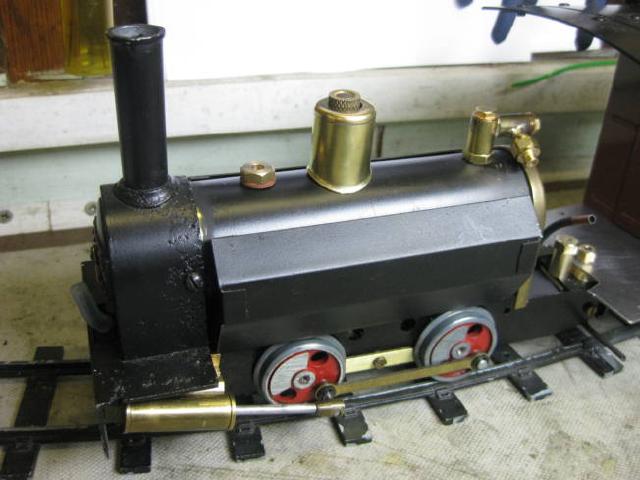
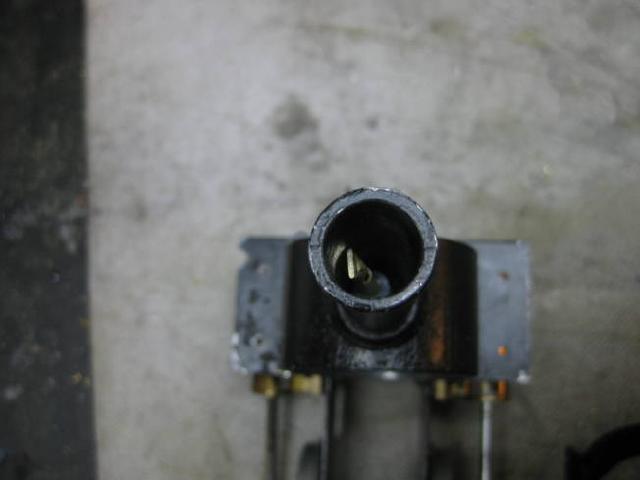
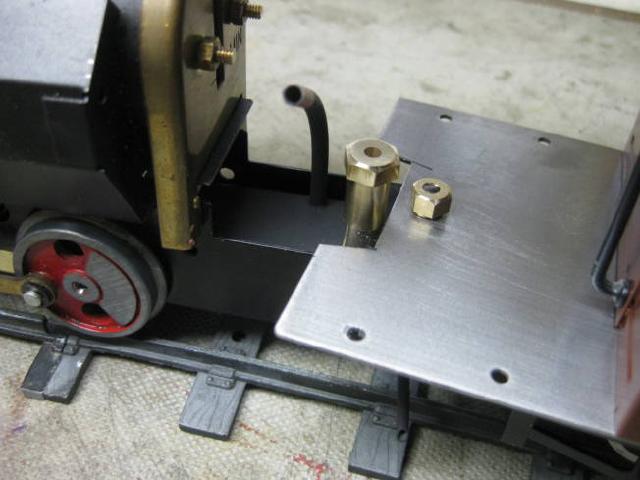
I haven't decided decided on how or where the lubricator will be fixed, there isn't much room on the footplate. So while I have been cogitating the regulator has been partly made and fitted.
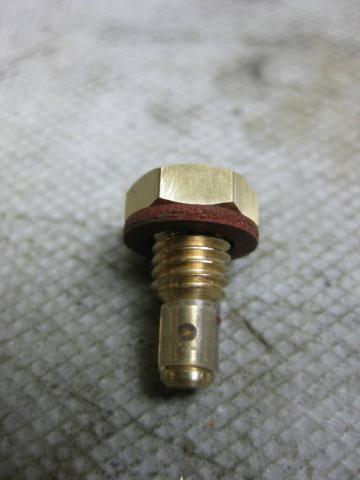
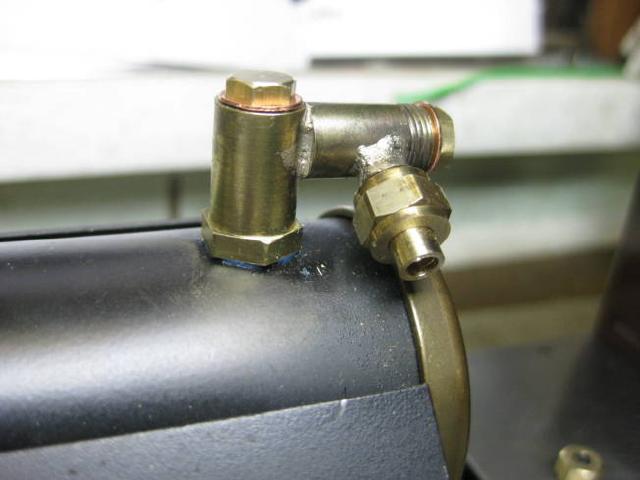
The connections for a pressure gauge and the regulator valve have been blanked off. Initially the reversing valve will be used to regulate the steam.
A meths burn has been made as it didn't seem practical to fit a ceramic burner as a flexible gas pipe would be needed. Years ago when the only real alternative to solid fuel was meths, Merlin did make and supply radiant gas burners for Mamods but these were not very good and quite expensive. There were a few meths burners of different designs commercially available but a lot of us made our own.
The following is of one I made a lot of, its design is borrowed from several different designs. In the early days of 16mm Scale when meths burners were the norm the track used wasn't very good. The use of Hornby tin plate track was quite common when left in the elements it became very rust and uneven and model locomotives quite often came off the track! So a design of meths burner which didn't dump all its flaming meths out if the model fell on its side was a good idea. This burner gives at least a few moments to right the model if it does leave the track.
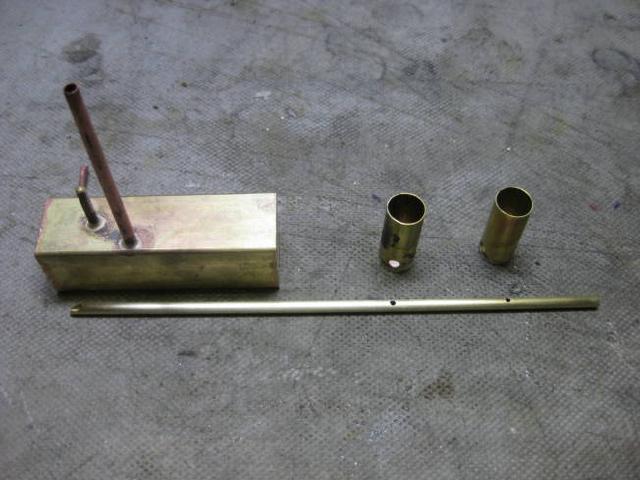
First the filling tube goes to the bottom of the tank so that it can be fill and nearly emptied using a syringe. When soldered in the filling tube is bent to the right which means that if the tank is on either of its sides or even upside down little fuel will come out of it.

There is an overflow pipe fitted which comes out the same side as the filler tube bends. When filling as soon as meths comes out of the overflow a certain amount of meths is drawn back into the syringe to allow for the expansion of the meths as it heats up. If meths does come out of the overflow it is deposited on the side of the track well away from the burners.

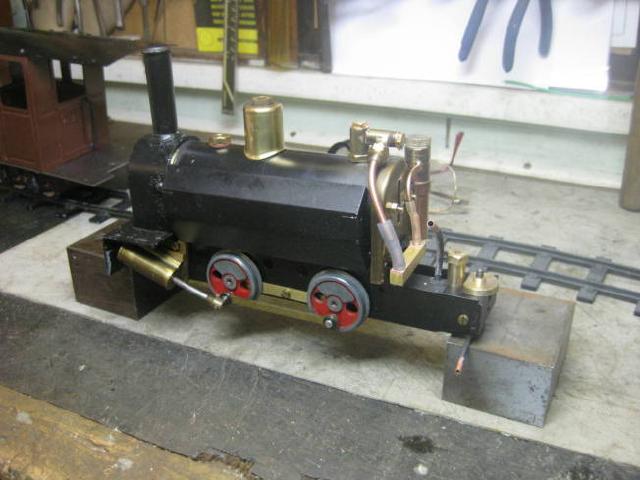
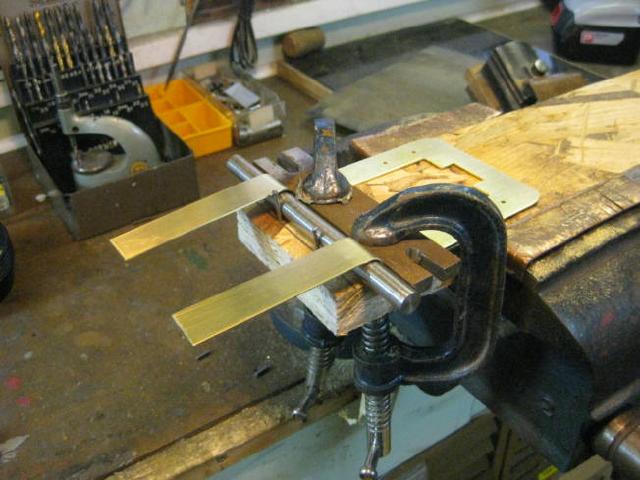
The meths tank itself is quite heavy which compensates to a certain degree for the weight at the front of the model. This photograph shows the tank hard soldered together along with the burner tubes and their feeder tube. The feeder tube goes to the rear of the tank so if the model is tipped forward not a lot of meths will be spilt from the burners also the holes from the feeder tube to the burners are kept small also to reduce the flow of meths if there is a spill.
This design doesn't stop the burners flaming but does slow it down.
The burner all hard soldered together except for the bung in the end of feeder tube which is soft solder to allow the tube to be easily cleaned if necessary. I always fit a removable bung on all my meths burners but I have yet to have had to remove one, but if I don't fit one!
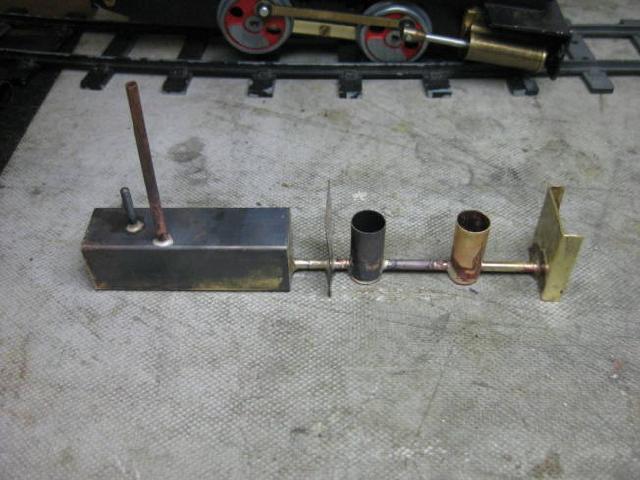
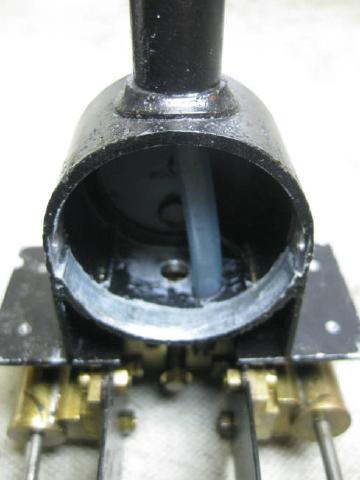
Burner painted with VHT paint.
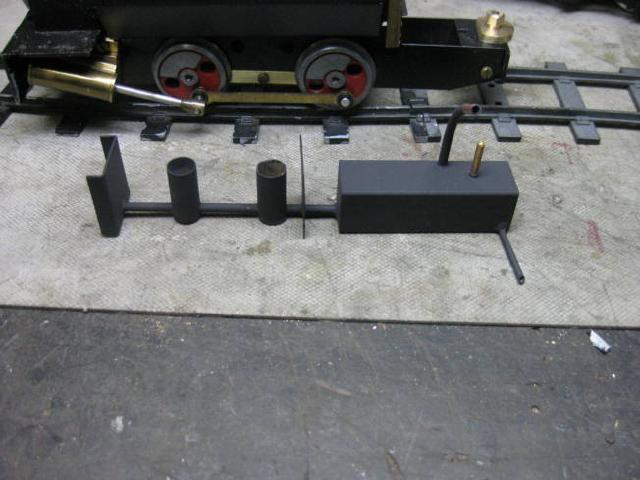
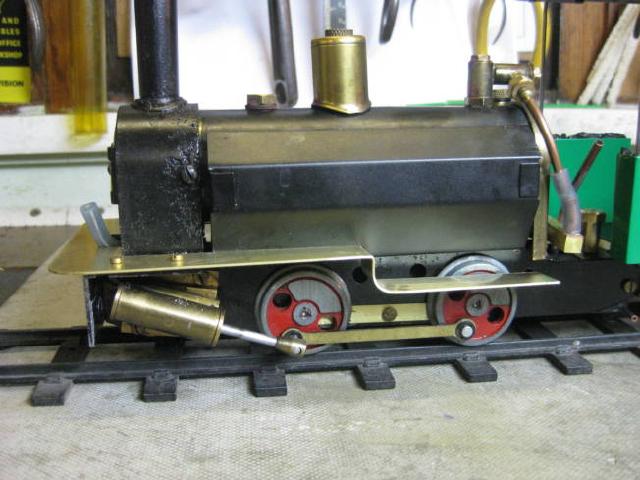
Burner fitted in the frames of the model it is secured by a bolt to the footplate and the front flame guard is sprung into the frames.
Part of the carriage footplate has to be cut away to clear the burner parts.
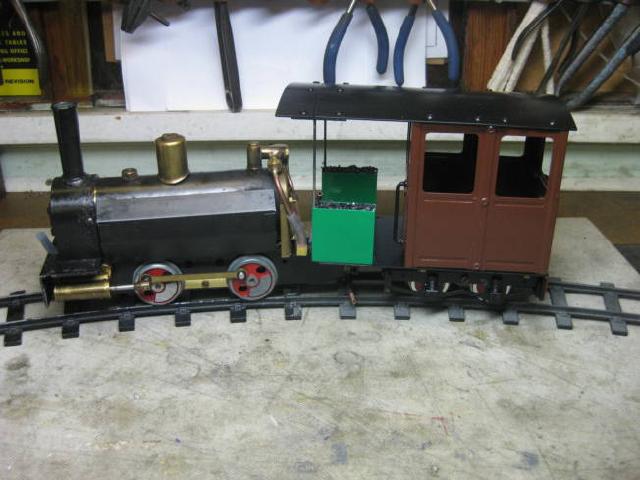
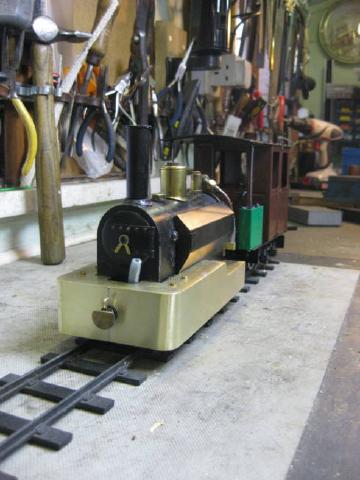
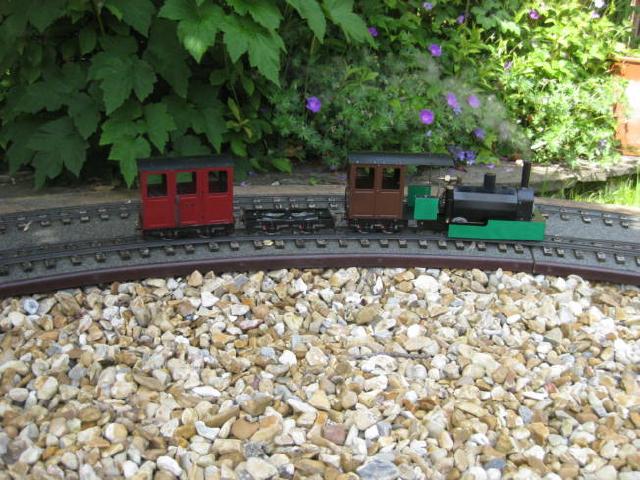
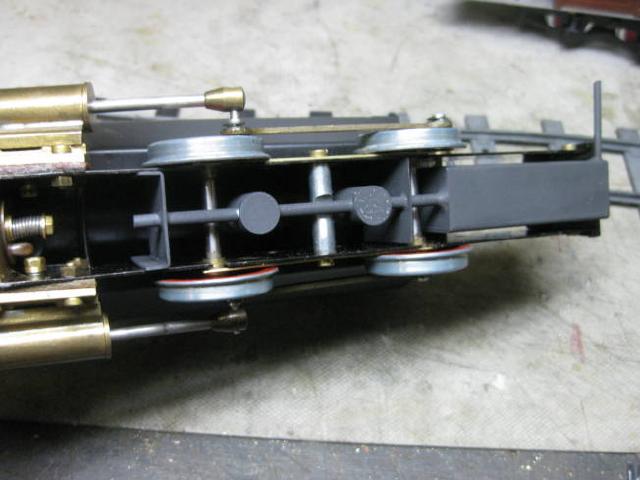
As the model looks today. Next will be a filler valve to give more time to think about the lubricator position.

Regards Tony.
I haven't decided decided on how or where the lubricator will be fixed, there isn't much room on the footplate. So while I have been cogitating the regulator has been partly made and fitted.
The connections for a pressure gauge and the regulator valve have been blanked off. Initially the reversing valve will be used to regulate the steam.
A meths burn has been made as it didn't seem practical to fit a ceramic burner as a flexible gas pipe would be needed. Years ago when the only real alternative to solid fuel was meths, Merlin did make and supply radiant gas burners for Mamods but these were not very good and quite expensive. There were a few meths burners of different designs commercially available but a lot of us made our own.
The following is of one I made a lot of, its design is borrowed from several different designs. In the early days of 16mm Scale when meths burners were the norm the track used wasn't very good. The use of Hornby tin plate track was quite common when left in the elements it became very rust and uneven and model locomotives quite often came off the track! So a design of meths burner which didn't dump all its flaming meths out if the model fell on its side was a good idea. This burner gives at least a few moments to right the model if it does leave the track.
First the filling tube goes to the bottom of the tank so that it can be fill and nearly emptied using a syringe. When soldered in the filling tube is bent to the right which means that if the tank is on either of its sides or even upside down little fuel will come out of it.
There is an overflow pipe fitted which comes out the same side as the filler tube bends. When filling as soon as meths comes out of the overflow a certain amount of meths is drawn back into the syringe to allow for the expansion of the meths as it heats up. If meths does come out of the overflow it is deposited on the side of the track well away from the burners.
The meths tank itself is quite heavy which compensates to a certain degree for the weight at the front of the model. This photograph shows the tank hard soldered together along with the burner tubes and their feeder tube. The feeder tube goes to the rear of the tank so if the model is tipped forward not a lot of meths will be spilt from the burners also the holes from the feeder tube to the burners are kept small also to reduce the flow of meths if there is a spill.
This design doesn't stop the burners flaming but does slow it down.
The burner all hard soldered together except for the bung in the end of feeder tube which is soft solder to allow the tube to be easily cleaned if necessary. I always fit a removable bung on all my meths burners but I have yet to have had to remove one, but if I don't fit one!
Burner painted with VHT paint.
Burner fitted in the frames of the model it is secured by a bolt to the footplate and the front flame guard is sprung into the frames.
Part of the carriage footplate has to be cut away to clear the burner parts.
As the model looks today. Next will be a filler valve to give more time to think about the lubricator position.
Regards Tony.