Ace Engineering Works Plantation locomotive

A very popular starting point for Live Steam. With their low cost comes a number of problems which can be discussed here
User avatar
ace
Fireman
Fireman
Posts: 294
Joined: Sun Jul 14, 2013 9:03 am

Post by ace » Fri Oct 18, 2013 11:20 pm

Thanks for the tip Sam, that may be a possibility. A second dome would look good I think. :)

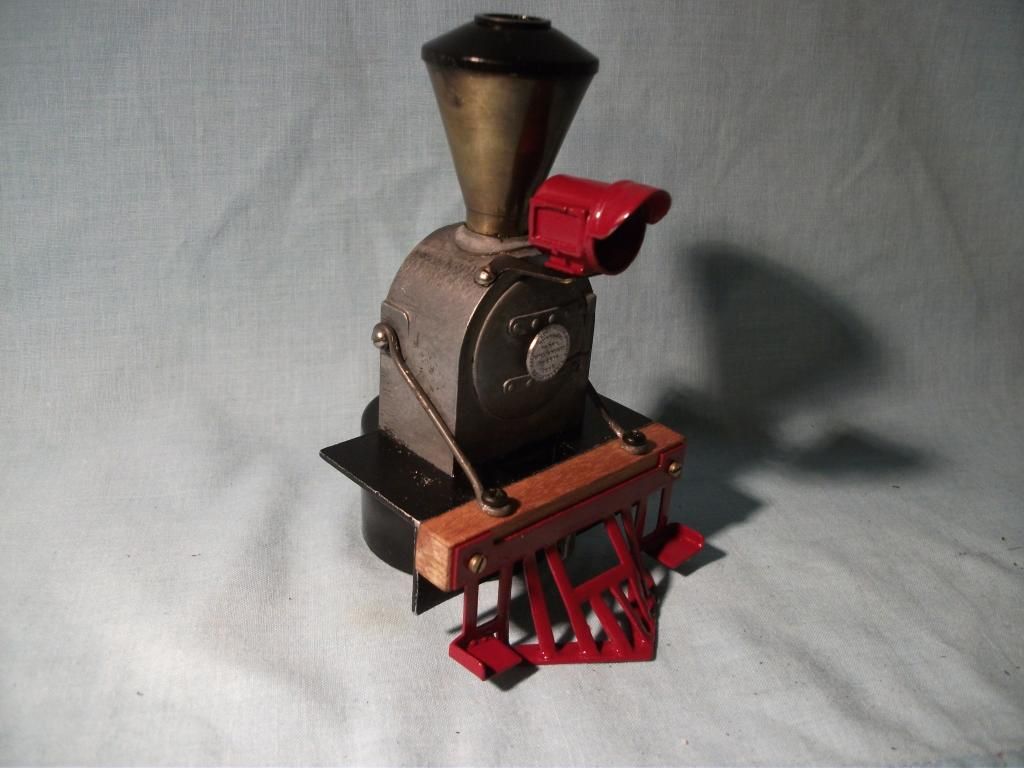
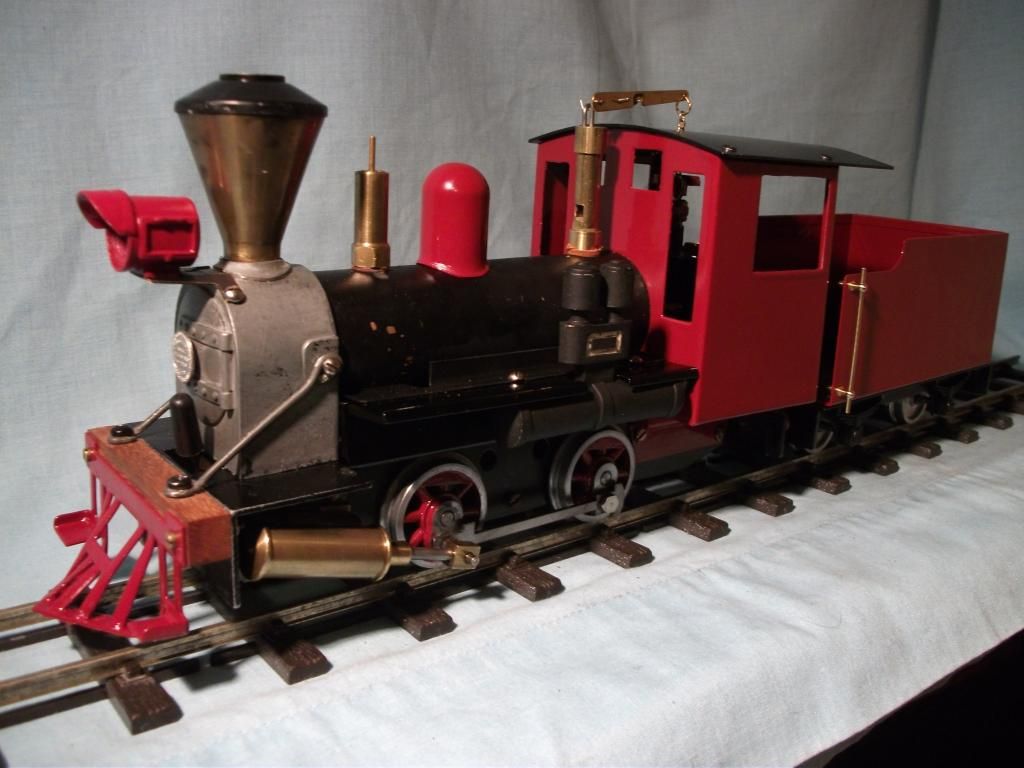
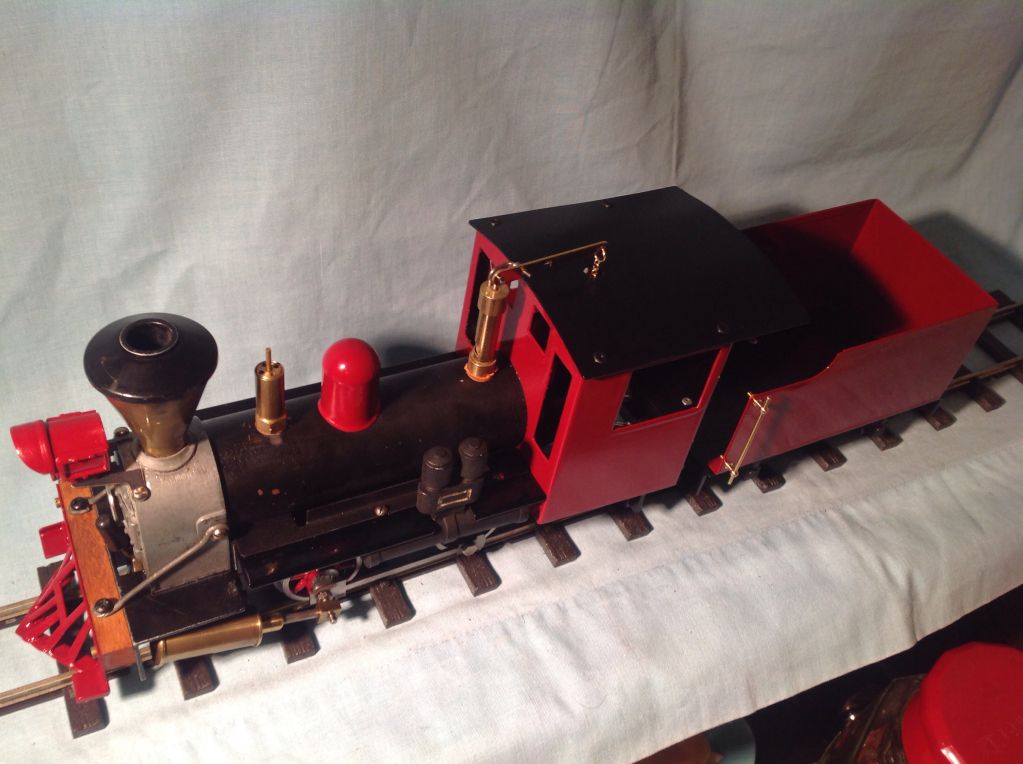
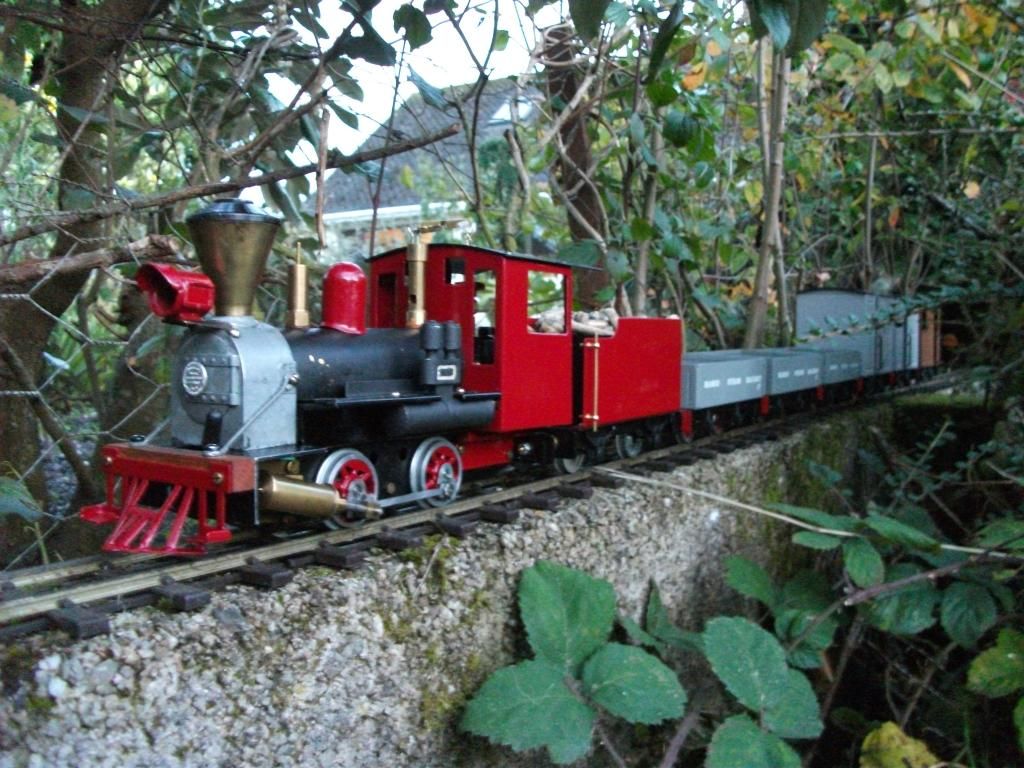
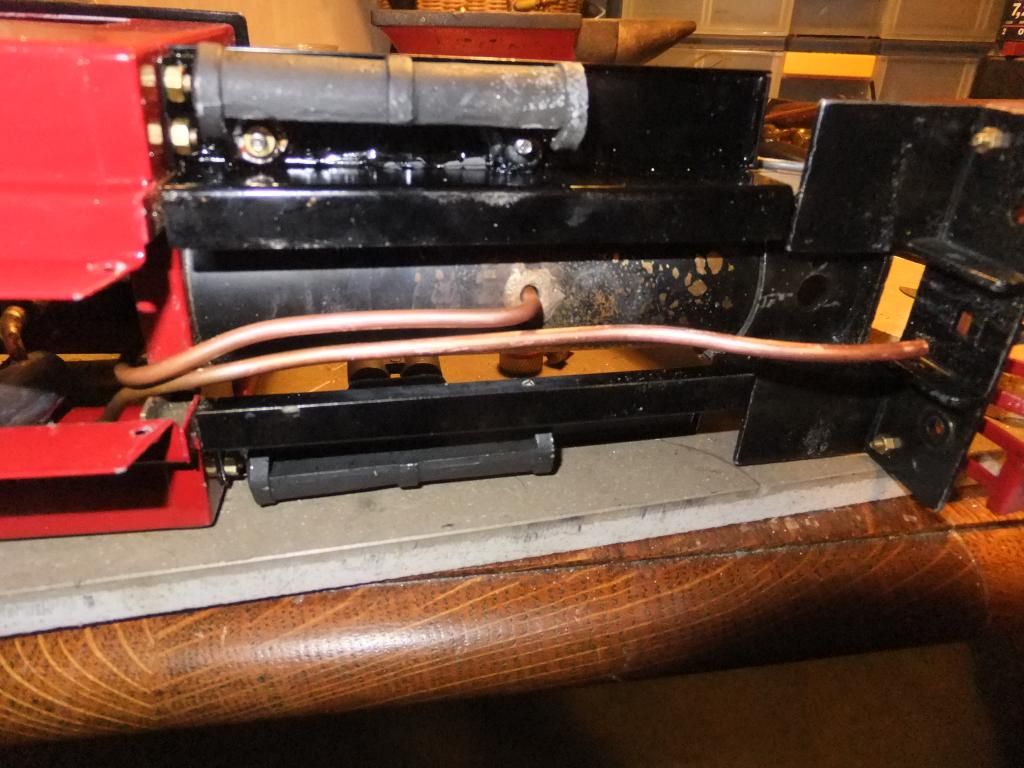
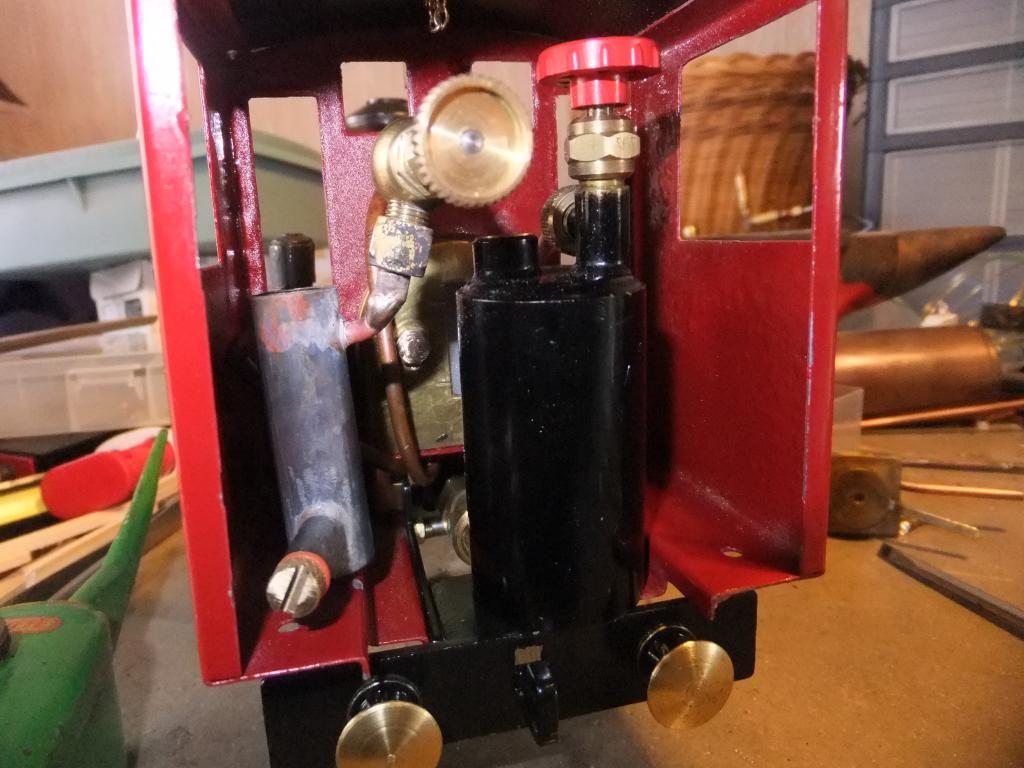
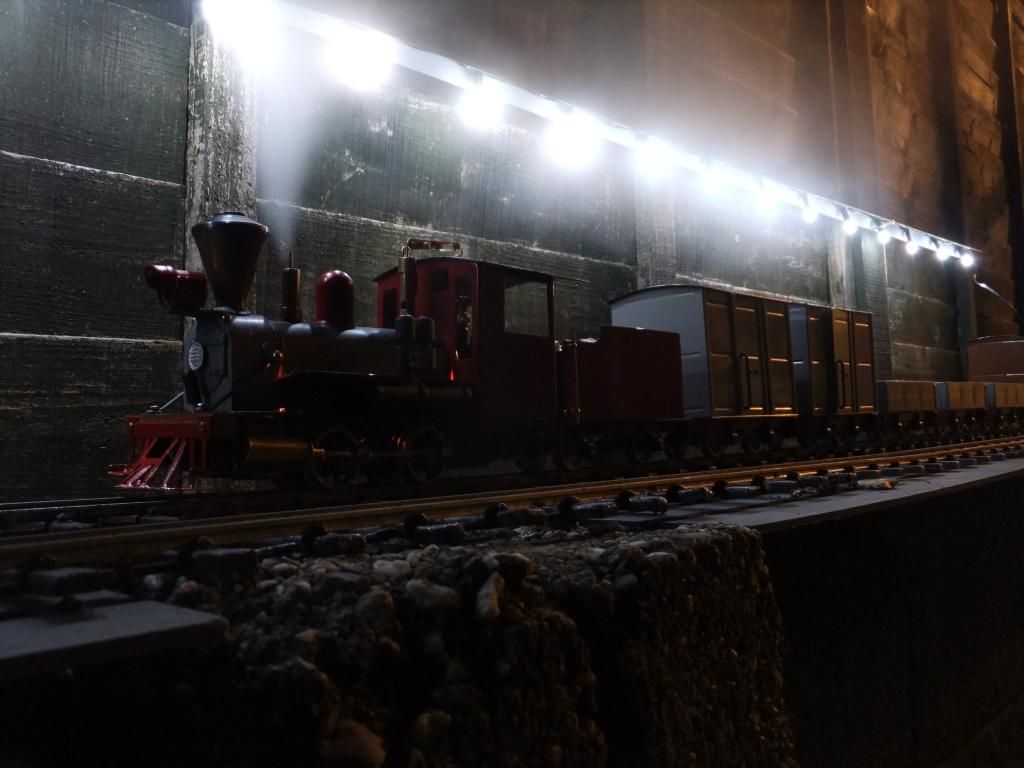
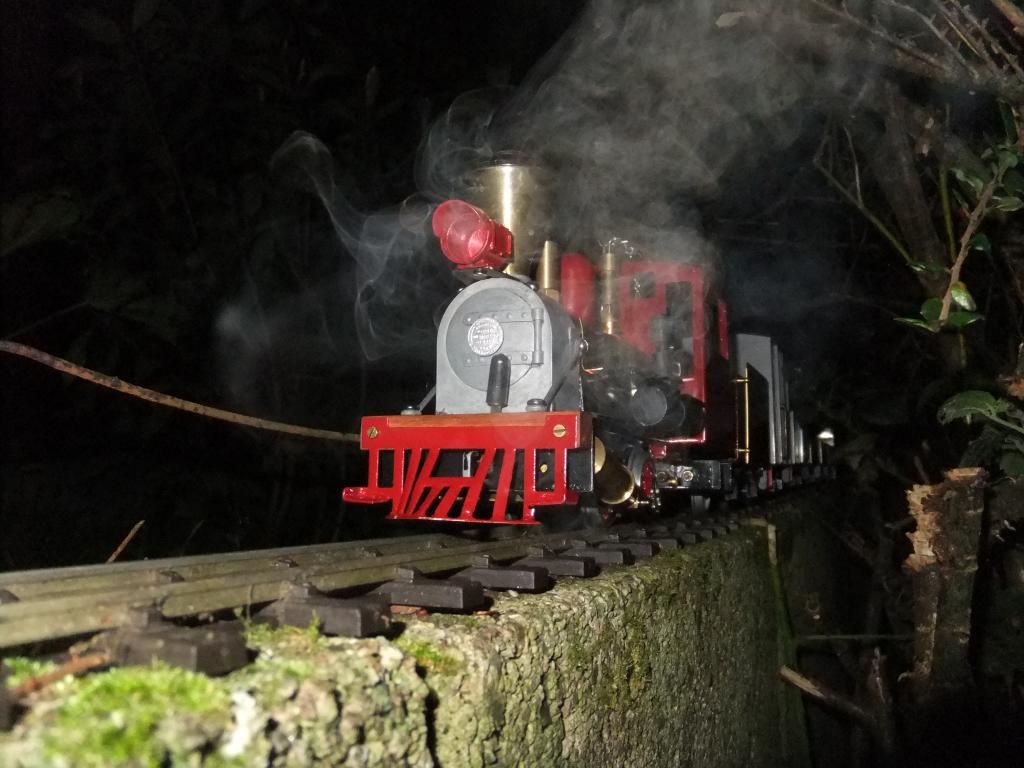
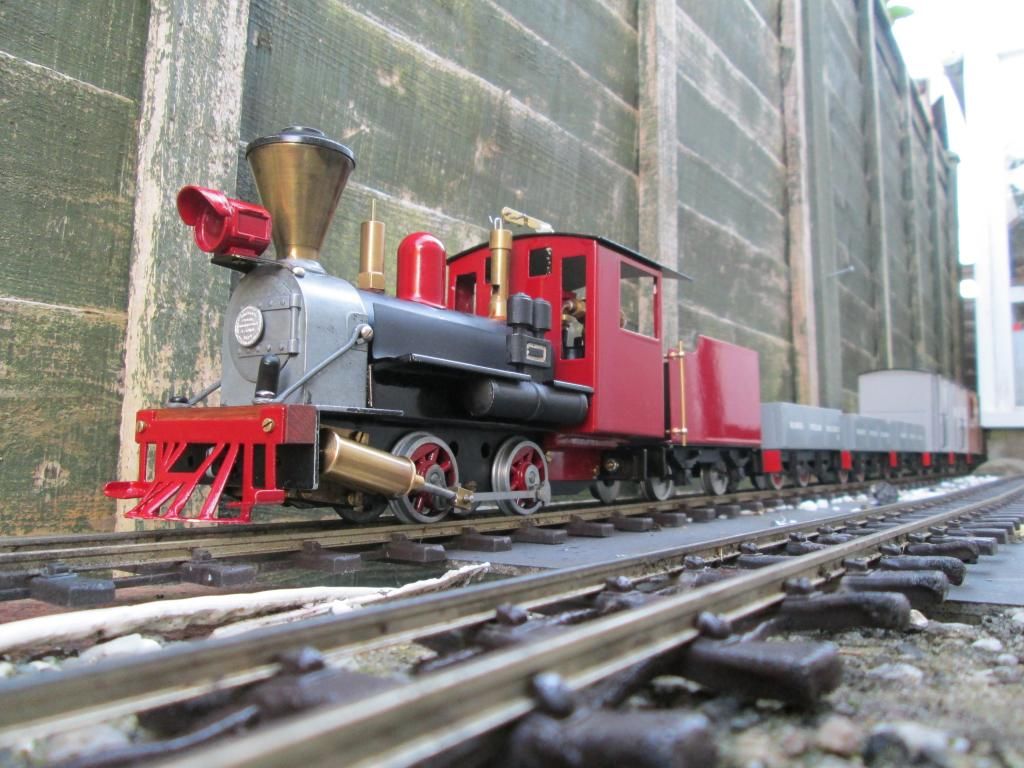
Chris, thanks for letting me know about Mamods attendance. I can now ask them face to face why they don't reply to my emails. As for a 40psi safety valve, I think that is a little much. This loco has a standard boiler that is silver soldered but it still has the standard sight glass. Ideally I'd like to get hold of a wilesco one or make a mamod upgraded 25 psi equivalent look like the wilesco with a bit of modification. I worry about the sight glasses blowing this one also has a gas burner so plenty of steam is made. I just ran it on rails for the first time 'light' and it seems ok. I'll pop some images up shortly. :)

Ready for the show I will be!

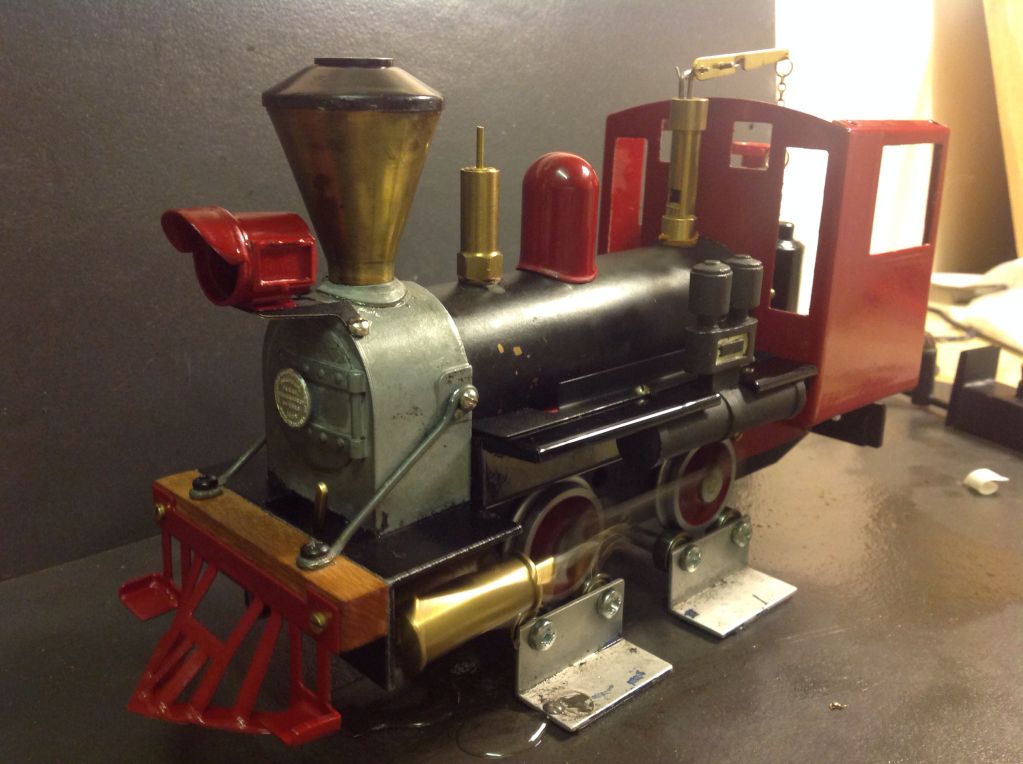
Having said that I will change it to get it to look how I want in time, just the essentials for now. ;)

User avatar
Chris Cairns
Driver
Driver
Posts: 2366
Joined: Mon Oct 29, 2007 7:25 pm
Location: Glasgow, Scotland

Post by Chris Cairns » Fri Oct 18, 2013 11:44 pm

Good to hear it is now running.

If you look at Page 3 of the 16mmngm Mamod handbook you will see that on a hydraulic pressure test the sight glass leaked at 120 PSI going up and re-sealed at 60 PSI on the way down.

The current Mamod Mark II/Diamond Jubilee locomotives use a sight glass at 40 PSI.

Be interested to hear the lack of e-mail replies response. I have had to write letters before to get an answer, and others have found a phone call is the best method of contact. They tried twitter previously, and have just embraced Facebook. If you get the chance can you ask them where they are with re-designing the cylinders for the Thomas Telford locomotive as their current activity seems based around the new marine engines & vertical boilers. Thank You.

Chris Cairns.

User avatar
ace
Fireman
Fireman
Posts: 294
Joined: Sun Jul 14, 2013 9:03 am

Post by ace » Fri Oct 18, 2013 11:54 pm

Chris Cairns:90660 wrote:Good to hear it is now running.

If you look at Page 3 of the 16mmngm Mamod handbook you will see that on a hydraulic pressure test the sight glass leaked at 120 PSI going up and re-sealed at 60 PSI on the way down.

The current Mamod Mark II/Diamond Jubilee locomotives use a sight glass at 40 PSI.

Be interested to hear the lack of e-mail replies response. I have had to write letters before to get an answer, and others have found a phone call is the best method of contact. They tried twitter previously, and have just embraced Facebook. If you get the chance can you ask them where they are with re-designing the cylinders for the Thomas Telford locomotive as their current activity seems based around the new marine engines & vertical boilers. Thank You.

Chris Cairns.
Thanks Chris, I was unaware of this. I may give a 40psi one a go if Mamod have one for sale. :)

I will be eager to hear and see of the Thomas Telford project, I will ask if I remember. :oops:

Right, I finished the smoke box and finally made the roof this evening.

Terry was kind enough to email me an actual size drawing of the panel itself so was easy to mark out the holes.

Here is the smoke box with pilot supports finished

Image

Image

Here is a little shot on test with the rolling road. I have managed to put about 6 boiler fills of water through it so far, just gets better and better. :)

Image

Sorry about the poor shot, here is the plantation running a loop around my kitchen.

Image

Finally the roof

Image

Image

Image

I think finished for the show! Yipee! :)

Image

Image

User avatar
Peter Butler
Driver
Driver
Posts: 5244
Joined: Sun Sep 09, 2012 10:33 pm
Location: West Wales

Post by Peter Butler » Sat Oct 19, 2013 12:02 am

I'd be interested to know how you managed a smooth continuous curve on the roof panel?

User avatar
ace
Fireman
Fireman
Posts: 294
Joined: Sun Jul 14, 2013 9:03 am

Post by ace » Sat Oct 19, 2013 12:48 am

Peter Butler:90662 wrote:I'd be interested to know how you managed a smooth continuous curve on the roof panel?
Trade secret I'm afraid, I am a panel beater. ;)

dhippey
Cleaner
Cleaner
Posts: 60
Joined: Tue Aug 13, 2013 10:17 pm
Location: Scotland
Contact:

Post by dhippey » Sat Oct 19, 2013 7:49 pm

Old fashioned English wheel perchance?

LnBmad
Trainee Driver
Trainee Driver
Posts: 884
Joined: Fri May 31, 2013 10:17 pm
Location: North Devon

Post by LnBmad » Sat Oct 19, 2013 8:17 pm

Roof through the rollers ;) looks nice bud
If it can be made full scale it can be made 16mm

My line: http://gardenrails.myfreeforum.org/about7200.html

User avatar
Peter Butler
Driver
Driver
Posts: 5244
Joined: Sun Sep 09, 2012 10:33 pm
Location: West Wales

Post by Peter Butler » Sat Oct 19, 2013 10:13 pm

dhippey:90689 wrote:Old fashioned English wheel perchance?
I do happen to know what an 'English wheel' is, but don't happen to have one, along with 99.99999% of our population !
I need something that the average person can use from a well stocked home workshop. I have only a small piece af alluminium to curve over a tiny diesel loco but would like it to be tidy.

LnBmad
Trainee Driver
Trainee Driver
Posts: 884
Joined: Fri May 31, 2013 10:17 pm
Location: North Devon

Post by LnBmad » Sat Oct 19, 2013 10:17 pm

Peter Butler:90699 wrote:
dhippey:90689 wrote:Old fashioned English wheel perchance?
I do happen to know what an 'English wheel' is, but don't happen to have one, along with 99.99999% of our population !
I need something that the average person can use from a well stocked home workshop.   I have only a small piece af alluminium to curve over a tiny diesel loco but would like it to be tidy.
You want a small set of rollers for forming curves
If it can be made full scale it can be made 16mm

My line: http://gardenrails.myfreeforum.org/about7200.html

dhippey
Cleaner
Cleaner
Posts: 60
Joined: Tue Aug 13, 2013 10:17 pm
Location: Scotland
Contact:

Post by dhippey » Sat Oct 19, 2013 10:22 pm

Peter Butler:90699 wrote: I do happen to know what an 'English wheel' is, but don't happen to have one, along with 99.99999% of our population !
I need something that the average person can use from a well stocked home workshop.   I have only a small piece af alluminium to curve over a tiny diesel loco but would like it to be tidy.
I was refering to the comment from ACE the panel beater Peter, not responding to you direct. Sorry for the confusion.

Experiment using a heavy roller over a bed of thick newspaper, or a rolling pin over tea towels. Seriously, it works.

User avatar
Peter Butler
Driver
Driver
Posts: 5244
Joined: Sun Sep 09, 2012 10:33 pm
Location: West Wales

Post by Peter Butler » Sat Oct 19, 2013 10:52 pm

Sounds good, I'll try that. Thanks.

User avatar
ace
Fireman
Fireman
Posts: 294
Joined: Sun Jul 14, 2013 9:03 am

Post by ace » Sat Oct 19, 2013 11:03 pm

Sorry Peter, I didn't mean to start bad feeling.

English wheel, no. I use one of those for making different shapes than a single curve like that. Now if I were to make a domed roof then yes. :thumbright:

If you google 'english wheel' on image search you will find what one looks like and what it can do. I love using them. :)

A set of rollers is the easiest way to make these kind of curve, but I did this roof in my hands and using a soft cork pillow and a rolling pin. The rollers I have access to are to large to feed such a puny piece of steel through. :)

User avatar
ace
Fireman
Fireman
Posts: 294
Joined: Sun Jul 14, 2013 9:03 am

Post by ace » Sun Oct 20, 2013 9:12 pm

After going to the Exeter show yesterday and getting home my Dad and I decided to make a short video of the efforts on my line. Here are some photos below. :)

Image

Image

Image

Image

Image

A bit of a lengthy video, but show the build and first runs. :)

<object width="800" height="600"><param name="movie" value="//www.youtube.com/v/M9LpPZ_Dy-I?hl=en_GB& ... ram><param name="allowFullScreen" value="true"></param><param name="allowscriptaccess" value="always"></param><embed src="//www.youtube.com/v/M9LpPZ_Dy-I?hl=en_GB&version=3" type="application/x-shockwave-flash" width="800" height="600" allowscriptaccess="always" allowfullscreen="true"></embed></object>

User avatar
Peter Butler
Driver
Driver
Posts: 5244
Joined: Sun Sep 09, 2012 10:33 pm
Location: West Wales

Post by Peter Butler » Sun Oct 20, 2013 9:28 pm

Nice video Ace, I can understand your enthusiasm now. It does look better running outside in the garden.

Crackingjob
Trainee Driver
Trainee Driver
Posts: 510
Joined: Sat May 09, 2009 9:58 pm
Location: West Cornwall

Post by Crackingjob » Sun Oct 20, 2013 9:49 pm

I think two pots on top would look better and hide the valve...try this from one of the books I inherited from my late Dad...(I know its an articulated loco but it gives you an idea)

Image

Actually I like this style of loco...we don't get them in the UK

I think brass turned pots of the style in the pictures (typical US) would be quite becoming

You could loose the whistle and put the valve at the back (with a pot over it) and have the boiler filler up front with a BELL that will take the eye from the filler...just a thought

User avatar
ace
Fireman
Fireman
Posts: 294
Joined: Sun Jul 14, 2013 9:03 am

Post by ace » Sun Oct 20, 2013 10:10 pm

Peter Butler:90759 wrote:Nice video Ace, I can understand your enthusiasm now.   It does look better running outside in the garden.
Thanks Peter, it does look better outside (in the dark, not so easy to see the red paint :D ), I agree. :)
Crackingjob:90765 wrote:I think two pots on top would look better and hide the valve...try this from one of the books I inherited from my late Dad...(I know its an articulated loco but it gives you an idea)

Image

Actually I like this style of loco...we don't get them in the UK

I think brass turned pots of the style in the pictures (typical US) would be quite becoming

You could loose the whistle and put the valve at the back (with a pot over it) and have the boiler filler up front with a BELL that will take the eye from the filler...just a thought
Thank you so much for sharing your book and pictures, Crackingjob

Well funny you should say that, I was toying with the idea of putting another Mamod dome over the safety valve to hide it after Chris Cairns comments about it being so ugly, and quite right he is too. The whistle is to stay I am afraid, it is part of the make up as the MSR model it is meant to be. I have got a bell coming from the states for the top of the existing dome cover, but it didn't arrive in time for the show. I was unsure of a brass dome, it made me think of a Mamod when I saw it perched on top of the boiler, but maybe?

Crackingjob
Trainee Driver
Trainee Driver
Posts: 510
Joined: Sat May 09, 2009 9:58 pm
Location: West Cornwall

Post by Crackingjob » Mon Oct 21, 2013 11:38 am

Glad to help  and actually the whistle will be a nice touch.
As I was going through pictures on my inspiration wall I came across this I can't remember where I found it.. (I hope not to confuse the issue...but thought its good for the thought process)

Image

User avatar
Peter Butler
Driver
Driver
Posts: 5244
Joined: Sun Sep 09, 2012 10:33 pm
Location: West Wales

Post by Peter Butler » Mon Oct 21, 2013 3:58 pm

Crackingjob:90788 wrote:Glad to help  and actually the whistle will be a nice touch.
As I was going through pictures on my inspiration wall I came across this I can't remember where I found it.. (I hope not to confuse the issue...but thought its good for the thought process)

Image
Nice one Dave, normally I don't care for American locos and the bigger they are the less I like them!
This 'little' one has loads of character and plenty of detail which could be transferred onto Ace's loco.

User avatar
ace
Fireman
Fireman
Posts: 294
Joined: Sun Jul 14, 2013 9:03 am

Post by ace » Sat Nov 23, 2013 5:21 pm

Hi Guys,

Well today I had a little pop at doing some of the planned modifications to Baldwin. I fitted the Summerlands Chuffer that some may have seen and heard on STWWW and I have fitted an in cab regulator and displacement lubricator.

Here is Baldwin in a array of parts.

Image

The displacement lubricator came from Roy Wood models. He was kind enough to customise it to my own specifications so that fitting would be easier. Thanks Roy! :)

Here is the rough location of the lubricator.

Image

And the regulator fitted

Image

Here is the pipework under the boiler, all superheated from the gas burner.

Image

And here is the gas tank in place, a bit of a full cab now! ;)

Image

I had the opportunity to test last night, so here we are.

Image

Image

And this afternoon after work, getting ready for the off.

Image

Here is a little video, enjoy. :)

<object width="853" height="480"><param name="movie" value="//www.youtube.com/v/MdEXKK3icCs?hl=en_GB& ... ram><param name="allowFullScreen" value="true"></param><param name="allowscriptaccess" value="always"></param><embed src="//www.youtube.com/v/MdEXKK3icCs?hl=en_GB&version=3" type="application/x-shockwave-flash" width="853" height="480" allowscriptaccess="always" allowfullscreen="true"></embed></object>

User avatar
Arcandier
Cleaner
Cleaner
Posts: 20
Joined: Fri Nov 22, 2013 7:27 am
Location: France

Post by Arcandier » Sat Nov 23, 2013 6:07 pm

Wonderful loco ! A really great work.

Post Reply

Who is online

Users browsing this forum: No registered users and 12 guests