Page 1 of 2
Posted: Wed Apr 17, 2013 7:50 pm
by Johnnie2sheds
Hmmm damn good point. I did devise a circuit for track power but I must confess I hadnt thought of that!

Let me see if I can think a way round it....
Posted: Thu Apr 18, 2013 3:15 pm
by Si
Simon's Rule 1 of Garden Railway Building.
Before beginning, sell your house and move to a new one that has a perfectly flat back garden, that is also paved over with not a shred of greenery in it.
Simon's Rule 2 of Garden Railway Building.
After you have fulfilled Rule1, forget all about building a garden railway and do something a little less ambitious like trying to run around the world with one foot tied behind your back.
Am literally bushed at the moment - have been grubbing the undergrowth out and getting rid of diseased trees before the permanent way goes through. You never know, I might get around to track laying one day!
Posted: Mon Apr 22, 2013 8:17 pm
by Si
First bit of track went down today. Can't believe how long it takes to lay outside track. My own fault for doing it on the cheap - using 2nd hand O scale track so I have chop the webbing between each sleeper and slide half off so that I can respace the remaining. OK, they do look a tad spindly, but I've got plenty of prototype pics where the sleepers looked little better than fire wood.
Slight problem in testing.... popped my best loco on and it was dead as a dodo, a little investigation suggested that the motor was dead...very annoying as I've only had it since last September and in that time its probably only run for about 5 mins. :-(
Now I've got to start hacking the points so the coarse wheels will run through them properly...."CHEAP or EASY - you may choose only one option".
Posted: Tue Apr 23, 2013 2:38 pm
by Si
Track all down for the first short bit...
All looks a bit rough and ready - you can see what I meant by firewood sleepers! Needs a good covering of ballast to sort it out.
Heading out of the station area.
Seen from the other end.

The Busted Bricks budget chassis doing track testing duties.
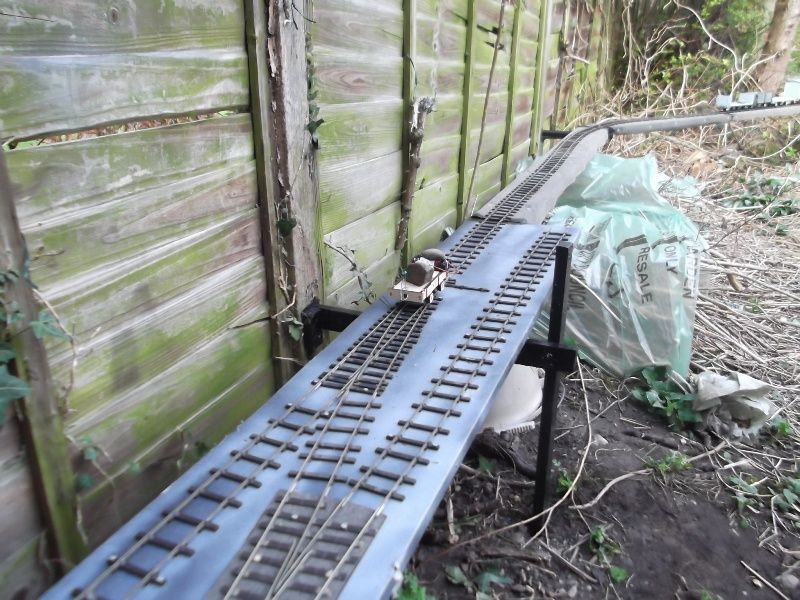
Next step is to bend round to the left and put the reversing loop in at the end.
Posted: Tue Apr 23, 2013 2:42 pm
by Si
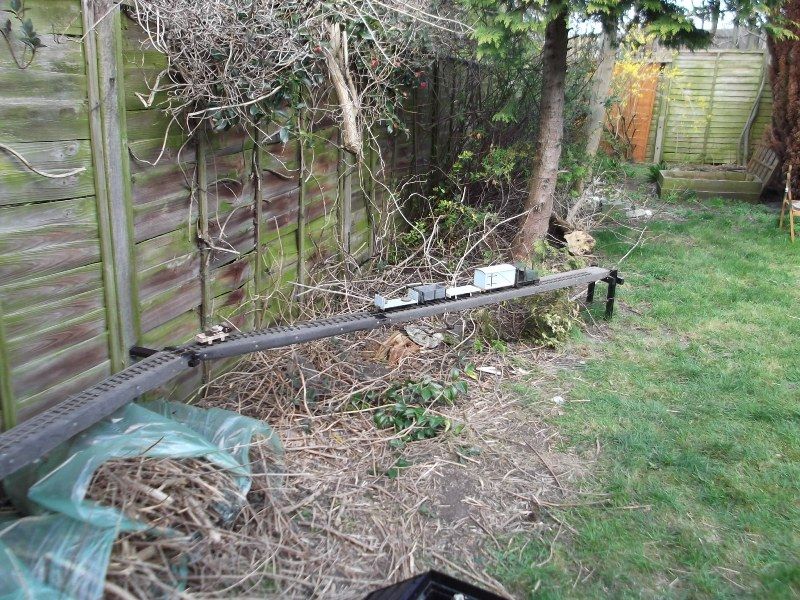
Note about the Busted Bricks chassis - in 2wd form with a bit of weight on it it managed to pull the train of four wagons at a sedate pace but with no noticeable wheel slippage. Takes about 30seconds to run from one end to the other - speaking as someone who comes from a smaller scale shunting layout background, this is great with me!
The above test was done with just one 1.5v battery attached to the 3v motor.
The wagons haven't currently any added weight. Putting four or five half golf ball sized rocks into the wagons defeated it on the points and the slight incline.
Posted: Tue Apr 23, 2013 5:50 pm
by Andrew
The layout's looking good, well done! The "spindly" track has a very run-down light railway, and the raised sections will look great once some vegetation's grown up about them. If you felt so inclined you could nail some treated 2x1 to the sides and then add fencing - I'm doing that on the non-ground level bits of my line and quite like the effect.
Keep up the good work!
Andrew.
Posted: Tue Apr 30, 2013 8:33 pm
by Si
Thanks Andrew.
-
Hey hey, I feel like a real garden railway modeller now - I've got my first big fat dollop of bird poo on the track!
Posted: Sun Jul 21, 2013 4:11 pm
by Si
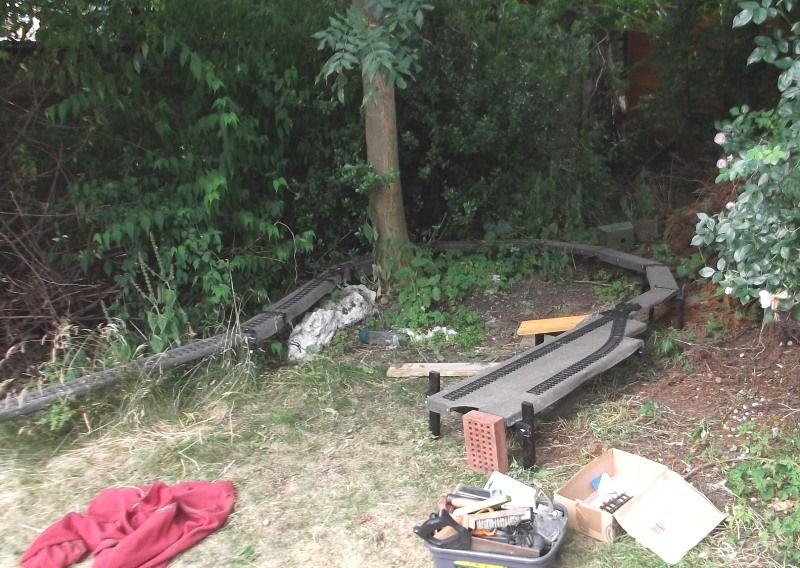
Finally a bit more action.
The loop boards and half the track in place, and the top station boards now down. The right hand turn of the three-way point will slant off back to the incoming track to produce a return loop.
However, before the track can go down I have to get the files and soldering iron out to make some interface bits to connect the flat bottom rail on the left to the bull head in the station.
Posted: Mon Aug 04, 2014 1:17 pm
by Si
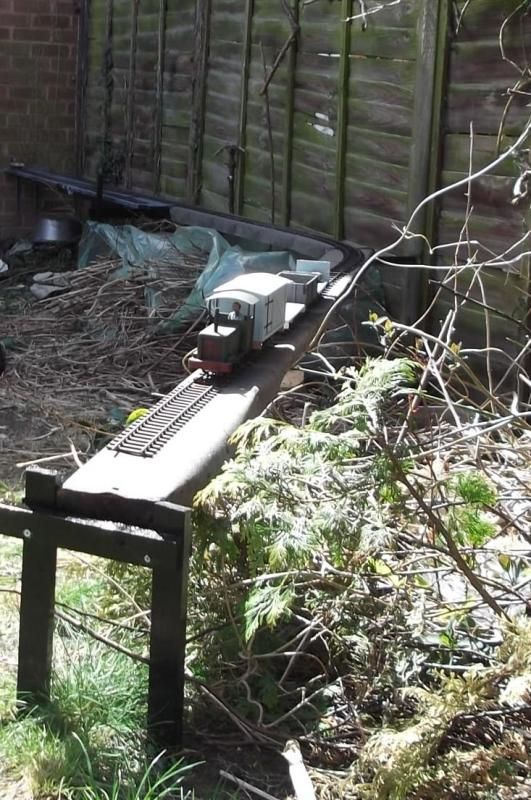
Nothing's happened for a year, due to weather. laziness, and frustration, etc. But the track and infrastructure has survived pretty well.
So decided to re-plan and scale down. Turned it into a simple 10m long loop so that I can now just either sit in the sun and watch the trains go around, or sit here at my computer desk and stare out of the window at...

(don't worry - it looks a lot better in real life than it does in the photo)
Last bit of track went into place this morning. And, amazingly the engine ran all of the way around without derailing. The wagons with the large (garden railway) flanges were happy too, but the little open wagon with the O gauge flanges didn't like one bit....some rail bending and this seems OK. However, the long wheel base, small flange wagon ain't having any of it! Time to play with compensation. Anyhow, the train has been running non-stop for an hour now so I think that the track is OK. It takes about two minutes to get around the loop at a very steady (1.5v) speed.
Just to the left of where the train is is a turnout - this is for phase two that will have a run off down the side of the garden to add a little more interest. But that is for much later - first I have to do some scenery:- put siding on the boards, ballast the track, add platform and station building, etc.[/img]
Posted: Mon Aug 04, 2014 3:21 pm
by Dannypenguin
Lookin' good!


