I reckon you're right about it weathering nicely too!
RWLR - Robin Wood Light Railway
-
Narrow Minded
- Driver

- Posts: 4650
- Joined: Wed Dec 30, 2009 2:27 pm
- Location: Forgotten Realms
- Contact:

-
tom_tom_go

- Driver
- Posts: 4824
- Joined: Wed Feb 23, 2011 3:08 am
- Location: Kent, UK
- Contact:
Here is where I got the samples from if you can't find it locally:
http://decorativeaggregates.com/resin_b ... gates.html
Cheers,
Tom
http://decorativeaggregates.com/resin_b ... gates.html
Cheers,
Tom


Just looking at their prices !! there great !!! i need a bulkbag of Cotswold buff stone and from b and q its £140 inc delivery... From that supplier its £87ish and then delivery free if i order the othe aggregates i need aswelltom_tom_go:71874 wrote:Here is where I got the samples from if you can't find it locally:
http://decorativeaggregates.com/resin_b ... gates.html
Cheers,
Tom
Ta,
Sam
Dude where's my car!!.....Dude get a life!...Get swift cover
Sam
Dude where's my car!!.....Dude get a life!...Get swift cover
-
tom_tom_go
- Driver
- Posts: 4824
- Joined: Wed Feb 23, 2011 3:08 am
- Location: Kent, UK
- Contact:
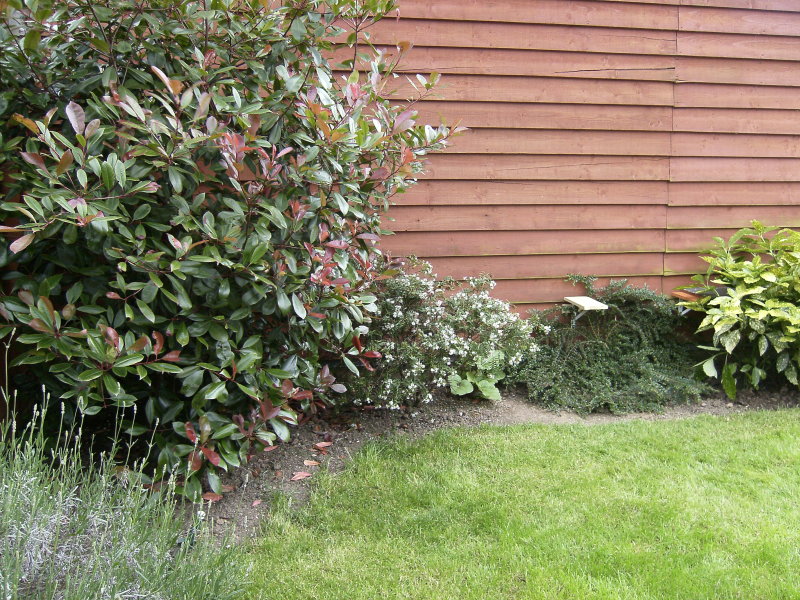
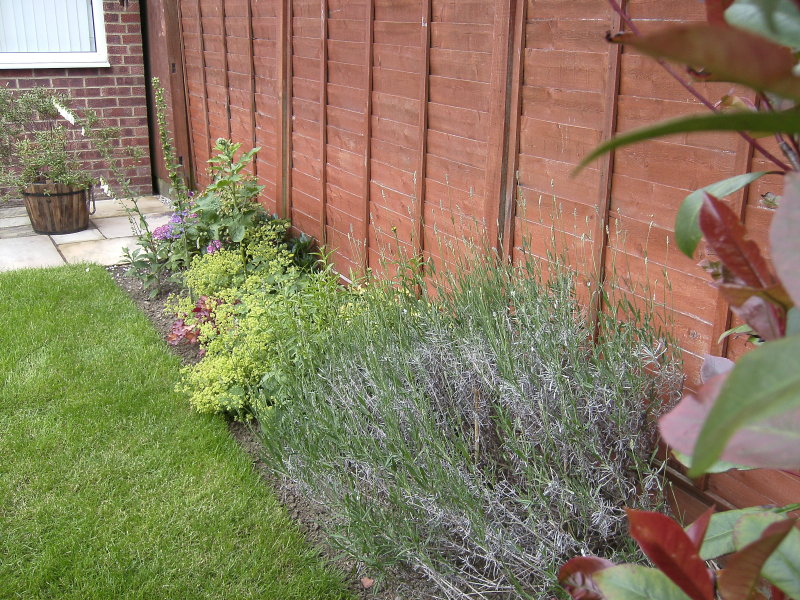
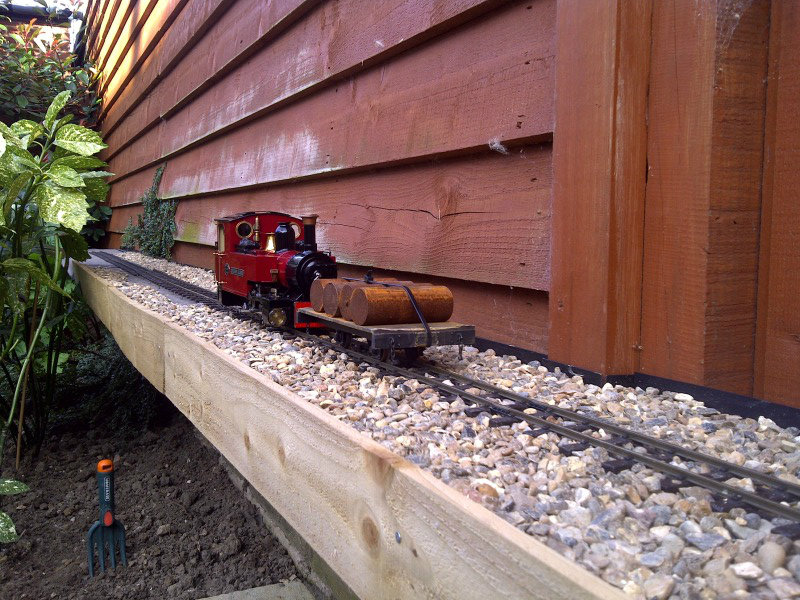
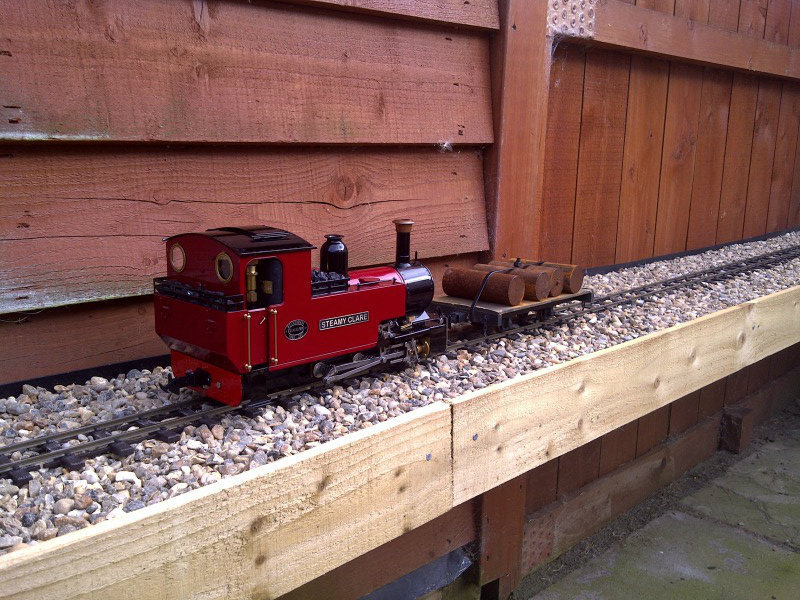
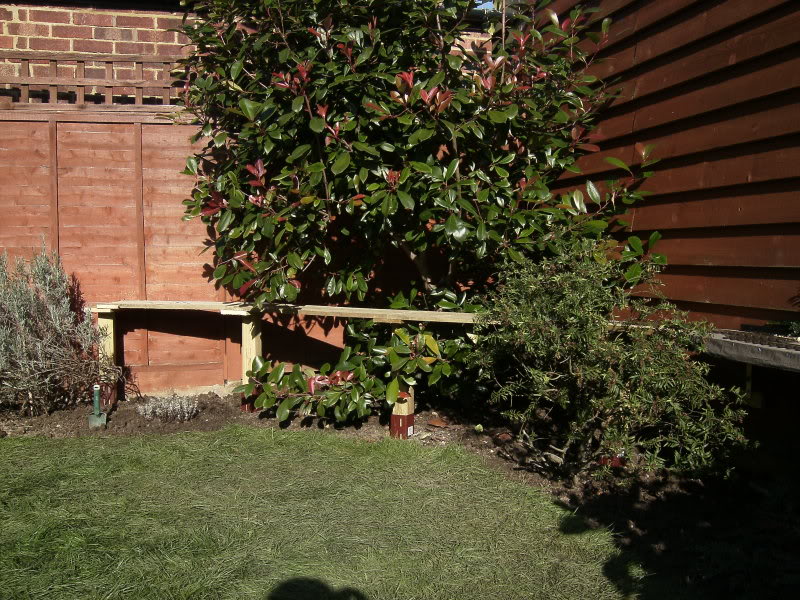
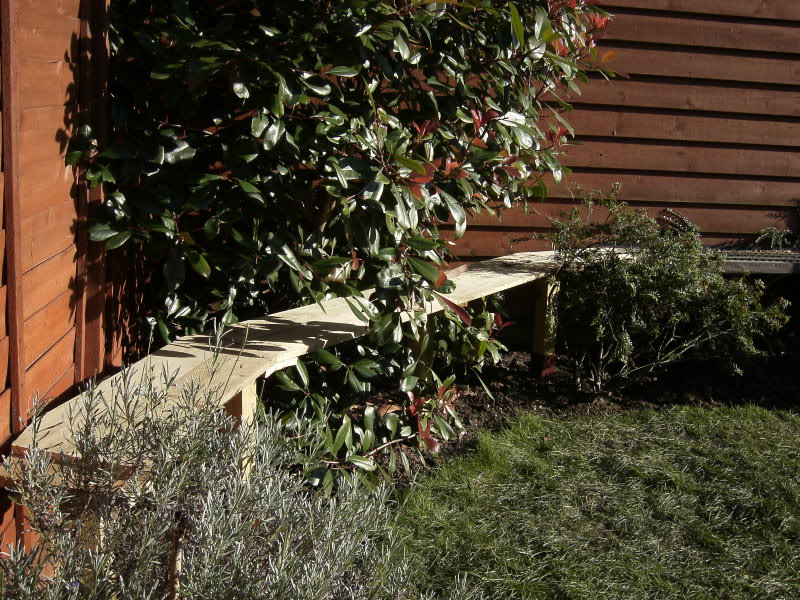
The poor weather and my delivery of materials that did not come as early as I would of liked this weekend has resulted in only little work on the RWLR:
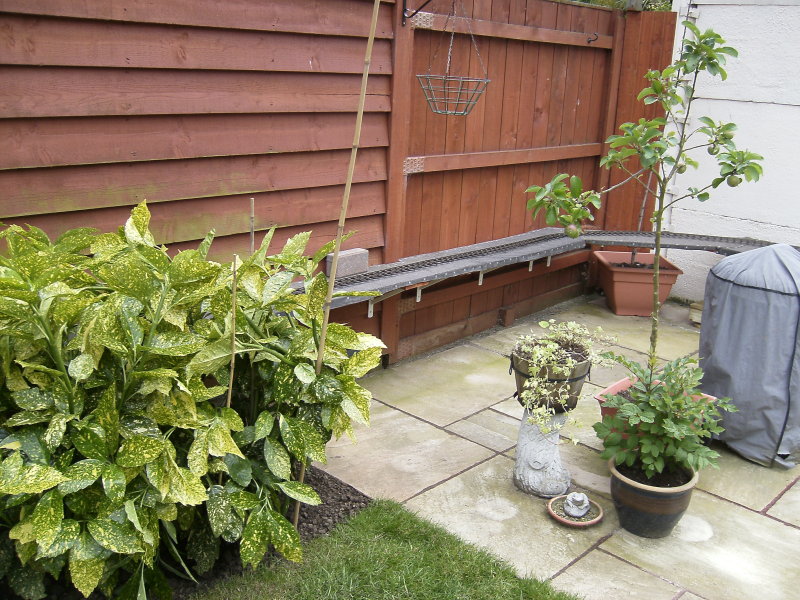

The two bushes were dug out so I could ge the shelf behind them (not an easy task!) which is why they have cain sticks sticking out of them until they root again.

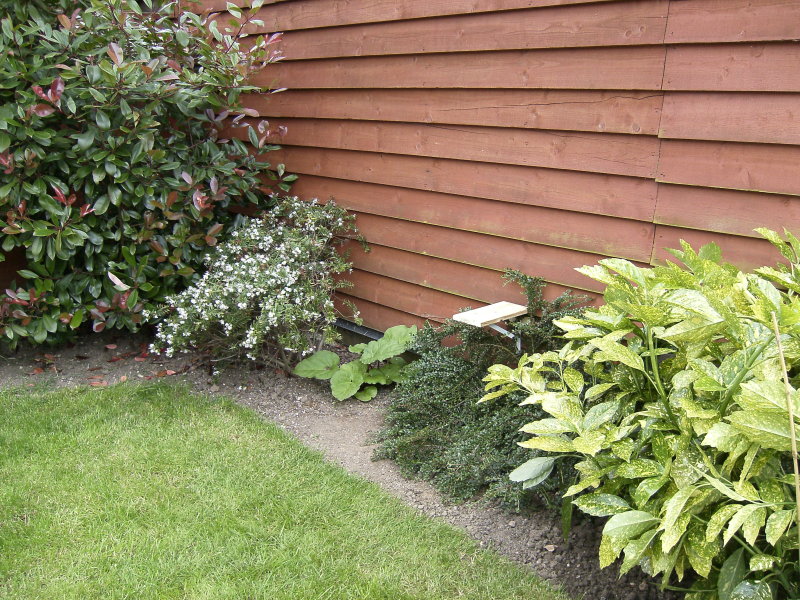
The railway will continue along the back of the garden and then through and out of the red robin bush towards the conservatory when it will loop and go back on itself.
Cheers,
Tom
The two bushes were dug out so I could ge the shelf behind them (not an easy task!) which is why they have cain sticks sticking out of them until they root again.
The railway will continue along the back of the garden and then through and out of the red robin bush towards the conservatory when it will loop and go back on itself.
Cheers,
Tom
-
tom_tom_go
- Driver
- Posts: 4824
- Joined: Wed Feb 23, 2011 3:08 am
- Location: Kent, UK
- Contact:
First off, cats make for rubbish navvies:
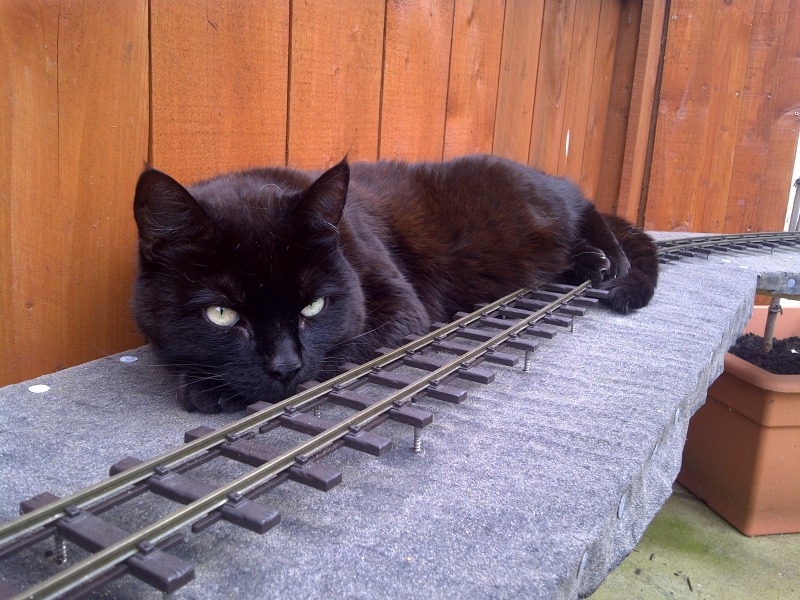
(I think she just gets annoyed that I have opposable thumbs he he)
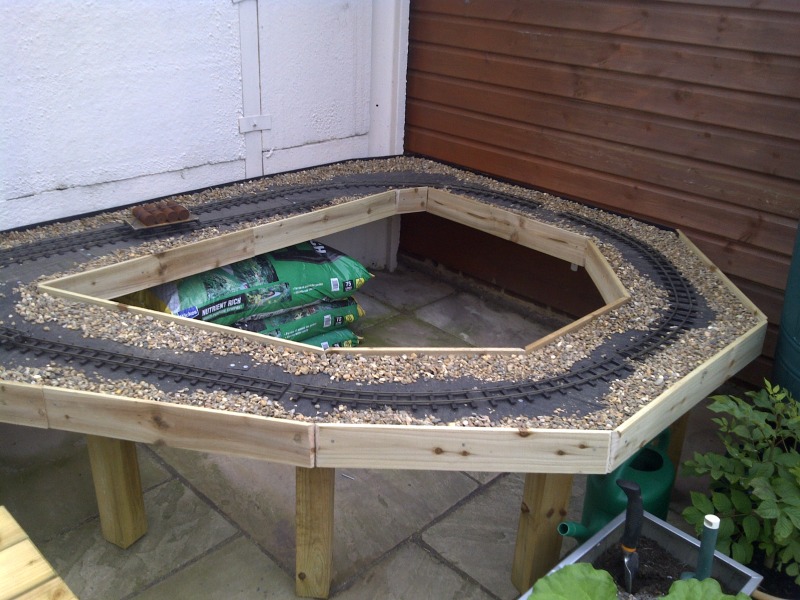
Anyway, a recent meeting with the 'planning committee' over 'land' has called for a re-think of the line to avoid the lawn so unfortunately I have had to result in using the dreaded Peco 2ft 6 set track curves although I run R/C so I guess I will manage
Here is a knock up of what I am aiming for:

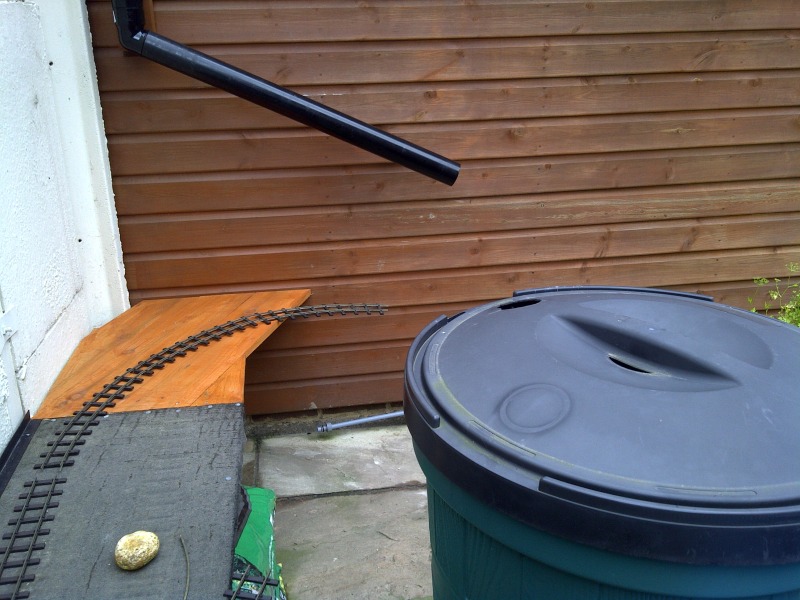
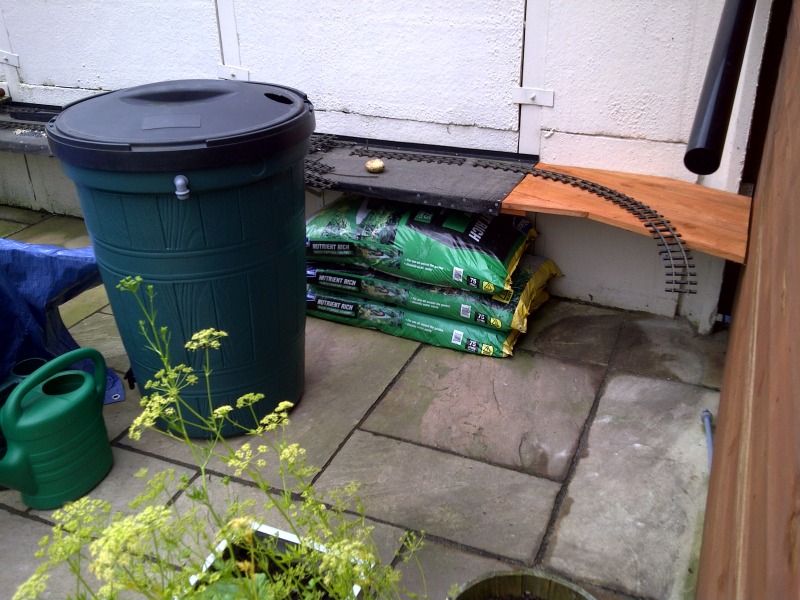
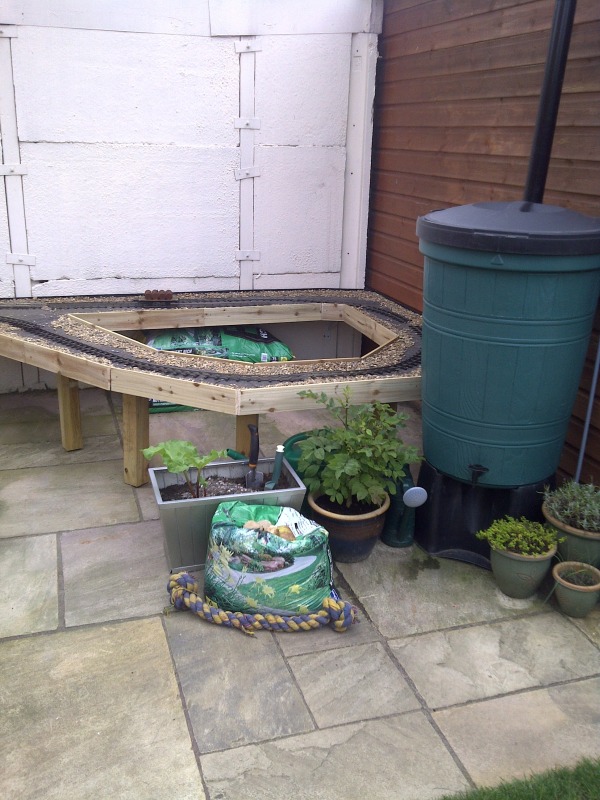
And here is a start of building round the water butt (will be placed in the right loop on the plan):
Cheers,
Tom
(I think she just gets annoyed that I have opposable thumbs he he)
Anyway, a recent meeting with the 'planning committee' over 'land' has called for a re-think of the line to avoid the lawn so unfortunately I have had to result in using the dreaded Peco 2ft 6 set track curves although I run R/C so I guess I will manage
Here is a knock up of what I am aiming for:
And here is a start of building round the water butt (will be placed in the right loop on the plan):
Cheers,
Tom
-
tom_tom_go
- Driver
- Posts: 4824
- Joined: Wed Feb 23, 2011 3:08 am
- Location: Kent, UK
- Contact:


RWLR Begins
I couldn't agree more. Only got the terminus built at the moment,but without the saw,I'd still be cutting timber. Nothing fancy is needed,I got mine from Homebase. The correct name is mitre saw.For anyone starting out on their line I would recommend buying a chop saw
Lead me not into temptation,for I can find my own way.

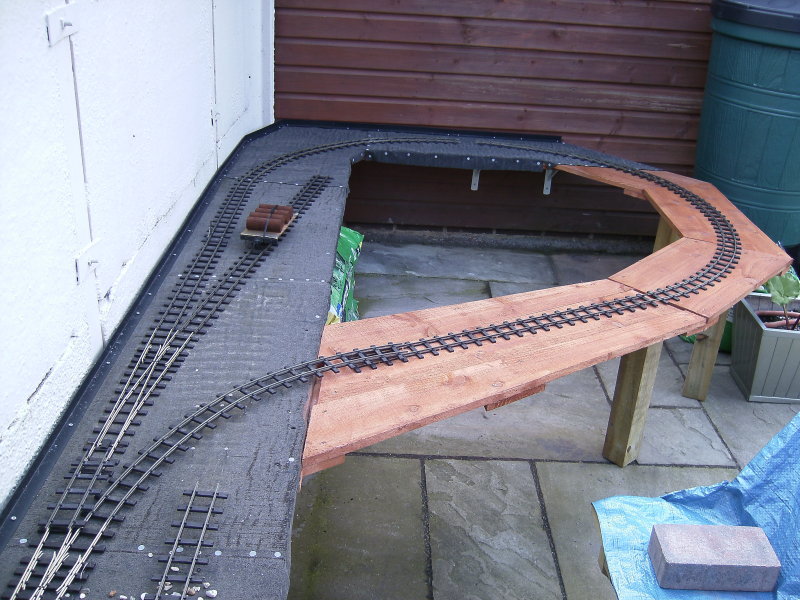
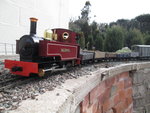
Ah, good progress. (Just shows how wide a radius the Peco points are - much against my initial fears, I am finding I quite enjoy building my own!) How far the other way does the line go now, I have lost track a bit?tom_tom_go:73485 wrote:The loop nearing completion with a revised track layout so I can have an siding be it a small one:
Richard Huss
in sunny Solihull
in sunny Solihull
-
tom_tom_go
- Driver
- Posts: 4824
- Joined: Wed Feb 23, 2011 3:08 am
- Location: Kent, UK
- Contact:
-
tom_tom_go
- Driver
- Posts: 4824
- Joined: Wed Feb 23, 2011 3:08 am
- Location: Kent, UK
- Contact:
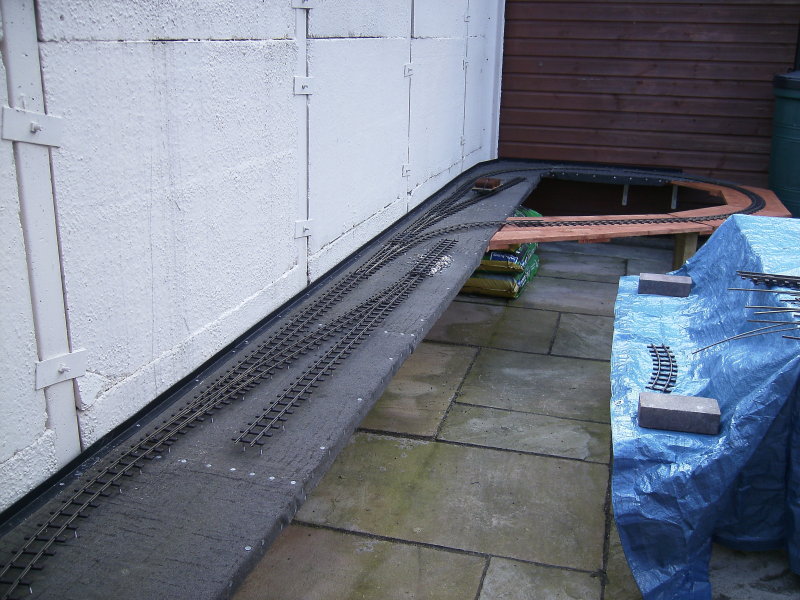
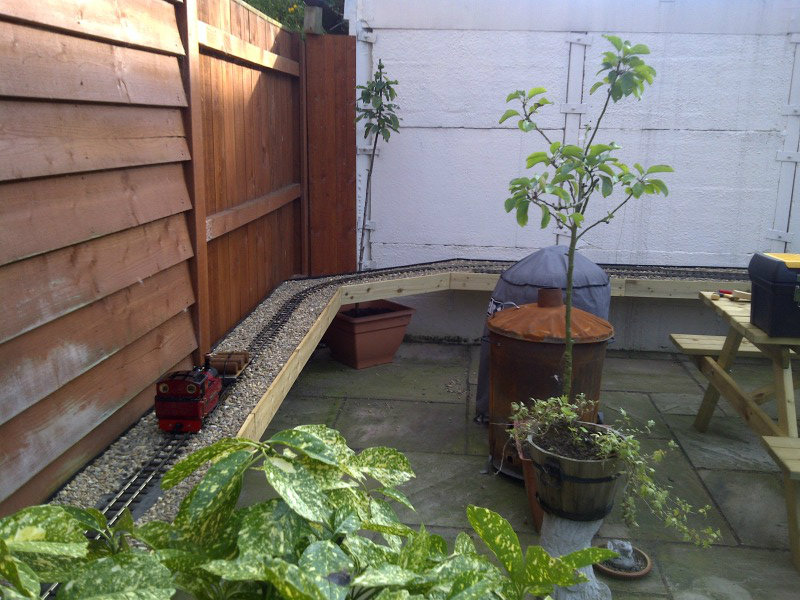
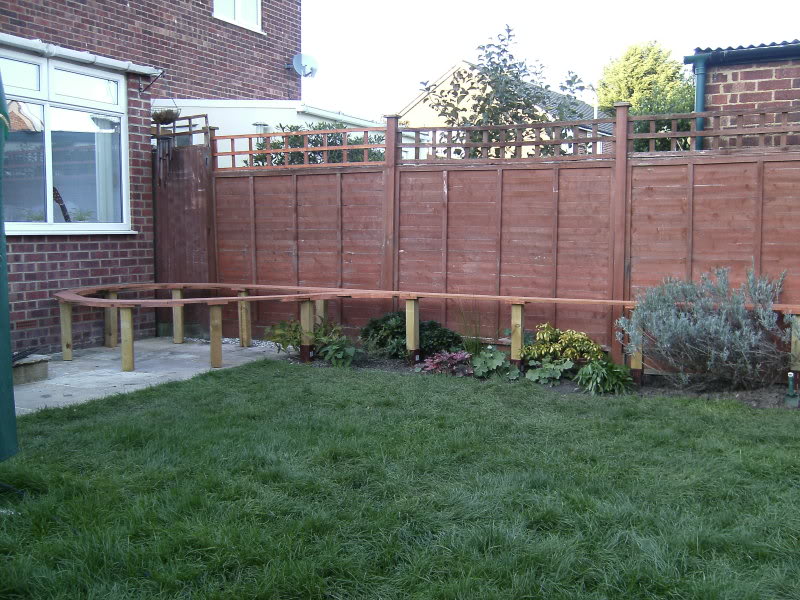
Very pleased with today's work - my line is finally starting to look like a garden railway!
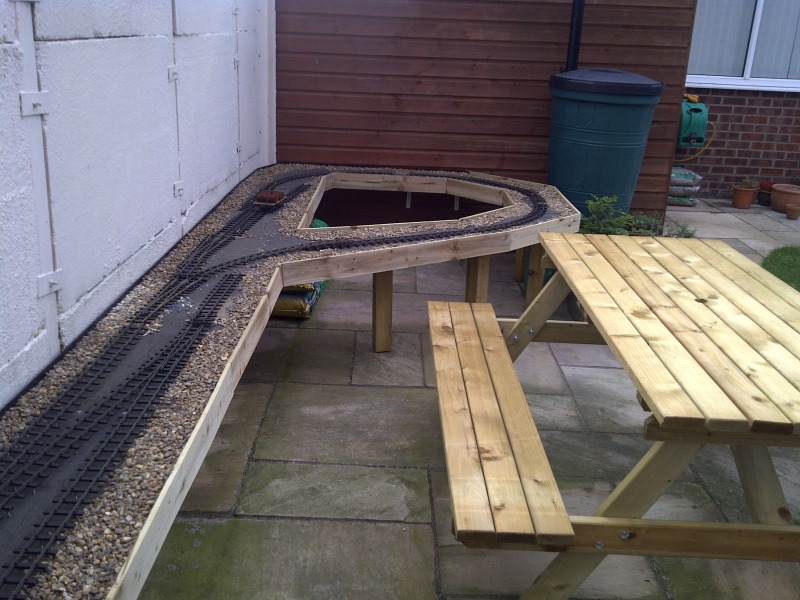

I will be adding more pea shingle as a base layer and then grantie chippings although I do not want the whole line to look like this as I would like to mix it up with greenery and plants:

The steam-up/beer consumption bench fits in nicely for viewing the trains.
Cheers,
Tom
I will be adding more pea shingle as a base layer and then grantie chippings although I do not want the whole line to look like this as I would like to mix it up with greenery and plants:
The steam-up/beer consumption bench fits in nicely for viewing the trains.
Cheers,
Tom
Last edited by tom_tom_go on Tue Sep 11, 2012 9:47 am, edited 1 time in total.
-
tom_tom_go
- Driver
- Posts: 4824
- Joined: Wed Feb 23, 2011 3:08 am
- Location: Kent, UK
- Contact:


-
laurence703
- Trainee Driver

- Posts: 804
- Joined: Fri Nov 25, 2011 1:49 pm
- Location: Lost
-
tom_tom_go
- Driver
- Posts: 4824
- Joined: Wed Feb 23, 2011 3:08 am
- Location: Kent, UK
- Contact:
-
tom_tom_go
- Driver
- Posts: 4824
- Joined: Wed Feb 23, 2011 3:08 am
- Location: Kent, UK
- Contact:
It does make me laugh how much 'model' suppliers want to charge for scale ballast as I just ordered 2 x 25kg bags from www.decorativeaggregates.com who are a decorative aggregates supplier for under £50 delivered!
The resin bonded aggregates they sell are great for 16mm and you can order as little or as much as you need.
The resin bonded aggregates they sell are great for 16mm and you can order as little or as much as you need.
-
tom_tom_go
- Driver
- Posts: 4824
- Joined: Wed Feb 23, 2011 3:08 am
- Location: Kent, UK
- Contact:


-
laurence703
- Trainee Driver
- Posts: 804
- Joined: Fri Nov 25, 2011 1:49 pm
- Location: Lost
-
tom_tom_go
- Driver
- Posts: 4824
- Joined: Wed Feb 23, 2011 3:08 am
- Location: Kent, UK
- Contact:
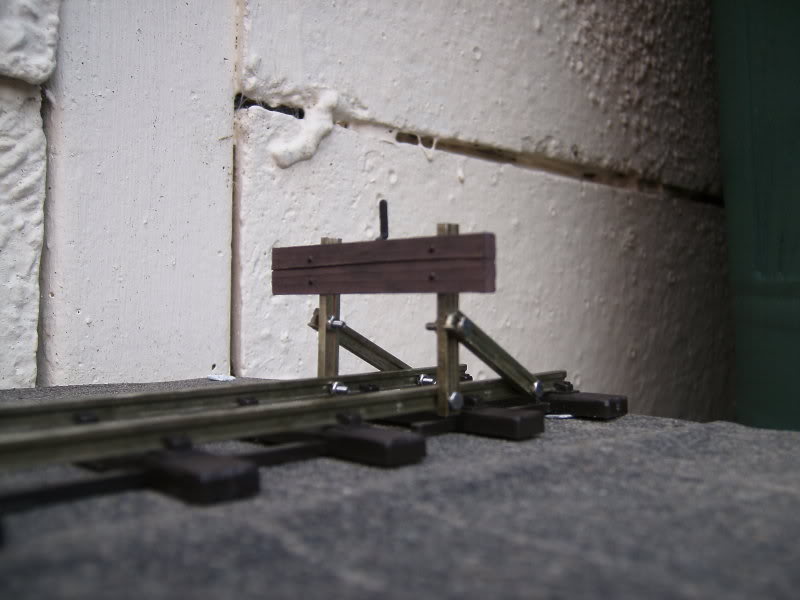
Thanks Laurence. I have decided this buffer stop will go at the other end of the siding as this will be the coaling/water filling area where I intend to build a basic platform. I can't fit a loco shed
I want to make another style of buffer stop for the other end of the siding. Maybe out of brick or using Peco track as I had a go at this a while back, however, the nuts and bolts look too big. Using smaller ones I have found to be fiddly:
I want to make another style of buffer stop for the other end of the siding. Maybe out of brick or using Peco track as I had a go at this a while back, however, the nuts and bolts look too big. Using smaller ones I have found to be fiddly:

You're putting together a good looking railway there Tom Tom. When I make a start on my own railway I'm going to have to use the self bracket method along a fence line as well so it's been interesting to see how you approached the method.
By the way I like your rail built buffer stops and I don't really think the bolts you've used are oversized. Clipping the extra length off the bolts would make a difference to their appearance and make them more realistic.
By the way I like your rail built buffer stops and I don't really think the bolts you've used are oversized. Clipping the extra length off the bolts would make a difference to their appearance and make them more realistic.
What has Reality done for you lately?
-
tom_tom_go
- Driver
- Posts: 4824
- Joined: Wed Feb 23, 2011 3:08 am
- Location: Kent, UK
- Contact:
-
tom_tom_go
- Driver
- Posts: 4824
- Joined: Wed Feb 23, 2011 3:08 am
- Location: Kent, UK
- Contact:
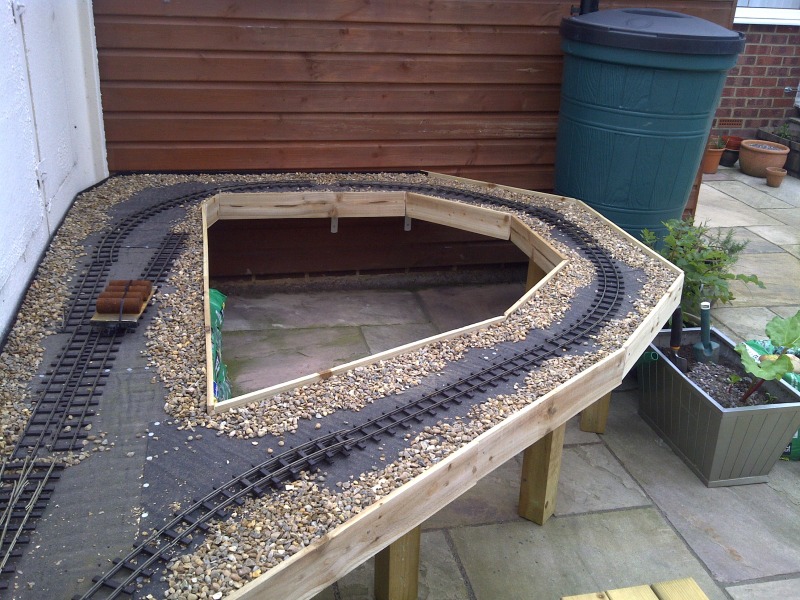
Completed the final stage of track base construction today! 
I now have a complete 'dog bone' to lay the remaining roofing felt on and then for track and ballast to go on top of that. I may even get to hold my first steam up in the Spring
Thanks to everyone's comments on this thread - it really helps to spur me on with the RWLR...
Cheers,
Tom
I now have a complete 'dog bone' to lay the remaining roofing felt on and then for track and ballast to go on top of that. I may even get to hold my first steam up in the Spring
Thanks to everyone's comments on this thread - it really helps to spur me on with the RWLR...
Cheers,
Tom
Who is online
Users browsing this forum: No registered users and 15 guests