Not now though!Marquis DeCarabas:57103 wrote:Leek and Manifold? ;)
RWLR - Robin Wood Light Railway
-
Pendo Pilot

- Driver

- Posts: 1897
- Joined: Sun Apr 04, 2010 12:24 am
- Location: South Staffordshire UK
- Contact:
-
Sir Clothem Cap

- Driver
- Posts: 1707
- Joined: Sun Sep 26, 2010 8:45 pm
- Location: Hampshire
- Contact:
-
tom_tom_go

- Driver
- Posts: 4824
- Joined: Wed Feb 23, 2011 3:08 am
- Location: Kent, UK
- Contact:
This is part one (steam up area) nearly finished:
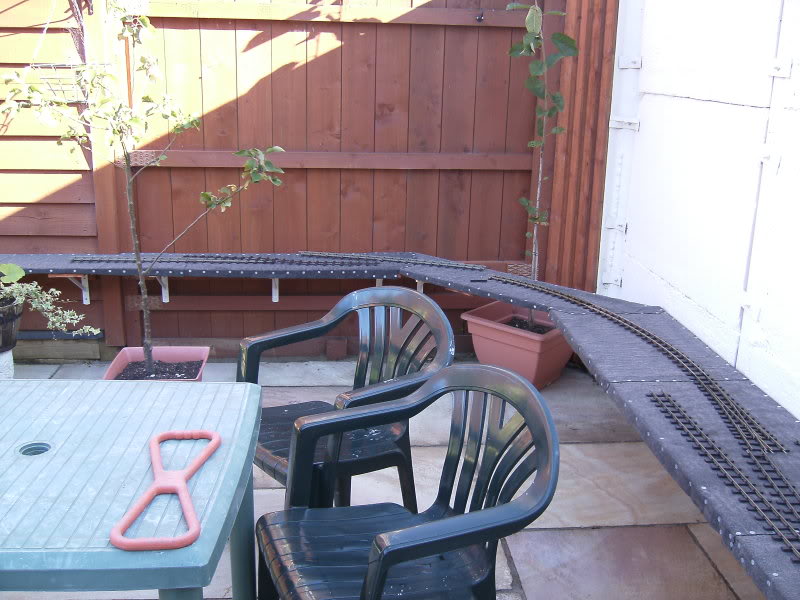

I have also started using Cliff Barker fishplates rather than the Peco offerings:
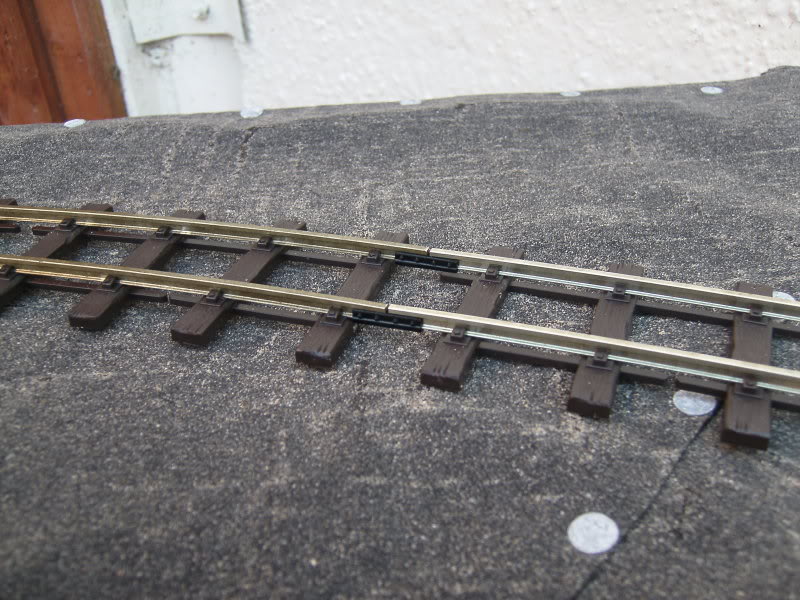
Once painted I think they will look the biz.
Unfortunately, my rail bender has decided to start producing kinked track so until that's sorted I can't do much else for the moment.
Cheers,
Tom
RWLR
I have also started using Cliff Barker fishplates rather than the Peco offerings:
Once painted I think they will look the biz.
Unfortunately, my rail bender has decided to start producing kinked track so until that's sorted I can't do much else for the moment.
Cheers,
Tom
RWLR
-
tom_tom_go
- Driver
- Posts: 4824
- Joined: Wed Feb 23, 2011 3:08 am
- Location: Kent, UK
- Contact:
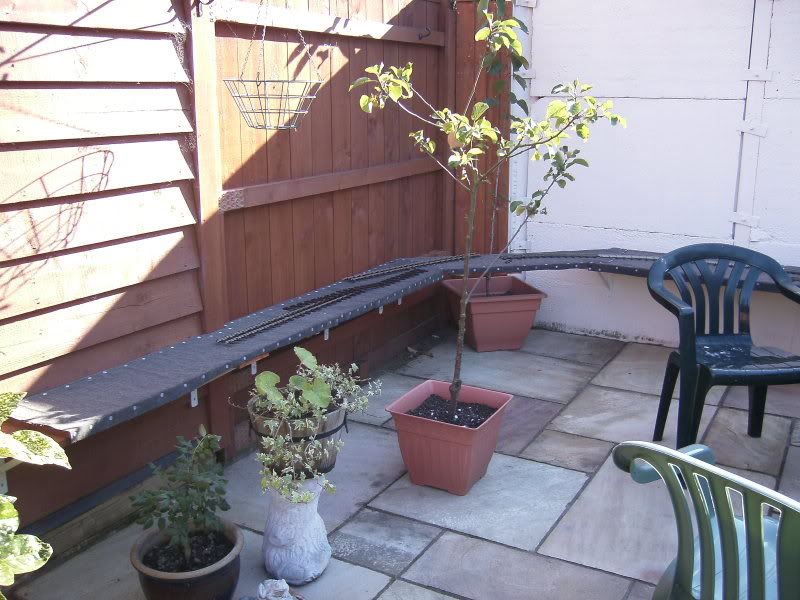
I perfected my 'screws under the sleeper' method of laying track (yes I know I make work for myself) 
It does give great results though for level running and also means you cannot see any nails/screws through the sleepers:

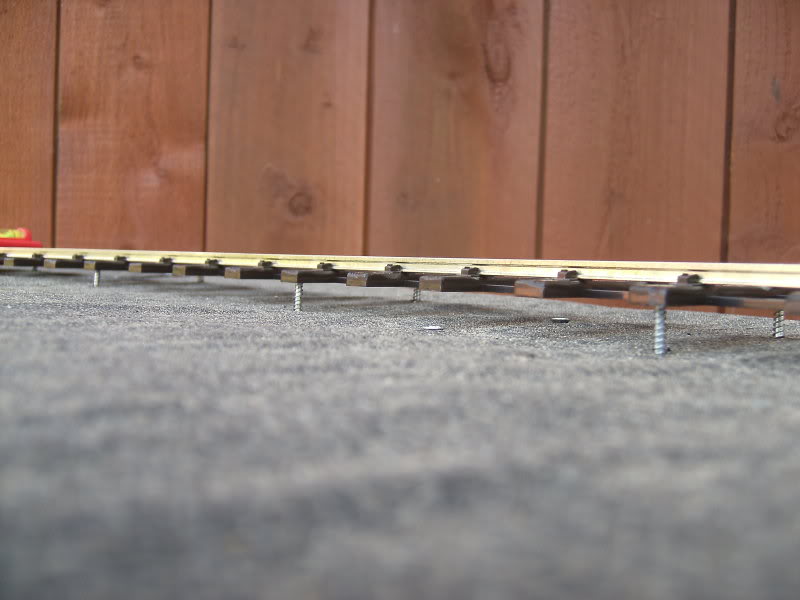
Screws are positioned every forth sleeper and because the track is webbed there is no sag when trains run over the parts with no supports. I will ballast these in later anyway.
Another benefit of using screws means I can adjust the track when required and because the track is raised it will create an embankment either side of the sleepers once the ballast is in place - just like the real thing
I completely agree with the enjoyment of hearing the loco's work which is why all my rolling stock is heavily weighted and chuff pipes a must!
Is it just me but those of us that work full time and have busy family lives find that their railways take years to build like mine is at the moment?
Cheers,
Tom
RWLR
It does give great results though for level running and also means you cannot see any nails/screws through the sleepers:
Screws are positioned every forth sleeper and because the track is webbed there is no sag when trains run over the parts with no supports. I will ballast these in later anyway.
Another benefit of using screws means I can adjust the track when required and because the track is raised it will create an embankment either side of the sleepers once the ballast is in place - just like the real thing
I completely agree with the enjoyment of hearing the loco's work which is why all my rolling stock is heavily weighted and chuff pipes a must!
Is it just me but those of us that work full time and have busy family lives find that their railways take years to build like mine is at the moment?
Cheers,
Tom
RWLR
-
Pendo Pilot
- Driver
- Posts: 1897
- Joined: Sun Apr 04, 2010 12:24 am
- Location: South Staffordshire UK
- Contact:
One of the plus points of working mad shifts helped me do mine. Getting home at 11am after a full day or not starting till 7 at night for example. It's all good.tom_tom_go:59541 wrote:I Is it just me but those of us that work full time and have busy family lives find that their railways take years to build like mine is at the moment?
Tommy Dodd may have an ARS key but I have a TASS button & a Rope Ladder, just like pirates, except the TASS button bit.
-
DWR
- Trainee Fireman

- Posts: 117
- Joined: Tue Oct 25, 2011 10:01 pm
- Location: Top Left Hand corner of Wales
- Contact:
Nice railway
Romans and railways
my 32mm Railway site
www.dinerthrailwayworks.webs.com/
7 1/4 railway
www.lnwrrailway.webs.com/
my youtube account
http://www.youtube.com/user/elika80?feature=mhee
PENRHYN RAILWAY
http://www.penrhynrailway.co.uk/
my 32mm Railway site
www.dinerthrailwayworks.webs.com/
7 1/4 railway
www.lnwrrailway.webs.com/
my youtube account
http://www.youtube.com/user/elika80?feature=mhee
PENRHYN RAILWAY
http://www.penrhynrailway.co.uk/
-
tom_tom_go
- Driver
- Posts: 4824
- Joined: Wed Feb 23, 2011 3:08 am
- Location: Kent, UK
- Contact:
-
DWR
- Trainee Fireman
- Posts: 117
- Joined: Tue Oct 25, 2011 10:01 pm
- Location: Top Left Hand corner of Wales
- Contact:
i know the feeling  I think its time I start building again
Romans and railways
my 32mm Railway site
www.dinerthrailwayworks.webs.com/
7 1/4 railway
www.lnwrrailway.webs.com/
my youtube account
http://www.youtube.com/user/elika80?feature=mhee
PENRHYN RAILWAY
http://www.penrhynrailway.co.uk/
my 32mm Railway site
www.dinerthrailwayworks.webs.com/
7 1/4 railway
www.lnwrrailway.webs.com/
my youtube account
http://www.youtube.com/user/elika80?feature=mhee
PENRHYN RAILWAY
http://www.penrhynrailway.co.uk/
-
tom_tom_go
- Driver
- Posts: 4824
- Joined: Wed Feb 23, 2011 3:08 am
- Location: Kent, UK
- Contact:

-
DolwyddelanLightRail

- Driver
- Posts: 2579
- Joined: Tue Sep 29, 2009 7:27 pm
- Location: Lost
-
tom_tom_go
- Driver
- Posts: 4824
- Joined: Wed Feb 23, 2011 3:08 am
- Location: Kent, UK
- Contact:
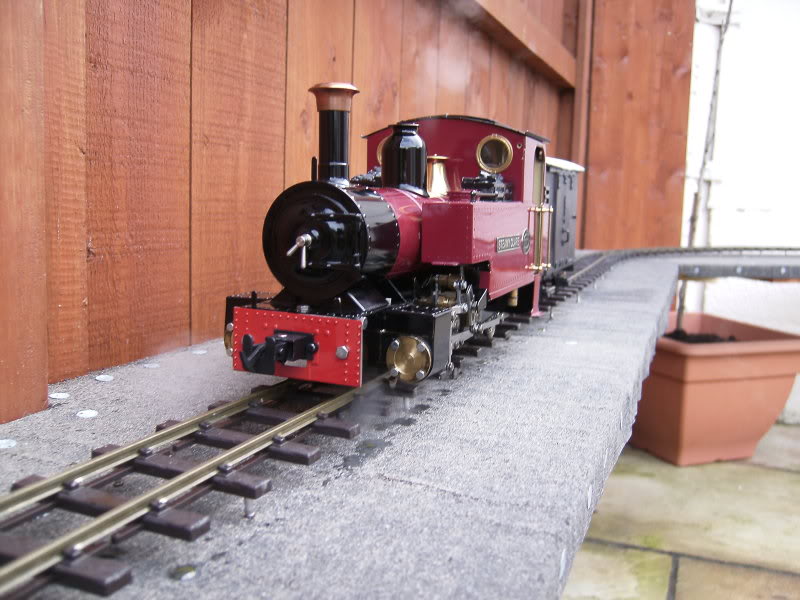
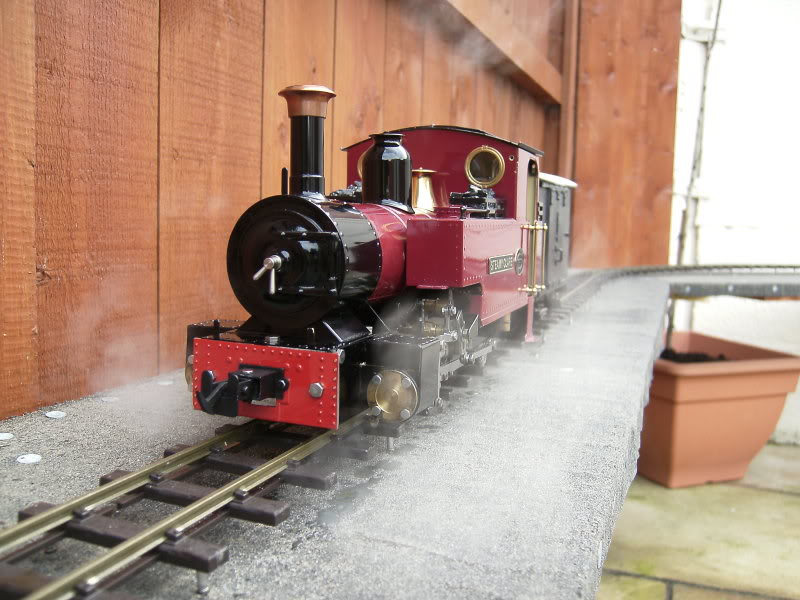
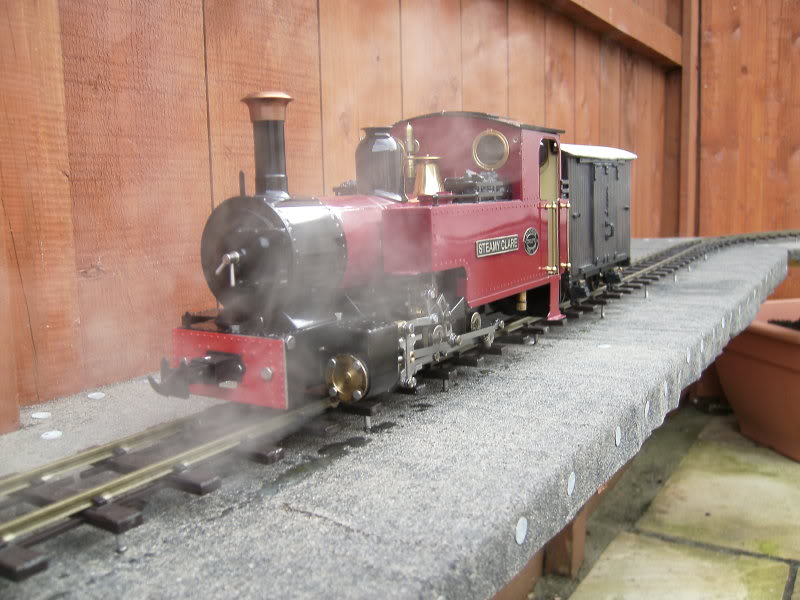
Hi James,
I think with the small changes I am making to my SL it is starting to look more prototypical.
The Locoworks cab doors will hide my battery mod in the bunker perfectly when they arrive:
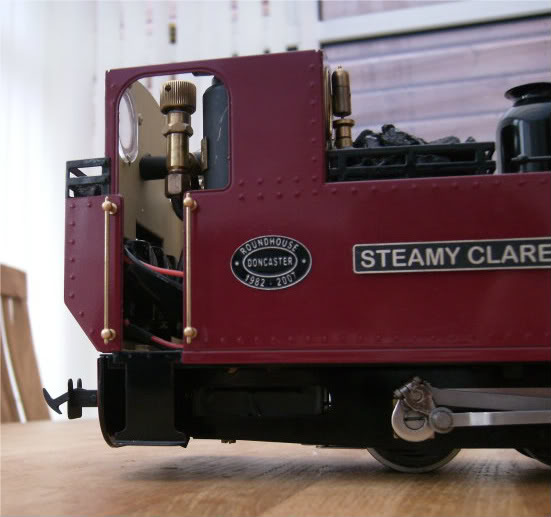
...and I will also fit their running boards minus the inspection panel as I have cut down the buffer beam:

The big transformation will come though when I get rid of all that gloss paint
Cheers,
Tom
I think with the small changes I am making to my SL it is starting to look more prototypical.
The Locoworks cab doors will hide my battery mod in the bunker perfectly when they arrive:
...and I will also fit their running boards minus the inspection panel as I have cut down the buffer beam:
The big transformation will come though when I get rid of all that gloss paint
Cheers,
Tom
-
tom_tom_go
- Driver
- Posts: 4824
- Joined: Wed Feb 23, 2011 3:08 am
- Location: Kent, UK
- Contact:
-
tom_tom_go
- Driver
- Posts: 4824
- Joined: Wed Feb 23, 2011 3:08 am
- Location: Kent, UK
- Contact:

-
Narrow Minded
- Driver
- Posts: 4650
- Joined: Wed Dec 30, 2009 2:27 pm
- Location: Forgotten Realms
- Contact:

-
tom_tom_go
- Driver
- Posts: 4824
- Joined: Wed Feb 23, 2011 3:08 am
- Location: Kent, UK
- Contact:
Hi Greg,
I live near a railway footbridge that has tiny pieces of gravel scattered all over it and thought that it would make perfect ballast. I have spent ages trying to find out what the stuff on it is when by chance last week I found an aggregates firm that do 1 -3mm gritstone called 'Trugrip 68' which is used to give a high grip surface on paths.
They sent me a samples of it and I then mixed it with 1 - 3mm daltex green granite to vary the colour.
The test patch I did looks a bit new and fresh, however, over time along with a mix of trains and mud I reckon it will look the part.
Cheers,
Tom
-
Narrow Minded
- Driver
- Posts: 4650
- Joined: Wed Dec 30, 2009 2:27 pm
- Location: Forgotten Realms
- Contact:
-
tom_tom_go
- Driver
- Posts: 4824
- Joined: Wed Feb 23, 2011 3:08 am
- Location: Kent, UK
- Contact:
Here is where I got the samples from if you can't find it locally:
http://decorativeaggregates.com/resin_b ... gates.html
Cheers,
Tom
http://decorativeaggregates.com/resin_b ... gates.html
Cheers,
Tom


Just looking at their prices !! there great !!! i need a bulkbag of Cotswold buff stone and from b and q its £140 inc delivery... From that supplier its £87ish and then delivery free if i order the othe aggregates i need aswelltom_tom_go:71874 wrote:Here is where I got the samples from if you can't find it locally:
http://decorativeaggregates.com/resin_b ... gates.html
Cheers,
Tom
Ta,
Sam
Dude where's my car!!.....Dude get a life!...Get swift cover
Sam
Dude where's my car!!.....Dude get a life!...Get swift cover
-
tom_tom_go
- Driver
- Posts: 4824
- Joined: Wed Feb 23, 2011 3:08 am
- Location: Kent, UK
- Contact:
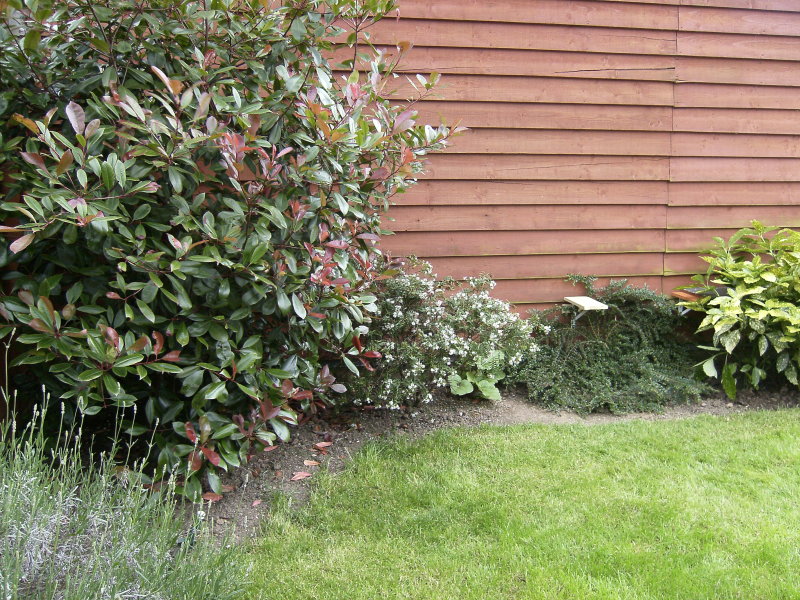
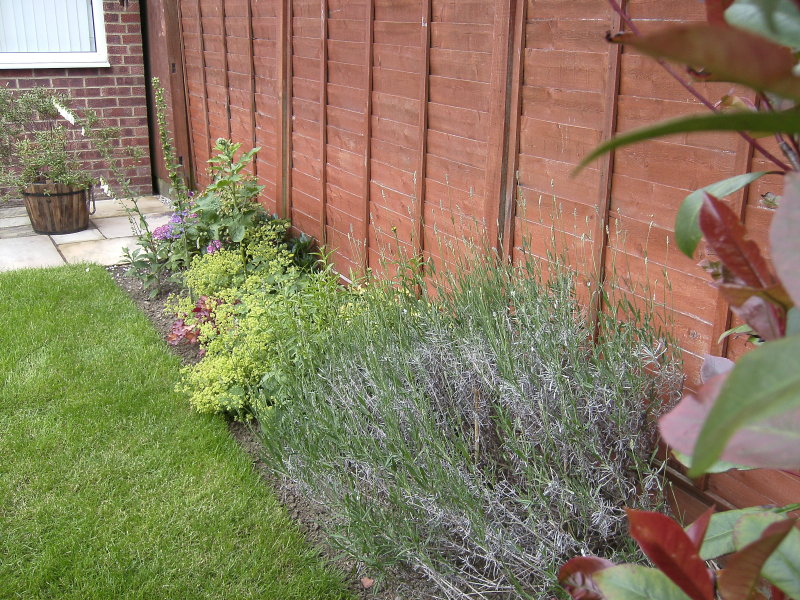
The poor weather and my delivery of materials that did not come as early as I would of liked this weekend has resulted in only little work on the RWLR:
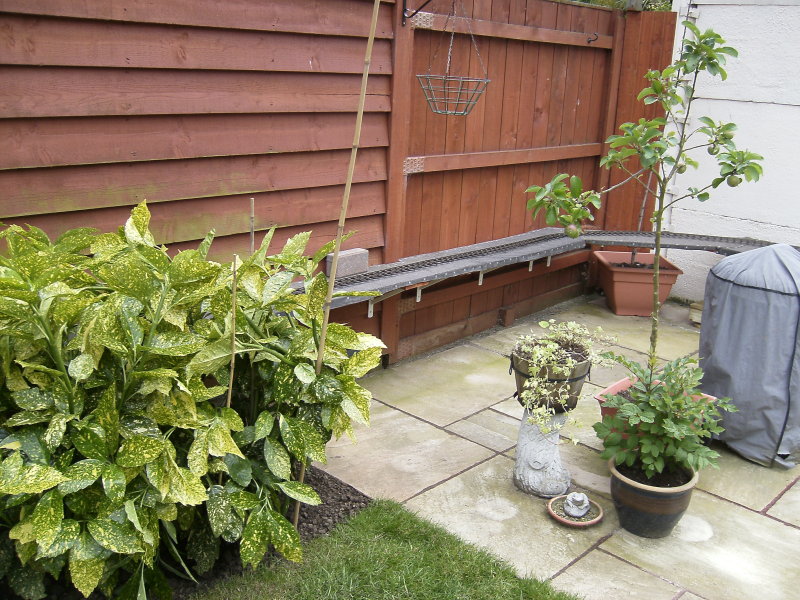

The two bushes were dug out so I could ge the shelf behind them (not an easy task!) which is why they have cain sticks sticking out of them until they root again.

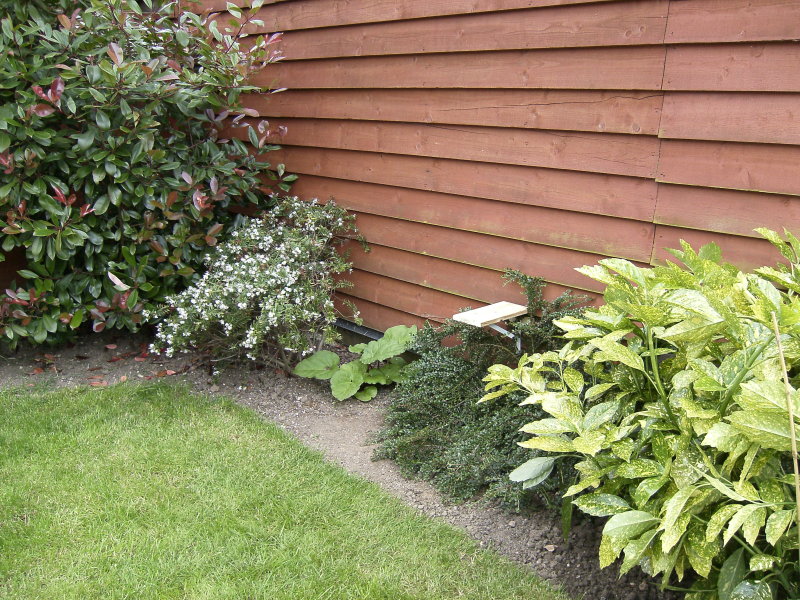
The railway will continue along the back of the garden and then through and out of the red robin bush towards the conservatory when it will loop and go back on itself.
Cheers,
Tom
The two bushes were dug out so I could ge the shelf behind them (not an easy task!) which is why they have cain sticks sticking out of them until they root again.
The railway will continue along the back of the garden and then through and out of the red robin bush towards the conservatory when it will loop and go back on itself.
Cheers,
Tom
-
tom_tom_go
- Driver
- Posts: 4824
- Joined: Wed Feb 23, 2011 3:08 am
- Location: Kent, UK
- Contact:
First off, cats make for rubbish navvies:
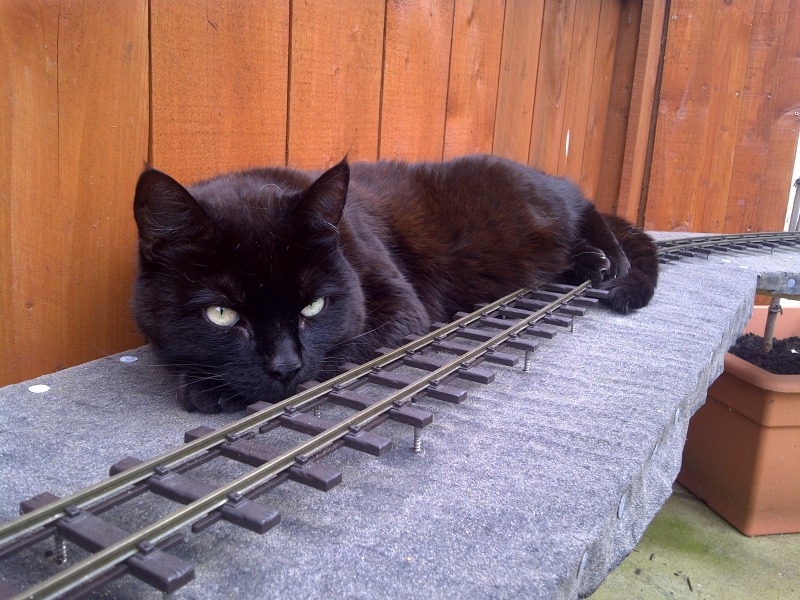
(I think she just gets annoyed that I have opposable thumbs he he)
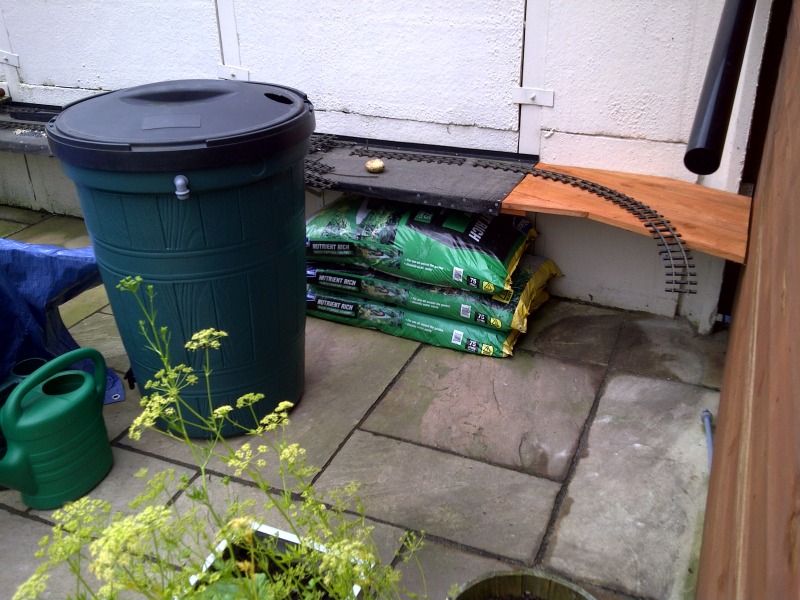
Anyway, a recent meeting with the 'planning committee' over 'land' has called for a re-think of the line to avoid the lawn so unfortunately I have had to result in using the dreaded Peco 2ft 6 set track curves although I run R/C so I guess I will manage
Here is a knock up of what I am aiming for:

And here is a start of building round the water butt (will be placed in the right loop on the plan):
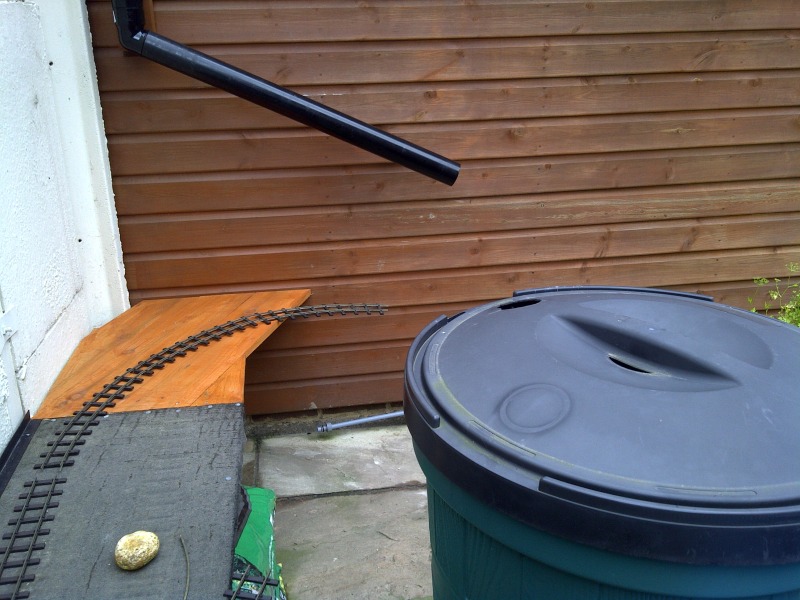
Cheers,
Tom
(I think she just gets annoyed that I have opposable thumbs he he)
Anyway, a recent meeting with the 'planning committee' over 'land' has called for a re-think of the line to avoid the lawn so unfortunately I have had to result in using the dreaded Peco 2ft 6 set track curves although I run R/C so I guess I will manage
Here is a knock up of what I am aiming for:
And here is a start of building round the water butt (will be placed in the right loop on the plan):
Cheers,
Tom
Who is online
Users browsing this forum: Peter Butler and 3 guests