RWLR - Robin Wood Light Railway
-
laurence703
- Trainee Driver

- Posts: 804
- Joined: Fri Nov 25, 2011 1:49 pm
- Location: Lost
-
tom_tom_go

- Driver

- Posts: 4824
- Joined: Wed Feb 23, 2011 3:08 am
- Location: Kent, UK
- Contact:
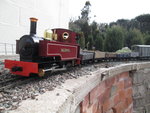
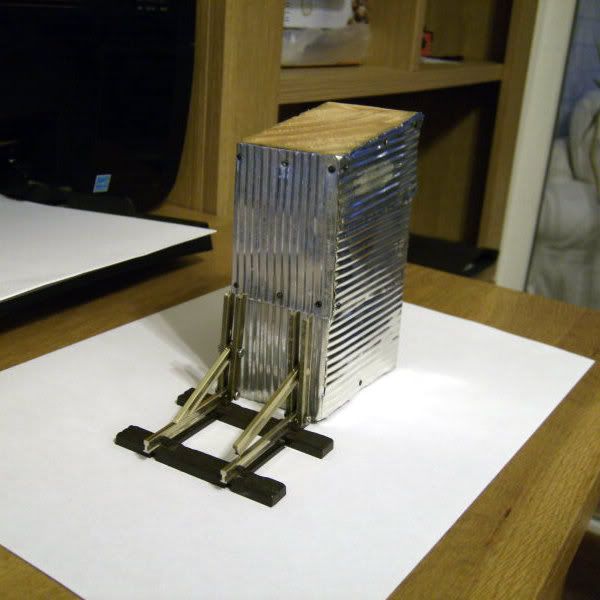
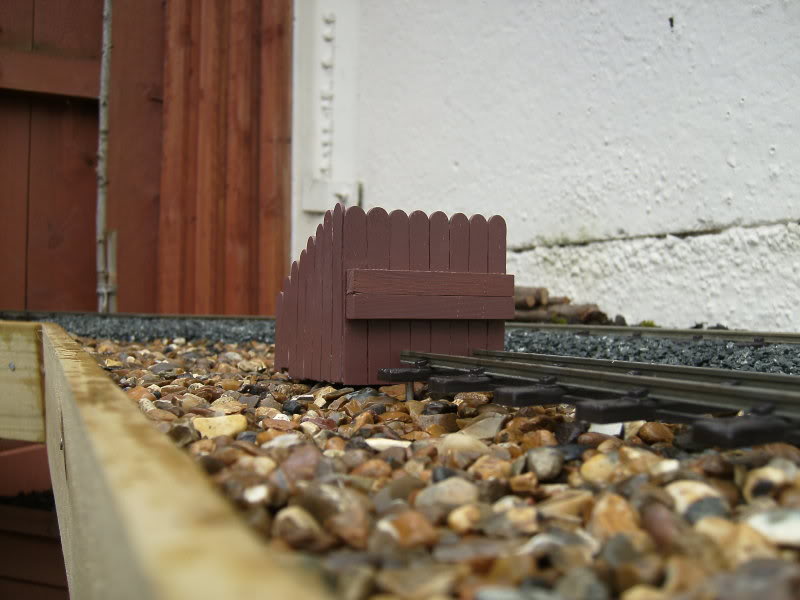
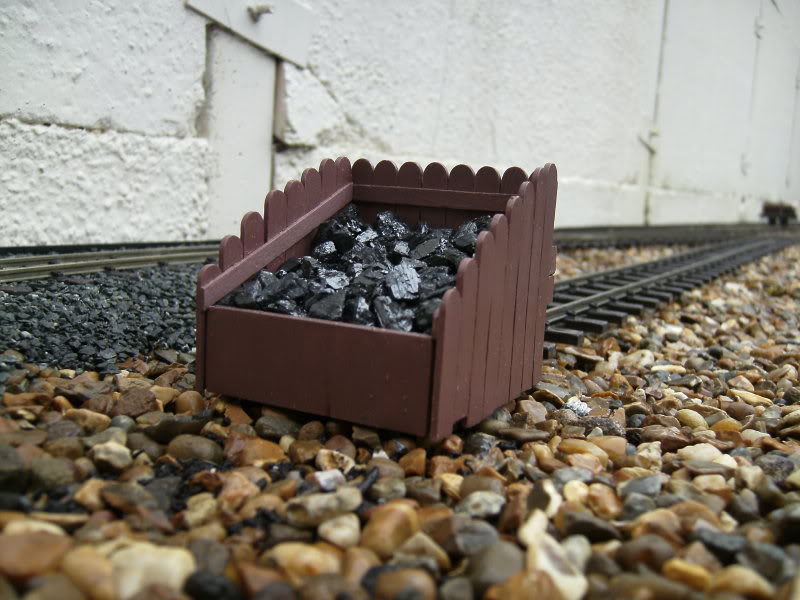
Thanks Laurence. I have decided this buffer stop will go at the other end of the siding as this will be the coaling/water filling area where I intend to build a basic platform. I can't fit a loco shed 
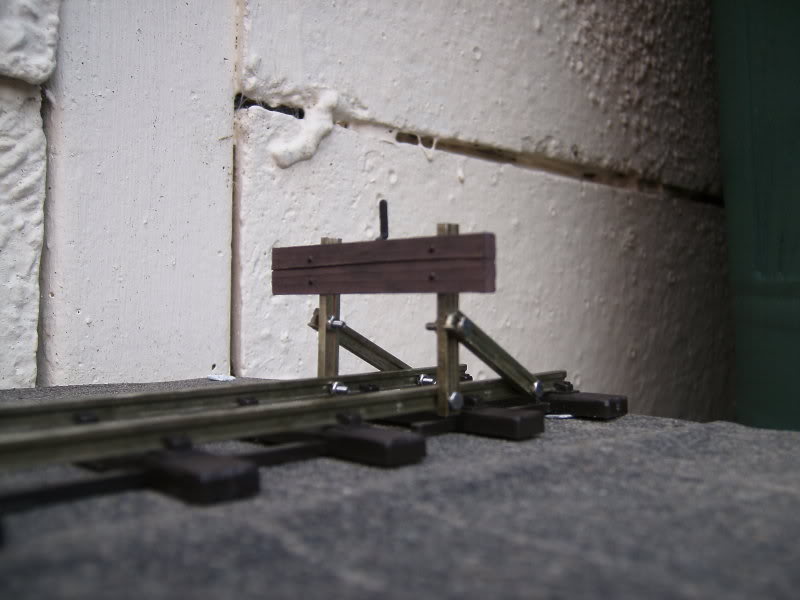
I want to make another style of buffer stop for the other end of the siding. Maybe out of brick or using Peco track as I had a go at this a while back, however, the nuts and bolts look too big. Using smaller ones I have found to be fiddly:
I want to make another style of buffer stop for the other end of the siding. Maybe out of brick or using Peco track as I had a go at this a while back, however, the nuts and bolts look too big. Using smaller ones I have found to be fiddly:


You're putting together a good looking railway there Tom Tom. When I make a start on my own railway I'm going to have to use the self bracket method along a fence line as well so it's been interesting to see how you approached the method.
By the way I like your rail built buffer stops and I don't really think the bolts you've used are oversized. Clipping the extra length off the bolts would make a difference to their appearance and make them more realistic.
By the way I like your rail built buffer stops and I don't really think the bolts you've used are oversized. Clipping the extra length off the bolts would make a difference to their appearance and make them more realistic.
What has Reality done for you lately?
-
tom_tom_go
- Driver
- Posts: 4824
- Joined: Wed Feb 23, 2011 3:08 am
- Location: Kent, UK
- Contact:
-
tom_tom_go
- Driver
- Posts: 4824
- Joined: Wed Feb 23, 2011 3:08 am
- Location: Kent, UK
- Contact:
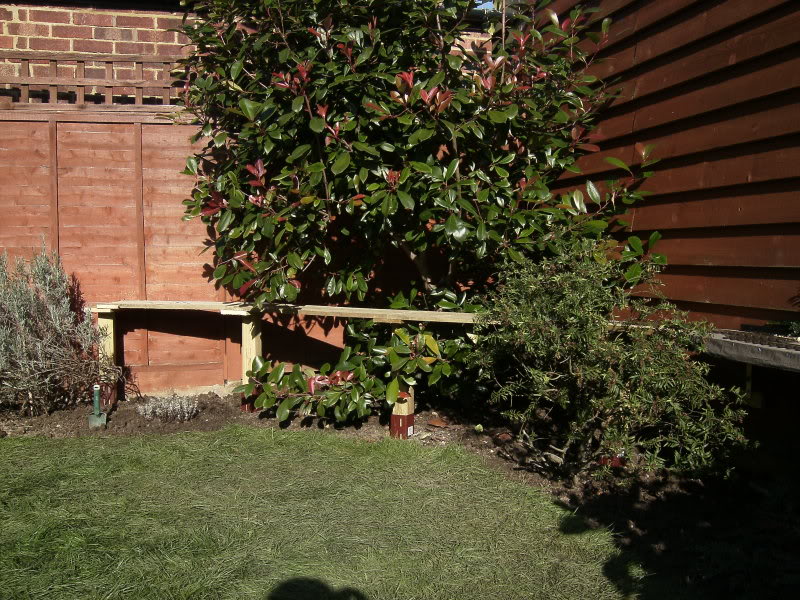
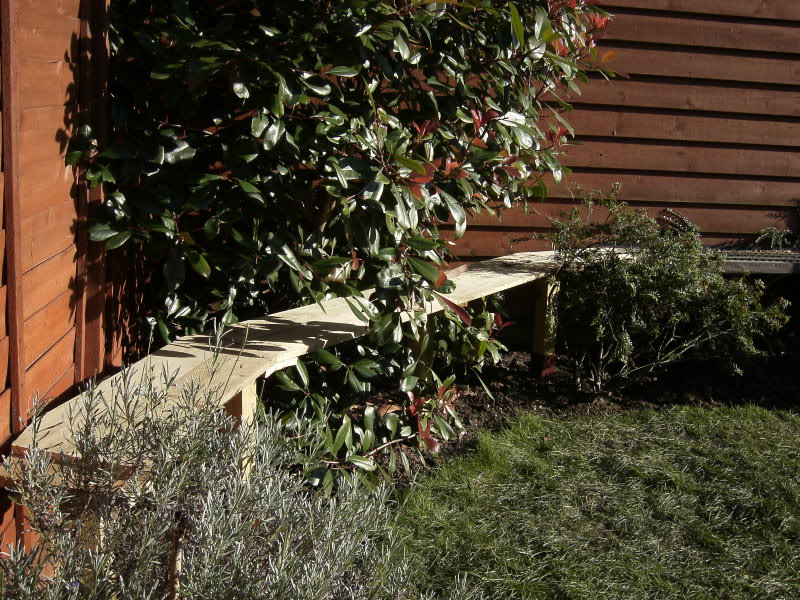
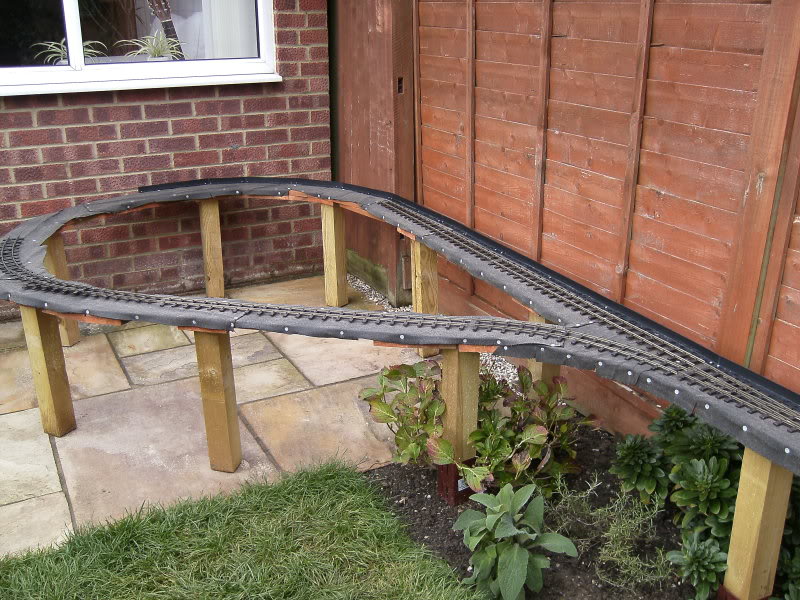
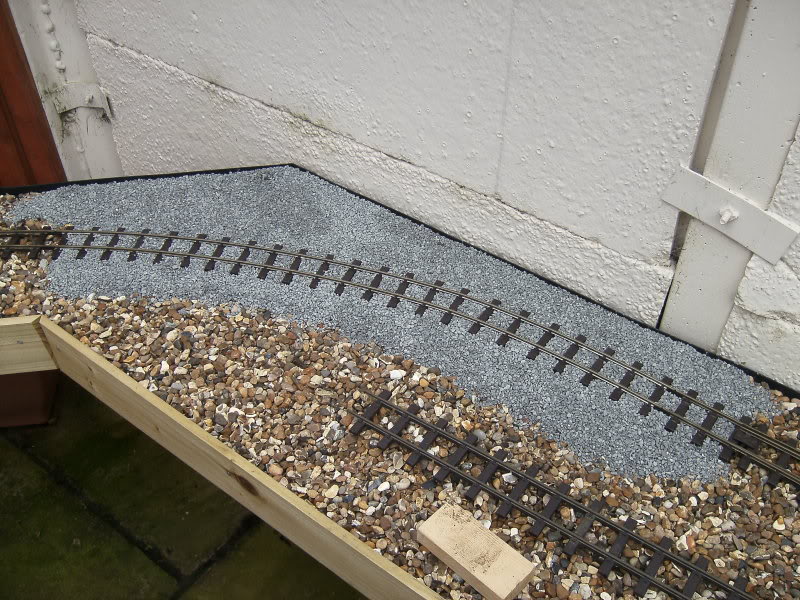
Completed the final stage of track base construction today! 
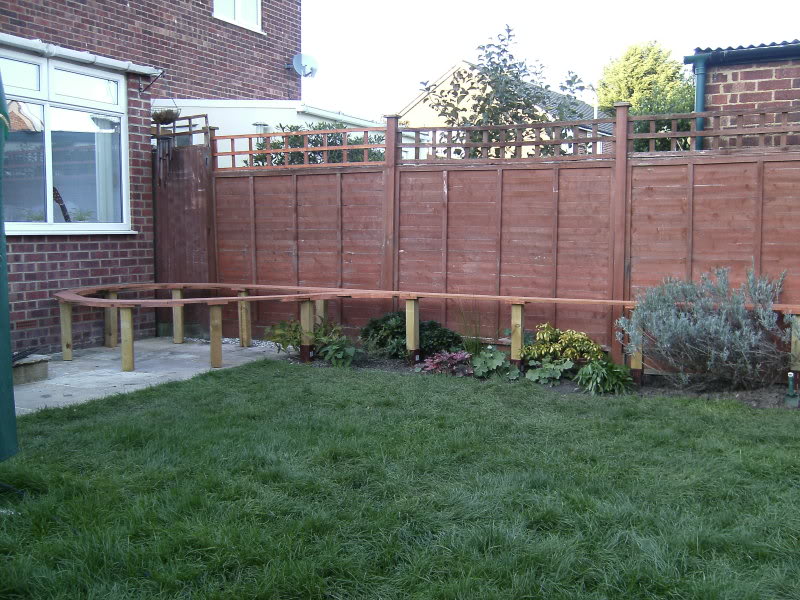
I now have a complete 'dog bone' to lay the remaining roofing felt on and then for track and ballast to go on top of that. I may even get to hold my first steam up in the Spring
Thanks to everyone's comments on this thread - it really helps to spur me on with the RWLR...
Cheers,
Tom
I now have a complete 'dog bone' to lay the remaining roofing felt on and then for track and ballast to go on top of that. I may even get to hold my first steam up in the Spring
Thanks to everyone's comments on this thread - it really helps to spur me on with the RWLR...
Cheers,
Tom
-
tom_tom_go
- Driver
- Posts: 4824
- Joined: Wed Feb 23, 2011 3:08 am
- Location: Kent, UK
- Contact:


-
tom_tom_go
- Driver
- Posts: 4824
- Joined: Wed Feb 23, 2011 3:08 am
- Location: Kent, UK
- Contact:
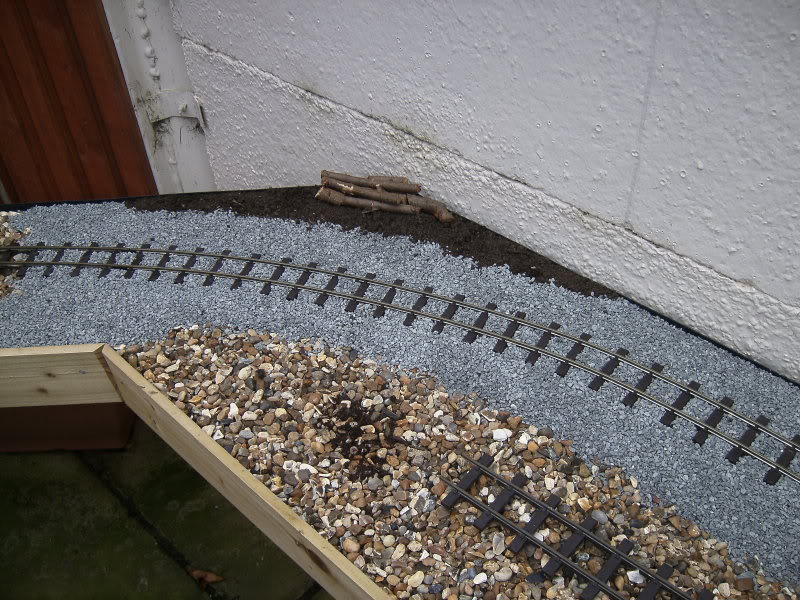
Thanks Doug!
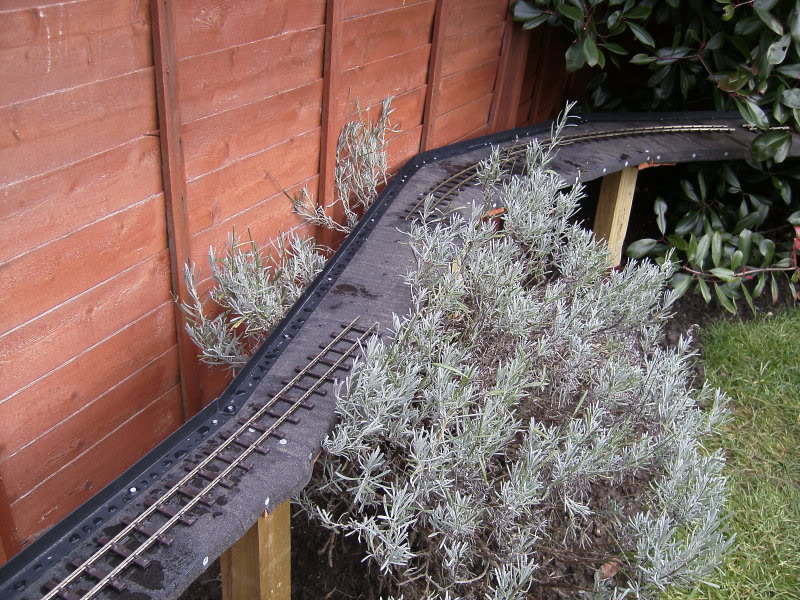
I ordered some larger bags of the ballast I tried out a while ago and laid some today:
I would be interested in what people think of it as I feel it is too light (maybe in time the weather will tone it down?) and wondered if there was a way to make it darker using some sort of dye or maybe just dirty engine oil?

-
tegfan railway

- Trainee Fireman

- Posts: 133
- Joined: Sun Dec 12, 2010 12:28 pm
- Location: 222
-
tom_tom_go
- Driver
- Posts: 4824
- Joined: Wed Feb 23, 2011 3:08 am
- Location: Kent, UK
- Contact:

-
tom_tom_go
- Driver
- Posts: 4824
- Joined: Wed Feb 23, 2011 3:08 am
- Location: Kent, UK
- Contact:
My buffer idea from a while back came to a complete stop (get it, ho ho ho) because I could not bend enough pieces identically and that was driving me nuts!
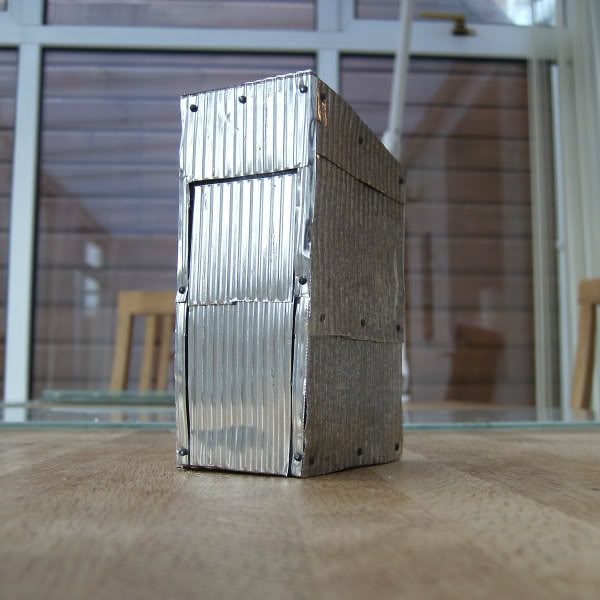
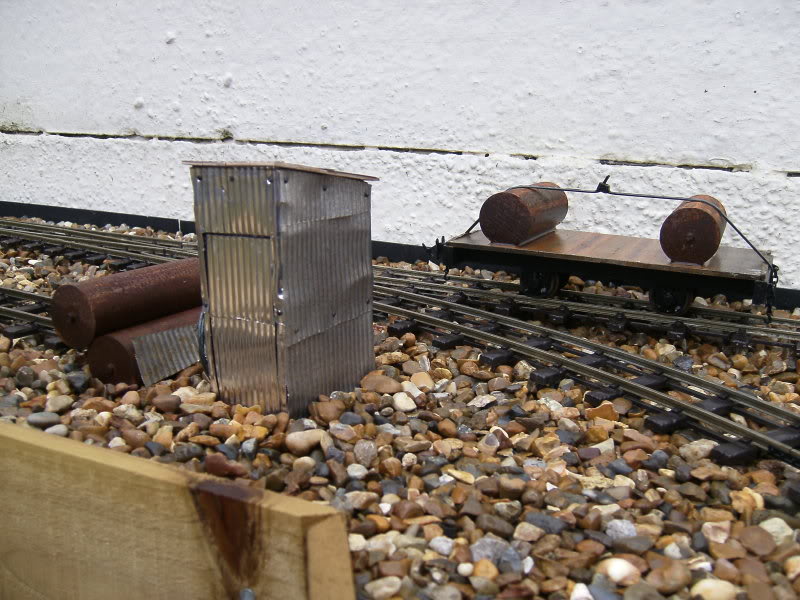
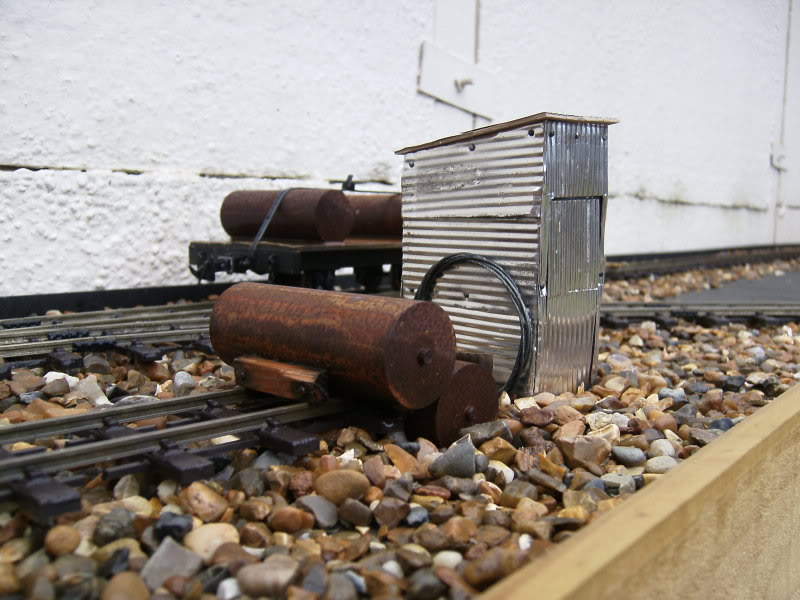
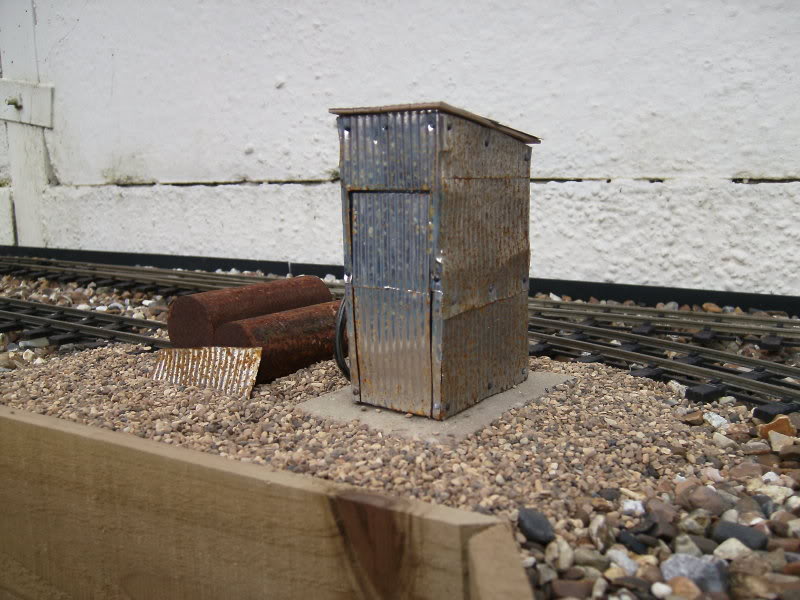
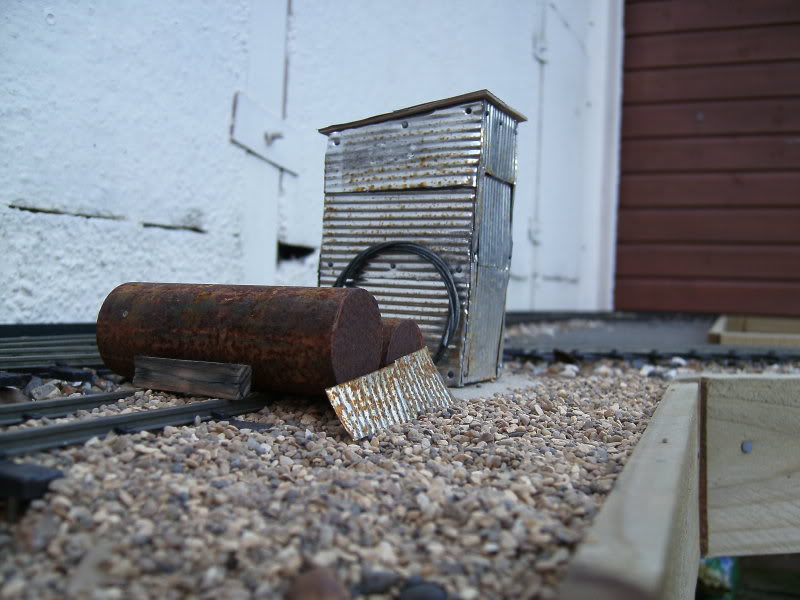
So, I had a hunt around on the net and found a picture of a buffer stop at the milk dock on the Bluebell railway that I thought would look good up against the lamp hut that I am building:
I can't produce the picture of the buffer stop here as it is copyrighted by the author, however, if you have a look on Google images you should find it by searching 'bluebell railway milk dock buffer stop'.
-
tom_tom_go
- Driver
- Posts: 4824
- Joined: Wed Feb 23, 2011 3:08 am
- Location: Kent, UK
- Contact:


-
tom_tom_go
- Driver
- Posts: 4824
- Joined: Wed Feb 23, 2011 3:08 am
- Location: Kent, UK
- Contact:


-
tom_tom_go
- Driver
- Posts: 4824
- Joined: Wed Feb 23, 2011 3:08 am
- Location: Kent, UK
- Contact:

-
tom_tom_go
- Driver
- Posts: 4824
- Joined: Wed Feb 23, 2011 3:08 am
- Location: Kent, UK
- Contact:
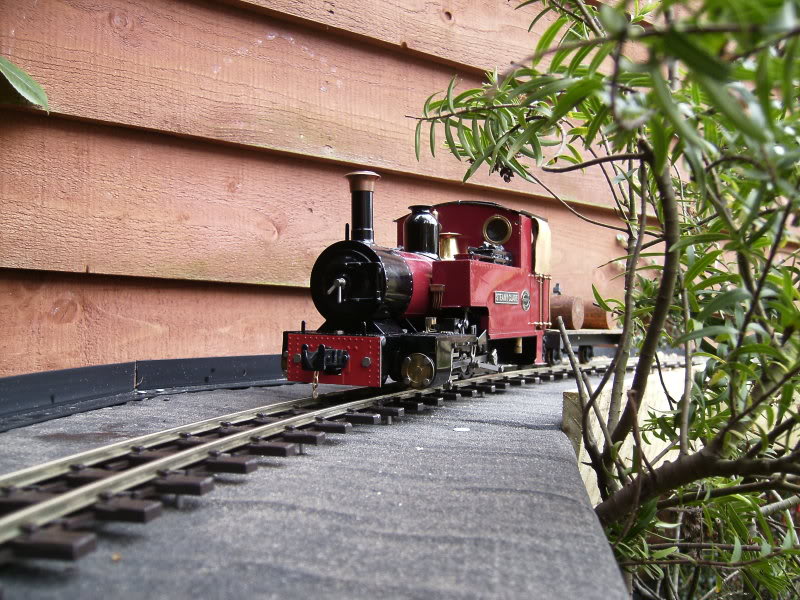
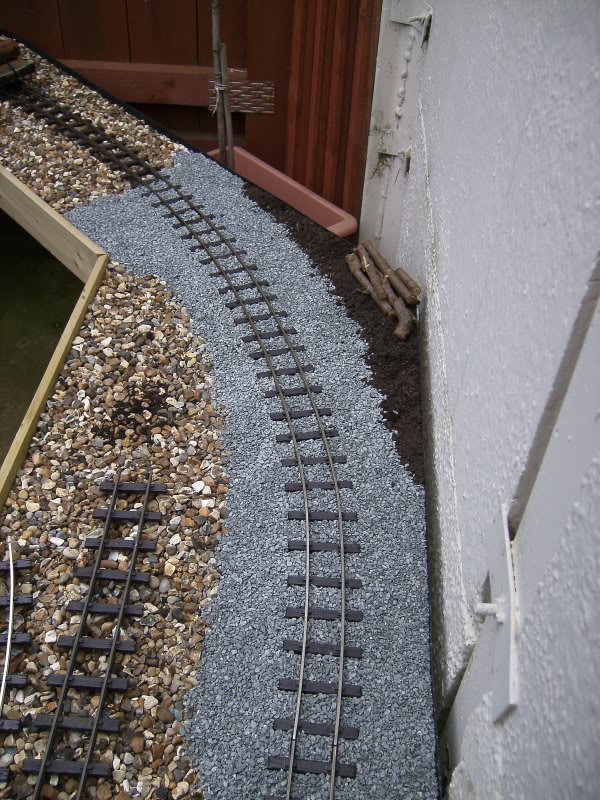
And I think I have found RHDR ballast, yay!laurence703:74088 wrote:Very nice! It reminds me of the fishing lines at Dungeness on the RHDR

I am going to see how it fairs with the weather for a little while, however, I prefer it to the darker ballast I was going to use. I am not building a Welsh slate railway so the lighter stones gives a more coastal feel to the line which is fitting given I live near the south Kent coast
-
tom_tom_go
- Driver
- Posts: 4824
- Joined: Wed Feb 23, 2011 3:08 am
- Location: Kent, UK
- Contact:
-
tom_tom_go
- Driver
- Posts: 4824
- Joined: Wed Feb 23, 2011 3:08 am
- Location: Kent, UK
- Contact:
The weather has put any major track work on hold for the moment, however, with Christmas approaching my folks offered to buy something for the RWLR that would be 'useful' 
So, as I have a Riverdale coal fired boiler on order with the eventual outcome of two trains running I managed to sneak in a passing loop using the new Peco tighter radius points without having to rebuild any of the line:

The red arrows show the 'start' direction of each train with the blue indicating the 'home' journey. I have built a prototype self-resetting point mechanism that fits under the required points that should allow two trains to run on my line without hitting each other!
So, as I have a Riverdale coal fired boiler on order with the eventual outcome of two trains running I managed to sneak in a passing loop using the new Peco tighter radius points without having to rebuild any of the line:
The red arrows show the 'start' direction of each train with the blue indicating the 'home' journey. I have built a prototype self-resetting point mechanism that fits under the required points that should allow two trains to run on my line without hitting each other!
Who is online
Users browsing this forum: No registered users and 3 guests