OK, as promised, here's "Brake Pipes the Easy Way"...
Before I start I should acknowledge that as well as many advantages, the method does have its drawbacks - here are the pros and cons that I can think of:
Advantages:
* They're quick and easy to make, and incredibly cheap - you can equip a whole carriage fleet for the cost of a single pair of white-metal pipes.
*It's easy to recreate prototypical pipe runs.
*They're pretty strong - useful considering how vulnerable they are.
Disadvantages:
*It's an impression, rather than being 100% accurate - I wouldn't like a guard or shunter to look too closely!
* The pipes are probably a little thinner than they ought to be.
* It's hard to create dead straight pipes - but I rather like the slightly bodged and battered effect.
* The galvanised wire doesn't take paint brilliantly, which is a particular problem because they stick out and so are a bit prone to being chipped. I'm going to try etch primer on the next lot to see if that helps.
OK, on with the show:
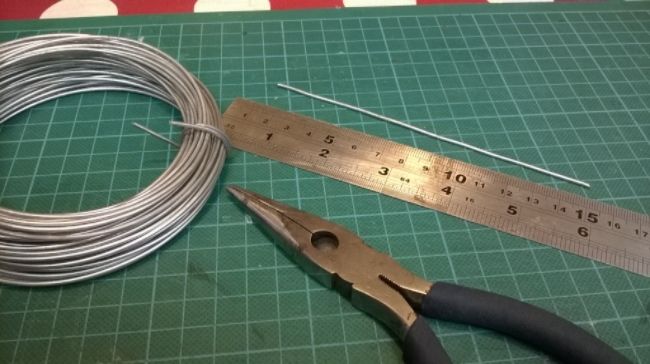
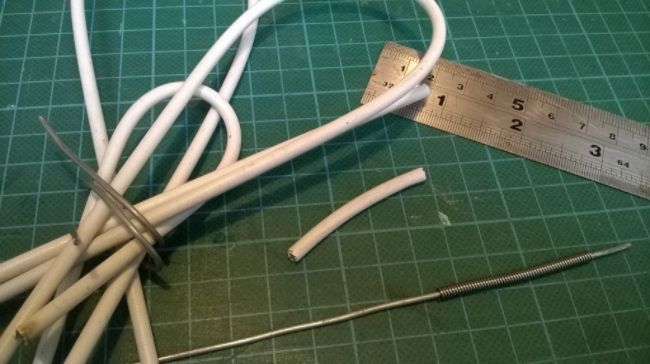
1) Cut and straighten an appropriate length of galvanised garden wire - I get mine from Wilkinsons. About 15cm will do for a simple pipe which sits next to the buffer and disappears straight under the bufferbeam, but I've made runs that are over half a metre long too, for Welsh Highland carriages where the pipes were tacked on to the bottom of the carriage sides on conversion from air to vacuum braking.
I mostly use pliers to straighten the wire, and do it largely by eye, but I have also tried rolling wire between boards, hammering it, stretching it, and possibly other methods too...
2) Cut a length of springy net curtain wire to represent the hose - about 4.5cm seems about right. I
think my net curtain wire came from Wilko too, but I could be wrong - not all varieties are wide enough to slide over the garden wire.
Strip the outer coating off the curtain wire and slide it onto the garden wire, leaving about 1cm sticking out the end:
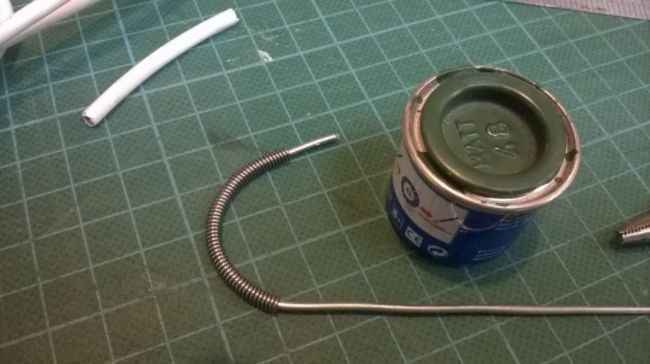
3) Make a nice bend - using a paint tinlet seems to work well. Some pipes are offset and need bending by eye, but putting the curtain wire on first helps keep the curves nice and smooth.
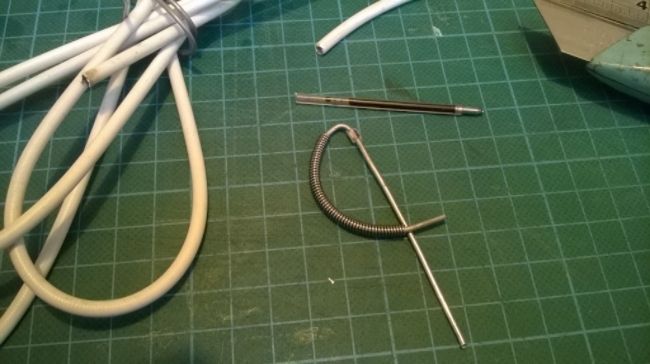
4) Bend the long bit of the wire downwards, and the shorter part so that it crosses the other at about 90 degrees - this bit will secure the whole thing in place by passing through a hole drilled in the carriage end and being araldited in place inside, usually under a carriage seat.
I usually add a sort of collar to the top of the pipe (made from an old biro tube) to bulk it up a bit and give an impression of additional detail!
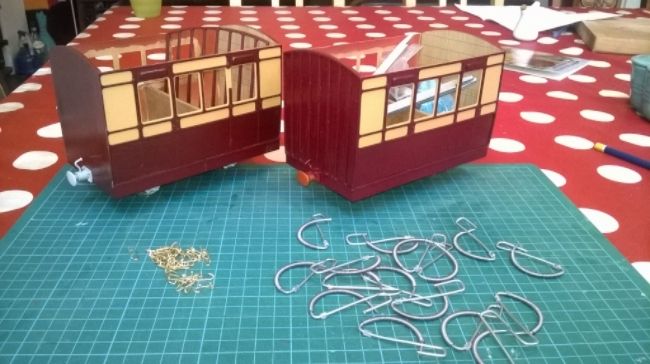
And that's about it. More complex shapes (which often result in more spring in the wire to overcome) can be held in place with split pins, as modelled below by my dual-braked van - again, probably not quite right, but they give the right sort of impression I think:

And that's it. It suits me, but it's not perfect - any suggestions for improvement gratefully received!
All the best,
Andrew.