Page 2 of 10
Posted: Sat Oct 26, 2013 10:58 pm
by tom_tom_go
Big Al:90959 wrote:Looks great Tom you will have to come and melt some of my Peco sleepers with your coal fire breathing creation if it can go down to 32mm gauge.

Sam's little meths breathing dragon is good at melting sleepers

Thanks Al, I run 32mm (the one true gauge I was always told when I started in 16mm).
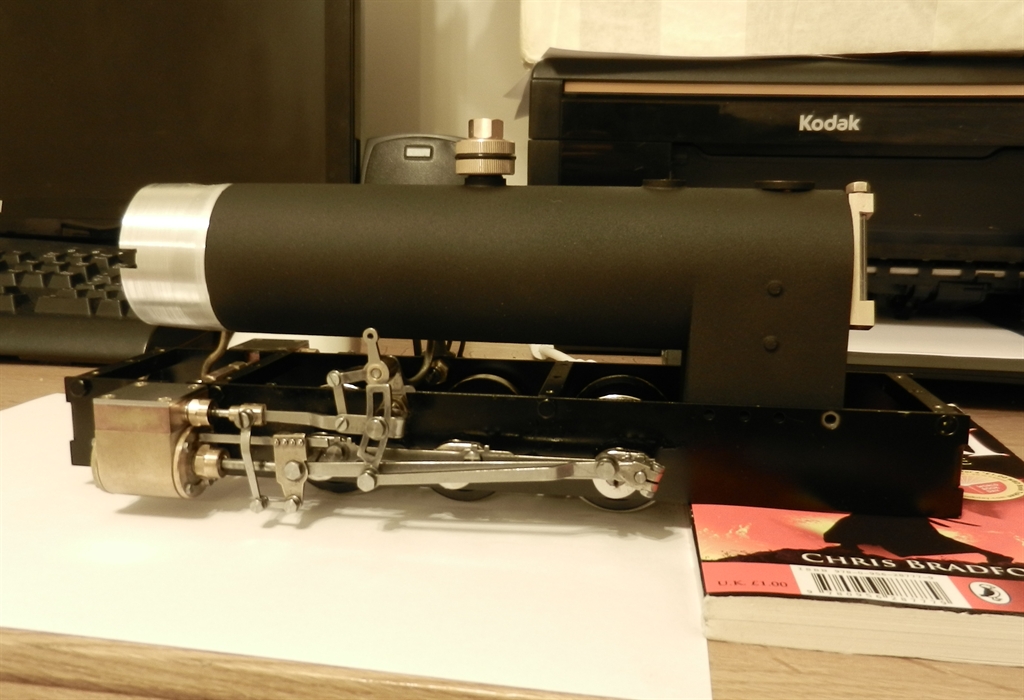
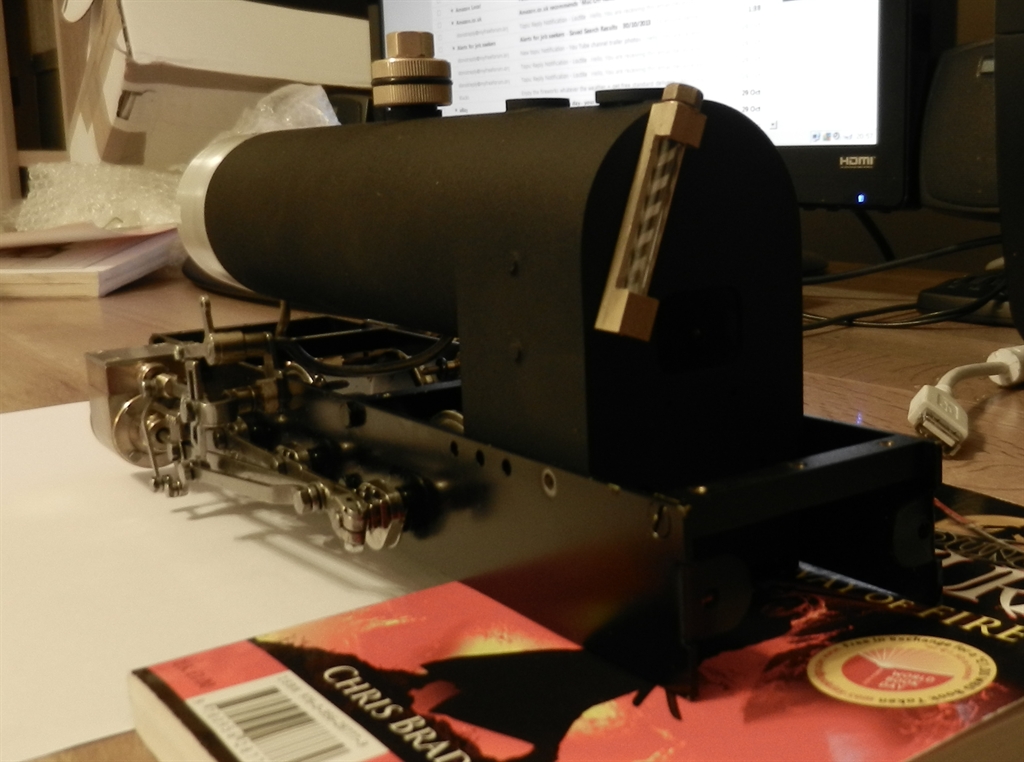
Waiting for the boiler to dry so I thought I would take some pics:

Once it's all built the BBQ paint colour should make the cab look more prototypical rather than shiny gloss which you all know by now I hate

Posted: Sun Oct 27, 2013 12:25 pm
by Big Al
I thought you went over to the dark side and ran 45mm. I would of been down and annoyed you more if I new you ran on the 32mm track gauge. The new boiler is looking good.
Posted: Mon Oct 28, 2013 9:11 am
by tom_tom_go
Your welcome to visit Al as I get bored just running trains on my own!
If you have a trailer bring your bike and I can strip it for spares
Posted: Mon Oct 28, 2013 11:40 am
by Lner fan Sam
Wait I melted some of your sleepers?
Posted: Mon Oct 28, 2013 1:45 pm
by tom_tom_go
Lner fan Sam:91065 wrote:Wait I melted some of your sleepers?
Only teasing Sam about the little spillage you had in the siding on the points
Posted: Wed Oct 30, 2013 11:03 am
by Lner fan Sam
Well I'm gas now so that wont be happening again...

Posted: Wed Oct 30, 2013 9:17 pm
by tom_tom_go
Posted: Thu Oct 31, 2013 5:48 pm
by Keith S
It looks very clean and workmanlike so far. I would be very excited indeed if I were building one of these.
Posted: Thu Oct 31, 2013 6:16 pm
by LnBmad
Very tidy tom! A little more plumbing and you should be ready to run
Posted: Sun Dec 01, 2013 6:02 pm
by tom_tom_go
Just waiting for the chassis plate to mount the boiler and the left/right brackets to house the R/C gear and battery to be painted.
Once I have all this fitted I should be able to steam her

Posted: Sun Dec 01, 2013 8:27 pm
by Dannypenguin
Looking forward to this.
Posted: Sun Dec 01, 2013 9:21 pm
by KNO3
tom_tom_go:91185 wrote:Glad to hear you are running on gas Sam. You should have more fun running trains now
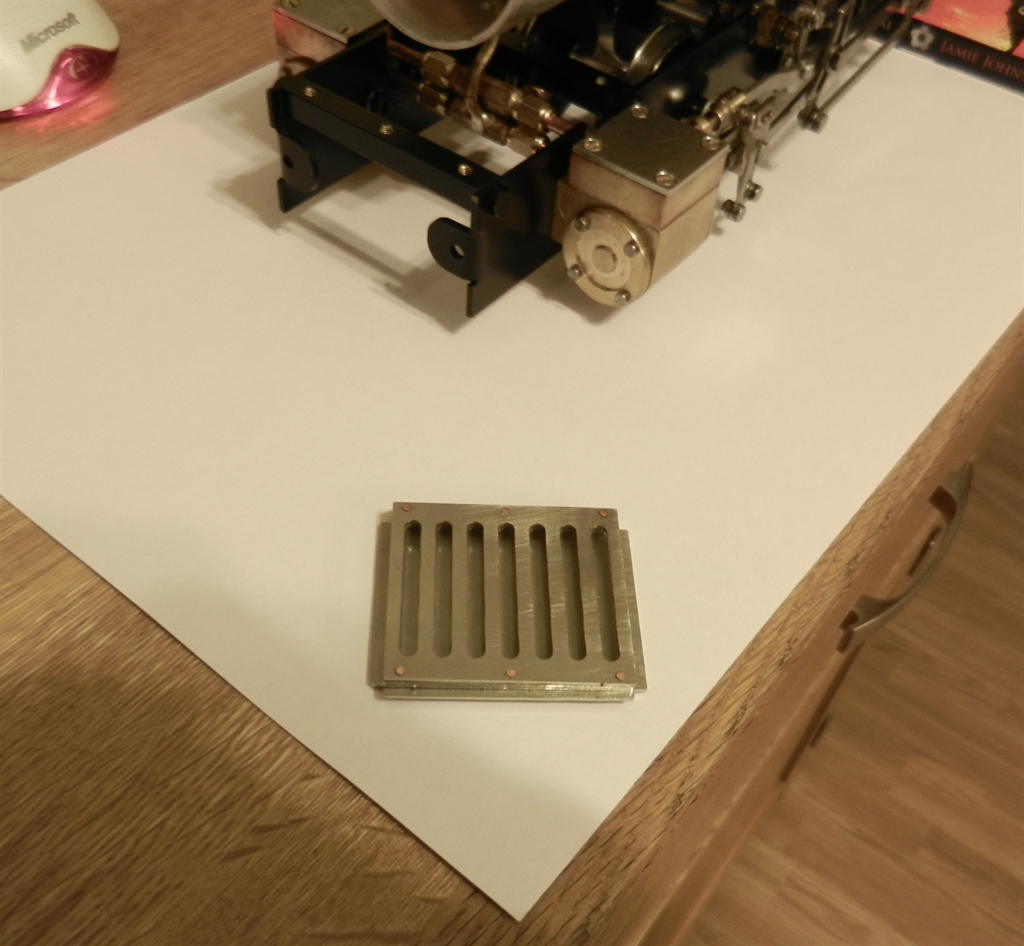
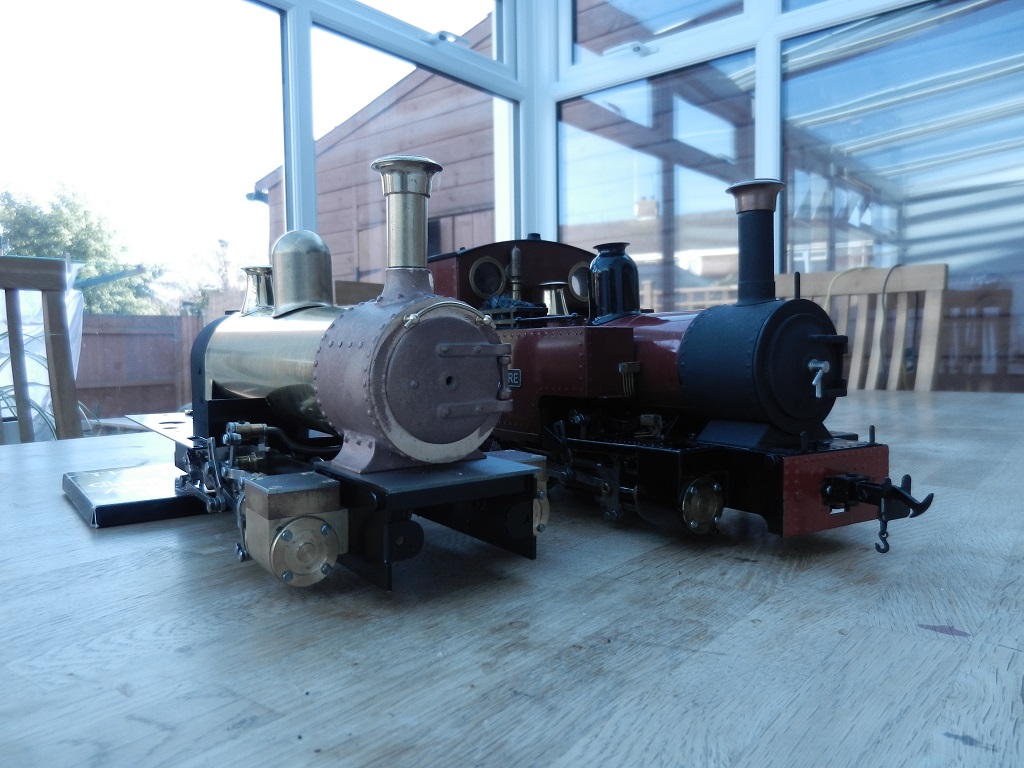
My chassis is back from Tony so while I wait for the floor plate and left/right mounts for servo's and R/C equipment to be painted here are some pics:
(...)
I have noticed your very compact water gauge. It looks like it allows more visible glass tube length than the standard type with separate screw fittings.
How is the glass tube installed and how does it seal? Do you have any pics of it disassembled, or a drawing?
Posted: Mon Dec 02, 2013 7:50 pm
by tom_tom_go
The water glass is supplied as part of the coal fired boiler kit from Riverdale so it is not available separately although there is no harm in asking them I guess.
The water gauge itself screws onto the boiler itself and these are sealed using O-rings.
Then the order of fitment for the glass goes O-ring, glass, O-ring, copper washer and then banjo screw (using a very, very small amount of Loctite).
Posted: Mon Dec 02, 2013 8:44 pm
by Gremlin
Oh that all looks very nice, quite mean and workman like, how close are you to lighting up?
Posted: Wed Dec 04, 2013 1:34 pm
by KNO3
tom_tom_go:92865 wrote:The water glass is supplied as part of the coal fired boiler kit from Riverdale so it is not available separately although there is no harm in asking them I guess.
The water gauge itself screws onto the boiler itself and these are sealed using O-rings.
Then the order of fitment for the glass goes O-ring, glass, O-ring, copper washer and then banjo screw (using a very, very small amount of Loctite).
Thank you, I understand the construction now.
Posted: Sun Dec 08, 2013 7:44 pm
by tom_tom_go
Gremlin:92874 wrote:Oh that all looks very nice, quite mean and workman like, how close are you to lighting up?
Still waiting on the painting to be finished on left/right mounting brackets which will hold the R/C, servo's and battery and also the chassis plate to mount the all important boiler.
Can't wait to light her and clag the garden air up!
Posted: Wed Jan 08, 2014 7:44 pm
by tom_tom_go
Final bits ordered from RH so by the weekend will have everything I need to get this build moving!
Posted: Sat Jan 11, 2014 3:07 pm
by tom_tom_go
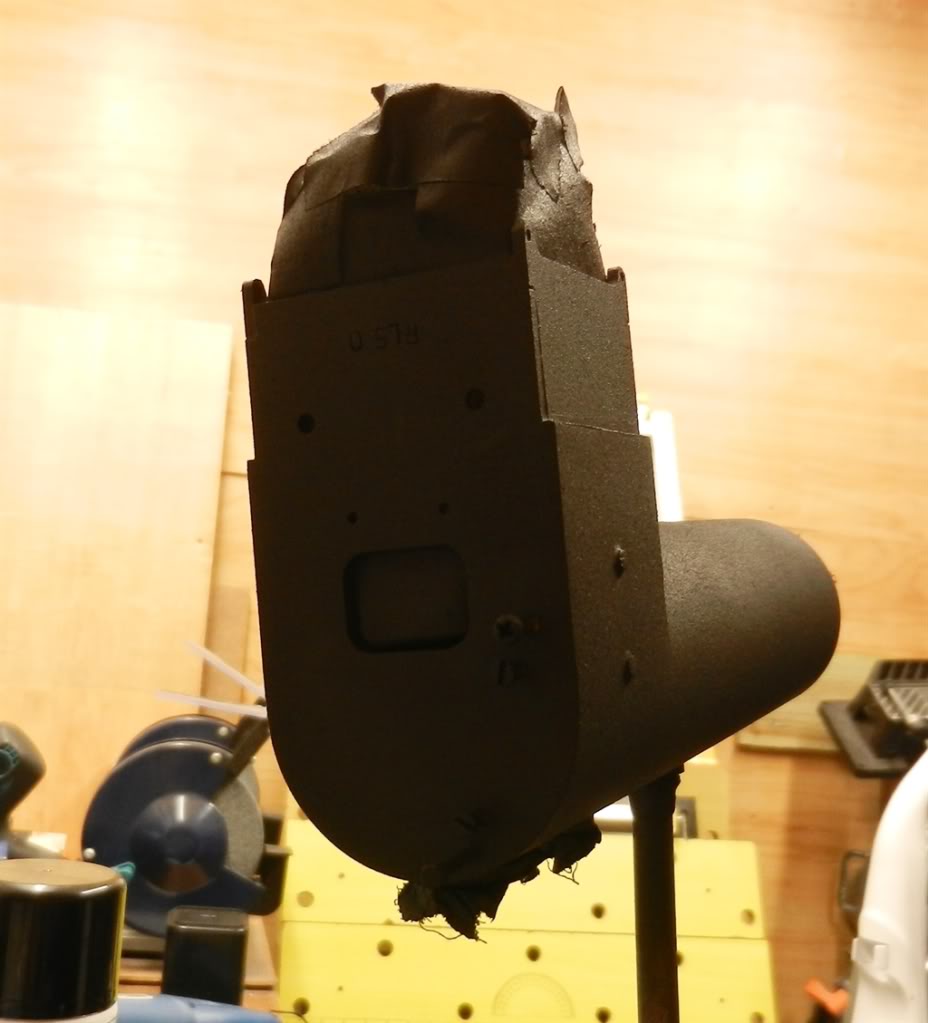
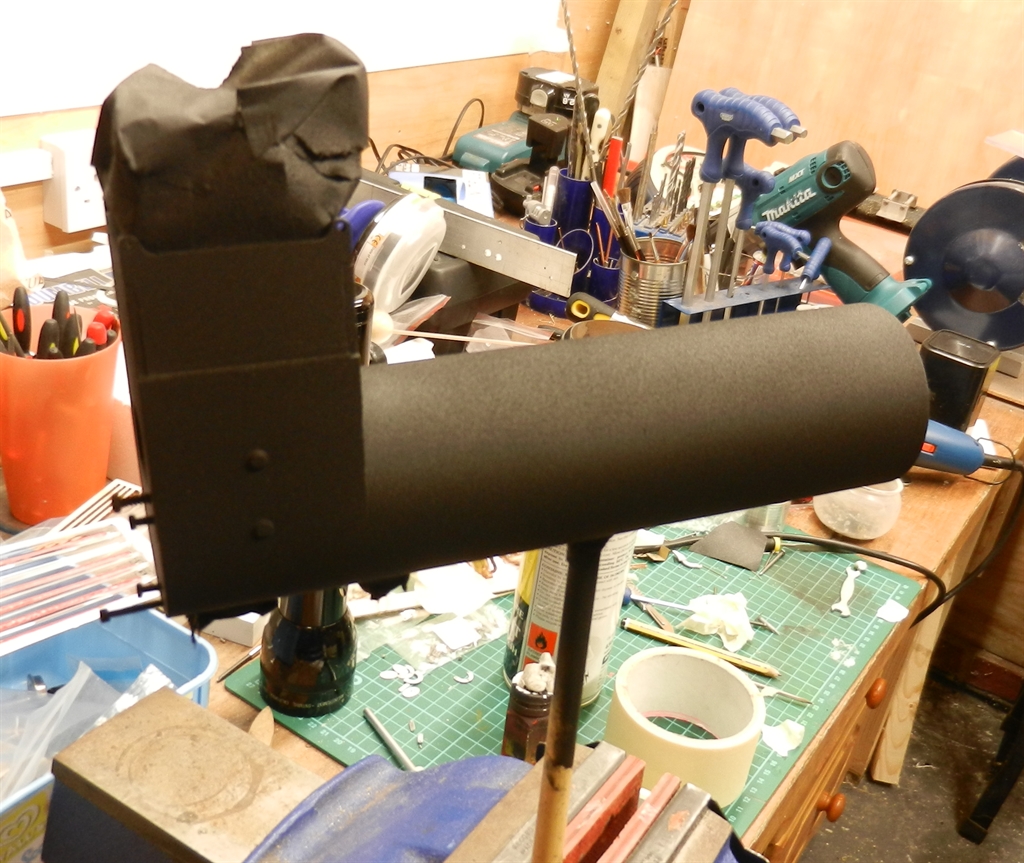
Usual fast postage by RH has got me this far today:
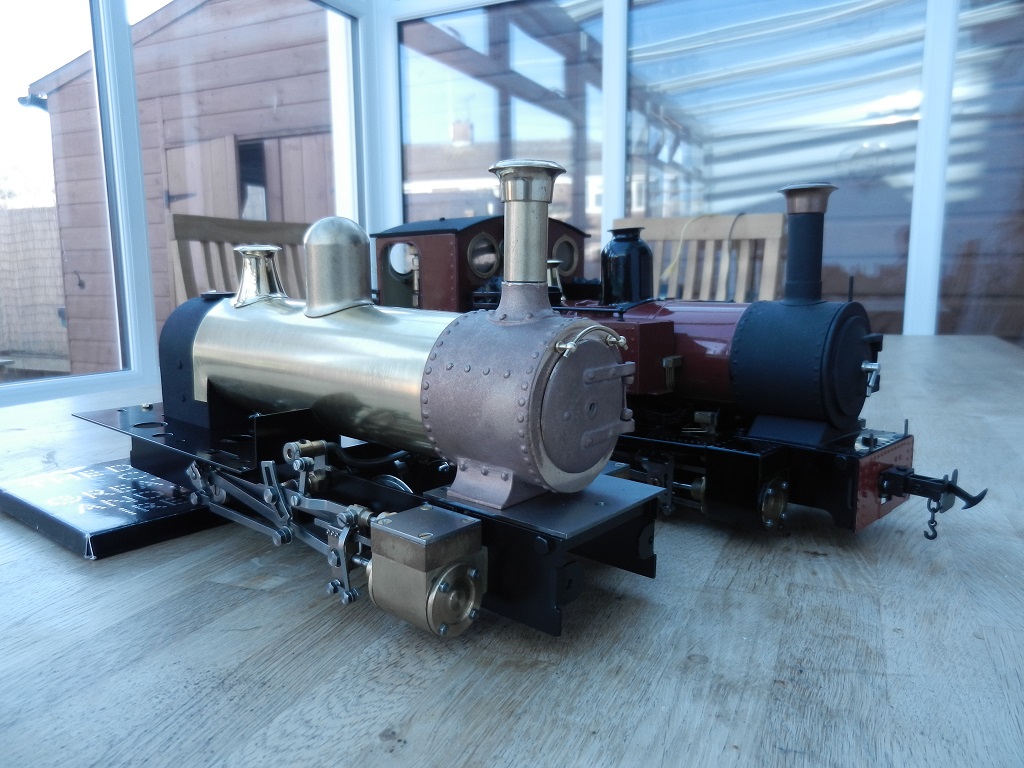
You can see you have to modify the boiler wrapper for the Riverdale boiler to fit over the firebox.
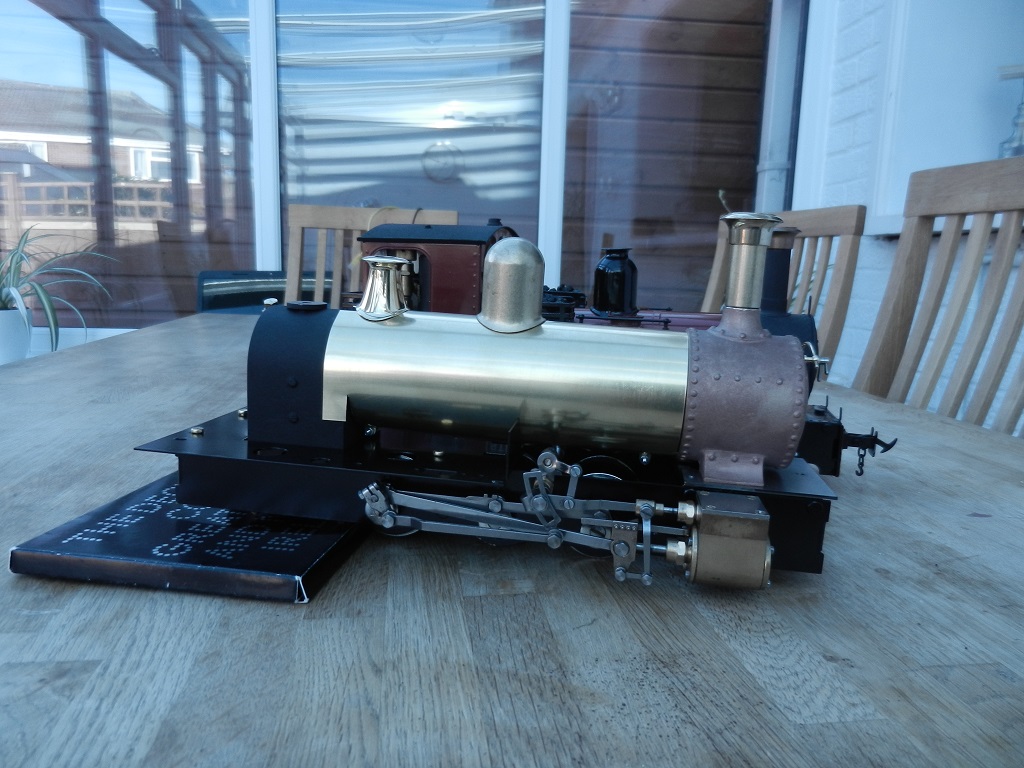
I like the dome that came with the Lady Anne body kit so I might fit one on my SL (the filler valve need changing though as it's taller than the Lady Anne one).
I have the extra boiler bands for the boiler so should finish it off nicely. Next stage is to get it all painted and assemble properly with the R/C gear for an air test.
Steamy Clare eagerly awaits her sister to be built and running to help out on the RWLR
Posted: Sat Jan 11, 2014 8:40 pm
by laalratty
Nice work, good to see this coming together now. Looks like you should have it finished in plenty of time for the summer
Posted: Sat Jan 11, 2014 8:42 pm
by LnBmad
Cannot wait to see this beauty running tom! Great work so far! What body are you planning to put on her?