Been a long time since last I made a video; I think back then I had Windows Movie Maker with which to work..

Will find another video editing program and learn to use it..
I see where you're coming from, Brian. I'm still quite new to weathering, so it's all very trial-and-error. Before slapping the grime-wash onto "Victoria", I practiced on a Stainz sitting around in the rebuild queue, (will be repainted or rebodied anyway) with good results. Tried to get a photo of it, but that test weathering wouldn't show up on camera for some reason; that's why I didn't mention it. It helps having originally painted everything with enamels, so when I'm not happy with how a weathered bit looks, it can be wiped clean with white spirits on a rag or cotton bud, leaving the paintwork as-original.
That, I think is the key - being able to reverse the weathering if you're not happy with it.
If you reach a result you're happy with, I'd leave it for a day or two, come back to it. If at that point you're still happy with it, then clearcoat over it for protection. From there, you could leave it as-is, or have a go at layering more effects over what's been done. (bit of rust or lime stains, etc.) That's what works for me, anyway.
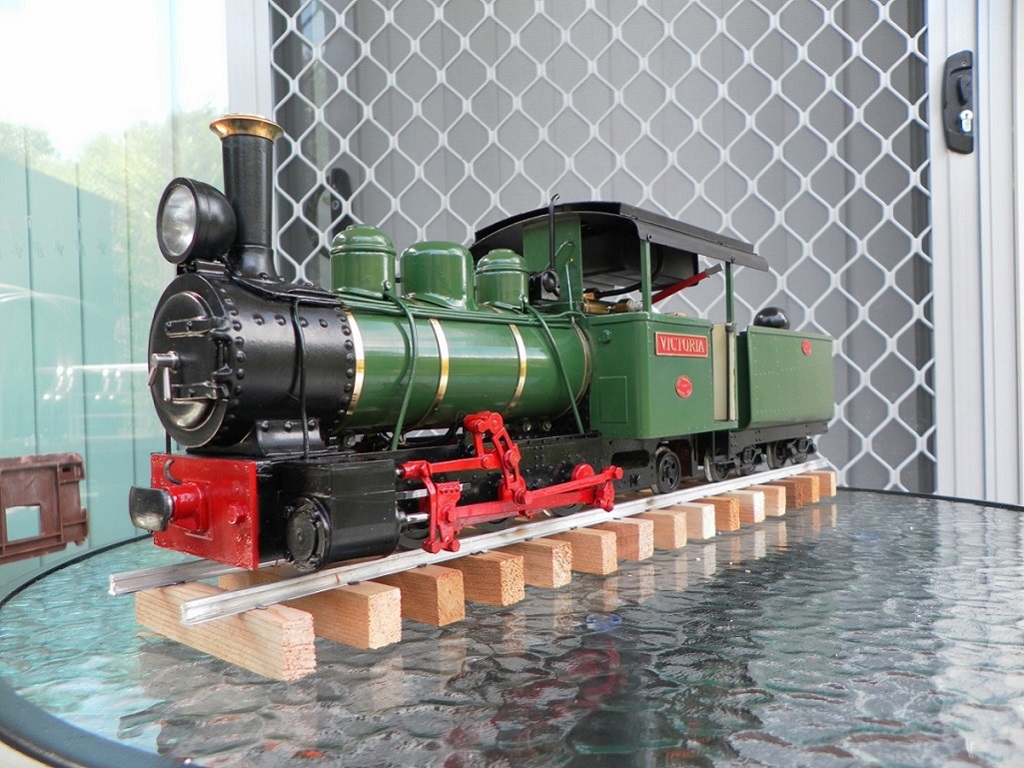
16/03/21
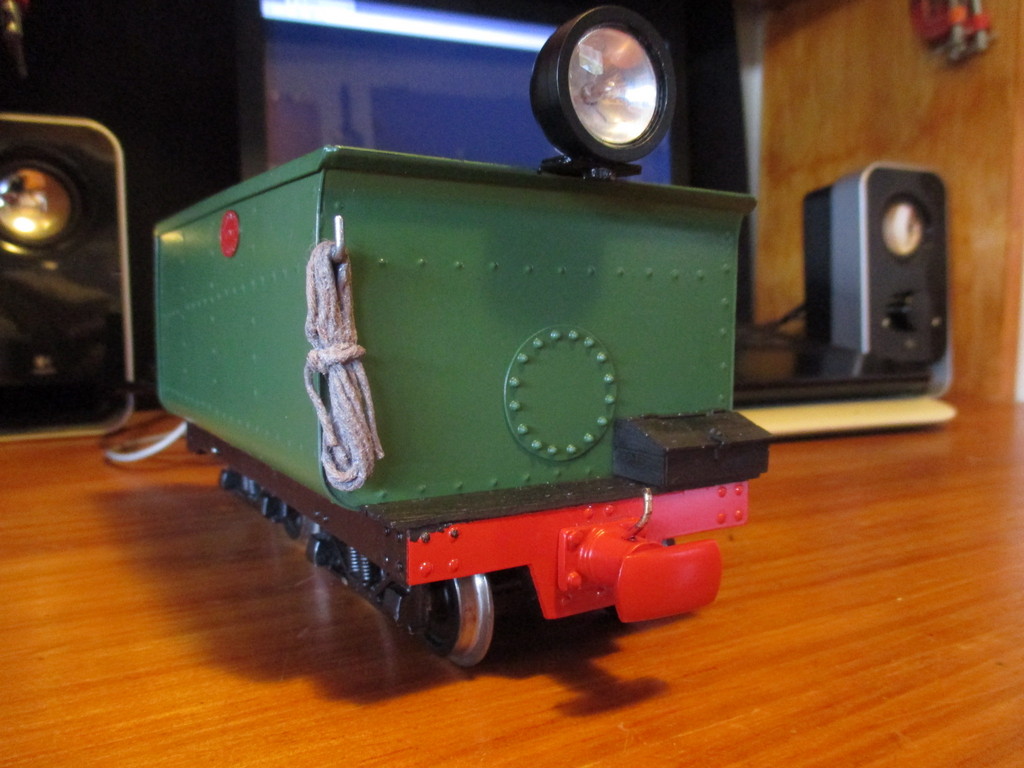
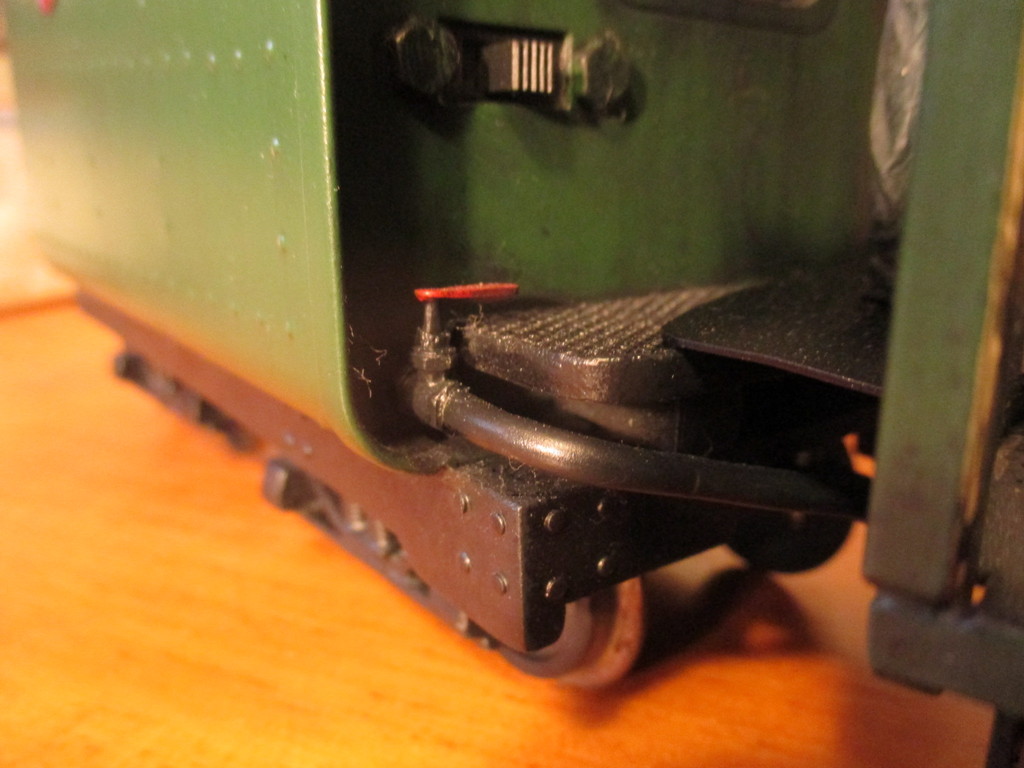
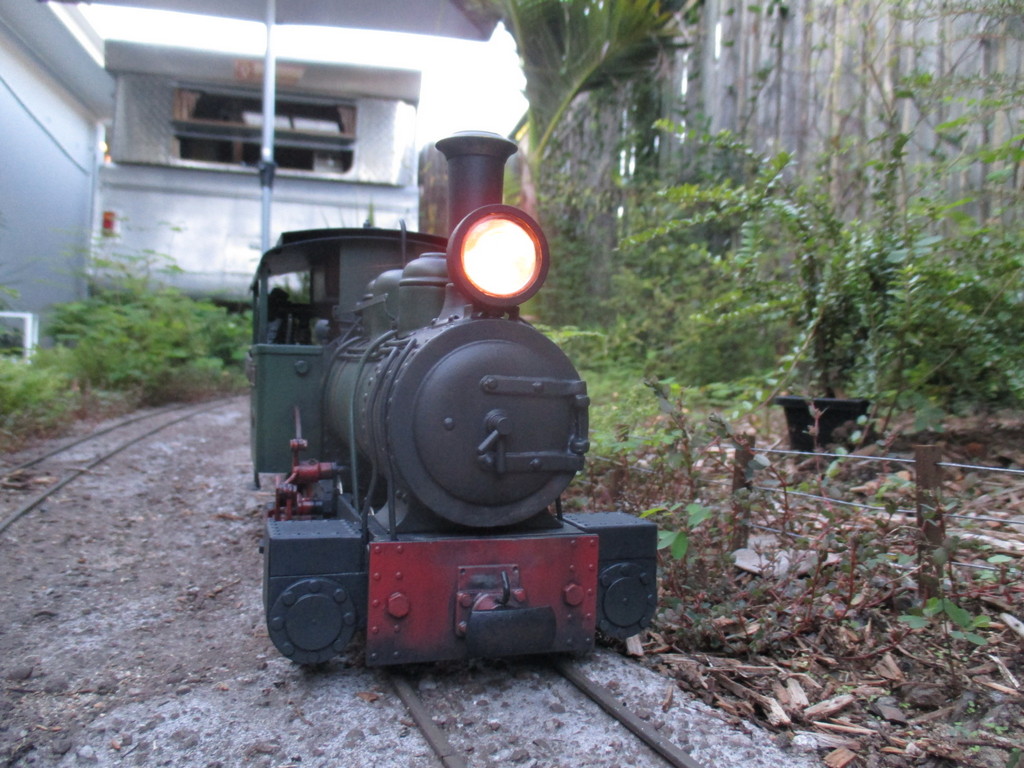
I was going to follow on from the previous work with some more grime-washing, but found one of the ashpan lights wasn't working after re-wiring the tender. Investigation revealed the issue was with the loco - one of the wires had broken away from the plug under the fall plate. I'm not proud of my original ashpan and wiring, so as the broken wire was to be replaced, so too was the remaining wiring and the ashpan itself. Which were all glued into place and had to be pried out.

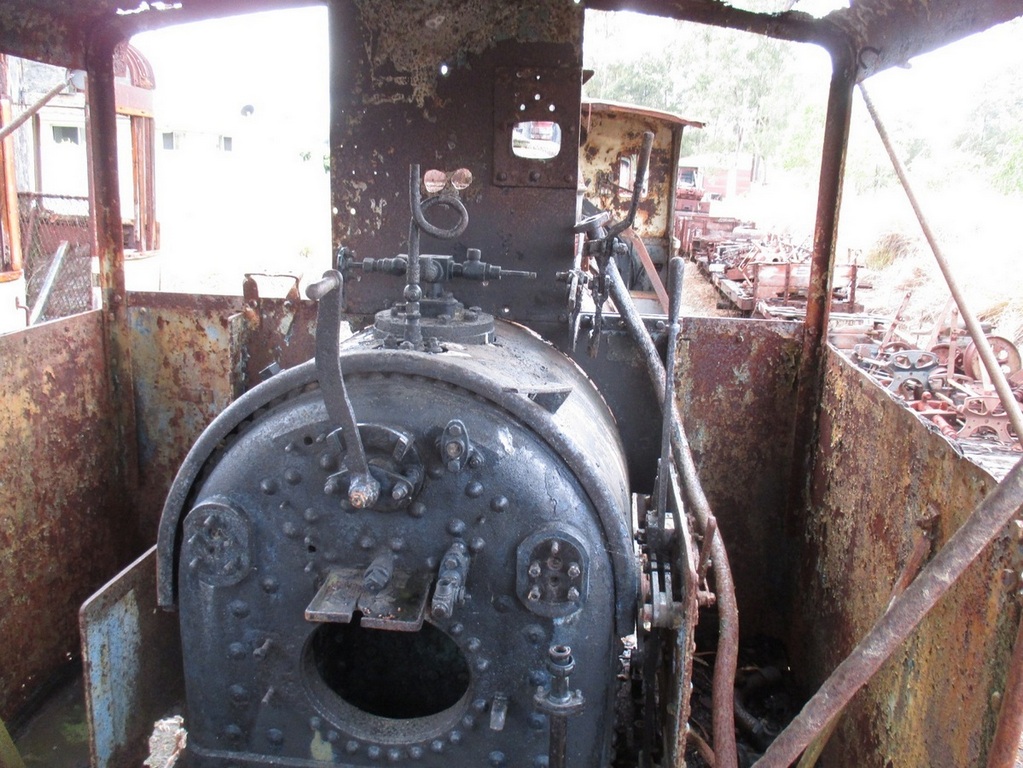
Normally, when I examine someone's past workmanship and think "who the hell made this sh*t?" it's on a
full-size sugar mill loco, not a model one I did.
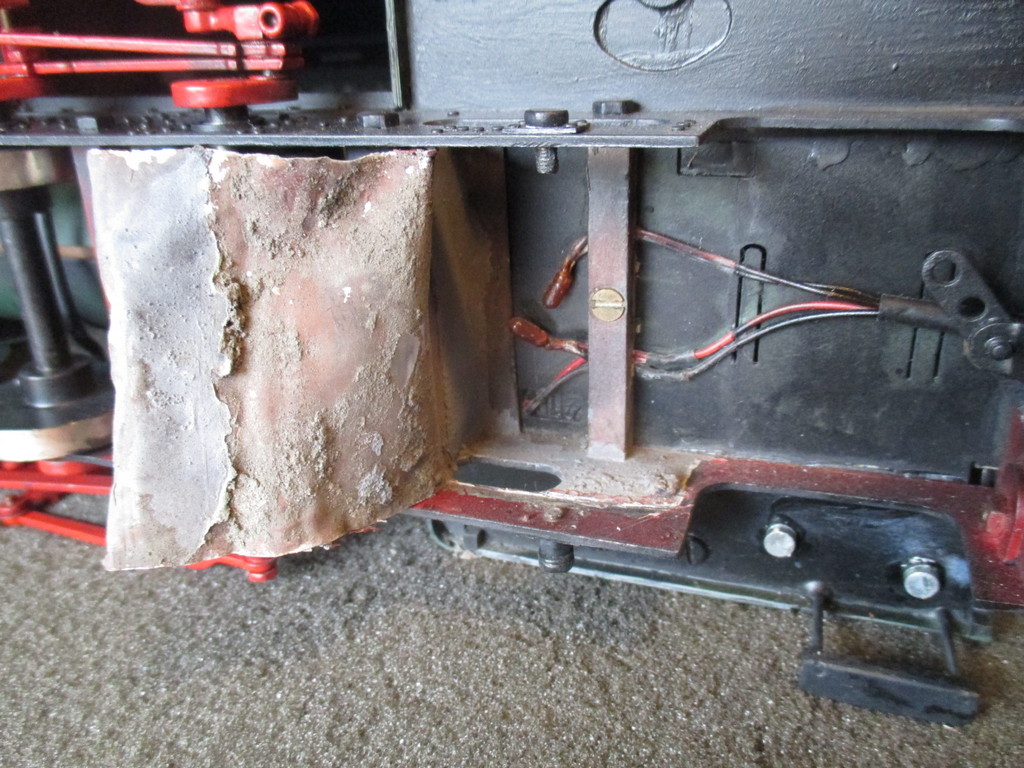
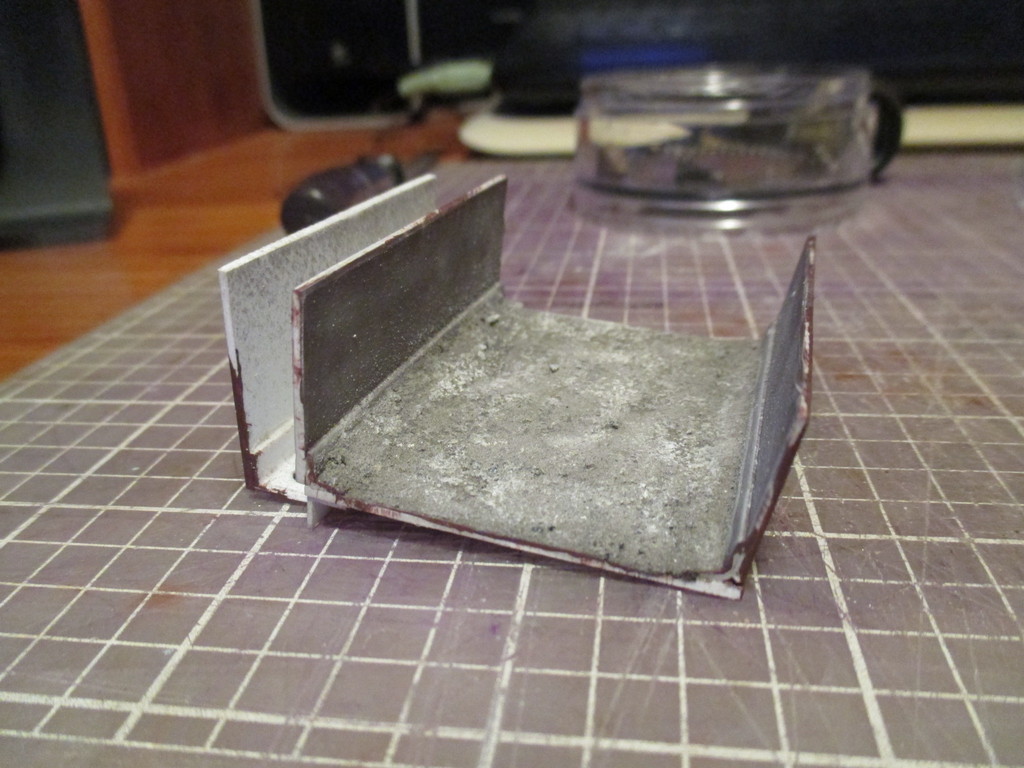
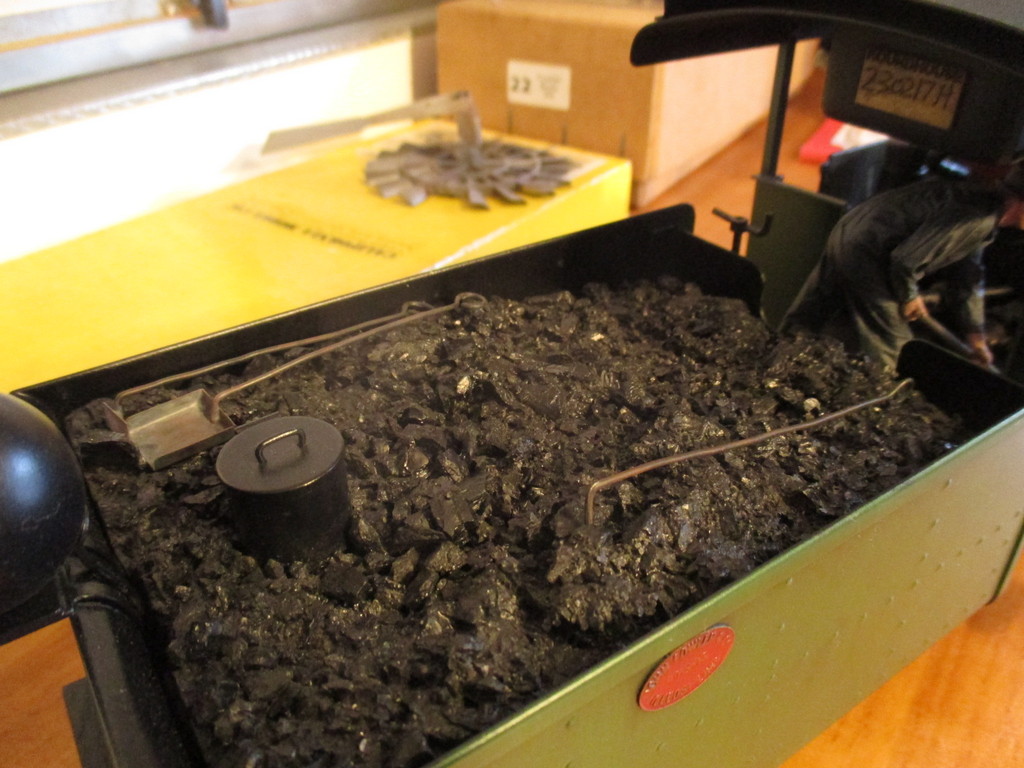
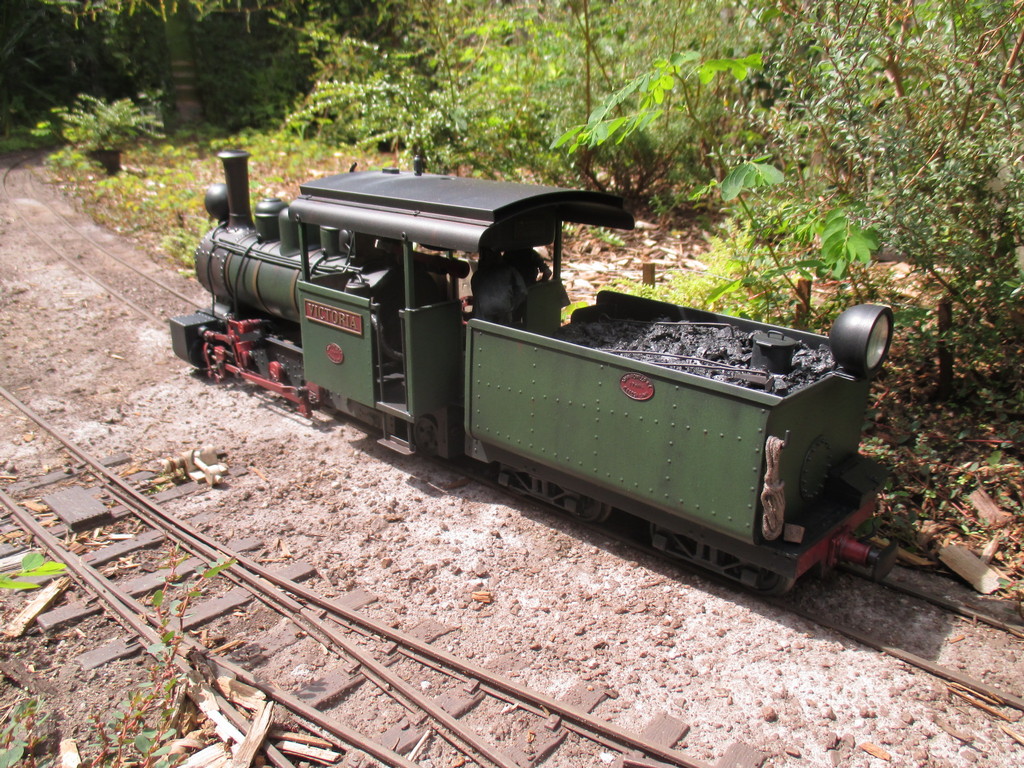
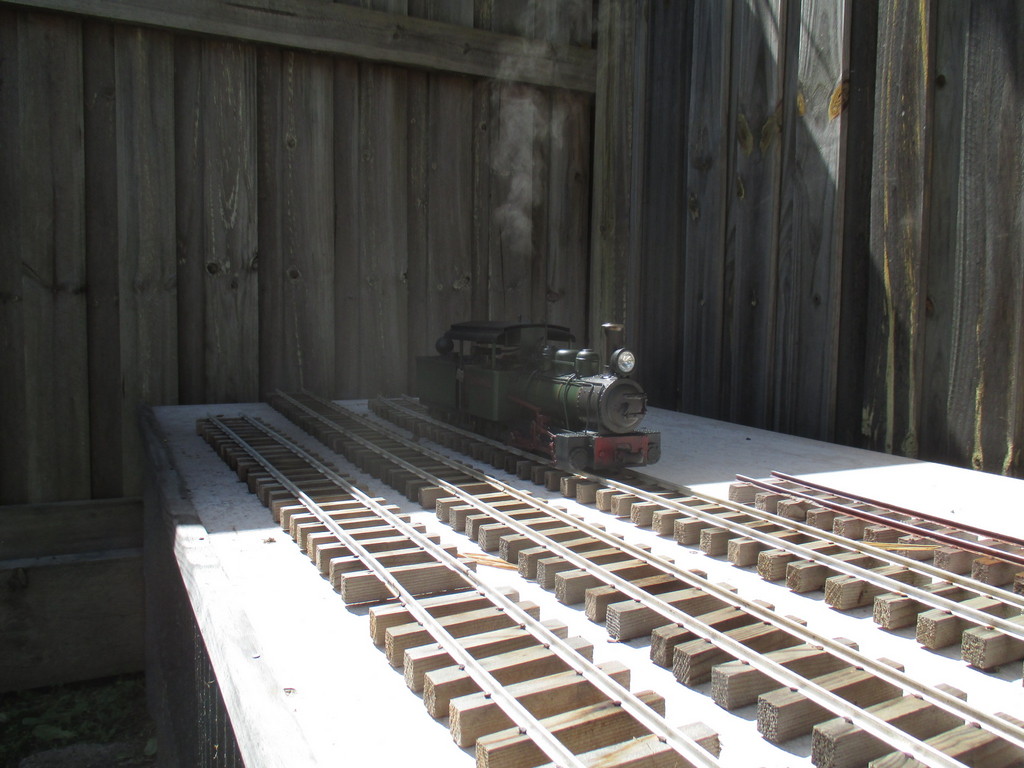
A few hours later, I had the ashpan that should've been made in the first place. I figure loads of us put battery holders and servos next to boilers and under footplates, so a styrene ashpan on a gas-fired loco will be fine. It's removable, too; held in place by the pony wheel frame. I'll have to make a washer from shim brass to act as a bearing between ashpan and pony frame. Working in small sections, superglue was applied and sprinkled over with ground-up ash and clinker from a 7¼" ashpan. A bit of weathering powders were also helpful in giving the sides a dusty appearance. A quick spray of Tamiya flat clear then had it ready to go.
17/03/21
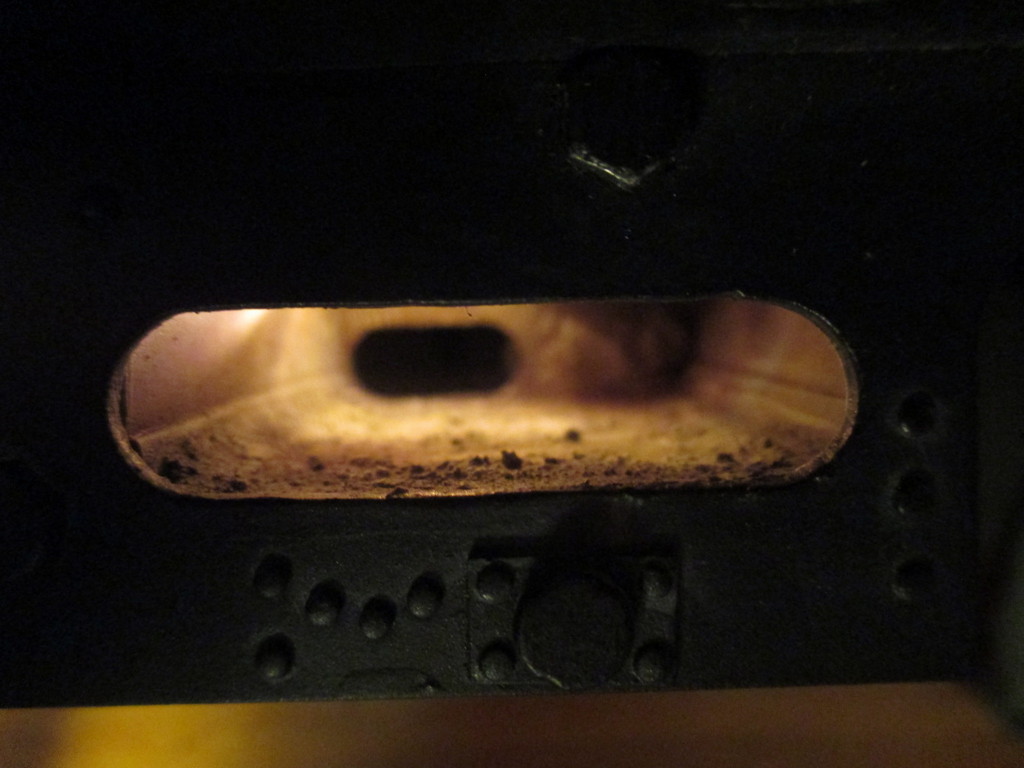
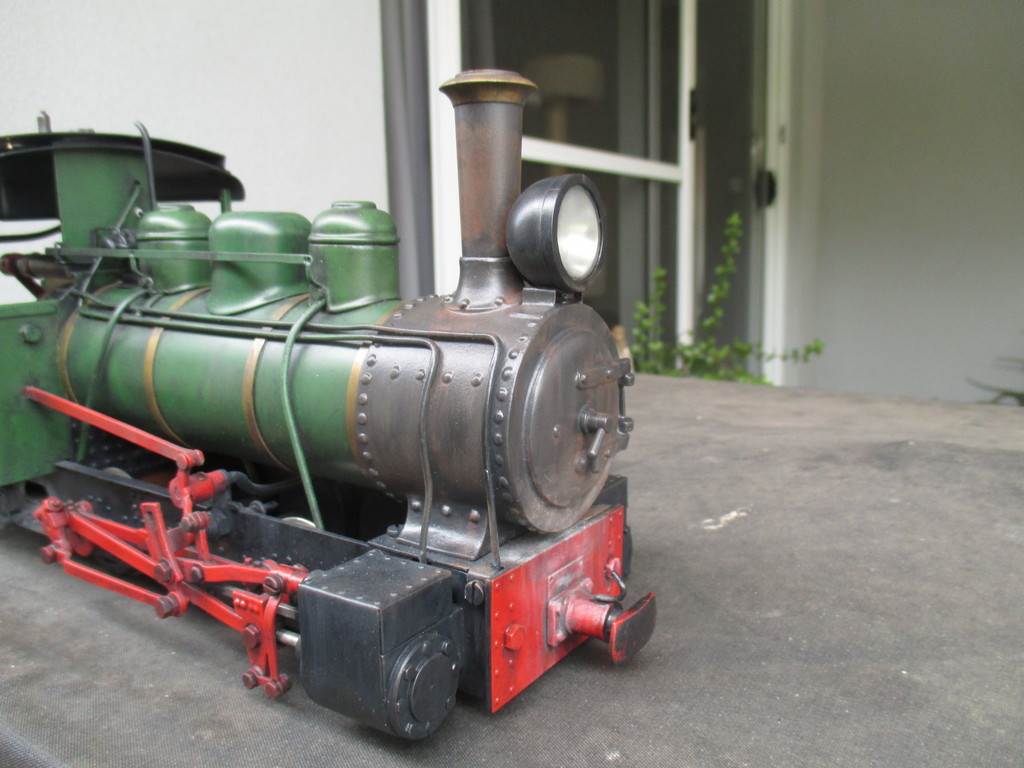
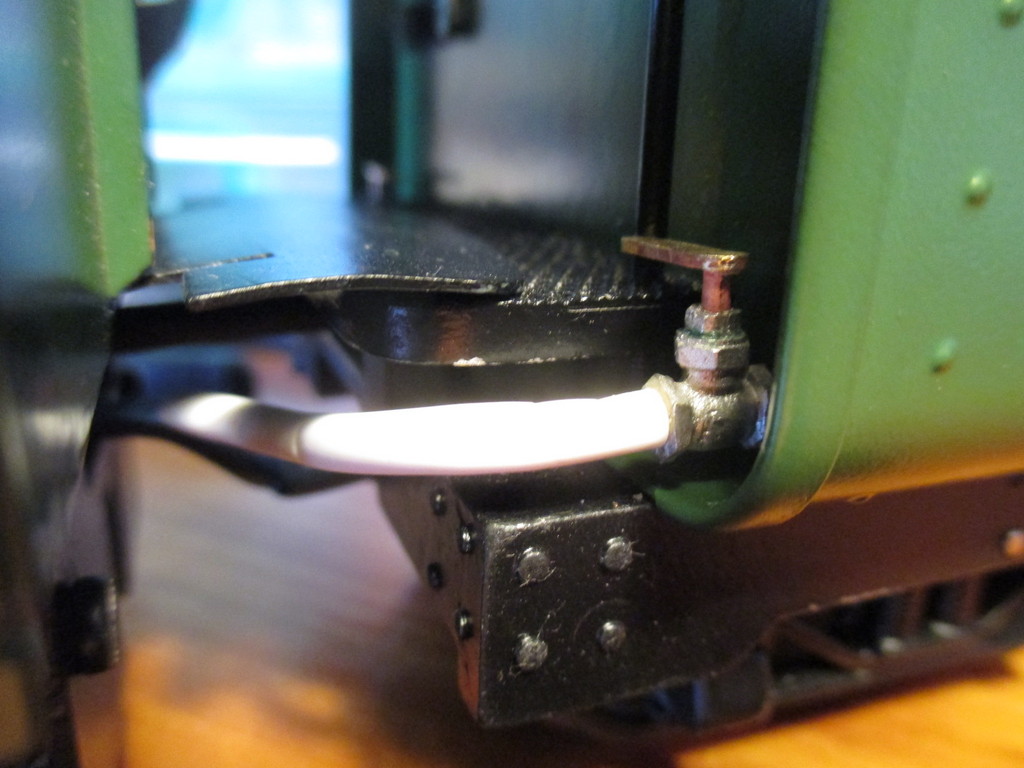
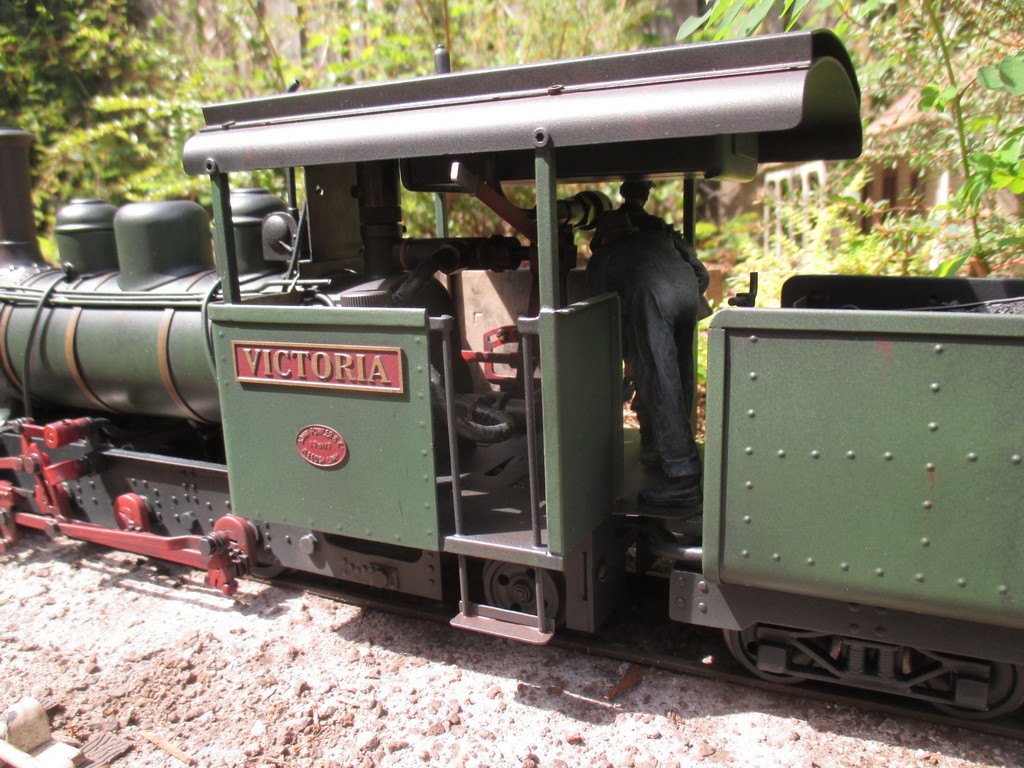
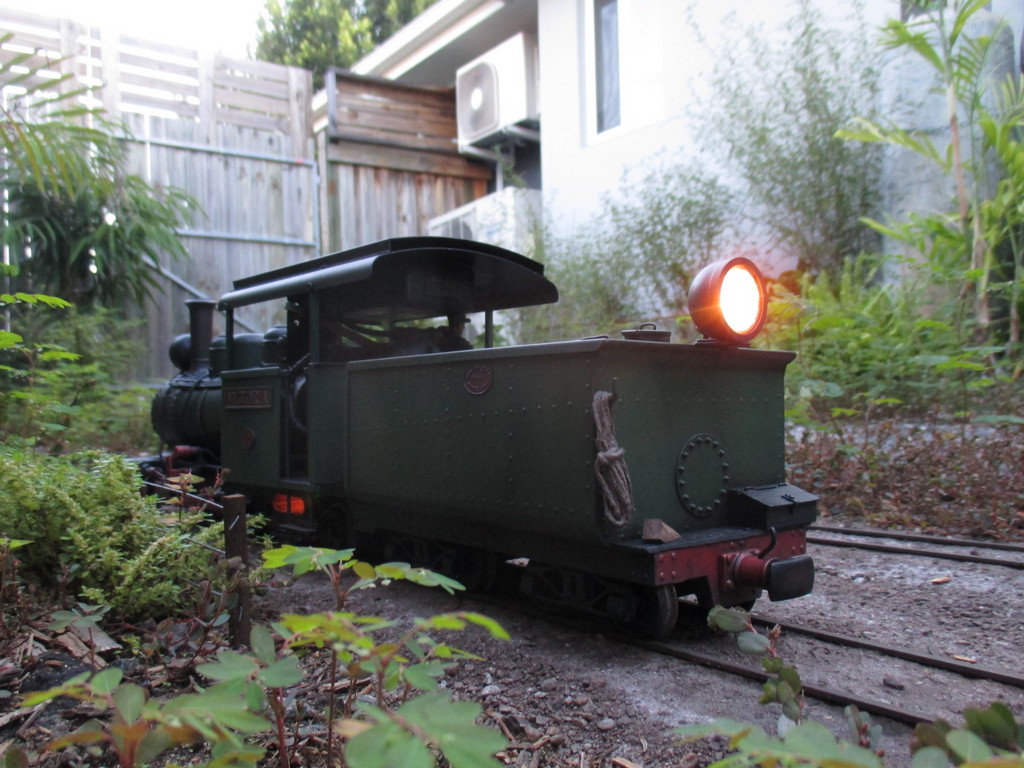
The new wiring is in, held in place only by the frame spacer. An alfoil "reflector" was tacked into place by a drop of cyano in each corner, in hopes it might make an improvement over the somewhat dim output of the old setup. Bulbs were replaced for peace of mind, and just as last time, they're just 3V grain-of-wheat, coloured with Tamiya's Clear Yellow tinted with a little Gloss Red.
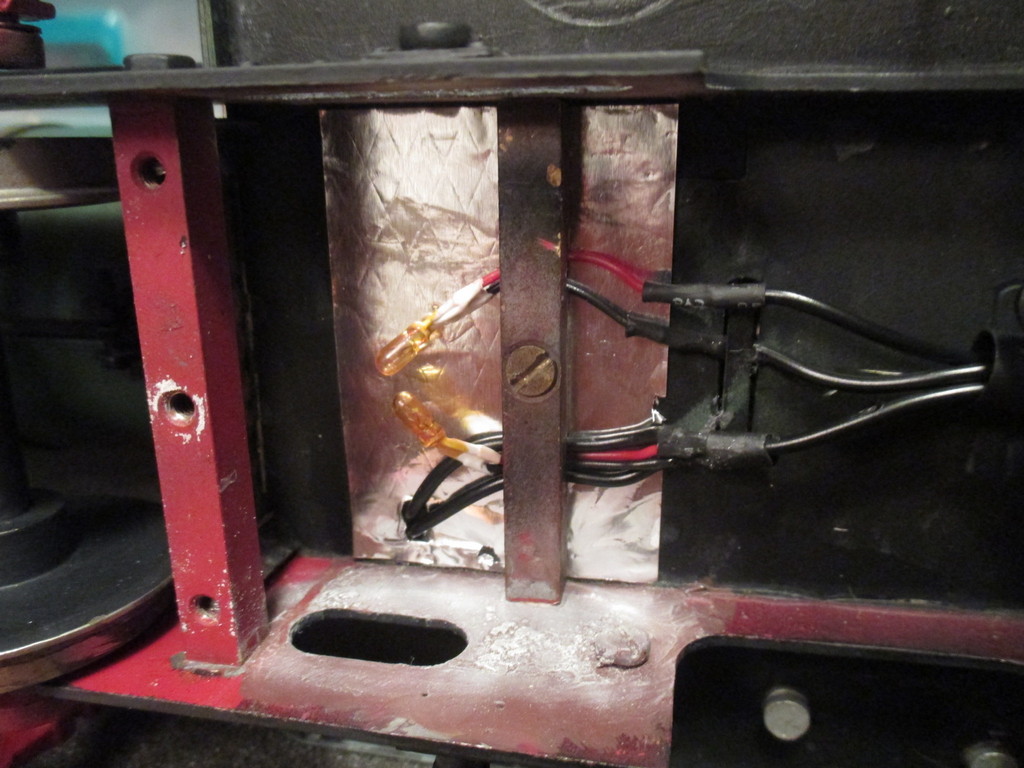
The result is a little brighter than last time. Not perfect, but if your face is any more than 6" away from the loco, it looks fine. Since taking this photo, I did dry brush a little more red over the bulbs to adjust their colour. Ideally, I'd remove the frame spacer and use larger bulbs; but the cab and boiler are fixed to the chassis through that spacer.
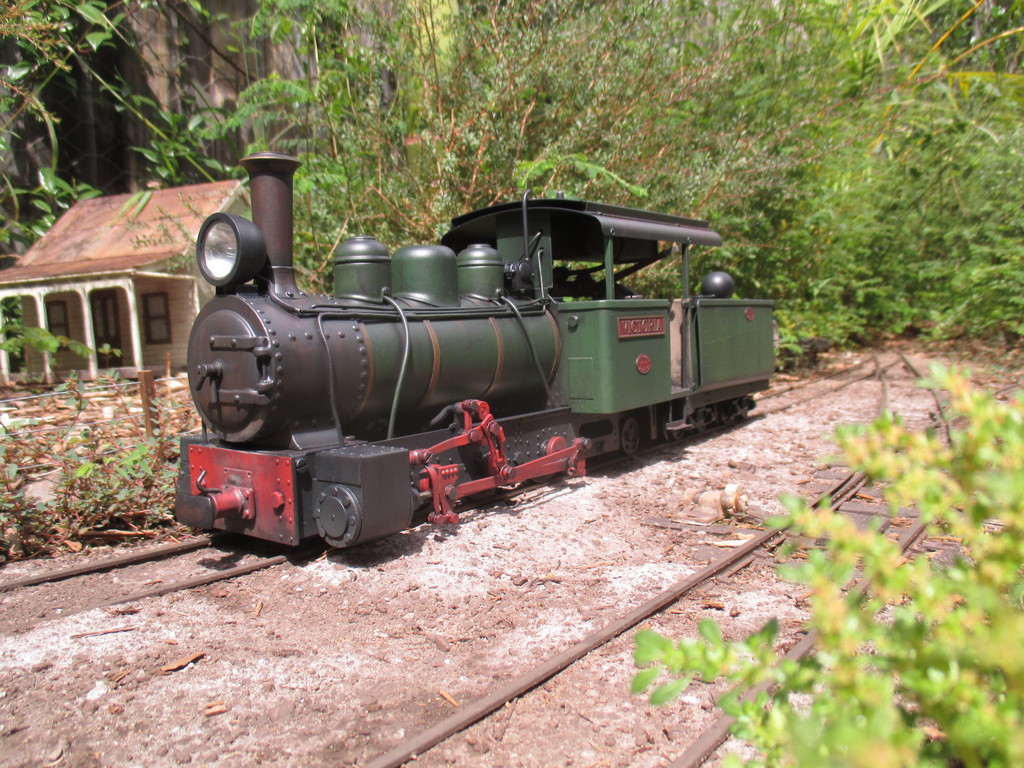
20/03/21
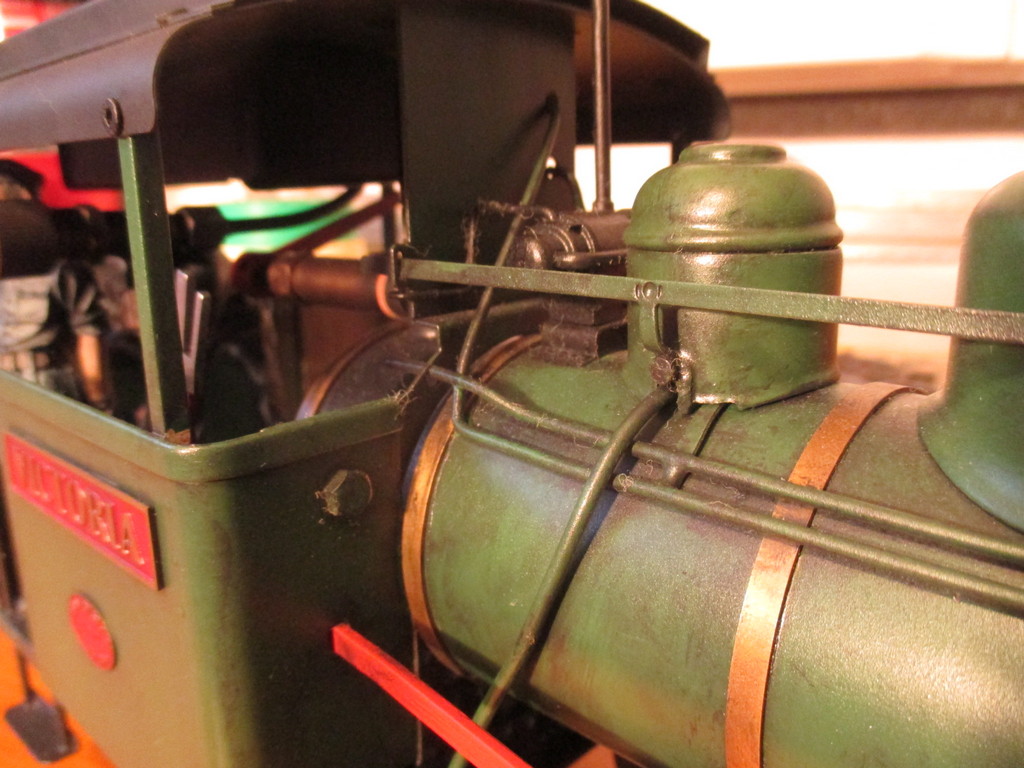
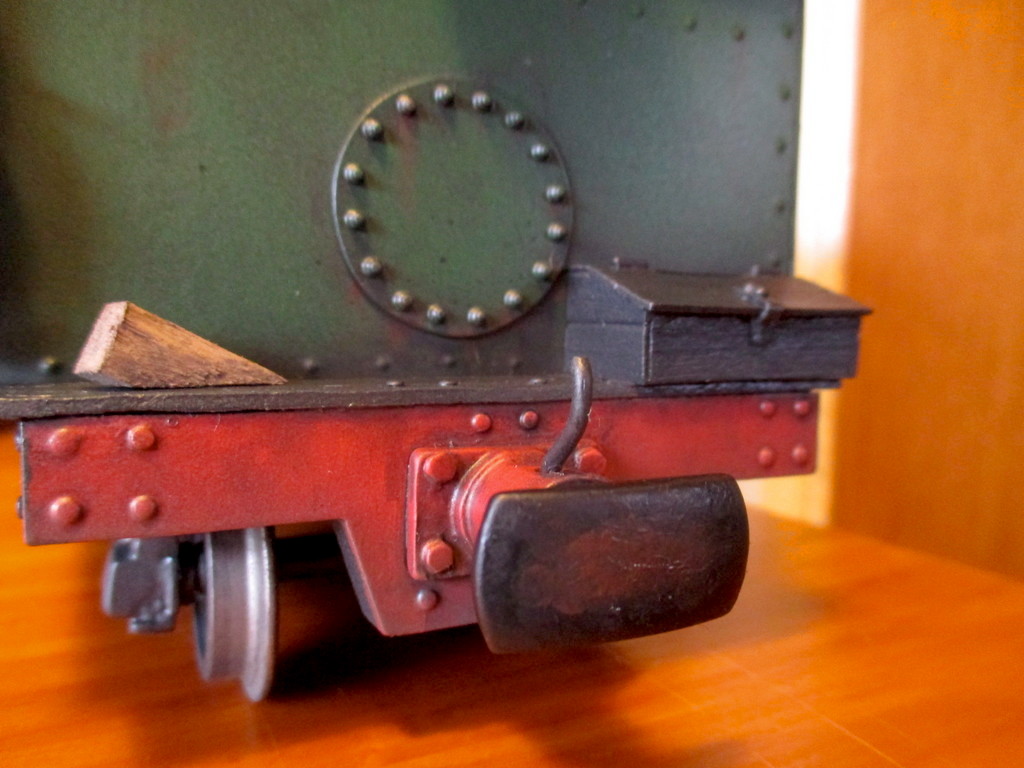
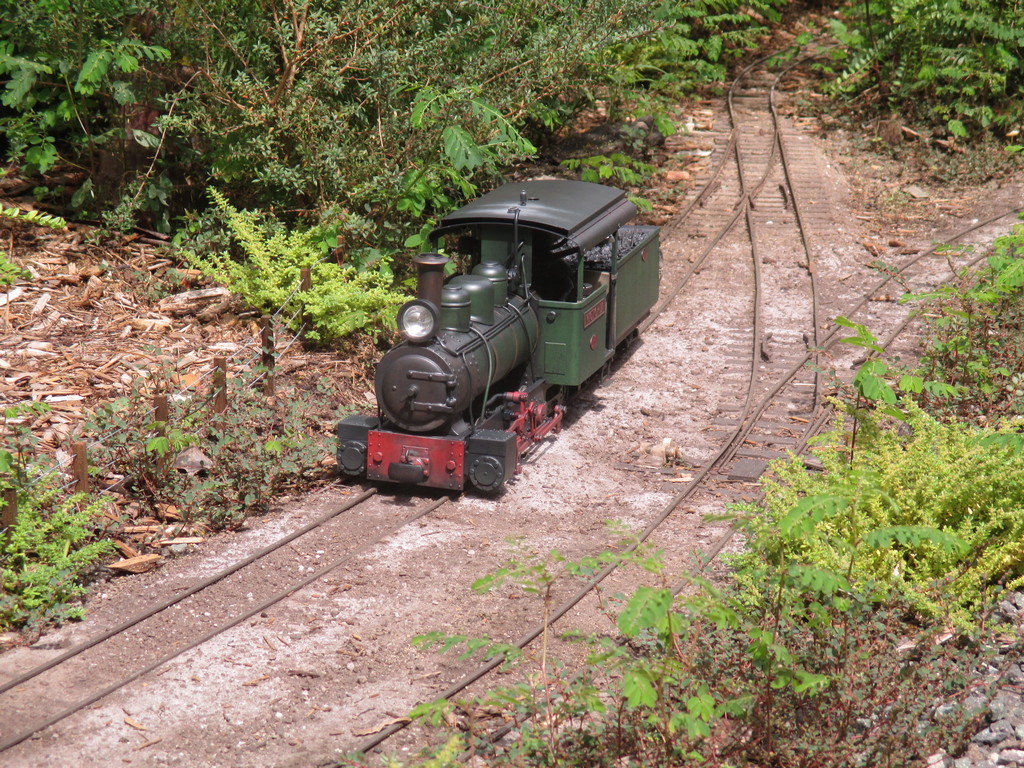
I could then get onto the second hit of grime-washing and whatever else was needed. Used paper towel to wipe it off this time, instead of a rag. Left only a few traces of paper fiber to brush away.. A darker, less-thinned grime was mixed and applied to the motion's joints and pivots.
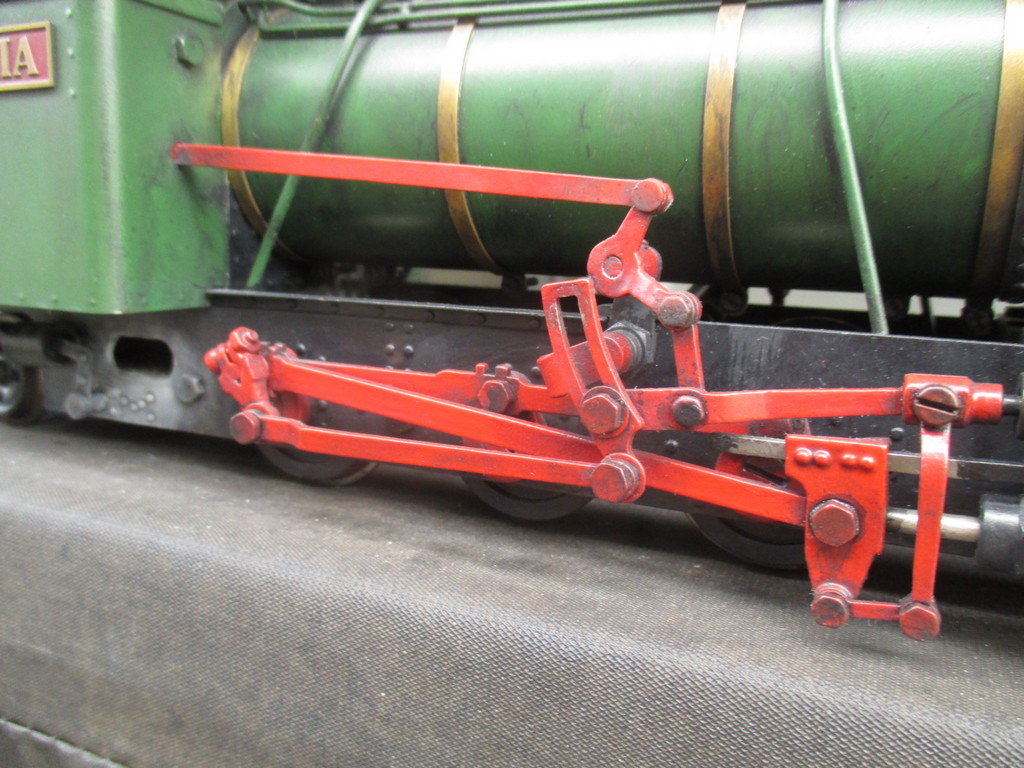
After that, powders were applied where needed - "rust" on throatplate, cab steps, roof, smokebox and chimney, "snow" around whistle, safety valve and ashpan openings. Looks a bit stark in places right now, but the clearcoat will tone it down a fair bit - in fact I'll certainly have to come back and apply more powder..
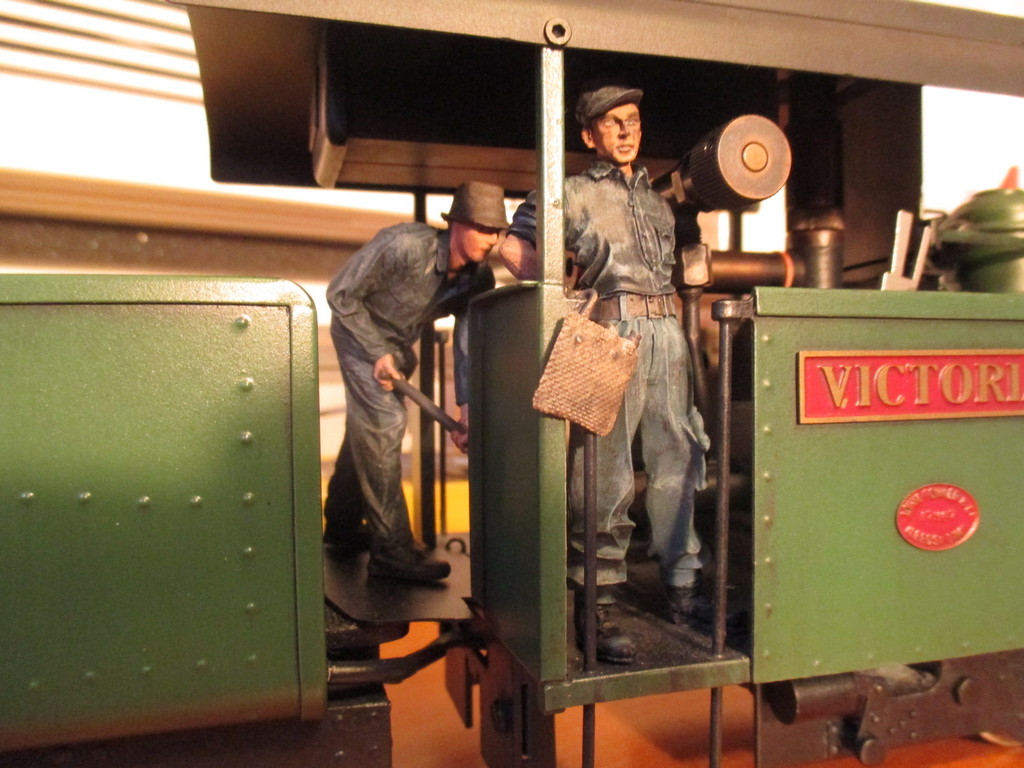
Excuse the paint worn from the buffer head; I'm handling the loco by that and the cab roof's underside. Painting the buffers will be one of the very last jobs..
21/03/21
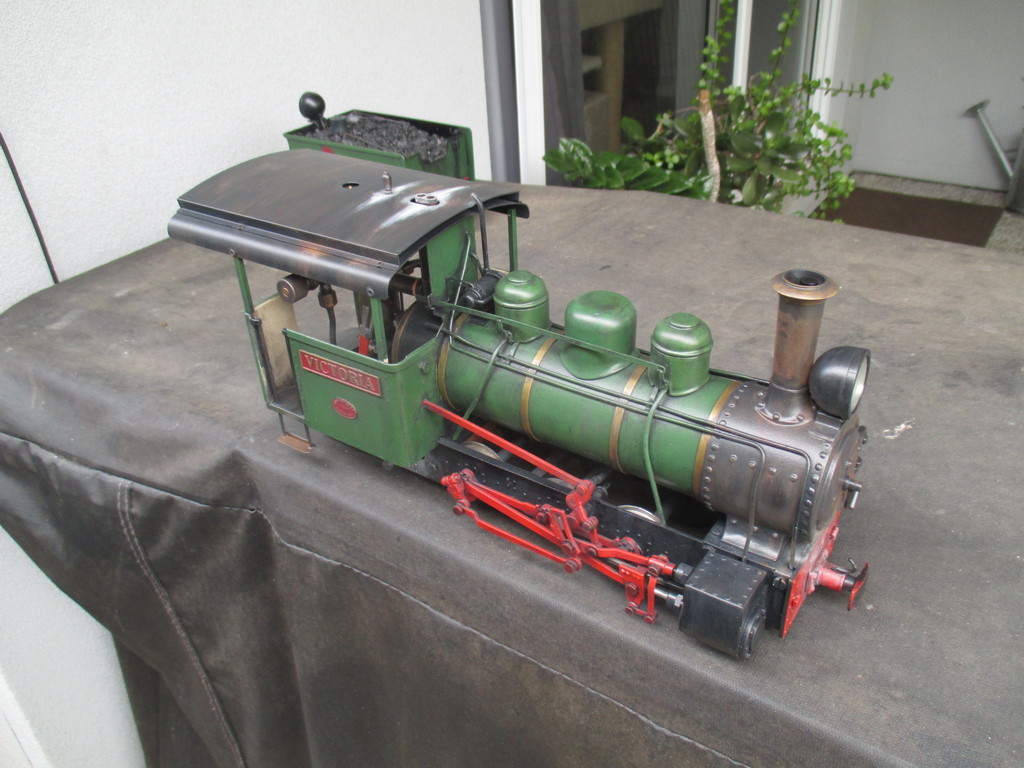
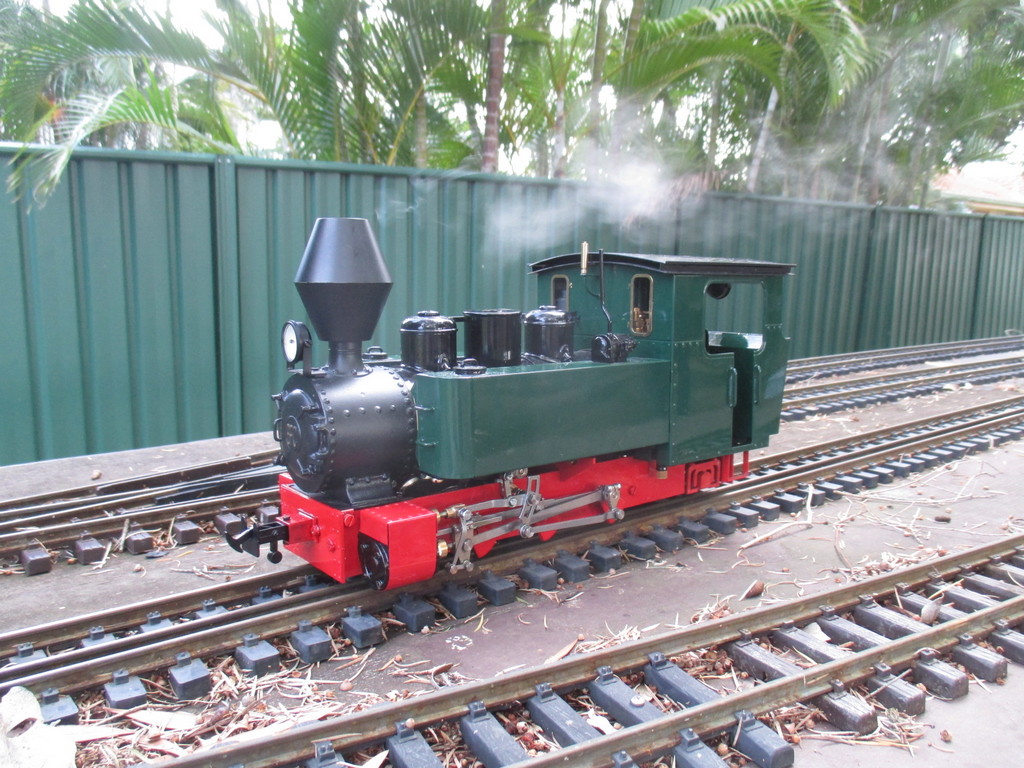
Yesterday, I mixed some Tamiya Flat Clear enamel in a mini spray gun and clearcoated the entire loco and tender. After that, I airbrushed some track grime across the running gear, and soot over the top. I didn't photograph that job, as it was a bit busy and I was making mistakes and fixing them as I went. But I've written it all down and will cover it all in detail when I do the next loco. It's all too easy to overdo, and I did. Thankfully, after leaving it overnight, a clean rag just barely damp with white spirits can be used to "clean" where needed, and reduce the intensity of the airbrushed effect.
Content with that, I set about protecting what's been done with a final clearcoat. As it's raining and the humidity is over 90%, I decided not to risk a foggy clearcoat right at the end of the job, and hauled the dehumidifier from my caravan into the garage. With the garage closed up after two hours, the humidity had dropped to 60%, and I sprayed the first of two coats with the mini spray gun. With that, the garage was opened, aired out, then closed up and the dehumidifier turned on again. Once I finish typing this, I'll go spray the second coat and call it a day.
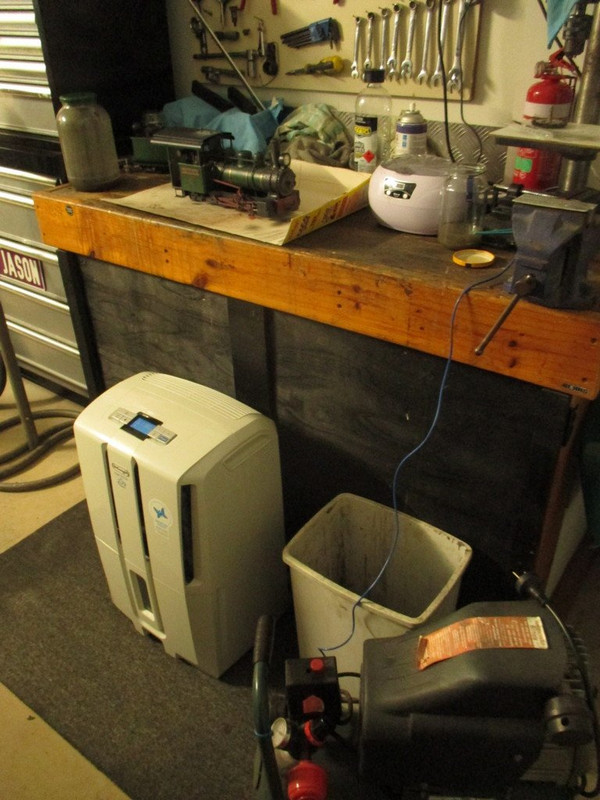
As an aside, that ultrasonic cleaner is a godsend for cleaning the airbrush. It makes owning and using one far less of a tedious nightmare than it used to be.


