An international forum for garden railway modellers in all scales and gauges. It is free to join and is funded through voluntary contributions by its members. Many thanks to all those who keep it going.
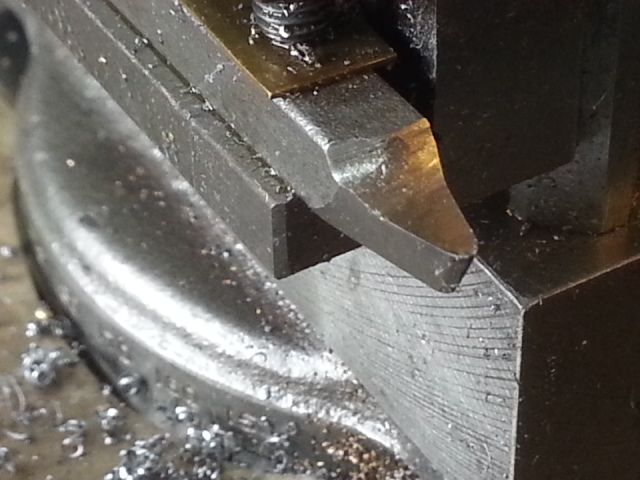
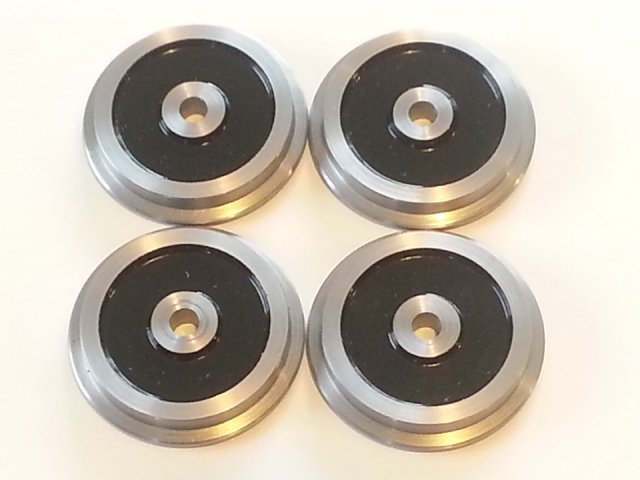
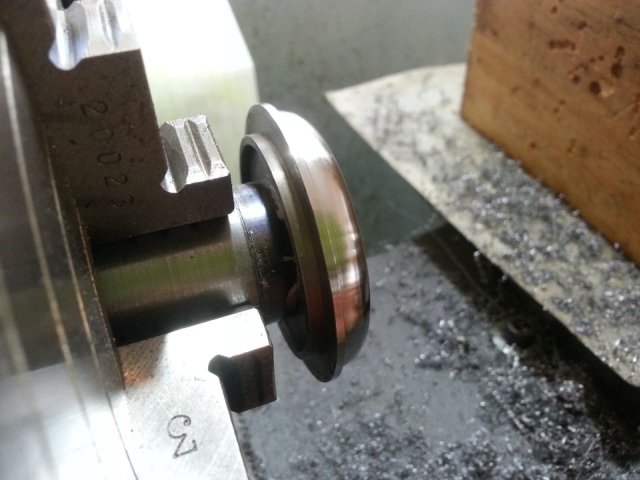
GTB:115090 wrote:What tool have you used to recess the front of the wheel? I ground up a special for that job, but sometimes run into problems with chatter.
I'm using the round nose finishing tool that came with my Unimat 3 lathe all those years ago. I'm taking .010" depth cuts with it.
Last edited by dewintondave on Sun Nov 24, 2019 3:34 am, edited 2 times in total.
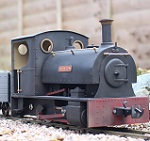
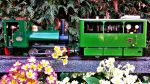
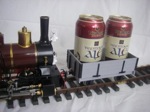
Project scope creep! I'm now favouring the Hunslet Large Quarry Class. It's very similar, the wheelbase is increased from 3' 3" to 4'. Fortunately the wheels are the same diameter. Here's a fine example:- Hugh Napier
Last edited by dewintondave on Sun Nov 24, 2019 3:32 am, edited 1 time in total.
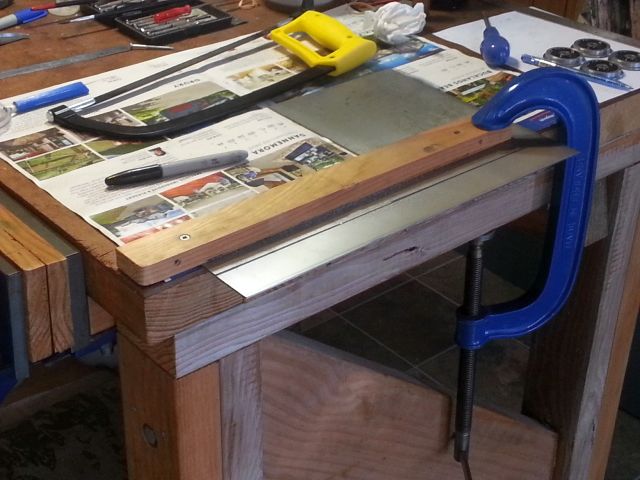
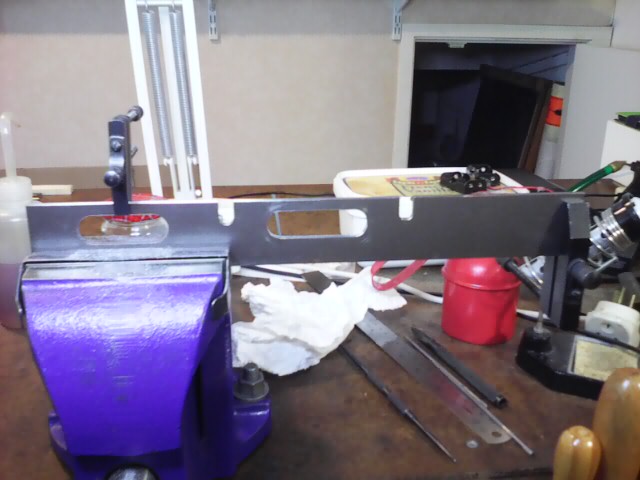
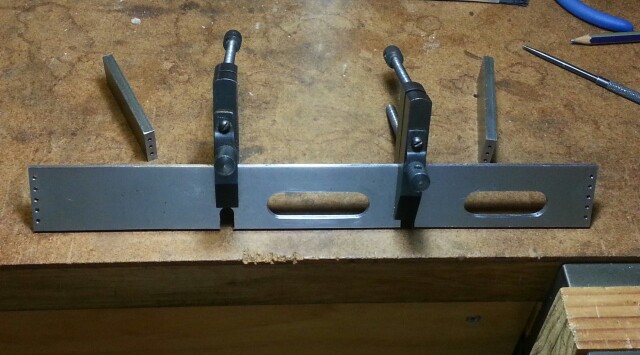
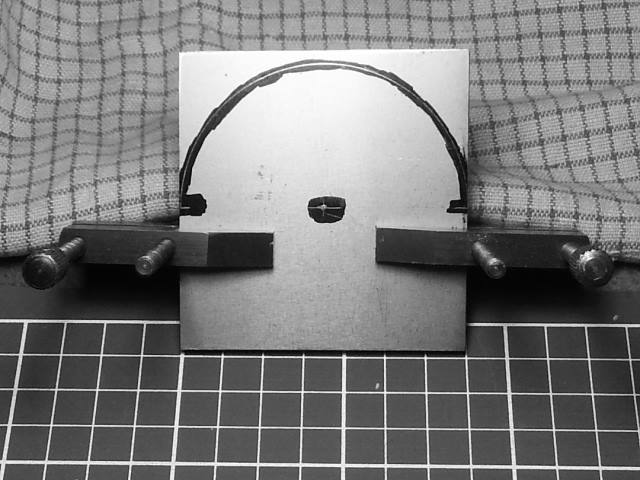
I've been cutting those lovely cut-outs in the frames, lots of sawing and filling. Then lots of drilling for spacers, and heaps of 8 BA tapping in the spacers. I start the tap square in the bench drill. But, first I remove the quill return spring...
Filing, filing
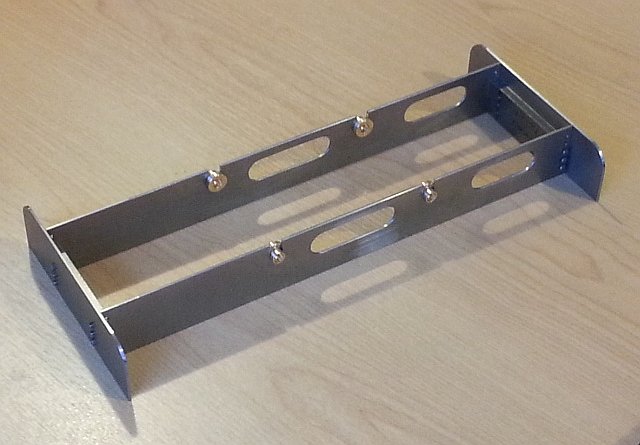
Frames and spacers
Last edited by dewintondave on Sun Nov 24, 2019 3:31 am, edited 2 times in total.
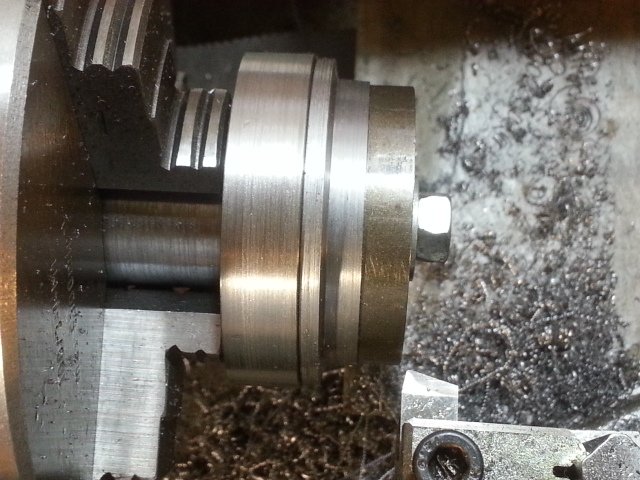
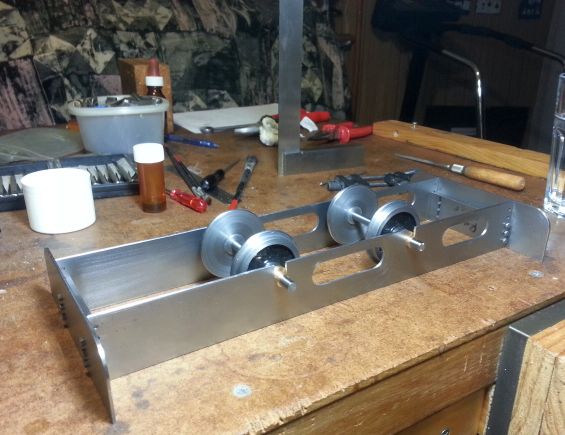
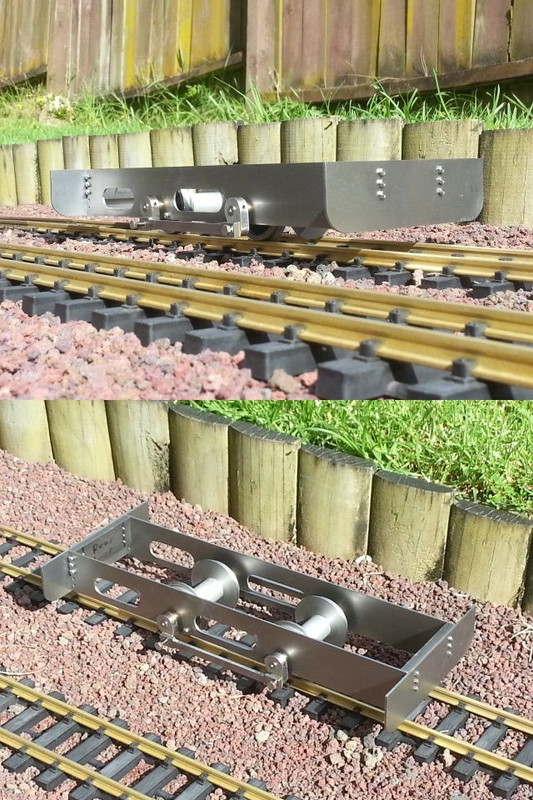
I've been working on the buffer beams. The chassis is bolted together. It was nice to do some turning again, the axle bearings were turned yesterday from gunmetal.
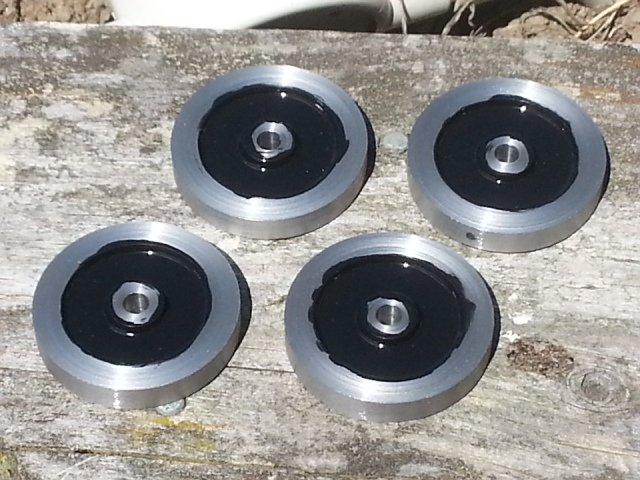
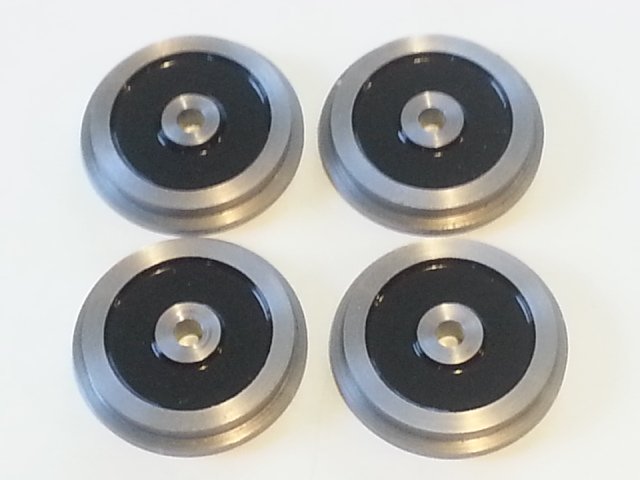
I couldn't resist sliding the wheels on
I've a supply of 8BA screws from my local supplier.
Last edited by dewintondave on Sun Nov 24, 2019 3:30 am, edited 2 times in total.
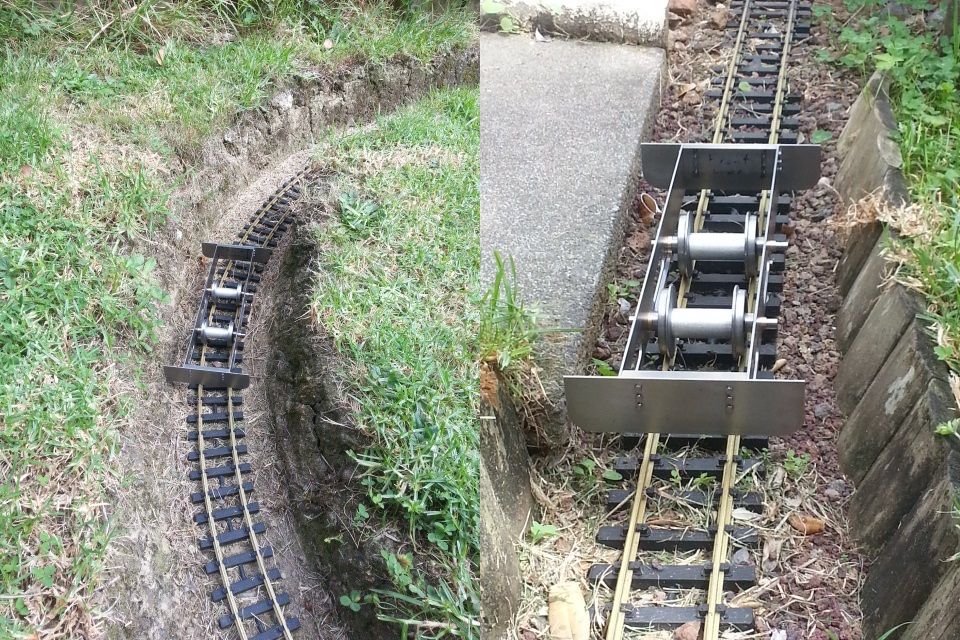
At last a rolling chassis. The coupling rods are finished. I shaped the cranks in blocks of two blanks soldered together, the profile is a bit different between the pairs, so I'll put each pair on their own side of the loco, and not mix them.
Checking the clearances
Rolling chassis
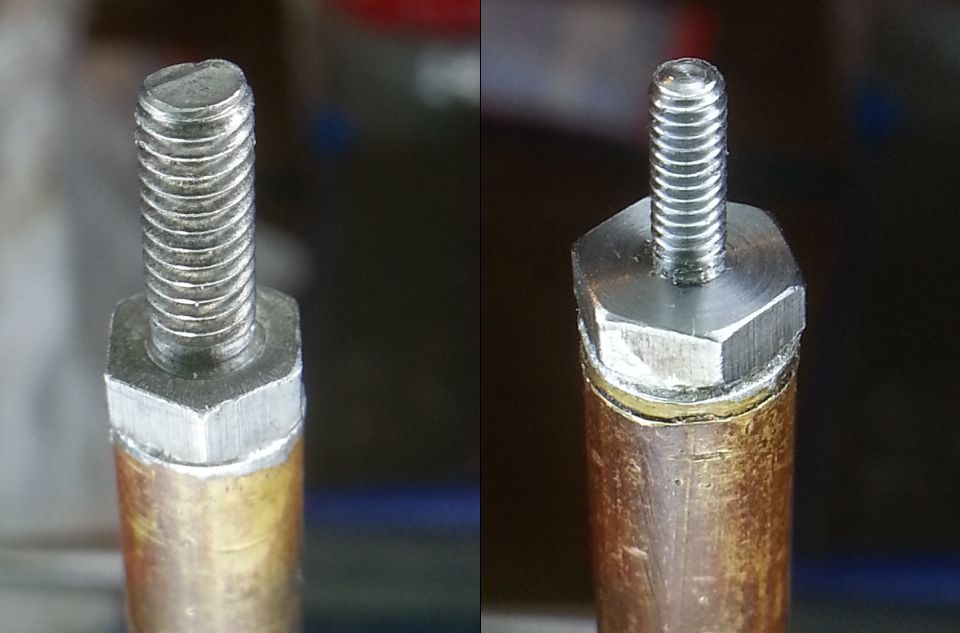
This is how I modify screws. I needed 1/4" AF for the cranks, to keep the rods on, but had no bar stock. I converted four 4 BA screws into 8 BA
Now I need to think about the cylinders...
Last edited by dewintondave on Sun Nov 24, 2019 3:22 am, edited 1 time in total.
Hi Dave!
Nice job, be interested to know what you thought of the Cadmium free silver solder, assuming you have used the cadmium stuff before. Hear many reports of it not flowing as well as the old stuff.
I'm afraid I have enough of the cadmium stuff to see me out, so can't see myself changing, but be interested to hear your opinion.
Grant.
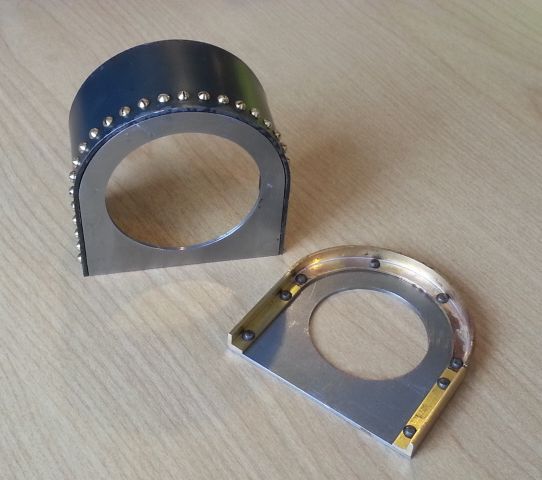
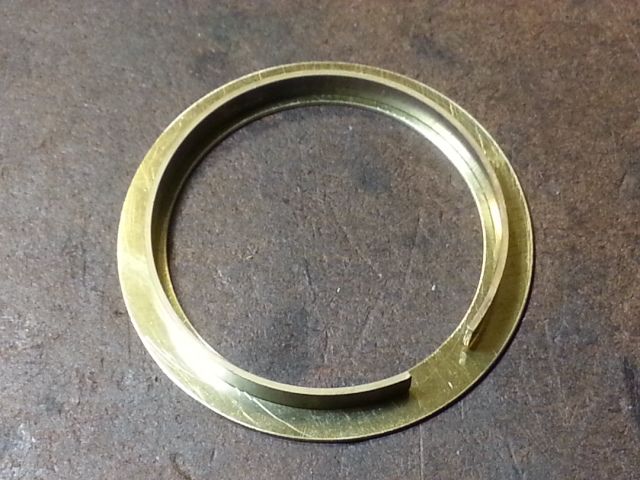
Hi Grant, the cadmium free went fine. My old silver solder will soon run out, so I bought a stick of the cadmium free to try. The ring had two spots where it had pooled, I think at the end of the flux line, and me over enthusiastic stick feeding. When the job was finished, I re-fluxed and re-melted them and it flowed nicely without any other aid
Last edited by dewintondave on Sun Nov 24, 2019 3:29 am, edited 1 time in total.
Thanks Dave, I reckon your a game man soldering a ring that thin and then machining it to fit. Concentricity doesn't have to be far out when you involve the lathe. Congratulations.
Grant.
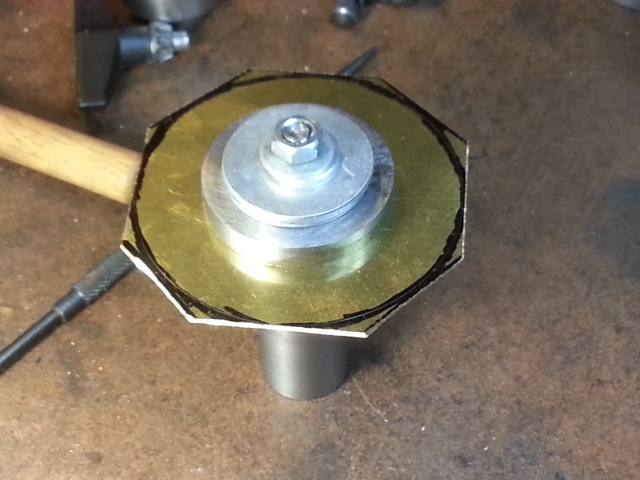
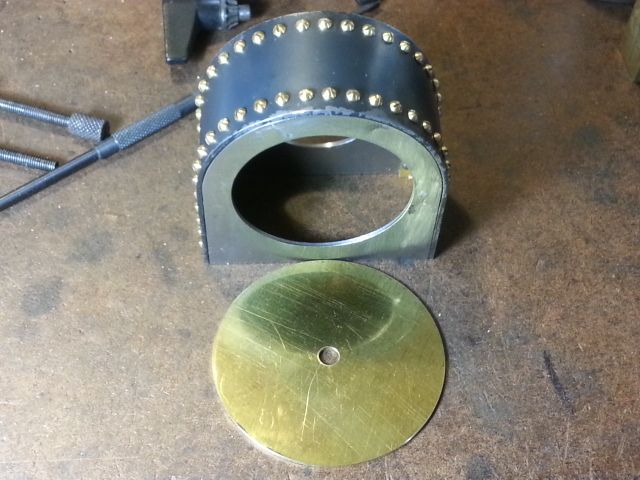
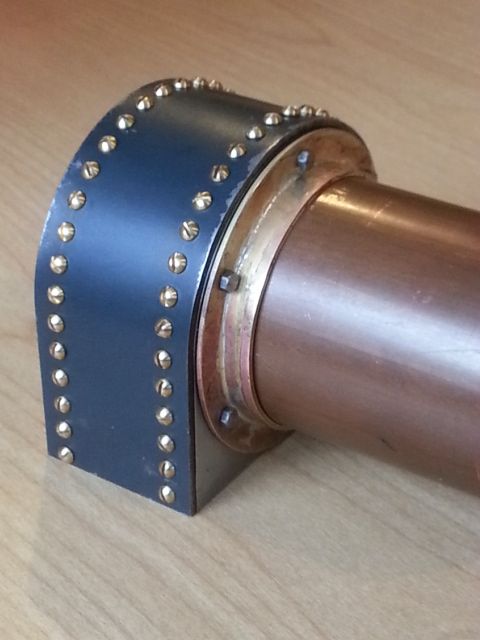
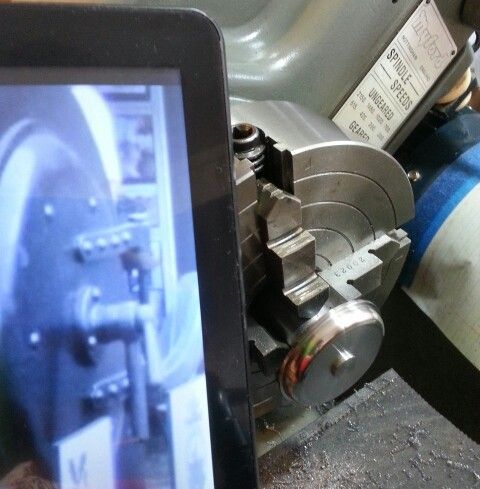
I made the chimney base from steel. One of the first operations was to mill the smokebox profile on its base. I did this in the lathe, with my old Emco Unimat 3 flycutter.
After milling, the blank was turned in the lathe, working both handles to get the large radius.
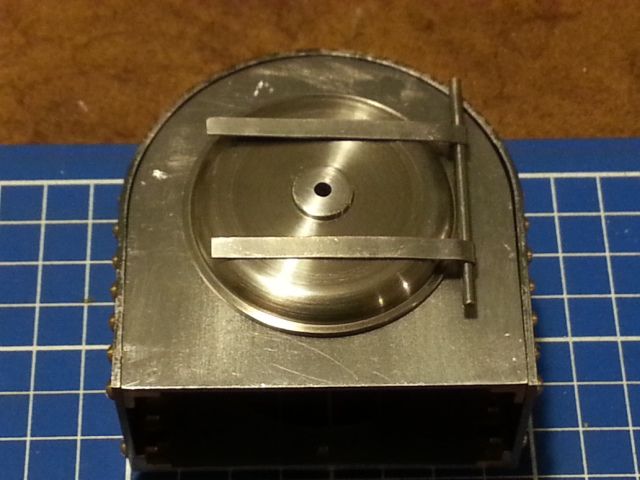
The job is secured to the mandrel by Loctite 609 retainer
Lots of heat is required to remove the job from the mandrel, the chimney base is now a lovely blue/black colour
Last edited by dewintondave on Sun Nov 24, 2019 3:45 am, edited 1 time in total.
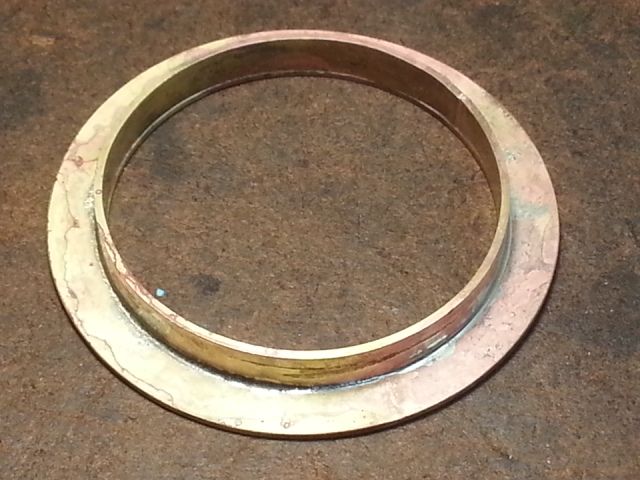
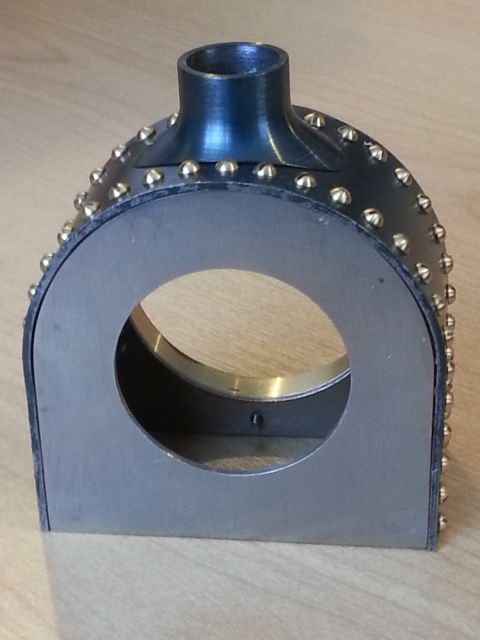
Keith S:118494 wrote:It certainly is a pleasure to see the work in progress. It looks like a fine job so far. I am particularly impressed with the boiler/smokebox flange.
Thank you Keith!
---
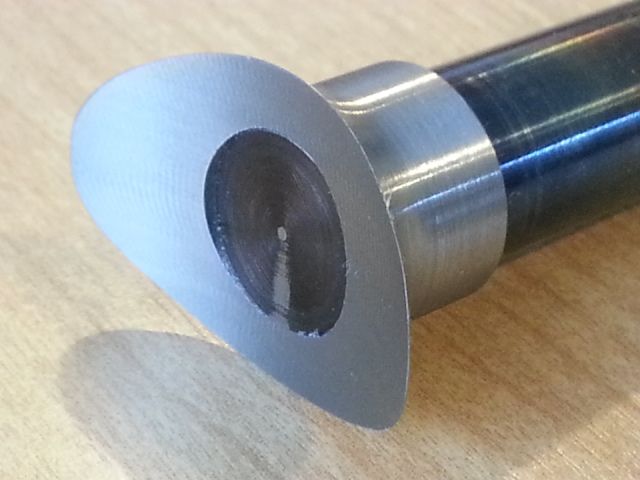
Moving to the other side of the smokebox, the smokebox door. This is made from a slice of free cutting steel soft soldered to a mandrel after the rear face was turned.
Rear face details just visible
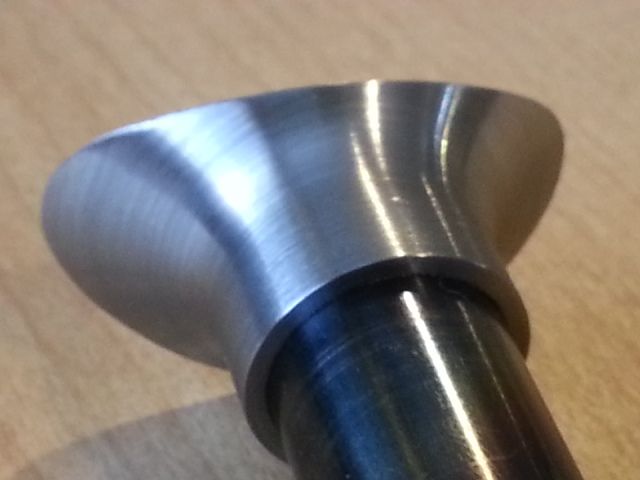
Profiling the front face
Finished door still on mandrel
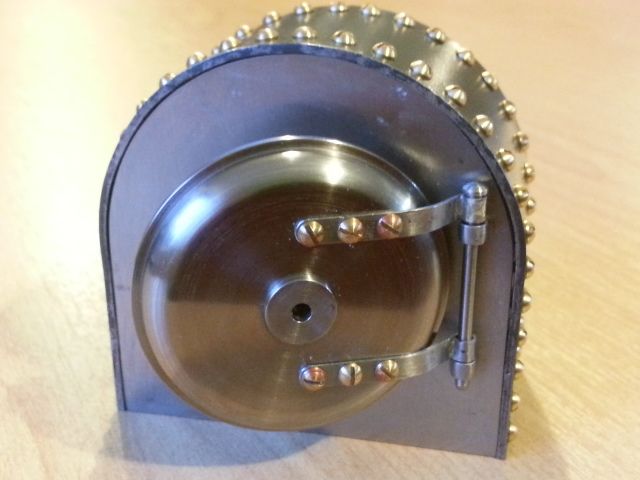
Hinge straps cut out of 0.6mm sheet with tin snips
Finished hinges. I used LBSC's "words and music" for the straps and lugs. I had to borrow the roundhead screws from the live diesel
The door is swinging!
Last edited by dewintondave on Sun Nov 24, 2019 3:49 am, edited 1 time in total.