Dinowic light railway- The rebuild

What is your latest project?
DLRdan
Driver
Driver
Posts: 1083
Joined: Wed Nov 12, 2008 12:05 am
Location: Blyth
Contact:

Dinowic light railway- The rebuild

Post by DLRdan » Mon Mar 17, 2014 1:46 pm

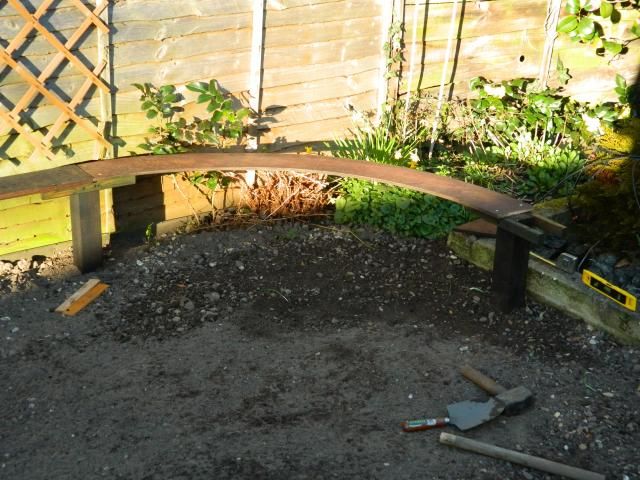
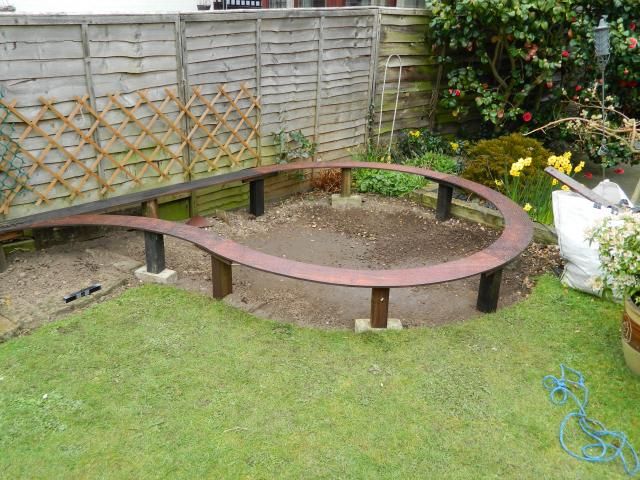
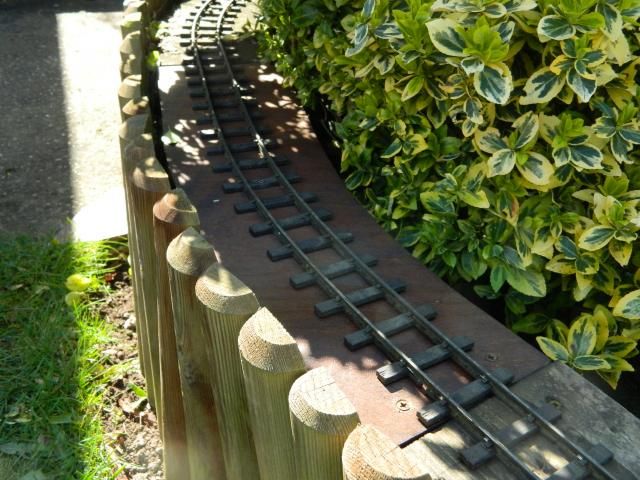
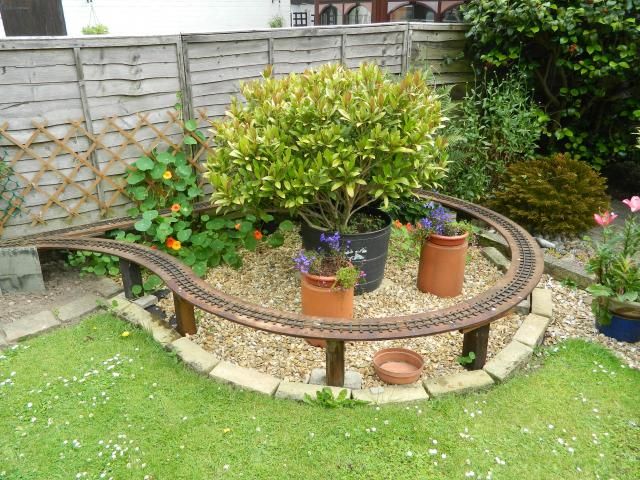
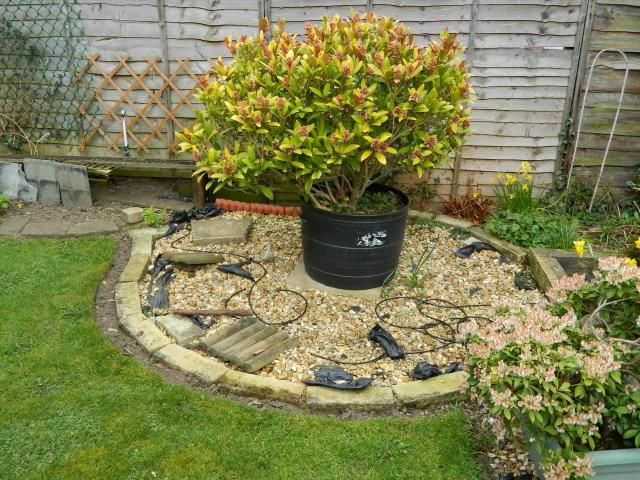
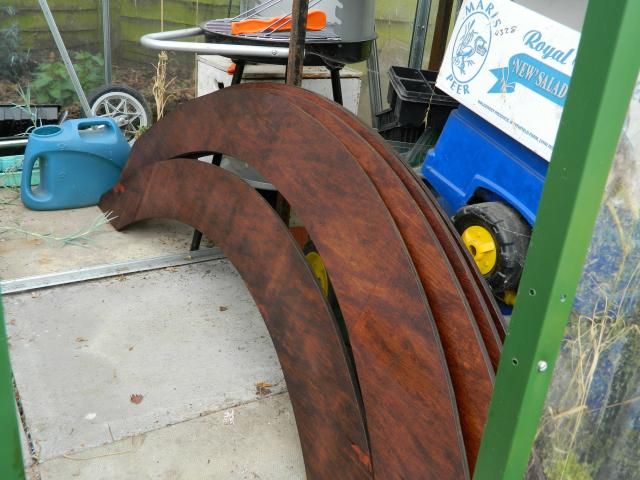
Been quite some time since I have posted anything on my railway but thought you might like to see the progress of the rebuild. A bit of history first. For those who haven't come across my line before half of it is raised about a foot above the ground, the rest is at ground level. The reason for this is a step in the garden. The raised section is mostly gravel boards apart from the curved sections which are 12mm ply. About September last year the balloon loop finaly gave up, the ply delaminating completely. I got fed up looking at the rotton mess so ripped it up and bined it. Which brings us to this point.


Image

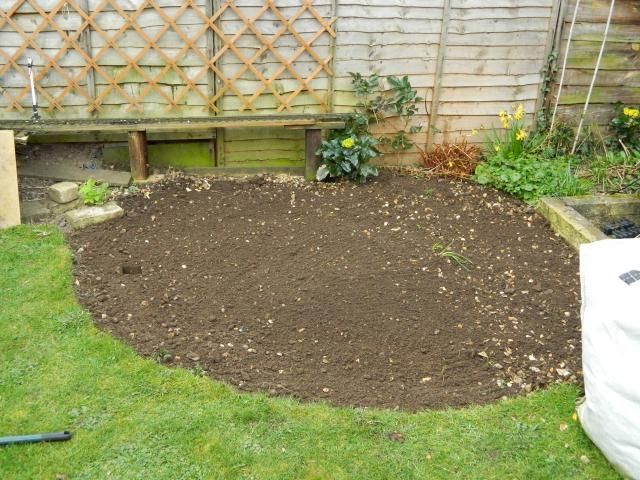
This is the site of the original balloon loop. This is being replaced with new boards and the new set track curves from peco. Hopefully this will stop the bad kinks apearing as the track expands in the sun.
Image

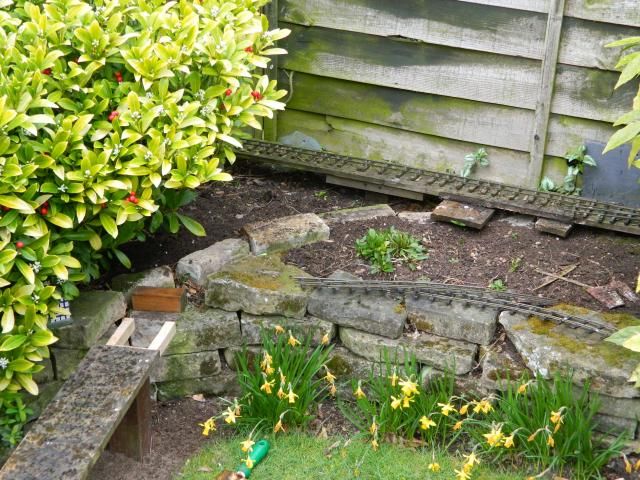
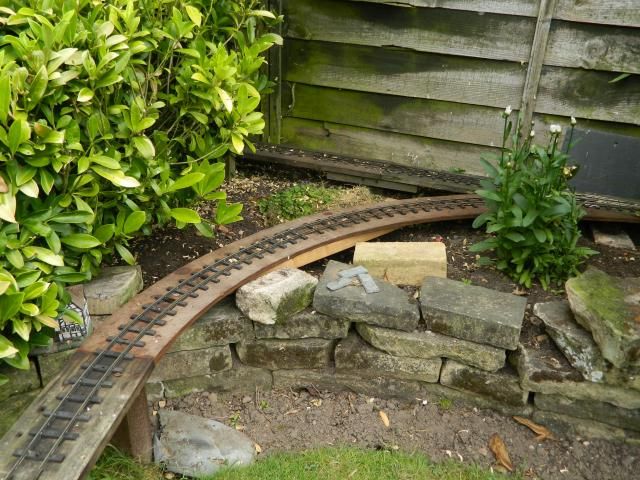
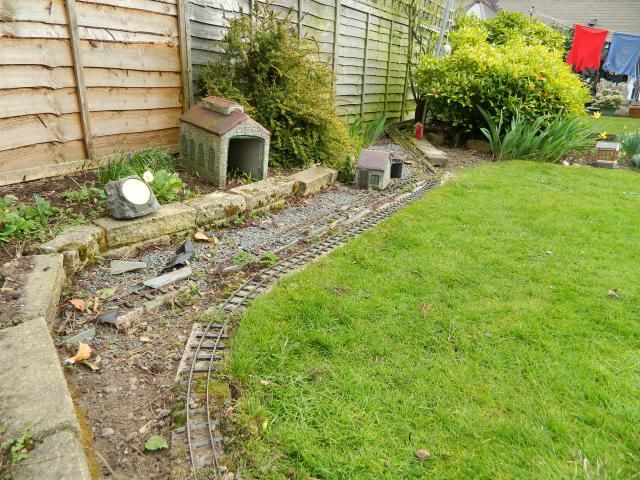
The next area to recieve attention is the yard area. This was fine while I am running alone but when visitors came this area just didn't work. It got to the point where I wasn't using it either and it got abandoned, finding it easier to set the train up on the mainline than to mess with the awquard point set up.
Image

Half an hour later......

Image

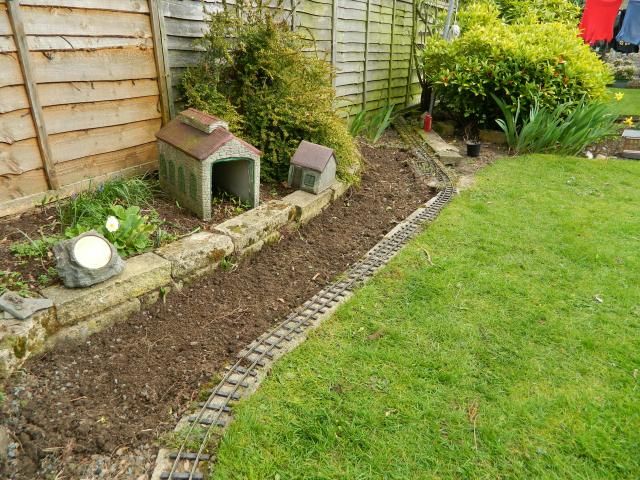
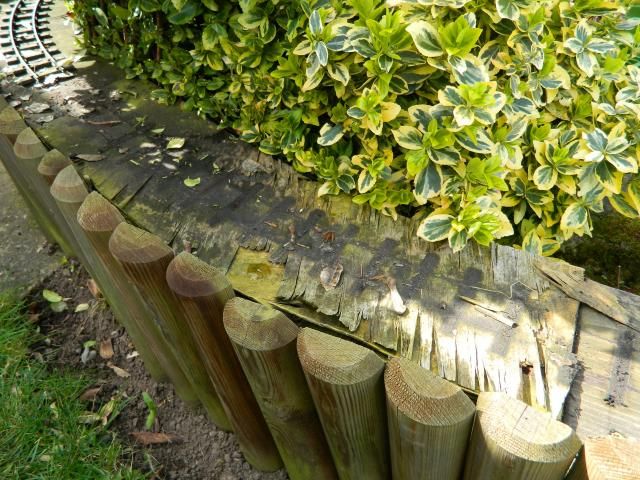
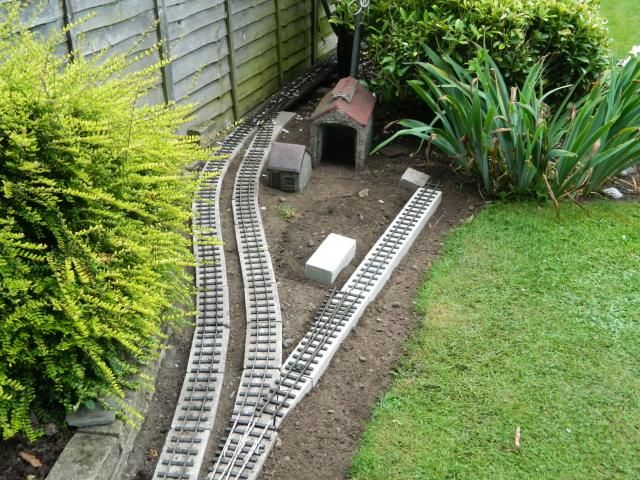
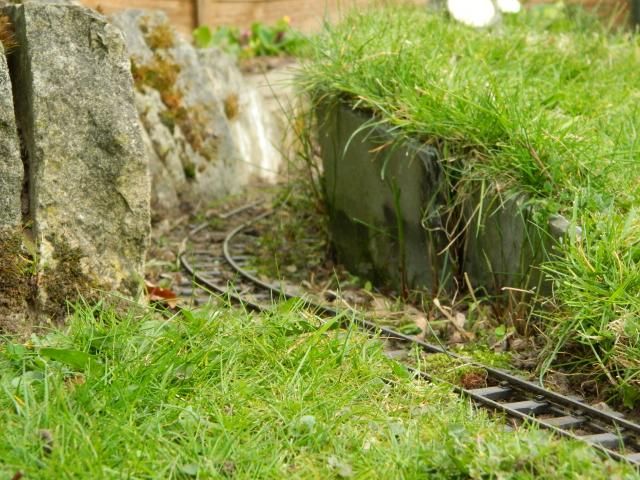
The plan here is to change the alignment of the track to smooth the S bend, add a passing loop and siding. This means I can then store a full train and have some where to steam up. Last thing for today, I have cleared the cutting. Being damp and sheltered the weeds tend to go mad in there.
Image
Dan,

James: "Dan, can you use your hearing and tell me if that trains coming ?"
DLR
www.freewebs.com/dlrail

User avatar
tom_tom_go
Driver
Driver
Posts: 4824
Joined: Wed Feb 23, 2011 3:08 am
Location: Kent, UK
Contact:

Post by tom_tom_go » Mon Mar 17, 2014 2:04 pm

That last shot looks like a great photo spot :)

User avatar
WVLR
Fireman
Fireman
Posts: 362
Joined: Sun Jan 23, 2011 12:46 pm
Location: South Cheshire
Contact:

Post by WVLR » Mon Mar 17, 2014 2:22 pm

Excellent, as I'm also starting work on a balloon loop using Peco ST-605 set curve track.
I'll look forward to watching your progress.
Mike

Wood Valley Works
http://www.woodvalleyworks.co.uk

Wood Valley Light Railway
http://www.wvlr.co.uk

User avatar
DolwyddelanLightRail
Driver
Driver
Posts: 2579
Joined: Tue Sep 29, 2009 7:27 pm
Location: Lost

Post by DolwyddelanLightRail » Mon Mar 17, 2014 3:00 pm

It was interesting the last time I brought Pheonix along which ran over the balloon loop! :lol:

User avatar
MDLR
Driver
Driver
Posts: 4027
Joined: Thu Jan 15, 2009 10:38 pm
Location: Near Ripley, Derbyshire, UK
Contact:

Post by MDLR » Mon Mar 17, 2014 5:27 pm

I look forward ot your line coming back onto the East Midlands Group's calendar!
Brian L Dominic
Managing Director
Flagg Fluorspar Co
www.mdlr.co.uk/ff.html

kandnwlr
Trainee Driver
Trainee Driver
Posts: 998
Joined: Fri Dec 02, 2011 3:14 pm
Location: Alsace, France

Re: Dinowic light railway- The rebuild

Post by kandnwlr » Mon Mar 17, 2014 6:38 pm

[quote="DLRdan:97894"]Been quite some time since I have posted anything on my railway but thought you might like to see the progress of the rebuild. A bit of history first. For those who haven't come across my line before half of it is raised about a foot above the ground, the rest is at ground level. The reason for this is a step in the garden. The raised section is mostly gravel boards apart from the curved sections which are 12mm ply. About September last year the balloon loop finaly gave up, the ply delaminating completely. I got fed up looking at the rotton mess so ripped it up and bined it. Which brings us to this point.


That cutting looks as though moss will grow well. Shame to get rid of that as well as the weeds!

DLRdan
Driver
Driver
Posts: 1083
Joined: Wed Nov 12, 2008 12:05 am
Location: Blyth
Contact:

Post by DLRdan » Mon Mar 17, 2014 7:23 pm

Funnily enough, moss is the one thing that has never grown down there, everything else has though.
Dan,

James: "Dan, can you use your hearing and tell me if that trains coming ?"
DLR
www.freewebs.com/dlrail

User avatar
laalratty
Retired Director
Retired Director
Posts: 3887
Joined: Wed Jan 16, 2008 5:35 pm
Location: Morecambe

Post by laalratty » Mon Mar 17, 2014 8:47 pm

Good to see it finally being rebuilt!
"What the hell is that?"
"It's a model icebreaker sir."
"It's a bit big isn't it?"
"It's a full scale model sir....."

User avatar
Dr. Bond of the DVLR
Retired Director
Retired Director
Posts: 4485
Joined: Tue Jun 09, 2009 9:43 pm
Location: Suffolk
Contact:

Post by Dr. Bond of the DVLR » Mon Mar 17, 2014 9:55 pm

Marvelous stuff Dan!
Image
The railway which people forgot
(to build)

DLRdan
Driver
Driver
Posts: 1083
Joined: Wed Nov 12, 2008 12:05 am
Location: Blyth
Contact:

Post by DLRdan » Wed Mar 19, 2014 5:40 pm

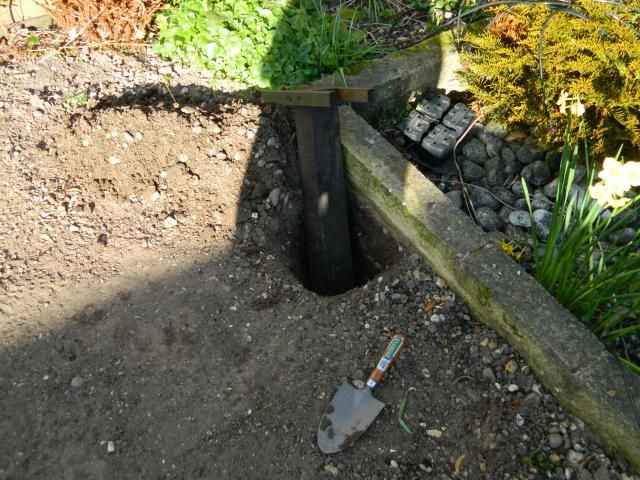
Bit more progress from today. The gravel has been lifted and the weed suppressing plastic removed, I am going to replace this with fabric so the ground can breathe. The ground had moved quite alot so some time was spent leveling the site.

Image
Dan,

James: "Dan, can you use your hearing and tell me if that trains coming ?"
DLR
www.freewebs.com/dlrail

DLRdan
Driver
Driver
Posts: 1083
Joined: Wed Nov 12, 2008 12:05 am
Location: Blyth
Contact:

Post by DLRdan » Fri Mar 21, 2014 8:22 pm

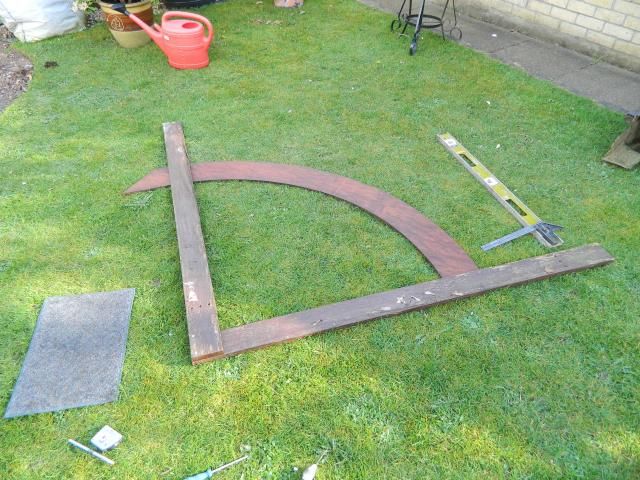
First section of new track bed today, along with a very large set square.

Image

Image

Image
Dan,

James: "Dan, can you use your hearing and tell me if that trains coming ?"
DLR
www.freewebs.com/dlrail

DLRdan
Driver
Driver
Posts: 1083
Joined: Wed Nov 12, 2008 12:05 am
Location: Blyth
Contact:

Post by DLRdan » Sun Mar 23, 2014 9:15 pm

I hope you are sitting comfortably. Today with the help of Dad a large proportion of the remaining track bed was replaced or repaired. First off the balloon loop was completed, the next stage is to relay the track once the new pointwork arrives.

Image

Further up the line one of the tight radius curves has been eased. This was a 30" radius that has been opened up to 38" radius. The photo shows a work in progress but this section is now complete.

Image

Continuing across the re leveled bridge another section was being replaced. The ballon loop was in a similare state to this, only this section has been in for 7 years. The ballon loop lasted 18 months.

Image

The new section in and the track relaid

Image

Finally the retaining wall for the flower bed was mooved across to allow room for the new station design. The end nearest the camera will also be moved into a more pleasing arc once the station trackwork has been marked out.

Image
Dan,

James: "Dan, can you use your hearing and tell me if that trains coming ?"
DLR
www.freewebs.com/dlrail

User avatar
laalratty
Retired Director
Retired Director
Posts: 3887
Joined: Wed Jan 16, 2008 5:35 pm
Location: Morecambe

Post by laalratty » Sun Mar 23, 2014 9:21 pm

All looks very good, it'll be interesting to see what difference the wider radius will make to running
"What the hell is that?"
"It's a model icebreaker sir."
"It's a bit big isn't it?"
"It's a full scale model sir....."

User avatar
Dr. Bond of the DVLR
Retired Director
Retired Director
Posts: 4485
Joined: Tue Jun 09, 2009 9:43 pm
Location: Suffolk
Contact:

Post by Dr. Bond of the DVLR » Sun Mar 23, 2014 11:44 pm

Great stuff Dan!
Image
The railway which people forgot
(to build)

kandnwlr
Trainee Driver
Trainee Driver
Posts: 998
Joined: Fri Dec 02, 2011 3:14 pm
Location: Alsace, France

Post by kandnwlr » Mon Mar 24, 2014 8:29 am

DLRdan:98173 wrote:I hope you are sitting comfortably. Today with the help of Dad a large proportion of the remaining track bed was replaced or repaired. First off the balloon loop was completed, the next stage is to relay the track once the new pointwork arrives.

Further up the line one of the tight radius curves has been eased. This was a 30" radius that has been opened up to 38" radius. The photo shows a work in progress but this section is now complete.

Continuing across the re leveled bridge another section was being replaced. The ballon loop was in a similare state to this, only this section has been in for 7 years. The ballon loop lasted 18 months.

The new section in and the track relaid


Finally the retaining wall for the flower bed was mooved across to allow room for the new station design. The end nearest the camera will also be moved into a more pleasing arc once the station trackwork has been marked out.
That looks like significant work :D Can´t wait to see some trains running :lol:

DLRdan
Driver
Driver
Posts: 1083
Joined: Wed Nov 12, 2008 12:05 am
Location: Blyth
Contact:

Post by DLRdan » Wed Jul 02, 2014 11:59 pm

Update time

We left off having just moved the wall for the flowerbed. The plan was to make a straighter line between the cutting and fence, thus removing two of the tighter curves.

Image

After the old track was removed the new track bed could be laid. I decided instead of a straight line I would follow the curve of the wall giving more room for sidings on the right.

Image
Dan,

James: "Dan, can you use your hearing and tell me if that trains coming ?"
DLR
www.freewebs.com/dlrail

DLRdan
Driver
Driver
Posts: 1083
Joined: Wed Nov 12, 2008 12:05 am
Location: Blyth
Contact:

Post by DLRdan » Thu Jul 03, 2014 12:16 am

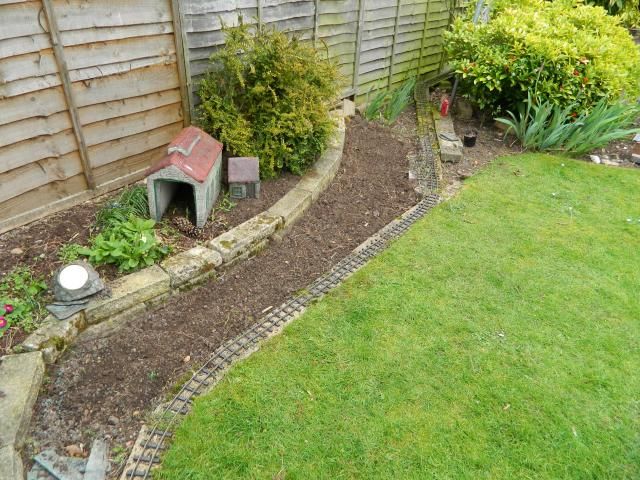
Once the oute line was laid the inner one was easier. I used a 2 inch spacer between the bricks to give 6 inches between the center of the rails, hopefully this will be enough clearance.

Image

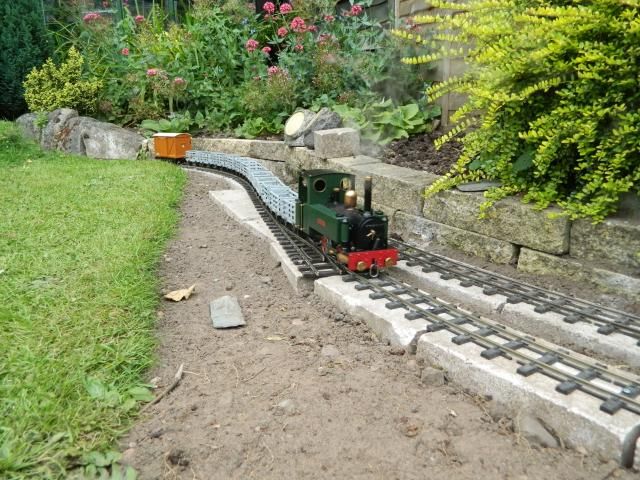
Once the track was down I got a loco out to test the new layout. The new areas were fine but it showed that a couple of the older areas needed attention also.

Image

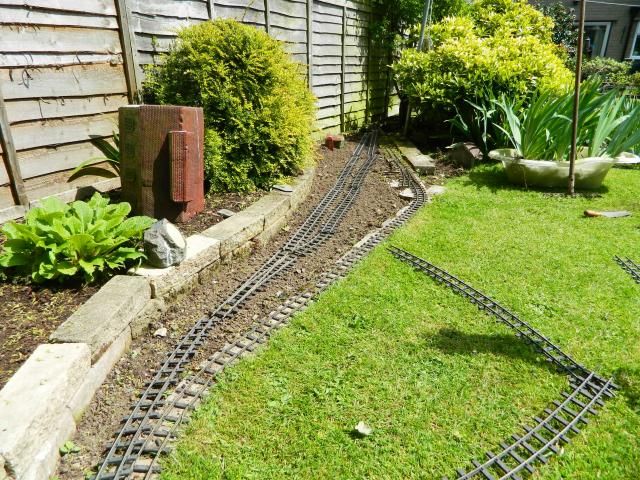
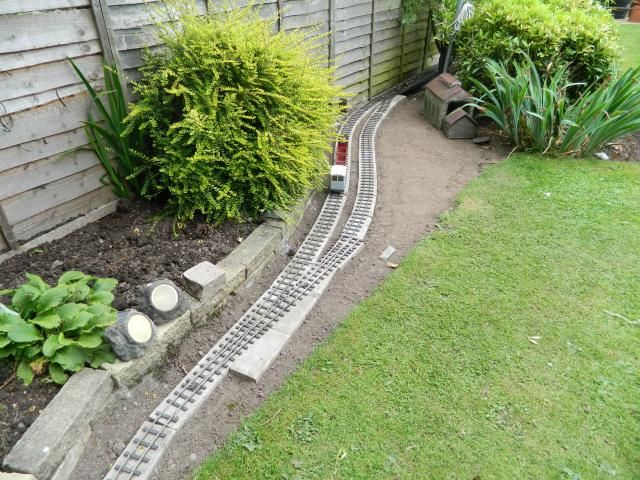
The sidings took a lot of thinking about, wether to go with one or two and their position. In the end I went for two sidings giving more storage and also a place for the engine shed.

Image

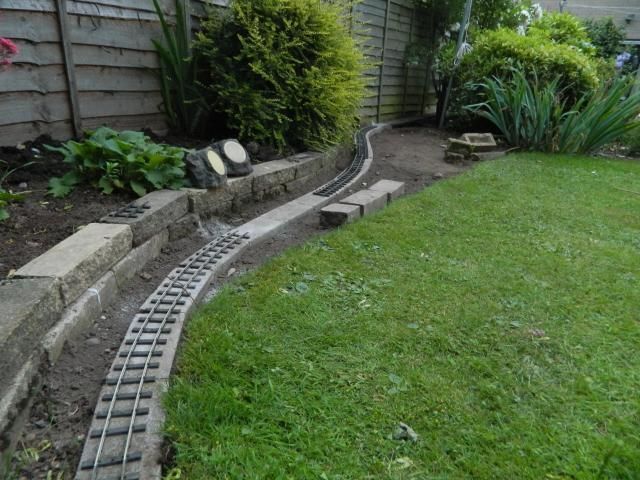
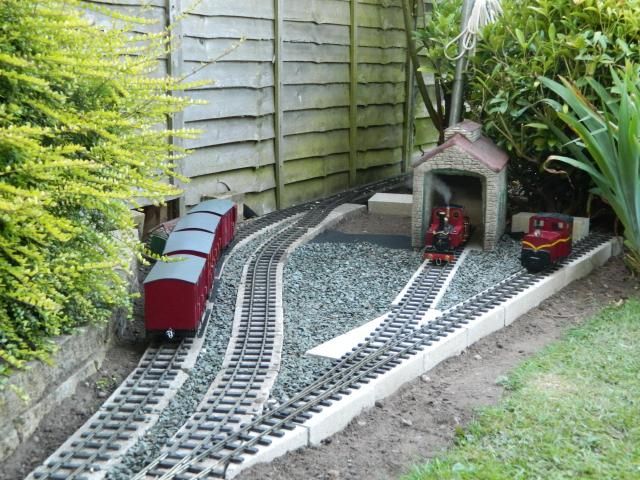
After all the track was down i filled the areas between the track with small gravel ontop of weed fabric. This area has been prone to things growing next to the track so hopefully this will be significantly reduced. This photo also shows how the grass falls away, the bricks almost being out the soil.

Image
Dan,

James: "Dan, can you use your hearing and tell me if that trains coming ?"
DLR
www.freewebs.com/dlrail

Maple
Trainee Fireman
Trainee Fireman
Posts: 175
Joined: Sat Jun 29, 2013 3:17 pm
Location: Bournemouth

Post by Maple » Thu Jul 03, 2014 8:47 am

Thats looking great! Are you cementing your blocks down or not, i have heard of a few rebels who dontlately, thinking of trying it.
'Professional Bodge artist '

DLRdan
Driver
Driver
Posts: 1083
Joined: Wed Nov 12, 2008 12:05 am
Location: Blyth
Contact:

Post by DLRdan » Thu Jul 03, 2014 11:39 am

The blocks are not cemented in, just well packed with soil. Doesn't work for everyone but its quick and easy to try, I've used it for years and providing you don't disturb the soil immediatly round it, it lasts well. Also seems imune to frost heave.


I didn't get photos of the inbetween stages but this is the finished bottom loop.

Image

This curve was 30" radius so was opened out to 38", a big improvement.

Image

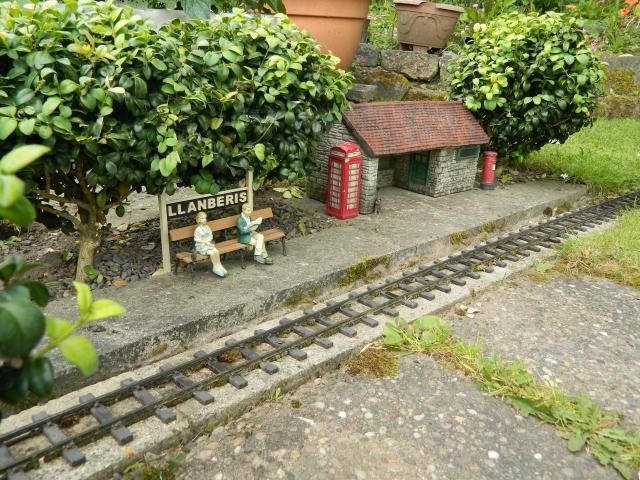
The trees in the station have had a serious hair cut and the building has been cleared of the bits of unwanted moss. I also managed to find the cat !

Image
Dan,

James: "Dan, can you use your hearing and tell me if that trains coming ?"
DLR
www.freewebs.com/dlrail

User avatar
Andrew
Moderator
Moderator
Posts: 3270
Joined: Tue Jul 03, 2012 1:33 pm
Location: Bristol, UK
Contact:

Post by Andrew » Thu Jul 03, 2014 12:29 pm

That's looking really good!

I've previously gone for the relatively heavy "create foundations then mortar bricks/blocks on top" approach, but it takes yonks and is lots of work. Recently I've heard of a couple of people setting their chosen building material into the ground using postcrete/fix (guess Old School cement and sand would work as well, just more slowly...) and am trying that technique in my current station re-build. So far so good, it certainly seems to give the desired solid level base.

Anyway, thanks for the photos Dan, the line looks excellent...

Andrew.

Post Reply

Who is online

Users browsing this forum: No registered users and 7 guests