So next step was to think about the roof. But first I was aware that I needed to give the body some rigidity - at the moment it was just two boxes joined together by the plywood floor. They also needed to be connected at the top over the entrances to the centre vestibule. This was one of those make it up as you go along moments because until this point I hadn't given this important little detail much thought.
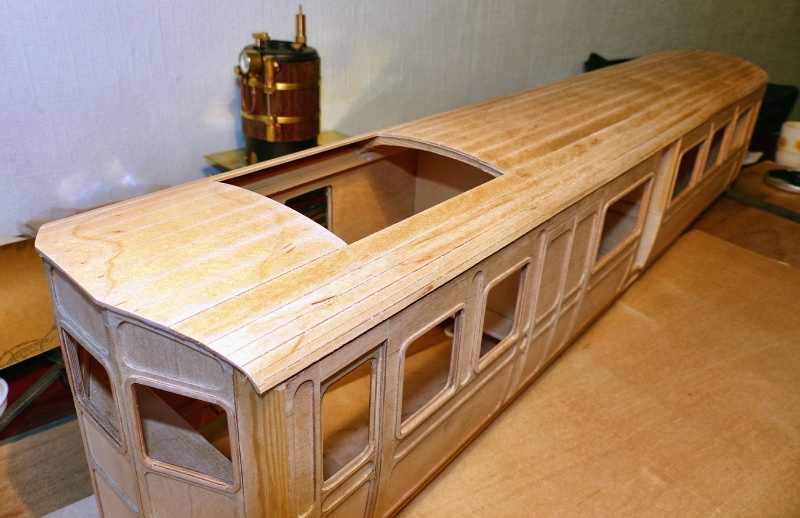
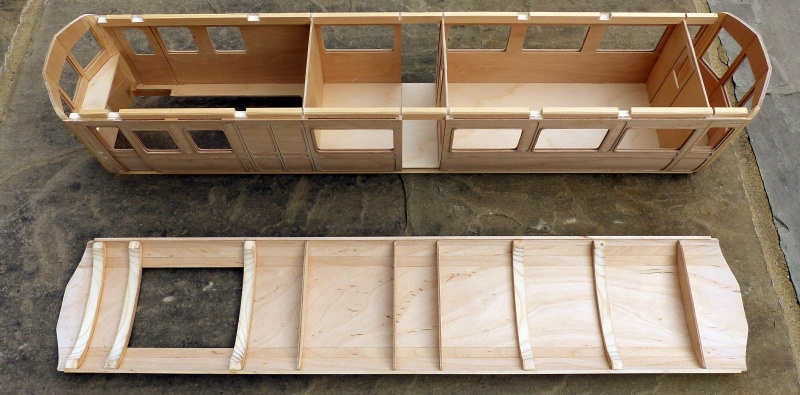
In order to achieve this and also provide some added stiffness to the whole thing I decided to glue some lengths of rectangular wood along the full length inside the top of the sides, if that makes sense. You'll see in the picture. While considering this the design of the roof structure also morphed into version 2. The internal partitions which were already in place included the roof profile. These I cut off level with the top of the sides. I then had to cut out small notches to allow the strips of wood to go down inside but only enough to allow half the depth of the wood to be glued to the sides, the top half left protruding above the sides. By doing this I could cut slots in the top allowing a semi elliptical roof former to slot in above each partition and form a base for the roof planking. Again easier to see in the picture than explain.
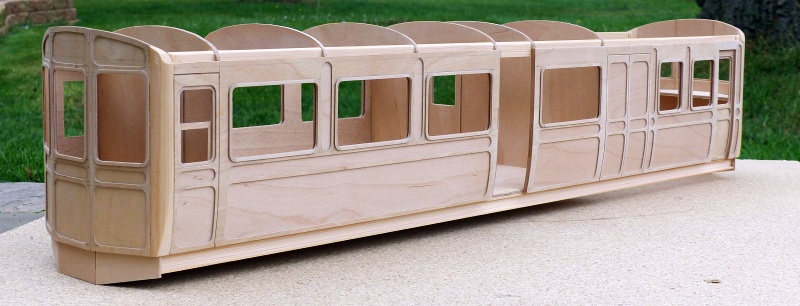
You will see in this picture that by this stage I had also added the underframes which also add to the strength. I hadn't been sure how I was going to achieve this effectively. In the end I used another length of rectangular stripwood. I managed to lash up something that passed for a router table and, using a small router bit, I (very carefully !) cut a groove along the length of the wood leaving what looked like quite a convincing channel section beam.
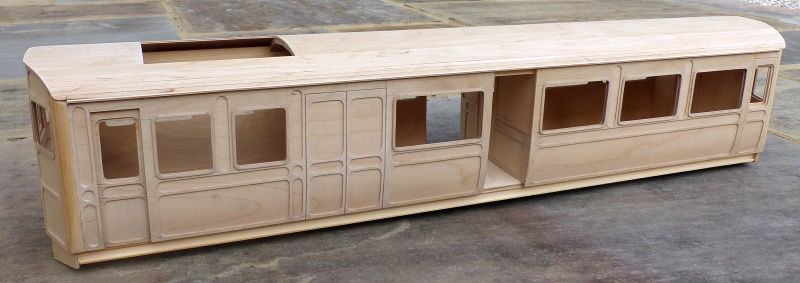
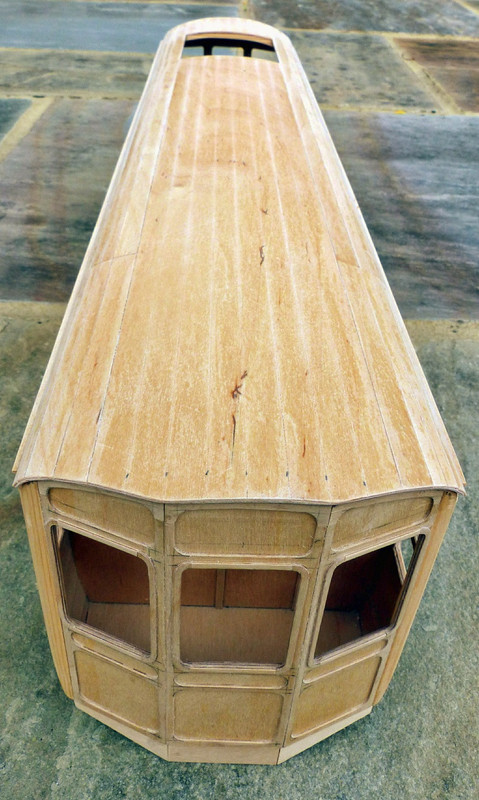
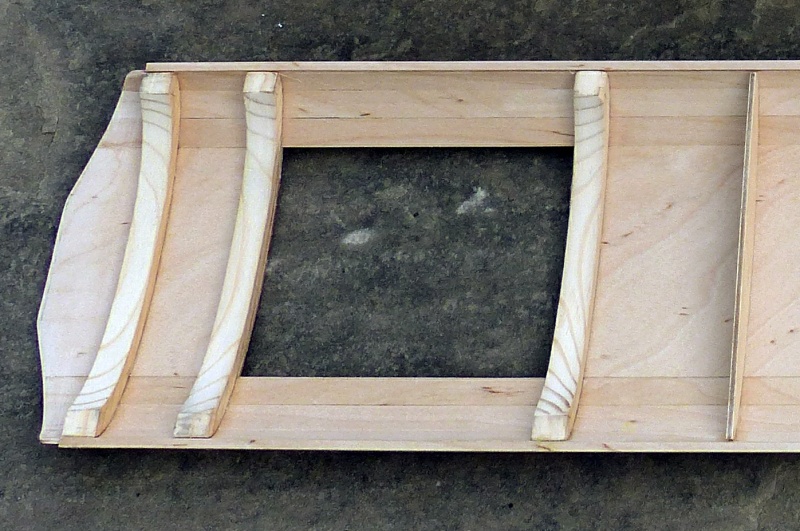
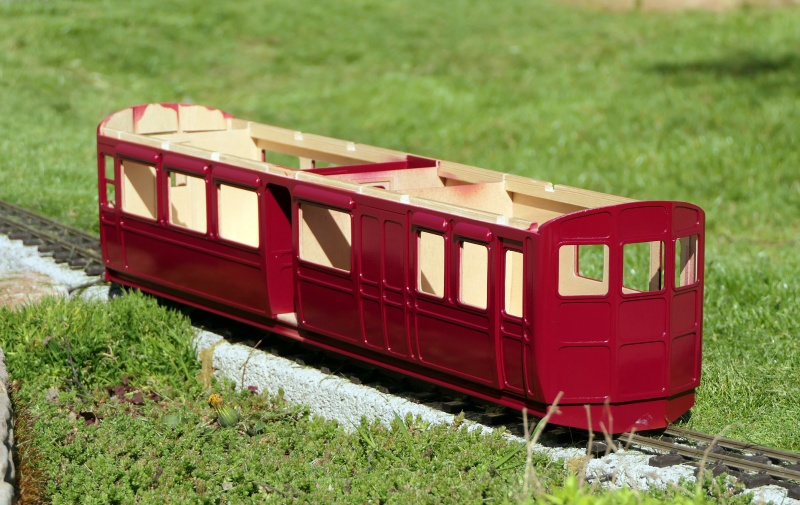
At this point the roof construction again evolved into version 3. The semi elliptical roof formers were fine where they completed a partition below but I had two extra ones in the large third class compartment and there were to be three in the boiler compartment, all where there was no partition. These ones were removed and replaced with ones shaped out of softwood section, considerably wider than the plywood ones, as you'll see in the photos. This was done for several reasons :
It would give a greater surface area to glue the roof planks to and therefore increase strength.
It would be more aesthetically pleasing when viewing the interior through the windows.
It would free up valuable headroom in the boiler compartment where it was always going to be an important factor.
It would save a great deal of unpleasantness and possible legal action from third class passengers who cracked their heads on the lower versions !


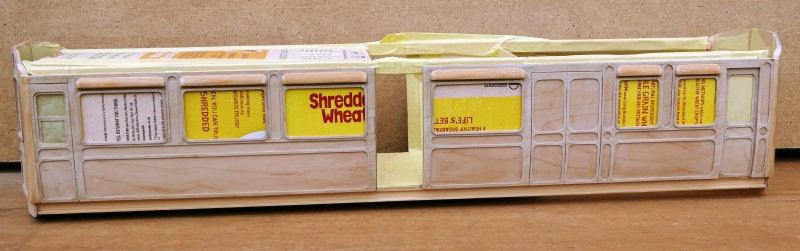
You will notice that the partition on one side of the centre vestibule is not present at this stage. I had left this out until later as I figured it would be easier to spray the vestibule ends this way and also I was still working on the hinge arrangement for the gates which would have been all but impossible to get at with it all assembled.
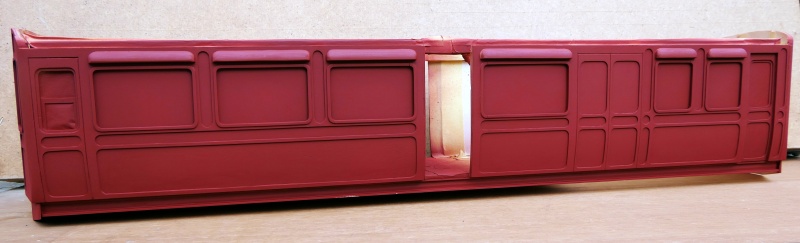
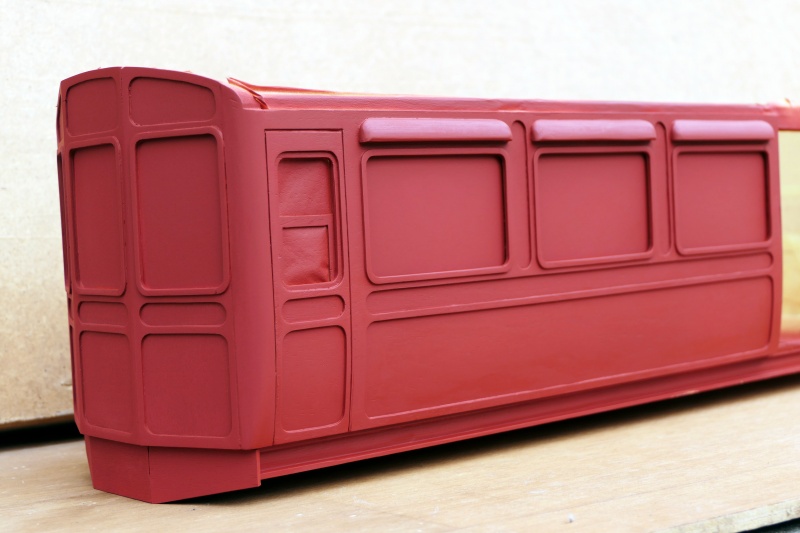
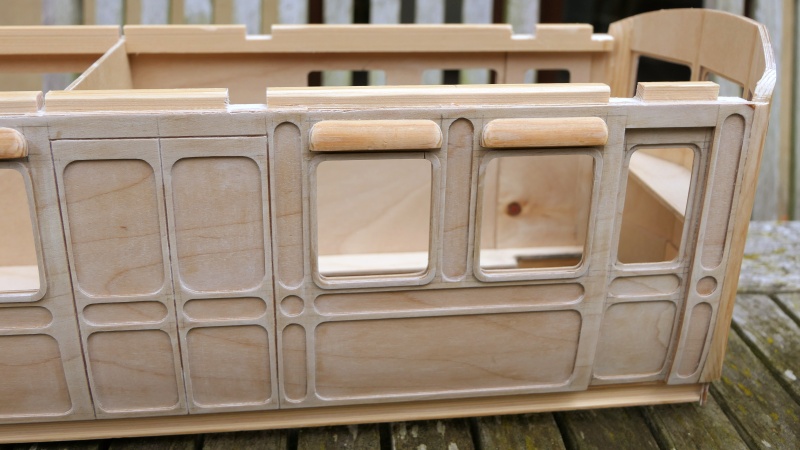
One more gratuitous shot of the panelling which I am very pleased with and also showing in more detail the fitting of the upper strips of wood, the underframe section, the simulated sliding door and the ventilators over the windows which were added a little bit later.
Next time, roof planking . . . .