coal fired tram

What is your latest project?
bessytractor
Trainee Driver
Trainee Driver
Posts: 677
Joined: Wed Nov 14, 2007 2:34 pm

coal fired tram

Post by bessytractor » Mon Oct 25, 2010 7:19 pm

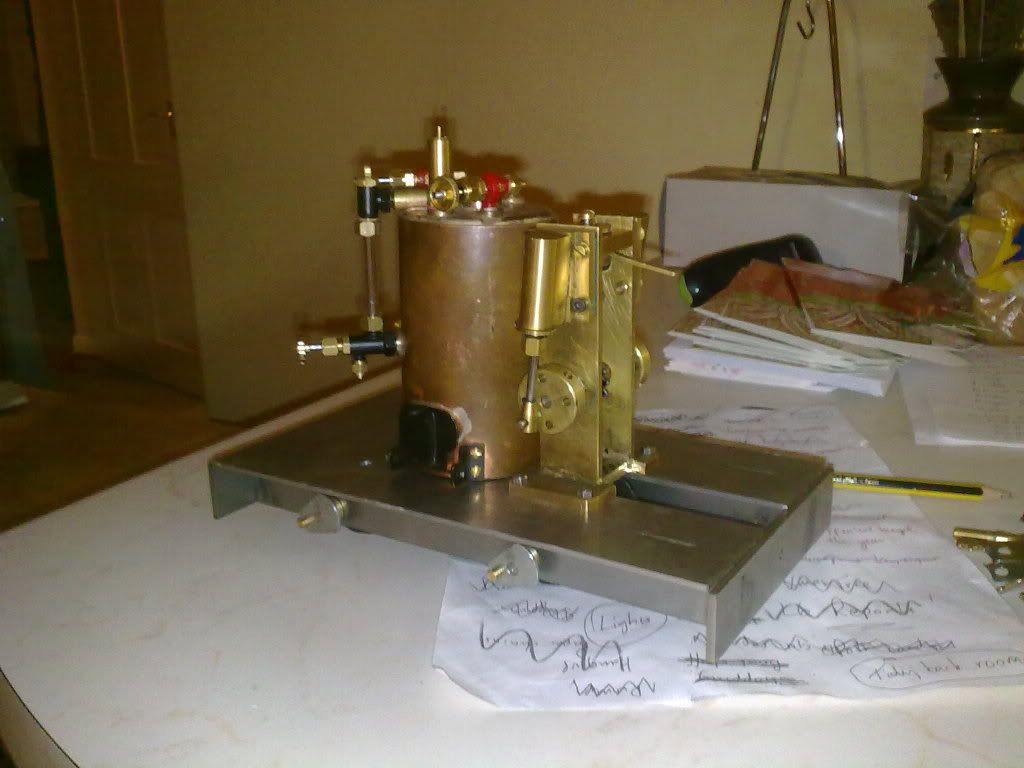
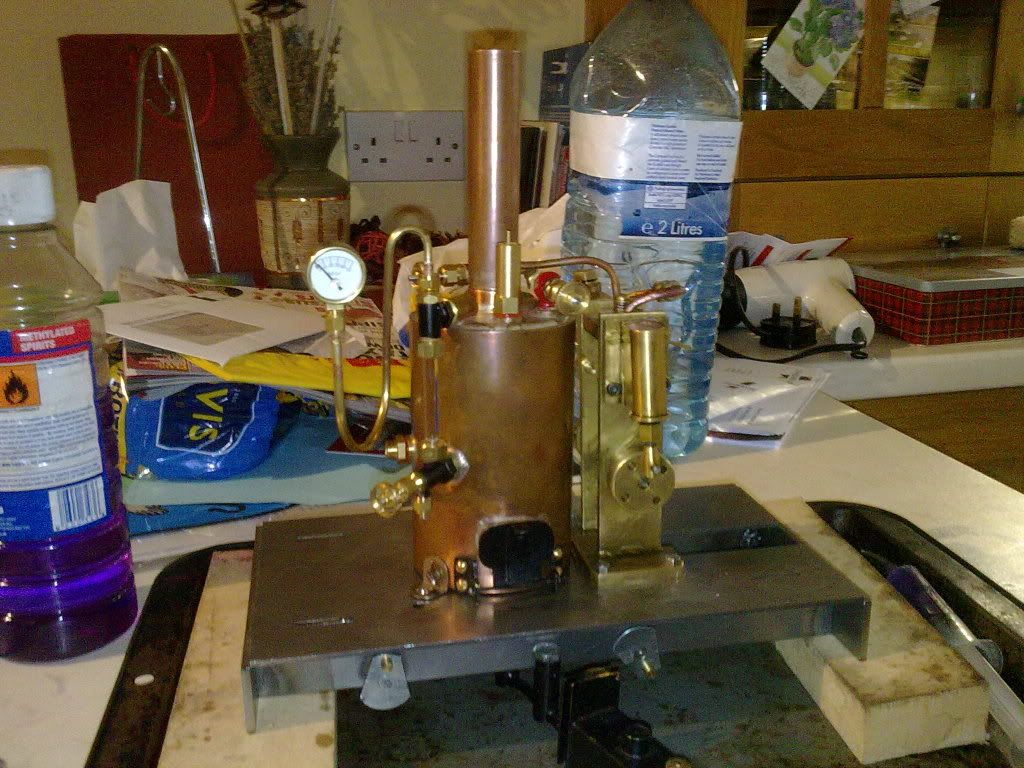
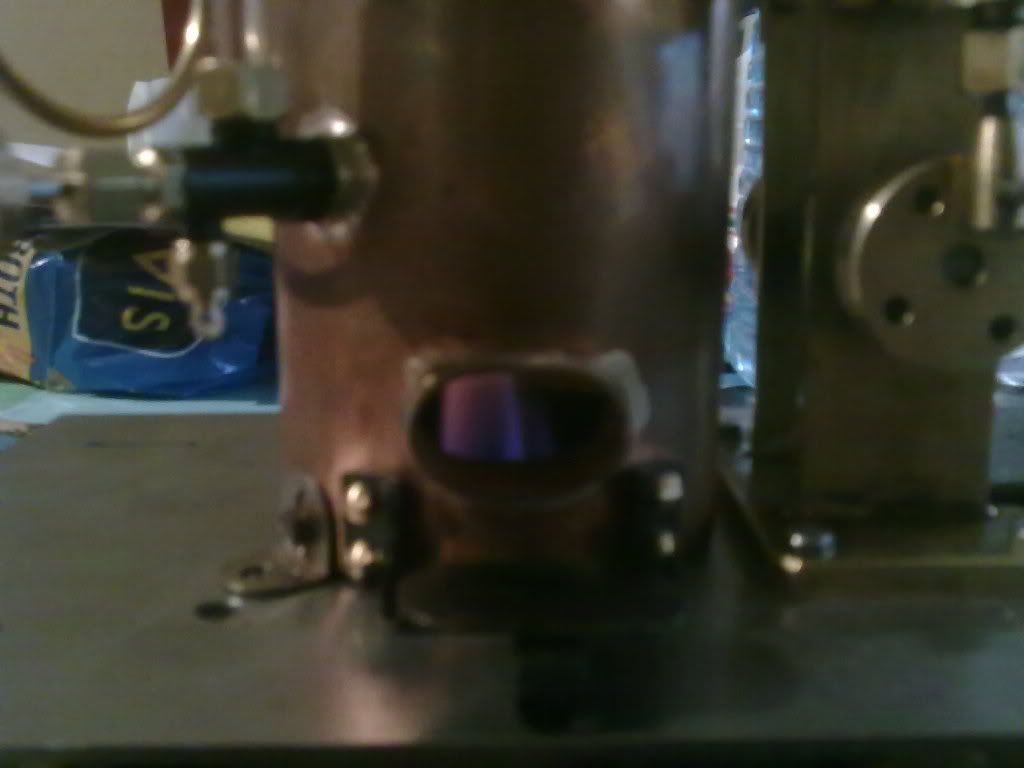
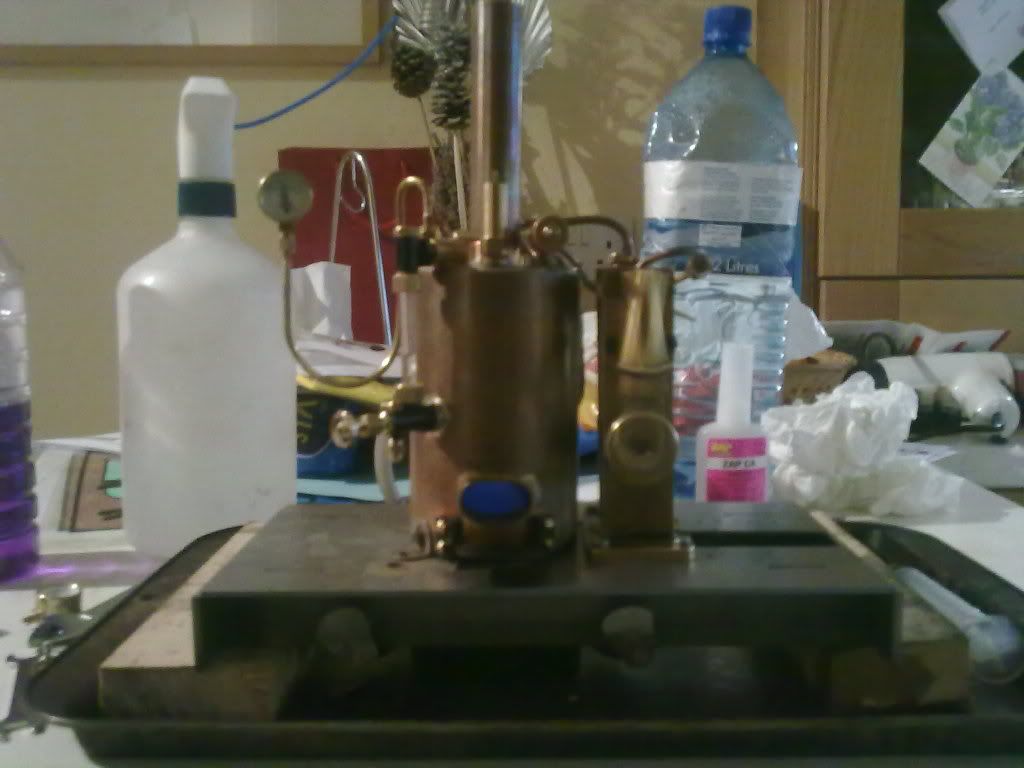
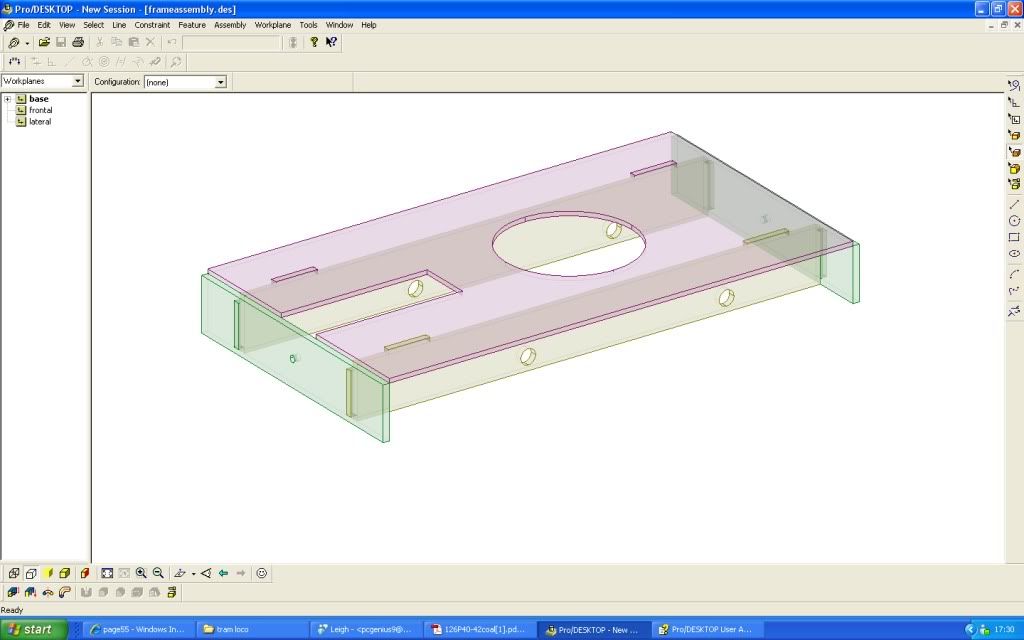
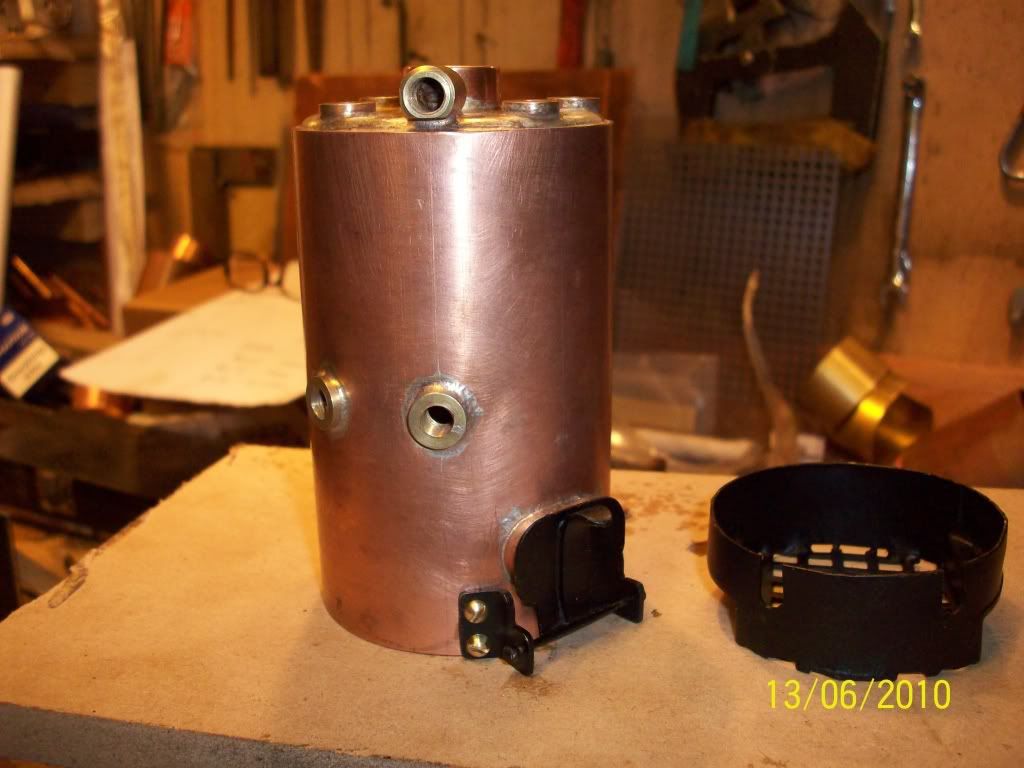
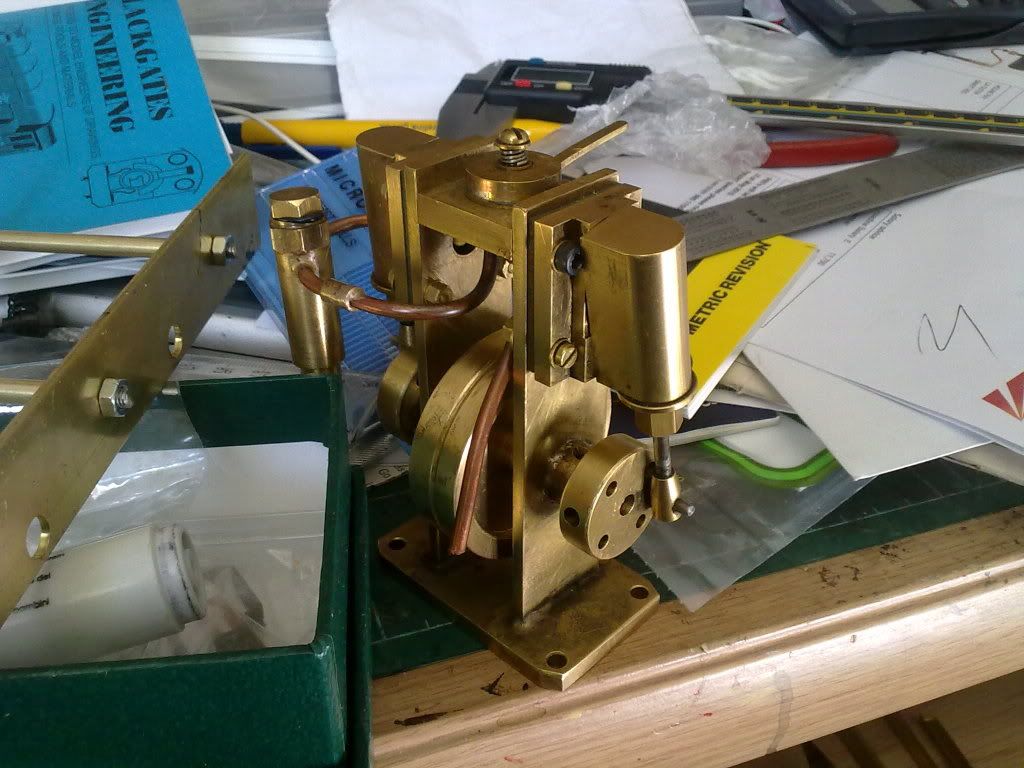
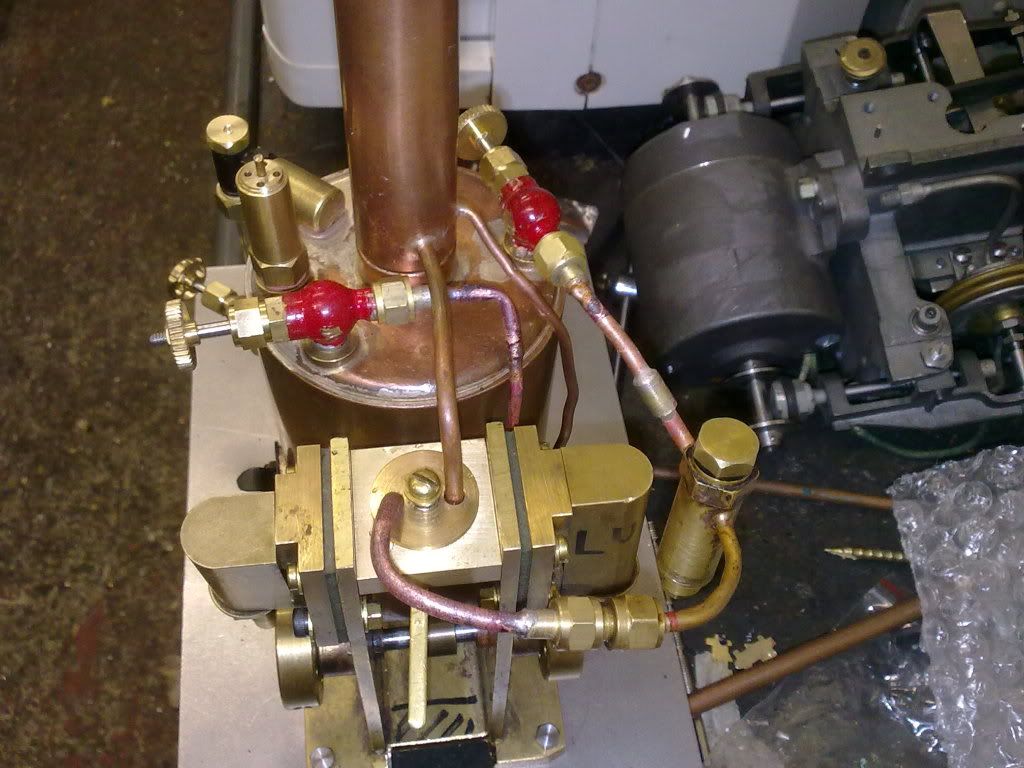
I've finally got this project in hand.  Basically its a coal fired steam tram with a double acting twin cylinder ossy engine and a vertical boiler.  I built a chassis out of K&S brass but I kept changing ideas as to how to do it, by the time I finished it looked dreadful so I've put it to one side for something else and I have CAD'd up a tab and slot chassis for my favourite laser cutter to get cut for me.  The boiler has been built (not by me I should point out, its far too good a job for that!) and the engine exists.  All the chassis will require is the holes drilling and then silver soldering together and some axle bushes made up, then it will be a very short step away from being a working engine. I've got the necessary Essel wheels and flycranks already.

Image

Image

Image

User avatar
ACLR
Retired Director
Retired Director
Posts: 1592
Joined: Wed Oct 17, 2007 6:22 am
Location: Brisbane
Contact:

Post by ACLR » Mon Oct 25, 2010 7:29 pm

that looks like a very interesting project there. Look forward to seeing more :D

Mr ACME
Trainee Fireman
Trainee Fireman
Posts: 105
Joined: Fri Aug 06, 2010 9:31 pm
Location: Blackburn, Lancashire
Contact:

Re: coal fired tram

Post by Mr ACME » Wed Nov 10, 2010 3:43 pm

bessytractor wrote:I've finally got this project in hand.  Basically its a coal fired steam tram with a double acting twin cylinder ossy engine and a vertical boiler.  I built a chassis out of K&S brass but I kept changing ideas as to how to do it, by the time I finished it looked dreadful so I've put it to one side for something else and I have CAD'd up a tab and slot chassis for my favourite laser cutter to get cut for me.  The boiler has been built (not by me I should point out, its far too good a job for that!) and the engine exists.  All the chassis will require is the holes drilling and then silver soldering together and some axle bushes made up, then it will be a very short step away from being a working engine.  I've got the necessary Essel wheels and flycranks already.
I like the boiler. I've built gas fired vertical boilers before, but would like to try my hand at a coal fired one. How and where does the blower pipe from the exhaust fit? How many fire tubes are there and what diameters, please? Was it built to your design, or a published one by somebody else? Do any drawings exist and if so would it be possible to have a copy, please?

Thanks

Mike Ousby.
Best

Mike Ousby

Mr ACME
email: sales@acmesteam.co.uk
www.acmesteam.co.uk

The original Accucraft service person, working closely with them since 2001.

bessytractor
Trainee Driver
Trainee Driver
Posts: 677
Joined: Wed Nov 14, 2007 2:34 pm

Post by bessytractor » Sat Nov 13, 2010 5:55 pm

FOR PETE'S SAKE


I've just recieved the laser cut chassis parts and the buffer beams are the only correct bits on it. The footplate and main frames are 25% odd too small! This renders them completely useless. I've sent a less than impressed email.

Mr ACME
Trainee Fireman
Trainee Fireman
Posts: 105
Joined: Fri Aug 06, 2010 9:31 pm
Location: Blackburn, Lancashire
Contact:

Post by Mr ACME » Sun Nov 14, 2010 12:04 am

bessytractor wrote:FOR PETE'S SAKE


I've just recieved the laser cut chassis parts and the buffer beams are the only correct bits on it.  The footplate and main frames are 25% odd too small!  This renders them completely useless.  I've sent a less than impressed email.
I bet you're not happy with that.

BTW if you feel the need at any time to sell it on, please let me know.

Best

Mike Ousby
Best

Mike Ousby

Mr ACME
email: sales@acmesteam.co.uk
www.acmesteam.co.uk

The original Accucraft service person, working closely with them since 2001.

bessytractor
Trainee Driver
Trainee Driver
Posts: 677
Joined: Wed Nov 14, 2007 2:34 pm

Post by bessytractor » Sun Nov 14, 2010 5:11 pm

Mr ACME wrote:
bessytractor wrote:FOR PETE'S SAKE


I've just recieved the laser cut chassis parts and the buffer beams are the only correct bits on it.  The footplate and main frames are 25% odd too small!  This renders them completely useless.  I've sent a less than impressed email.
I bet you're not happy with that.

BTW if you feel the need at any time to sell it on, please let me know.

Best

Mike Ousby
I shan't be selling it, its a project I really want to finish. Btw you asked about the boiler, its basically this one, all dimensions are in the article:

http://www.16mm.org.uk/newsite/publicat ... 42coal.pdf

its been modded a touch. For example the valve bushes are now in the top of the boiler instead of the barrel, as this affords a touch more water space, which is a bit important on a boiler this size.

Mr ACME
Trainee Fireman
Trainee Fireman
Posts: 105
Joined: Fri Aug 06, 2010 9:31 pm
Location: Blackburn, Lancashire
Contact:

Post by Mr ACME » Mon Nov 15, 2010 1:32 am

bessytractor wrote:
Mr ACME wrote:
bessytractor wrote:FOR PETE'S SAKE


I've just recieved the laser cut chassis parts and the buffer beams are the only correct bits on it.  The footplate and main frames are 25% odd too small!  This renders them completely useless.  I've sent a less than impressed email.
I bet you're not happy with that.

BTW if you feel the need at any time to sell it on, please let me know.

Best

Mike Ousby
I shan't be selling it, its a project I really want to finish.  Btw you asked about the boiler, its basically this one, all dimensions are in the article:

http://www.16mm.org.uk/newsite/publicat ... 42coal.pdf

its been modded a touch.  For example the valve bushes are now in the top of the boiler instead of the barrel, as this affords a touch more water space, which is a bit important on a boiler this size.
Thanks for your help.

I'd forgotten about that article.

Thanks

Mike Ousby
Best

Mike Ousby

Mr ACME
email: sales@acmesteam.co.uk
www.acmesteam.co.uk

The original Accucraft service person, working closely with them since 2001.

bessytractor
Trainee Driver
Trainee Driver
Posts: 677
Joined: Wed Nov 14, 2007 2:34 pm

Post by bessytractor » Fri Dec 10, 2010 9:14 pm

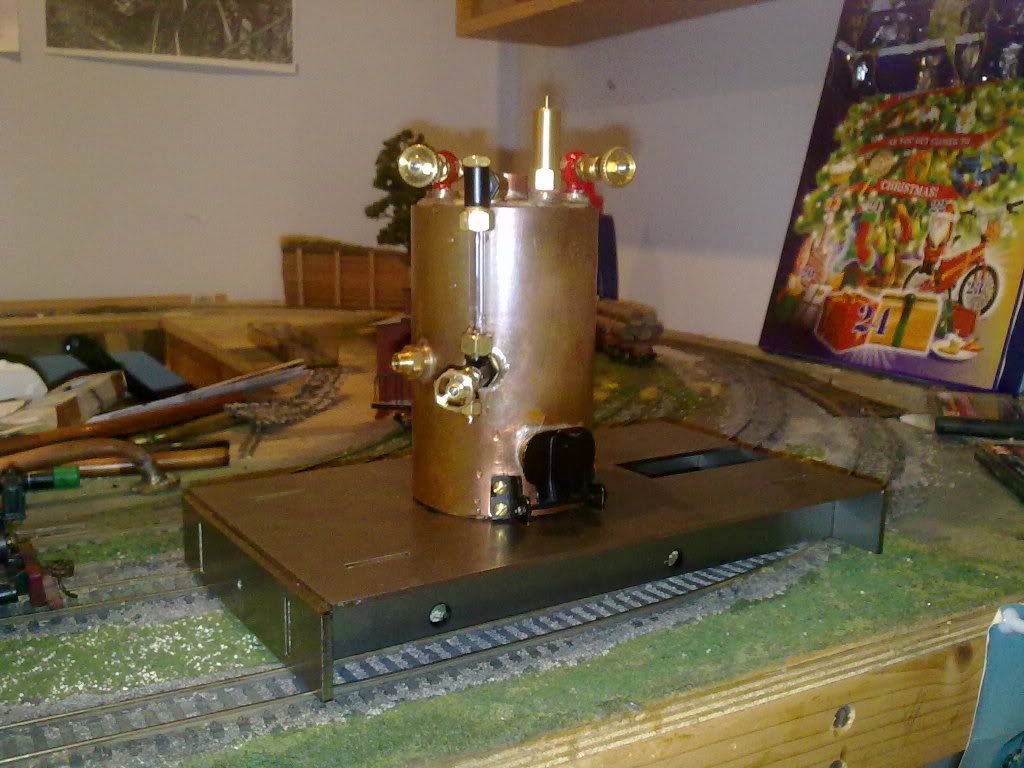
well here's where we are currently as of this week. The chassis exists in its entirity and the boiler has been kitted out with valves for the blower and throttle. Its also gained a gauge glass. These fittings came from Sandown Model Engineering show where I was helping run the 16mm layout for the Guildford Model Engineers. I paid Polly Models a visit and took advantage of the fact they were selling boiler fittings on their stand. The boiler has had a working pressure test (60 psi) hydraulically and its all hunky dory, with only minor weeping on the top gauge glass fitting where it goes into the boiler, I'm going to steam it before getting a club ticket in the hope that scale will seal it up completely.

next job, making it go!

Image

User avatar
Sir haydn
Driver
Driver
Posts: 2109
Joined: Mon Dec 07, 2009 2:51 pm
Contact:

Post by Sir haydn » Fri Dec 10, 2010 9:30 pm

Dont rely on scale to seal joints. use a fiber washer to pack the joint or use some PTFE tape on the treads to seal it.

User avatar
Dr. Bond of the DVLR
Retired Director
Retired Director
Posts: 4485
Joined: Tue Jun 09, 2009 9:43 pm
Location: Suffolk
Contact:

Post by Dr. Bond of the DVLR » Fri Dec 10, 2010 9:48 pm

Looking good although I think you may want to consider running it on a larger gauge.... :lol:
Image
The railway which people forgot
(to build)

bessytractor
Trainee Driver
Trainee Driver
Posts: 677
Joined: Wed Nov 14, 2007 2:34 pm

Post by bessytractor » Fri Dec 10, 2010 10:24 pm

Sir haydn:44966 wrote:Dont rely on scale to seal joints. use a fiber washer to pack the joint or use some PTFE tape on the treads to seal it.
well its literally the tiniest of drips, I suspect it will take up under steam.

User avatar
TonyW
Driver
Driver
Posts: 1357
Joined: Fri May 16, 2008 9:25 am
Location: North Wales
Contact:

Post by TonyW » Sat Dec 11, 2010 9:16 am

bessytractor:44969 wrote:well its literally the tiniest of drips, I suspect it will take up under steam.
Errrr... no. It will probably get worse. As SirH suggests, some PTFE tape or a fibre washer will sort it out.
Tony Willmore
Rhos Helyg Locomotive Works: http://www.rhoshelyg.me.uk
Facebook: https://www.facebook.com/RhosHelygLocoWorks

bessytractor
Trainee Driver
Trainee Driver
Posts: 677
Joined: Wed Nov 14, 2007 2:34 pm

Post by bessytractor » Sat Dec 11, 2010 1:35 pm

TonyW:44974 wrote:
bessytractor:44969 wrote:well its literally the tiniest of drips, I suspect it will take up under steam.
Errrr... no. It will probably get worse. As SirH suggests, some PTFE tape or a fibre washer will sort it out.
I shall rectify this!

bessytractor
Trainee Driver
Trainee Driver
Posts: 677
Joined: Wed Nov 14, 2007 2:34 pm

Post by bessytractor » Sun Dec 12, 2010 9:55 pm

Latest update, the locos on its wheels and the engine has been reassembled and bolted on. The frames have been welded together. Outstanding jobs before I can put a fire in it are to plumb the steam line to the engine, and to connect the blower pipe to its valve. The transmission also needs to have its bearings made but I'd be happy to run the engine disconnected if I got the plumbing done first. We shall see! I got that gauge glass dribble sealed with PTFE tape.

Image

User avatar
MTA
Moderator
Moderator
Posts: 1227
Joined: Fri Jan 04, 2008 7:09 pm
Location: West Sussex
Contact:

Post by MTA » Mon Dec 13, 2010 9:08 pm

I use PTFE Cord rather than the tape. It is more expensive, but I find you use less of it plus a better seal as it goes into the pitch rather than over the thread.
Image

bessytractor
Trainee Driver
Trainee Driver
Posts: 677
Joined: Wed Nov 14, 2007 2:34 pm

Post by bessytractor » Tue Dec 14, 2010 10:49 pm

a good tip! I shall try to order some at some point!

User avatar
DaveWatkins
Cleaner
Cleaner
Posts: 86
Joined: Wed Nov 10, 2010 1:06 am
Location: UK Midlands
Contact:

Post by DaveWatkins » Wed Dec 15, 2010 10:20 am

A slice of silicon rubber tube makes a good seal for water gauge glass. Slip a length of silicon rubber tube over an odmment of of bar. Hold the bar in lathe chuck and cut off neat rings with a sharp knife as the bar spins.
Dave

bessytractor
Trainee Driver
Trainee Driver
Posts: 677
Joined: Wed Nov 14, 2007 2:34 pm

Post by bessytractor » Thu Dec 23, 2010 11:15 pm

DaveWatkins:45071 wrote:A slice of silicon rubber tube makes  a good seal for water gauge glass. Slip a length of silicon rubber tube over an odmment of of bar. Hold the bar in lathe chuck and cut off neat rings with a sharp knife as the bar spins.
luckily the gauge came with those Dave, but thanks anyway. The leak was where the fitting screws into the boiler but its all gravy now.

bessytractor
Trainee Driver
Trainee Driver
Posts: 677
Joined: Wed Nov 14, 2007 2:34 pm

Post by bessytractor » Sat Jan 22, 2011 5:22 pm

after a little hiatus, I decided to get on with it. Went down the railway last night with my best mate before we hit the beer, and I did some silver soldering on both my engine and one of his.

The result:

Image

I ran it on air and it was not brilliant to say the least. Nontheless I persevered and put a TE1a spirit burner under it as a test steaming to see what happened. (yes I know thats a Mamod loco burner under it in the picture, I swapped it soon after for a tractor one!).

Image

The fire was lit:

Image

And it ran straight off first time! Seems to prefer steam to air tenfold.

Image

All it needs now is its transmission finishing off which is about half done. It ran ok on meths but not enough to keep it going, but its looking extremely promising, with a coal fire in the firebox it should be a really good steamer.
proudly flying in the face of convention

SillyBilly
Retired Director
Retired Director
Posts: 3536
Joined: Sat Aug 18, 2007 11:00 pm

Post by SillyBilly » Sun Jan 23, 2011 10:17 pm

That's looking pretty grand.

Post Reply

Who is online

Users browsing this forum: No registered users and 4 guests