Merlin Gas burner

Discussion of Live Steam locomotives should be located here
Post Reply
User avatar
Tony Bird
Trainee Driver
Trainee Driver
Posts: 601
Joined: Thu Jul 29, 2010 8:25 am
Location: Cardiff, South Wales, UK.

Merlin Gas burner

Post by Tony Bird » Sat Dec 12, 2015 5:26 pm

Hi,

When asked about the old Merlin gas burners that were made about 30 years ago I have always said that they either don't work very well and if they do they will melt the soft solder and destroy the gauge glass of the boiler.

Merlin gas burner.

Image

Having assembled a Mamod locomotive from some bits and pieces made a hard soldered boiler with no gauge glass I tuned up a Merlin burner and fitted to the model. The model worked perfectly in the garden and on the garden railway track at the CMES plenty of steam and power. However its first run indoors at the Warley Model Railway show a couple of weeks ago after several circuits of the track; this happened.

Image
Image

Running outdoors, yes; but indoors far to hot even at its lowest setting gas setting. For an indication of how hot; the piston and the back of the port block.

Image

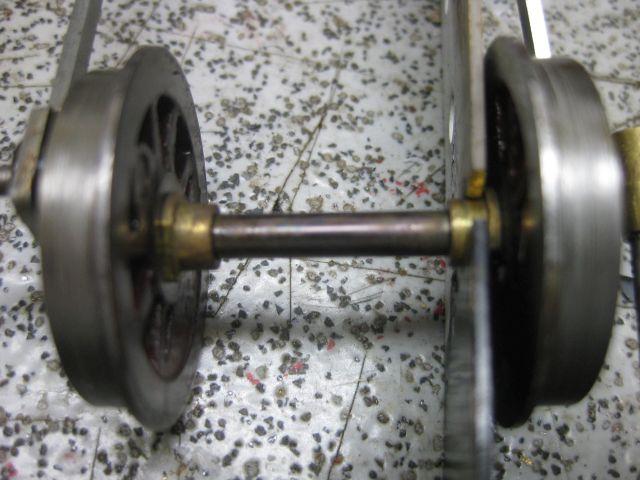
Even the leading axle had 'Blued'!

Image

The cylinder was taken apart and soldered together again and new packing fitted; oddly the other cylinder was fine and its packing in good condition. The parts of the model were cleaned and the frames painted with an enamel paint not the acrylic paint previously used.

Image
Image

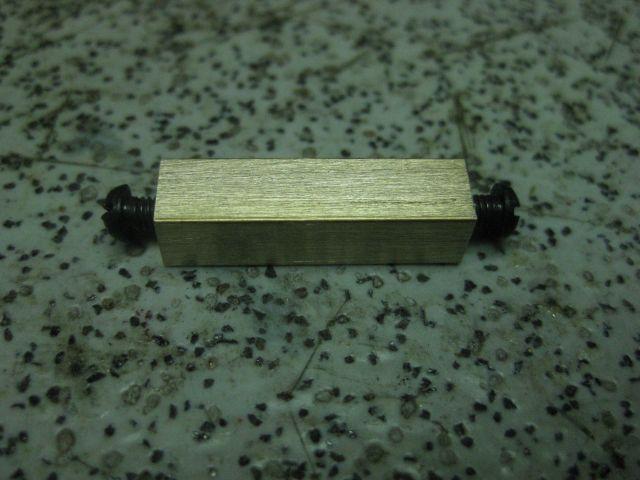
Made a start on the ceramic burner; a new frame spacer to support it.
Image

I think the shape of the Merlin burner created the problem; being round a lot of heat goes sideways. With luck I will get the chassis back together tomorrow and make a start on the burner. I have made many ceramic burners but never for a Mamod locomotive which will make is a little more interesting.

Regards Tony.

User avatar
Tony Bird
Trainee Driver
Trainee Driver
Posts: 601
Joined: Thu Jul 29, 2010 8:25 am
Location: Cardiff, South Wales, UK.

Post by Tony Bird » Sun Dec 13, 2015 5:48 pm

Hi,

I spent some time this afternoon making a ceramic burner from 1 mm brass sheet which was folded and hard soldered together it is about 2" (50 mm) long.

First test of the burner holding the jet.

Image

Air holes drilled and jet fitted into burner tube.

Image
Image

Burner in chassis.

Image
Image

Chassis running on air.

Image
Image

Burner painted and ceramic sealed in.

Image

I might get the model back together tomorrow but there have been rumblings about going into the city something to do with Christmas but I might get some time off for good behaviour.

Regards Tony.

User avatar
Tony Bird
Trainee Driver
Trainee Driver
Posts: 601
Joined: Thu Jul 29, 2010 8:25 am
Location: Cardiff, South Wales, UK.

Post by Tony Bird » Mon Dec 14, 2015 9:42 pm

Hi,

I put the model back together this afternoon and gave it a run.

Image
Image

Not really the weather for this sort of thing but the model went around for 15 minutes or so.

<iframe width="420" height="315" src="https://www.youtube.com/embed/yZaXad2r244" frameborder="0" allowfullscreen></iframe>

Doesn't look any different than it did before the cylinder fell off but runs a little cooler I think/hope.

Regards Tony.

User avatar
Tony Bird
Trainee Driver
Trainee Driver
Posts: 601
Joined: Thu Jul 29, 2010 8:25 am
Location: Cardiff, South Wales, UK.

Post by Tony Bird » Mon Dec 14, 2015 9:46 pm

Hi,

Sorry wrong video code I hope this is the correct one


https://youtu.be/yZaXad2r244


Regards Tony.

Annie

Post by Annie » Tue Dec 15, 2015 3:10 am

Thanks Tony, that was very informative :)

Post Reply

Who is online

Users browsing this forum: No registered users and 19 guests