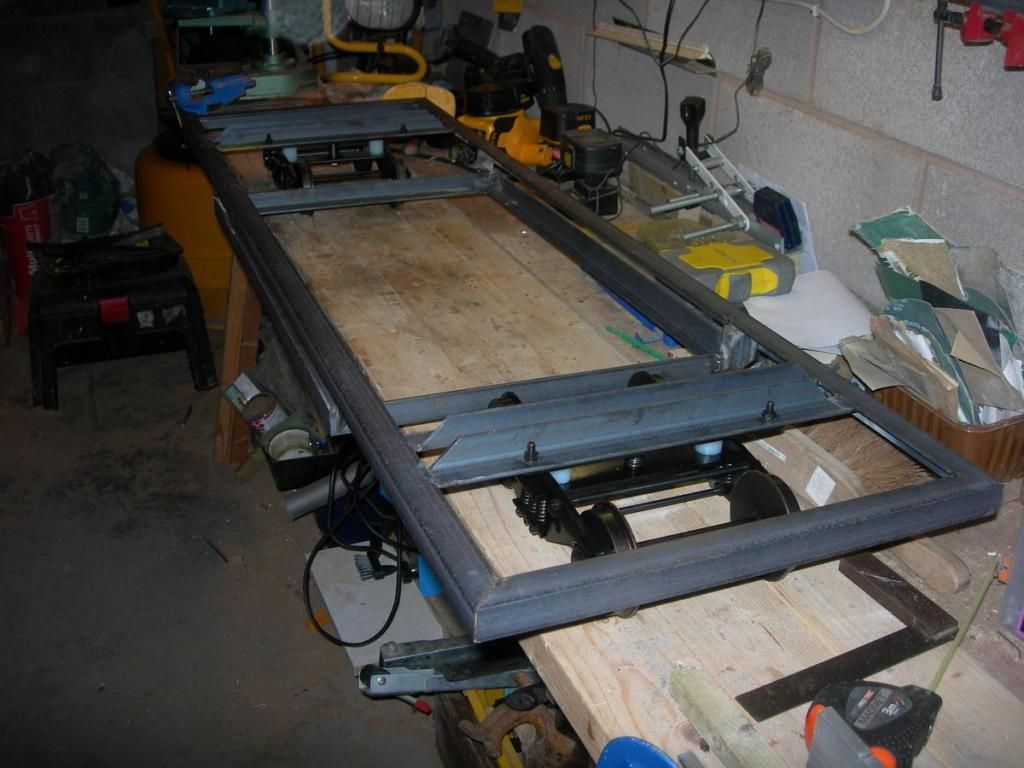
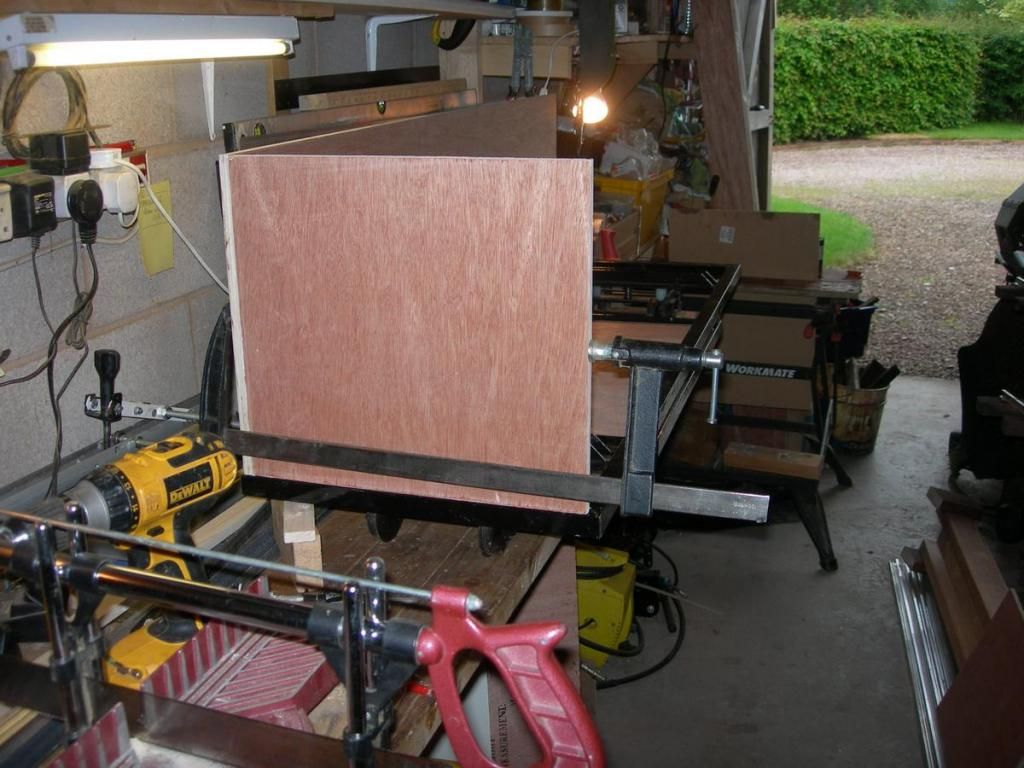
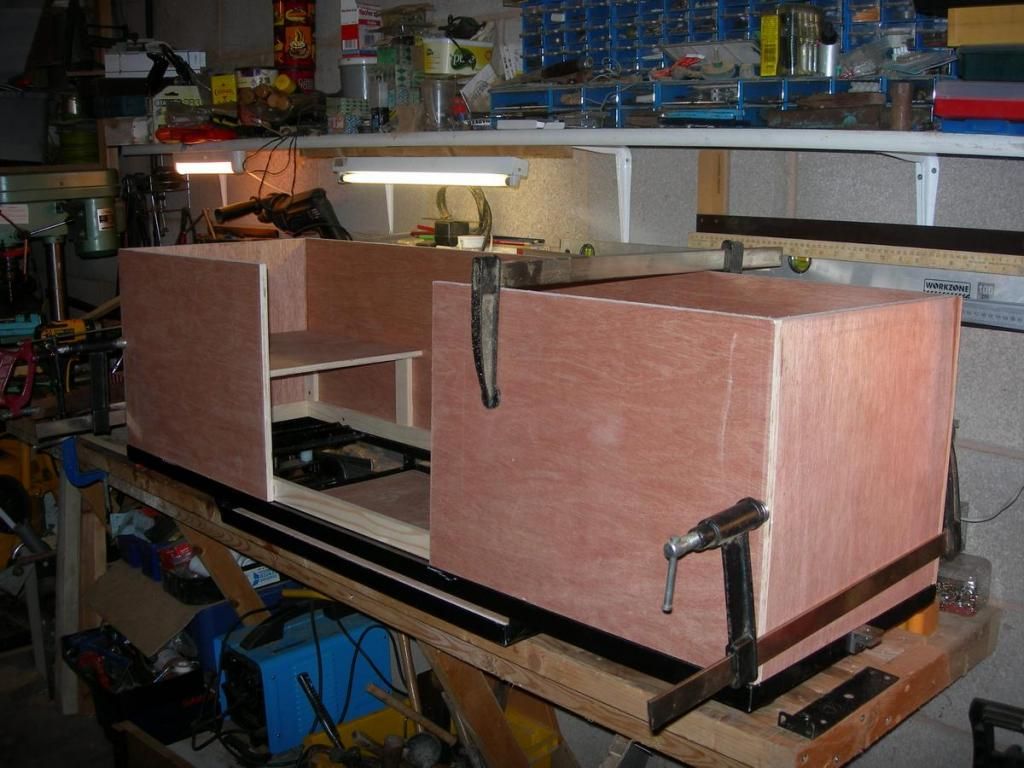
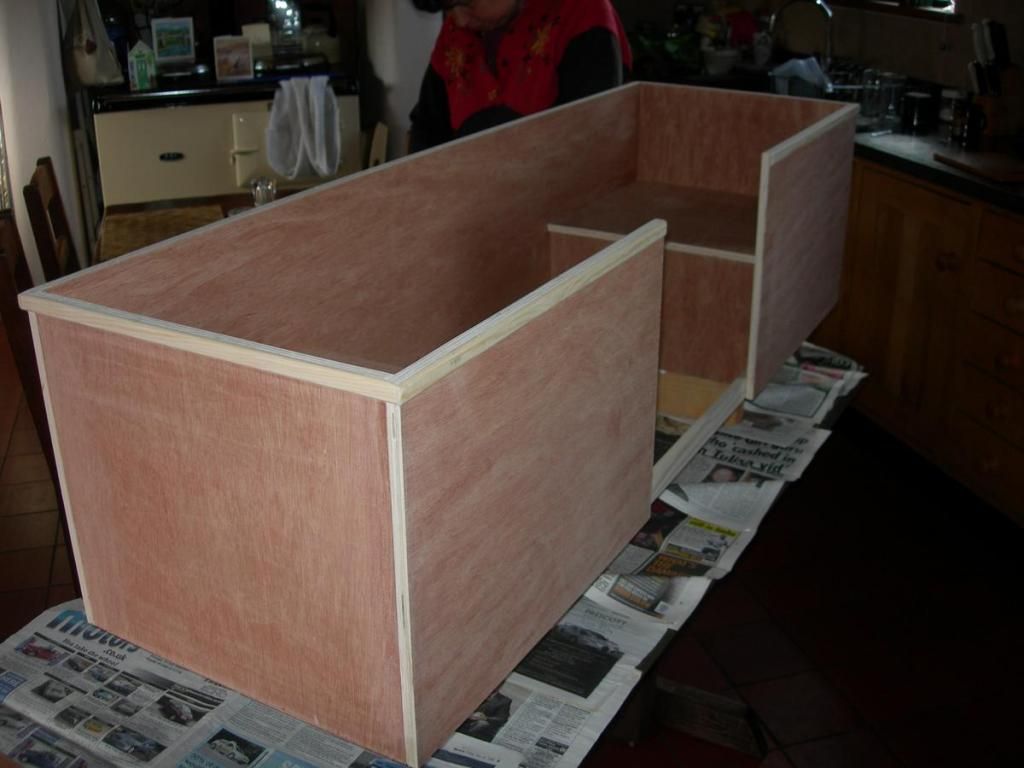
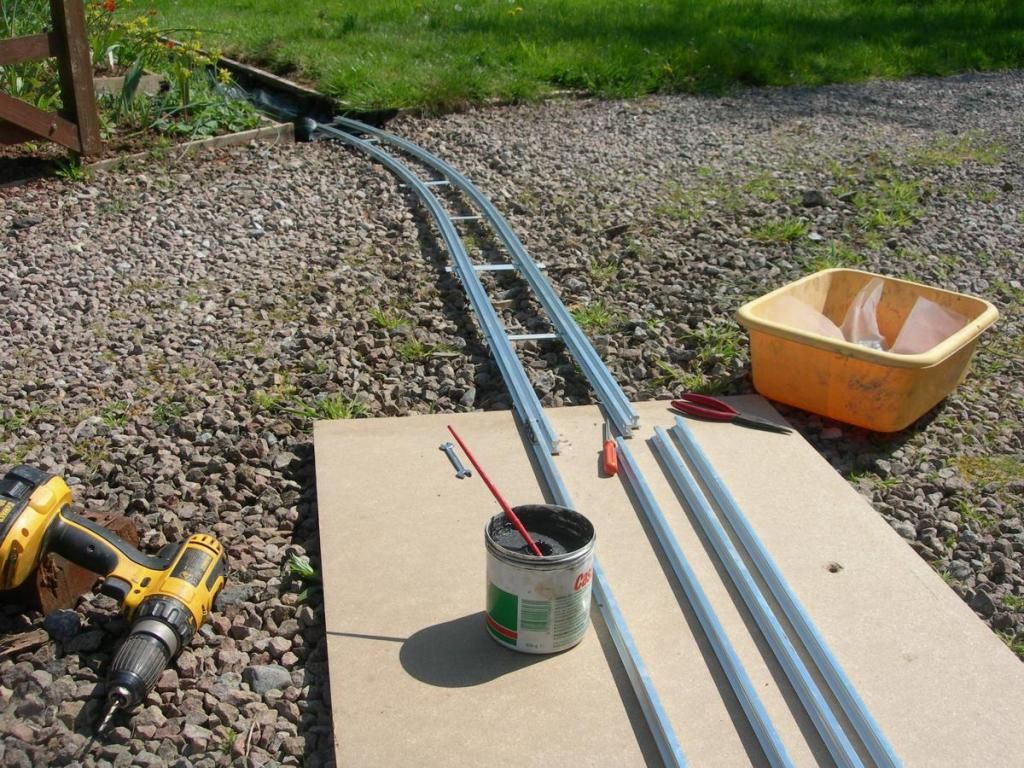
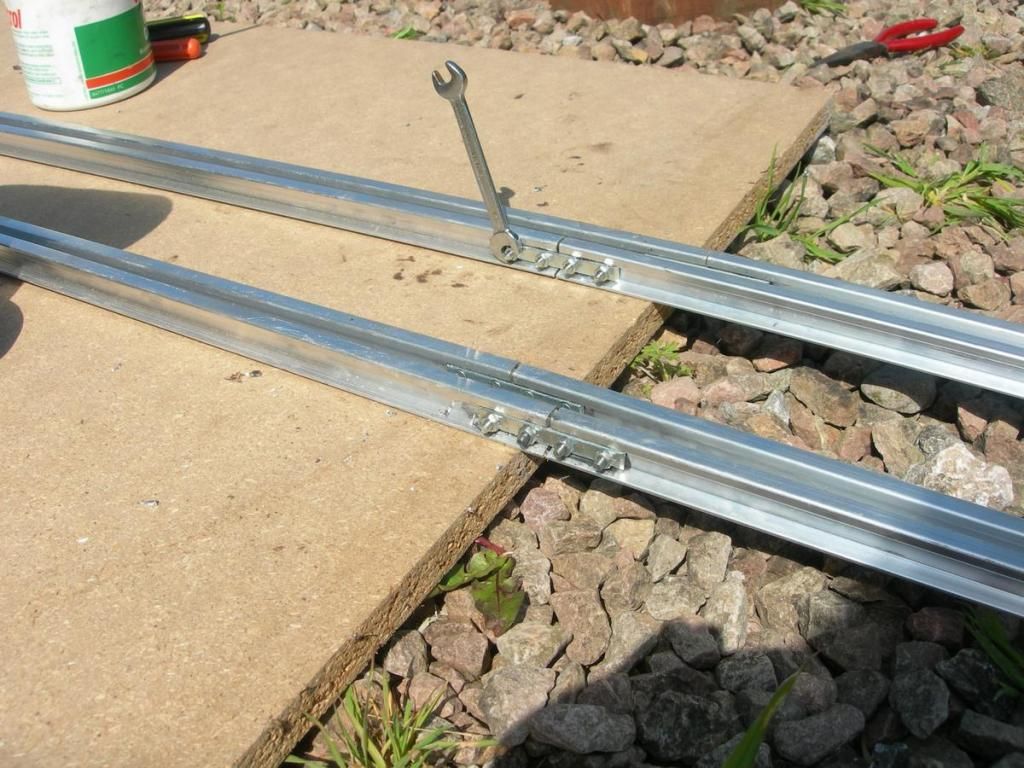
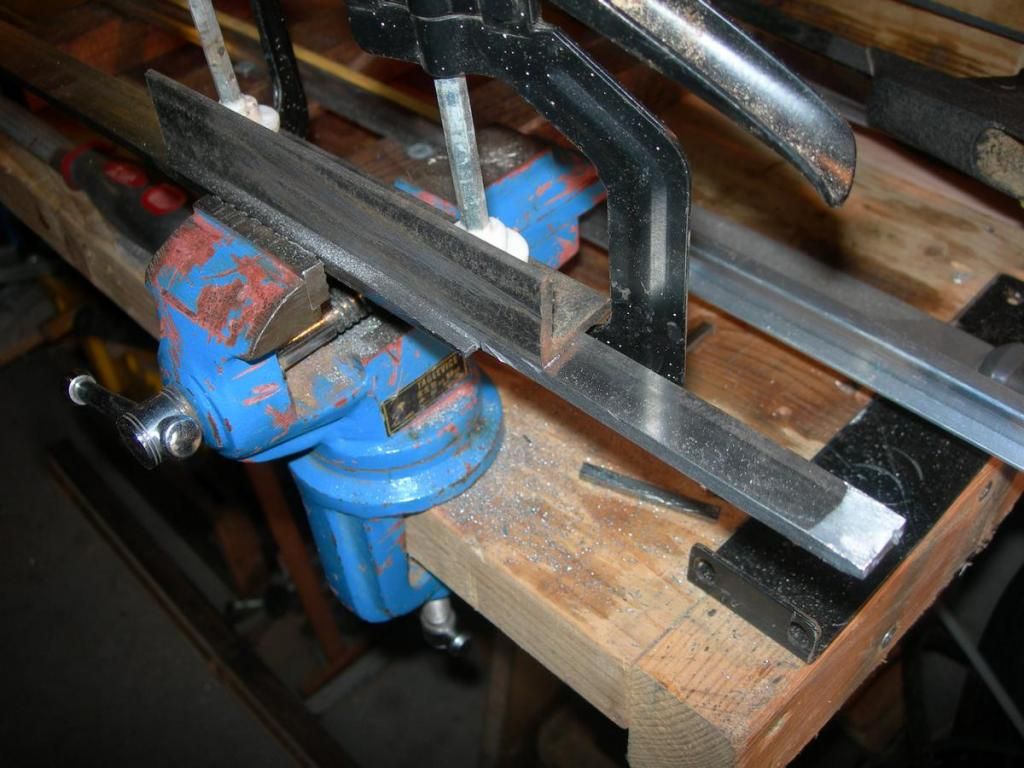
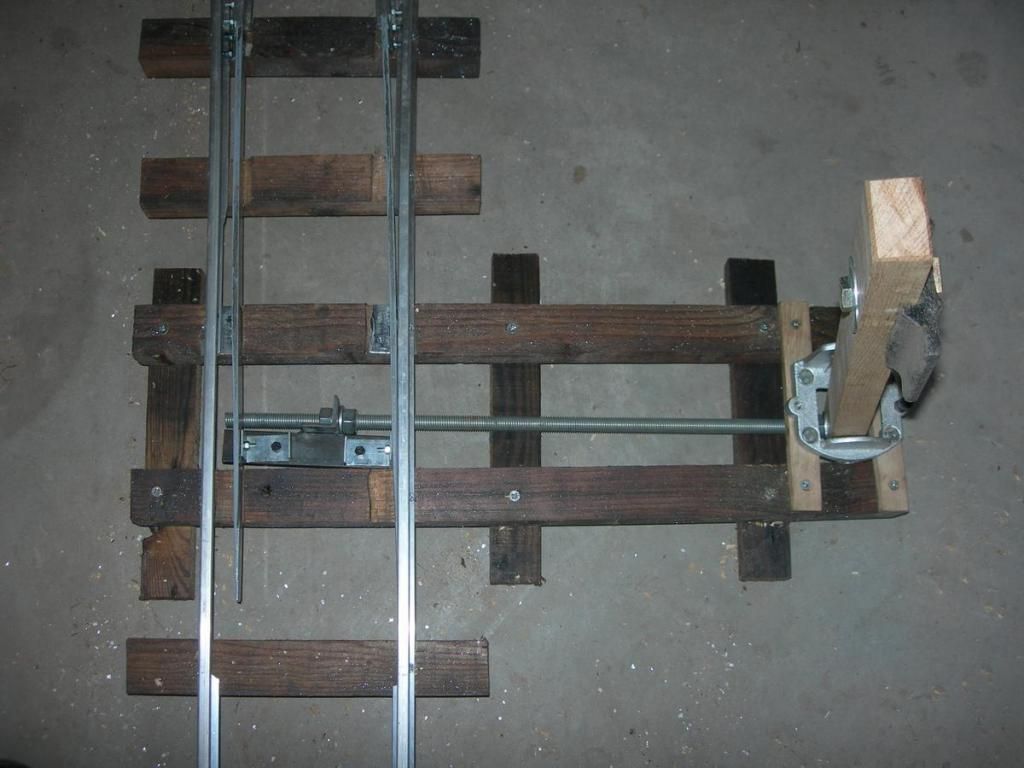
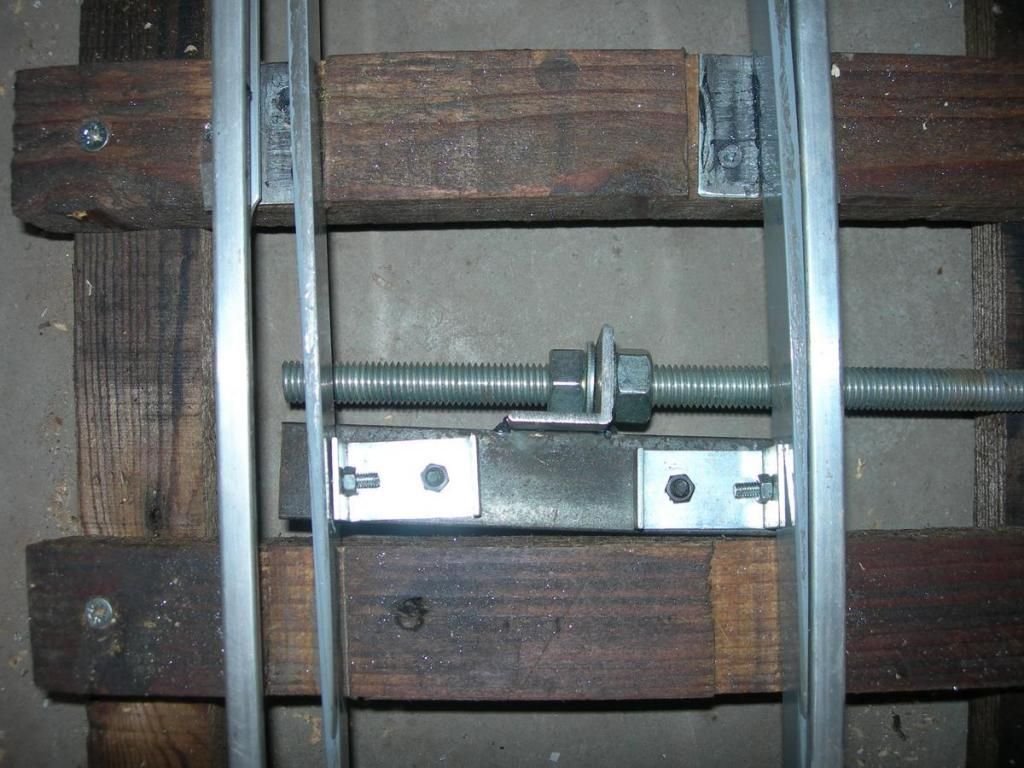
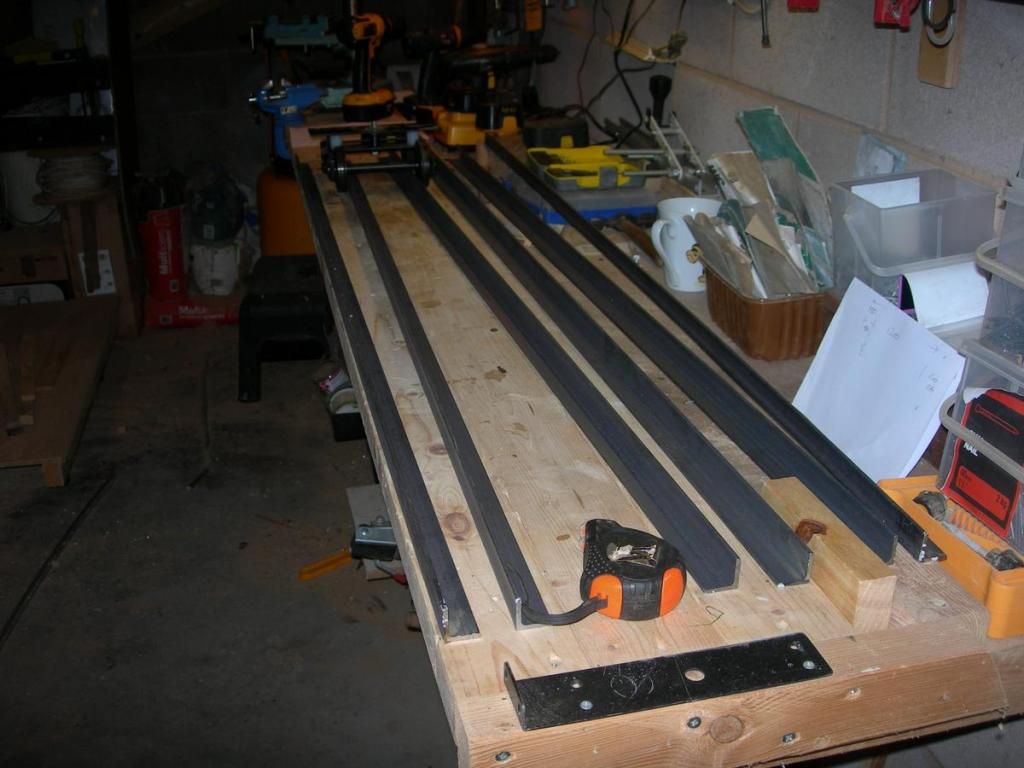
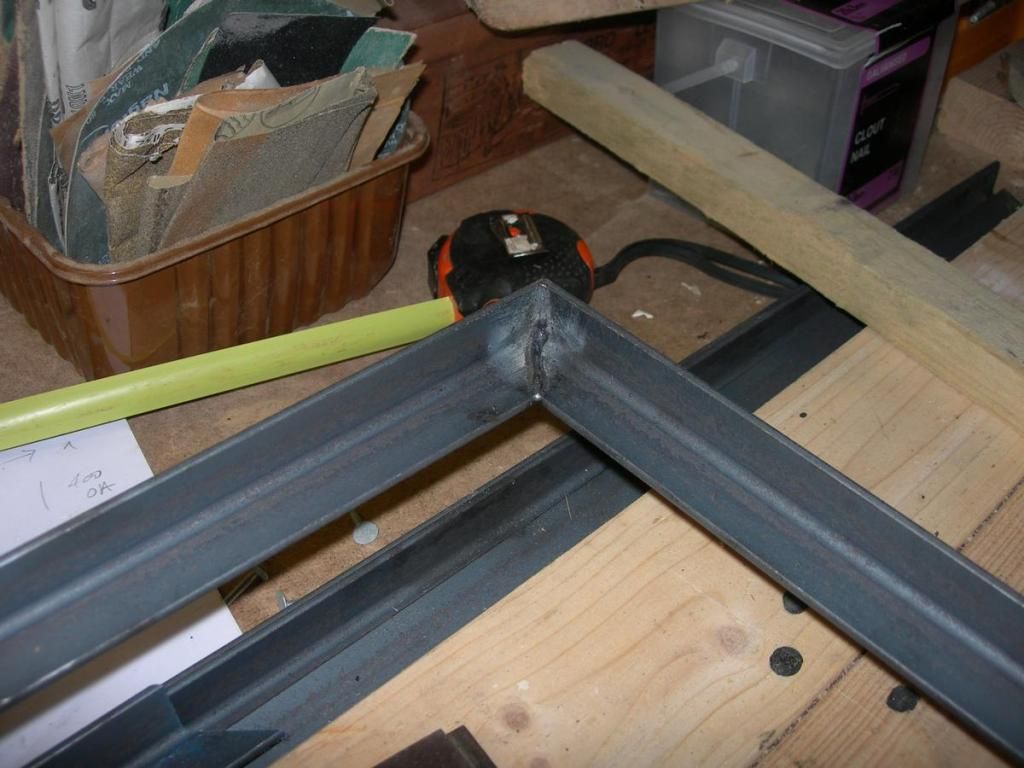
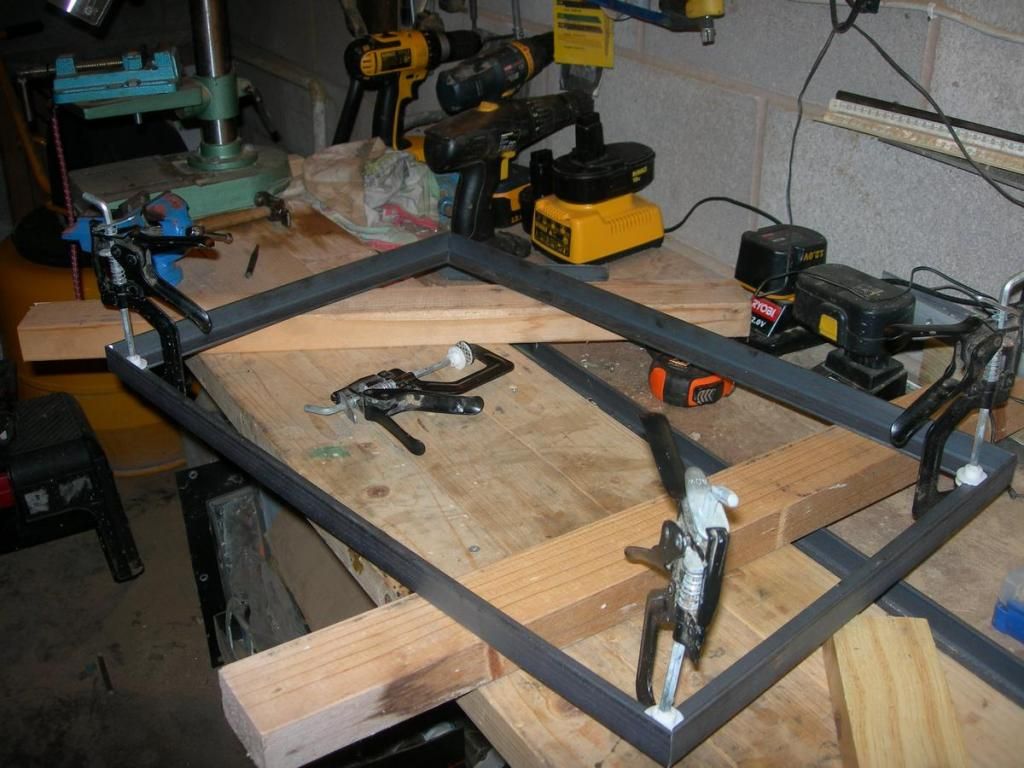
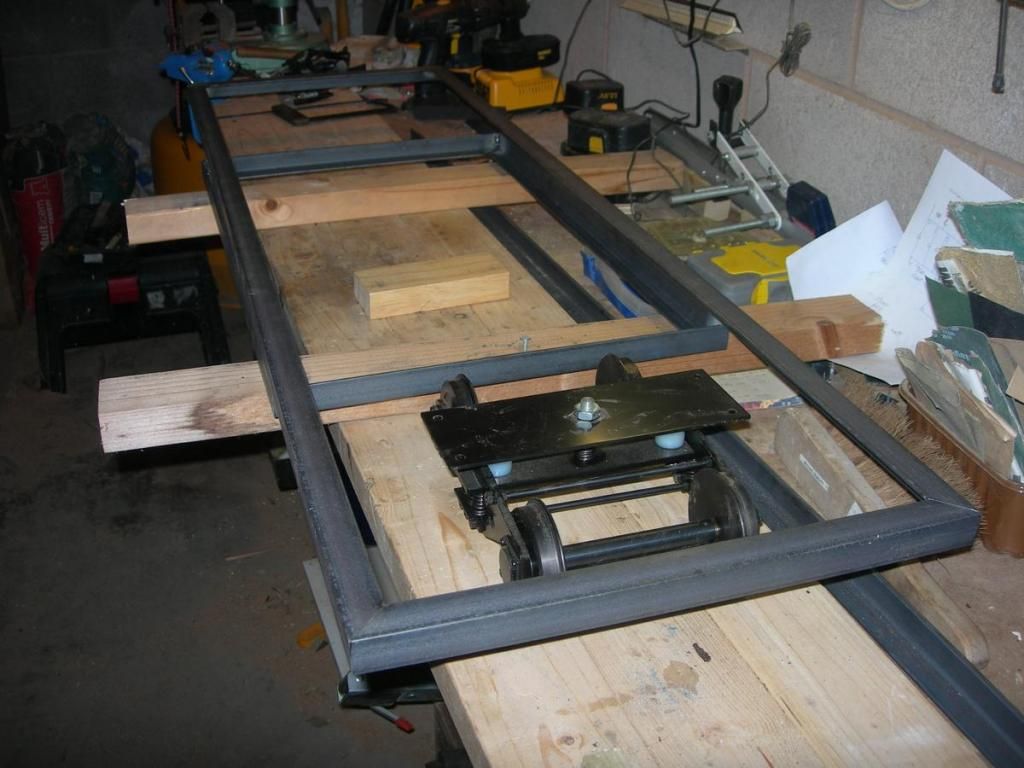
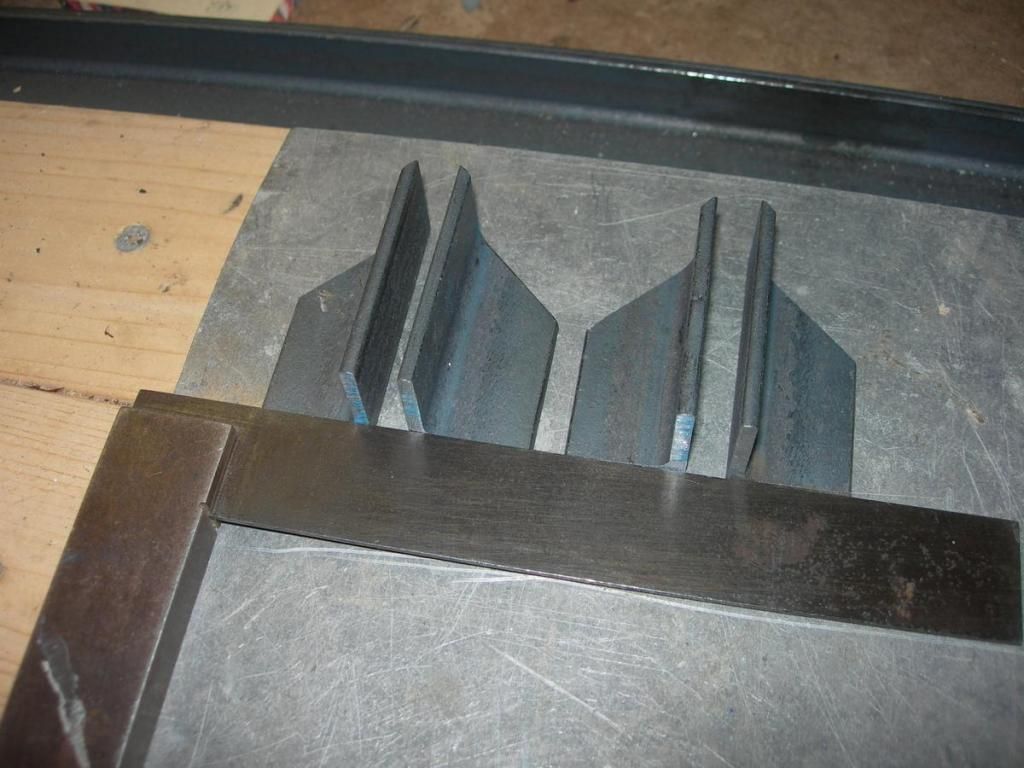
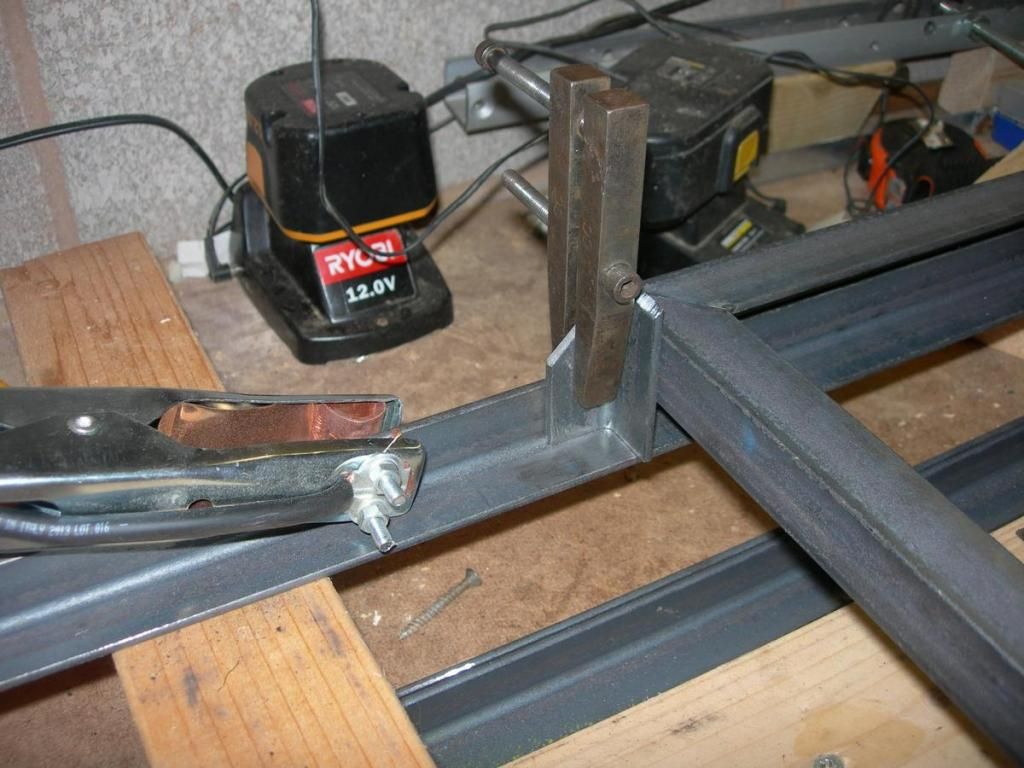
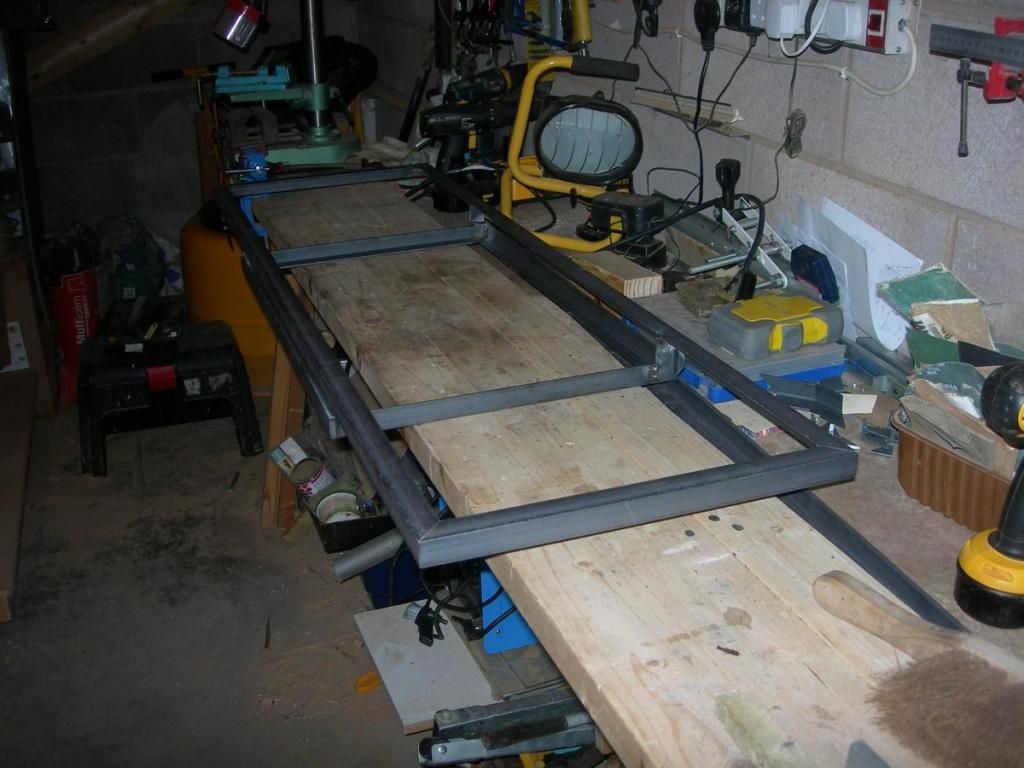
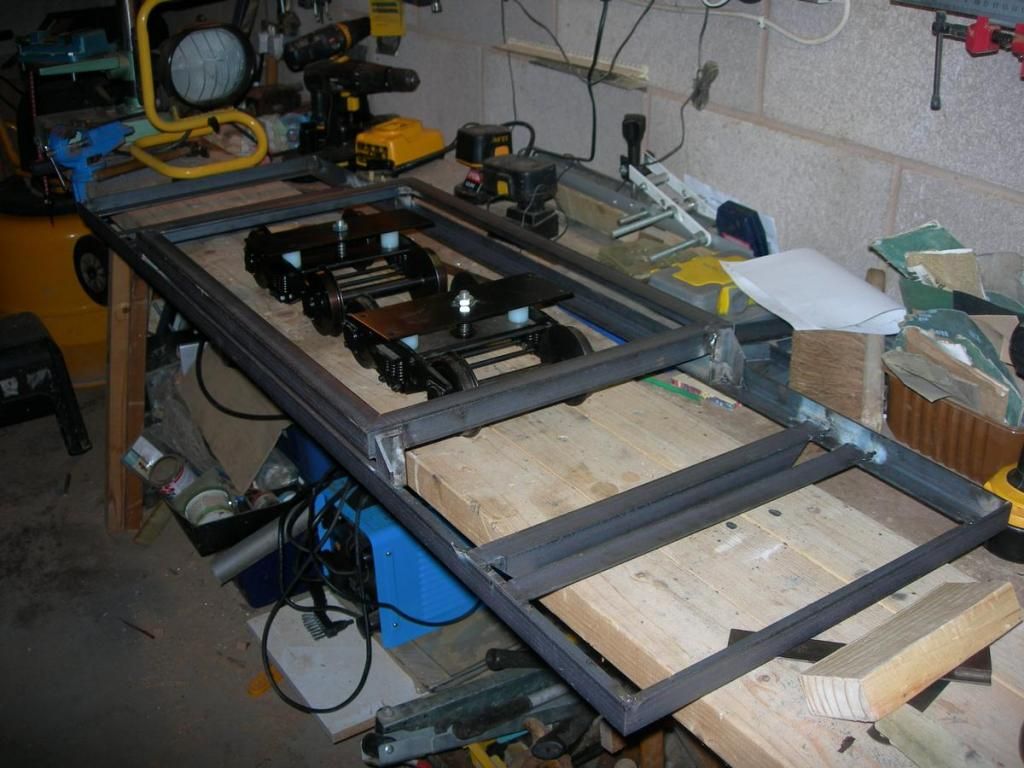
Earlier I said that I didn't expect working in 5inch gauge to cost me much more than 32mm. In fact, a 3m panel, using up-cycled wood for the sleepers costs me about £15. 3m of 32mm flexi-track would probably be around £30, so actually this is costing me half or what many of you pay per meter. But, then we come to turnouts. 32mm might be about £40 To but a 5inch turnout is about £360!!. Now, I know there is a lot of work in these and it is probably a fair price. Just more than I want to pay. Also, these are aluminium throughout, and this worries me at the crossing nose and switch blades. One derailment could do serious damage. I want to use steel. However, I haven't got access to milling machines, so I've come up with a simple. if somewhat tedious method of construction using 2 sizes of flat steel bar and a lot of filing! The switch blades are simply filed to a taper and notched to fit under the rail head. The crossing uses a section of steel bar set into the rail in the direction where most of the running will take place. the other route is possible through a flange sized notch filed into the bar. This means that the critical crossing nose is a single piece of steel. In this turnout the curved road is the main running road, the straight goes to the preparation and disposal road and is less used. I hope the pictures will make it clearer. Ideas welcome here, as I have only build one so far so there is scope for improvement. It took several hours, but only cost about £20 - Result!
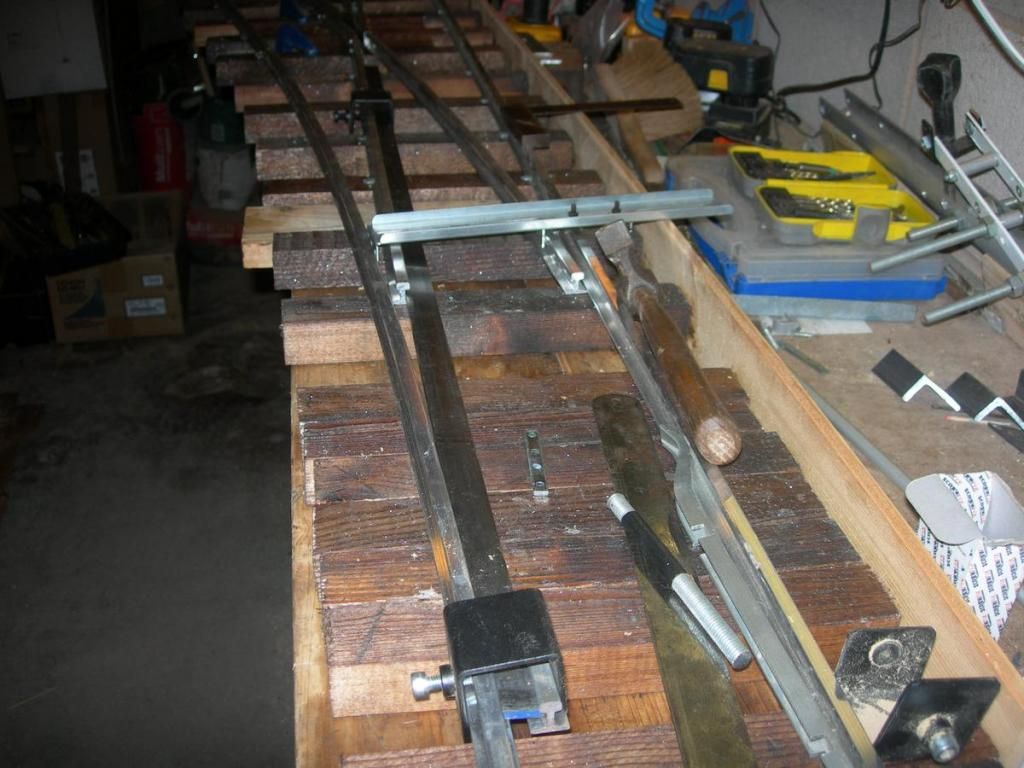
In the area of the crossing and check rails I have screwed several sleepers together to give a solid base. The steel bar is 20mm deep and the rail only 16, so there is a 4mm slot to keep it aligned
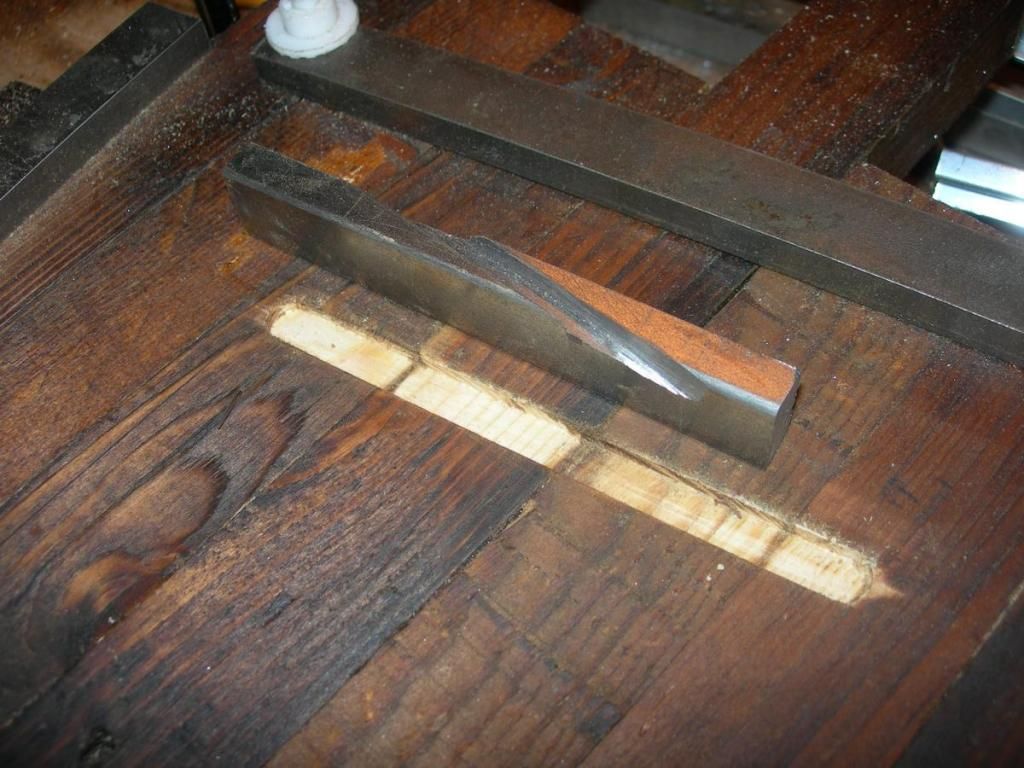
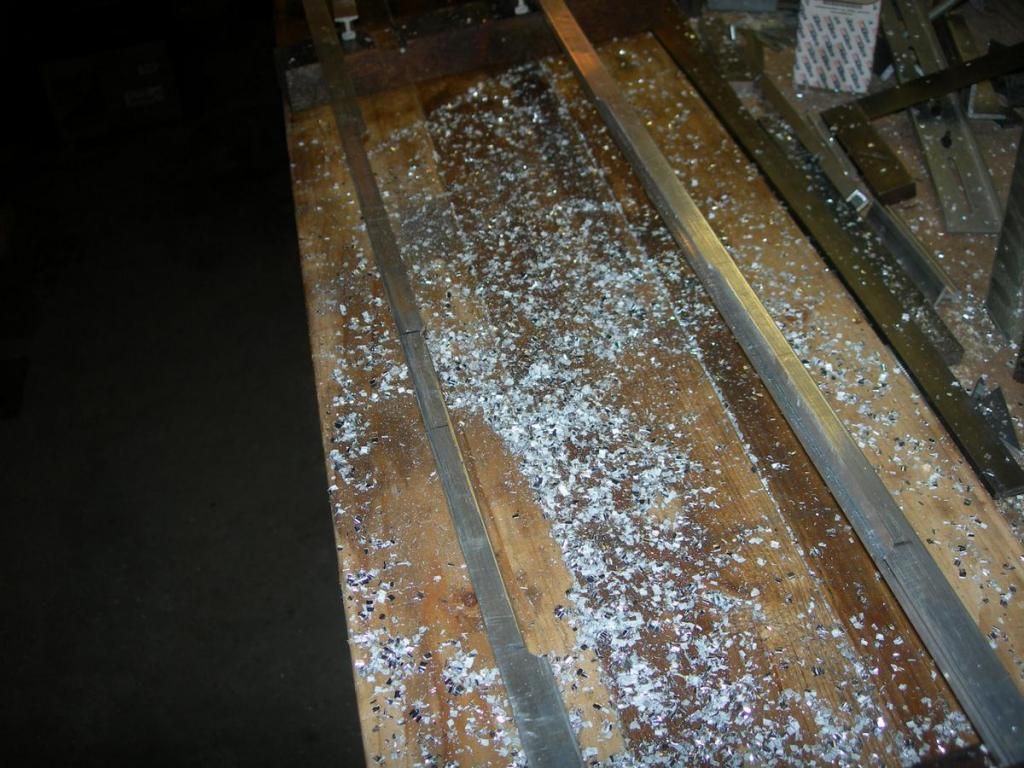
This picture show the slot just routed. The steel bar clamped to the right is a guide for the baseplate of the router to get the slot straight and aligned
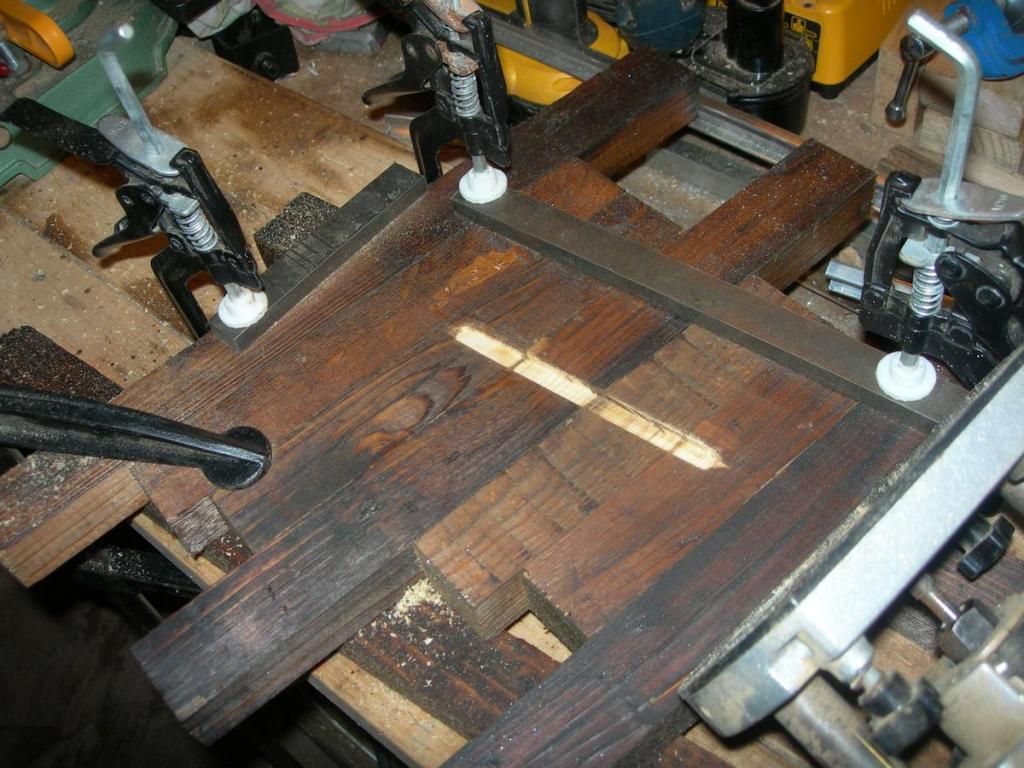
This picture shows the steel nose piece and the slot I have routed for it to sit in.
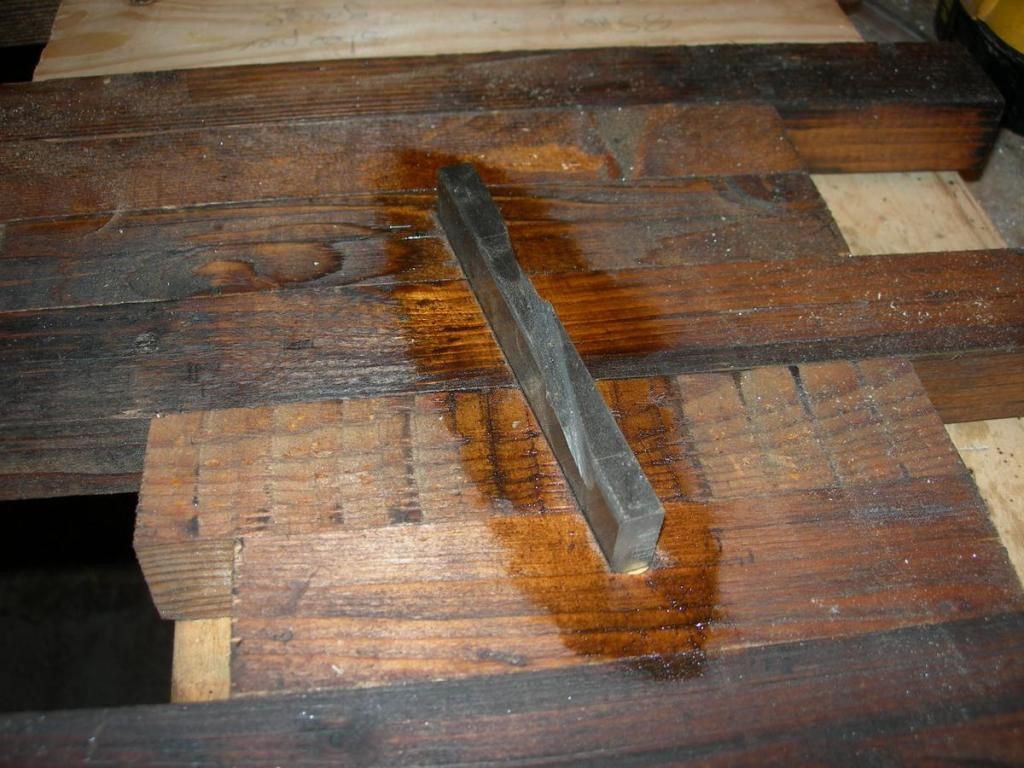
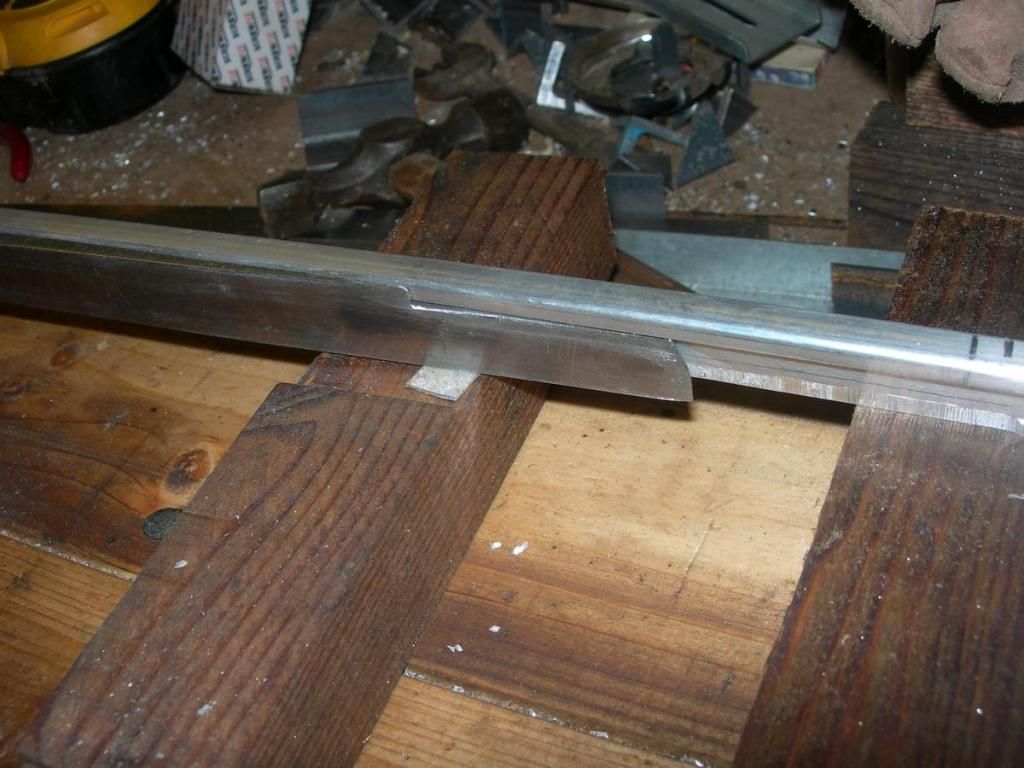
Finally, the nose bar in place
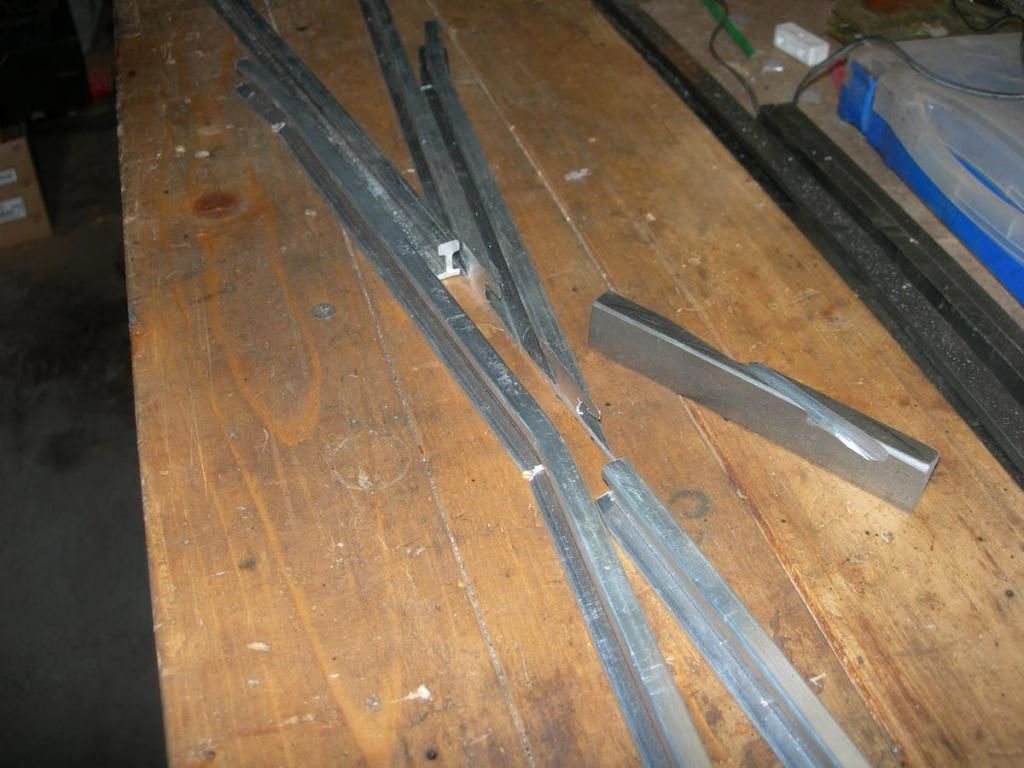
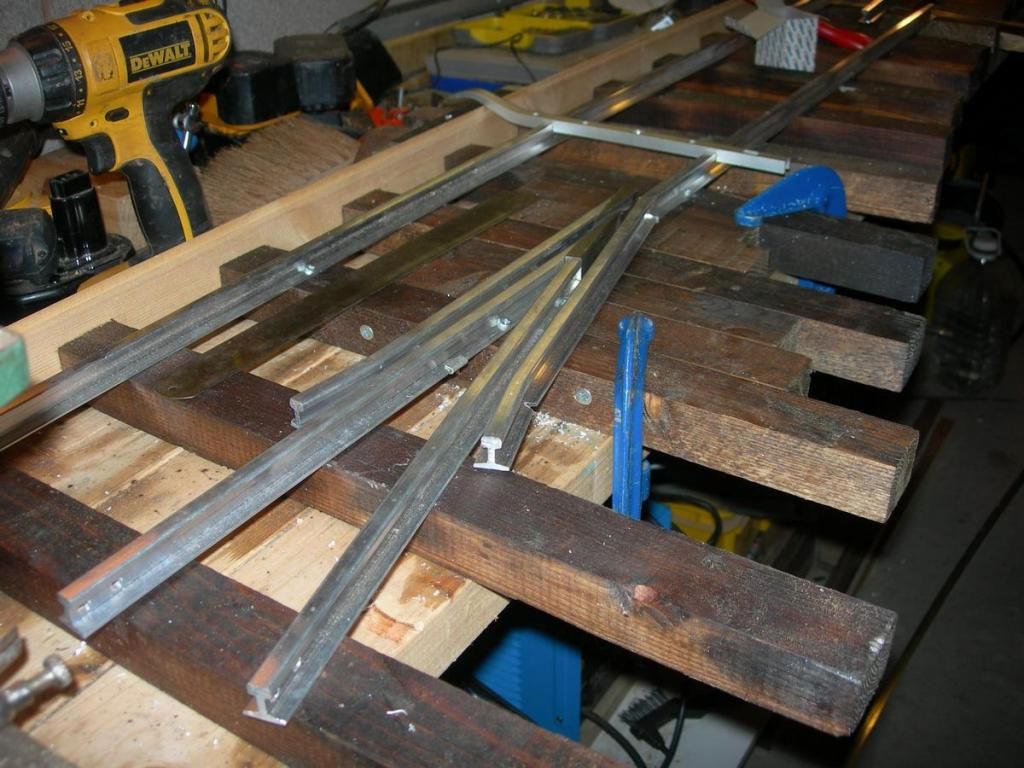
Here is the bar and the surrounding components made from standard rail
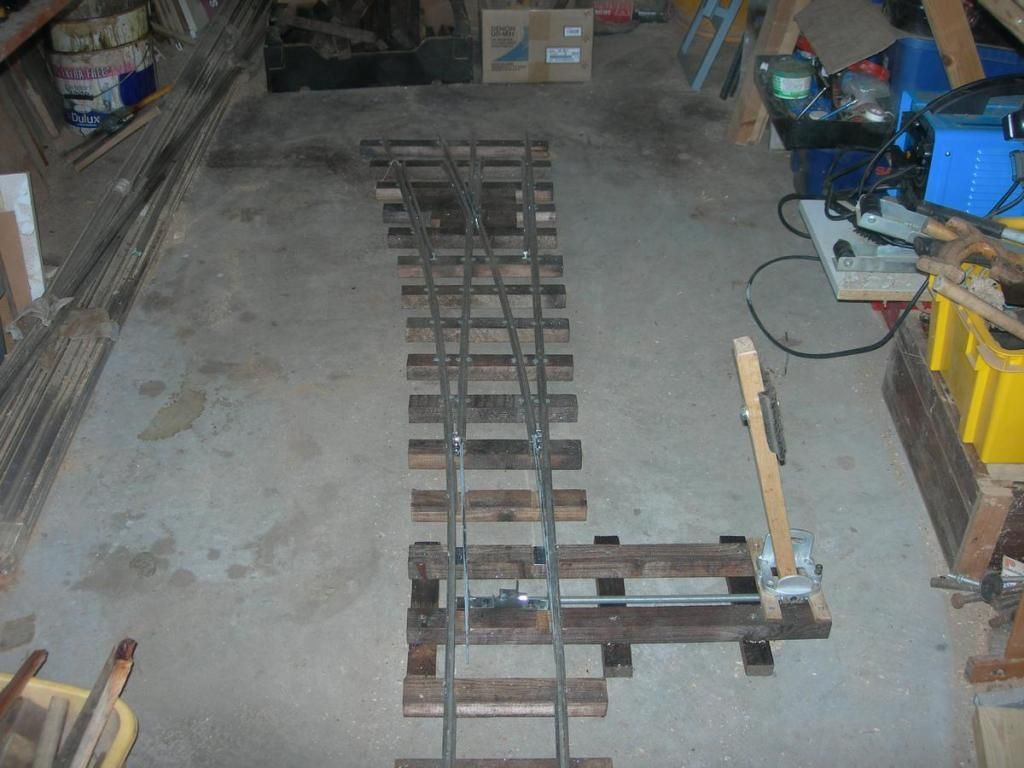
and start of construction from the crossing nose (this was my datum point)
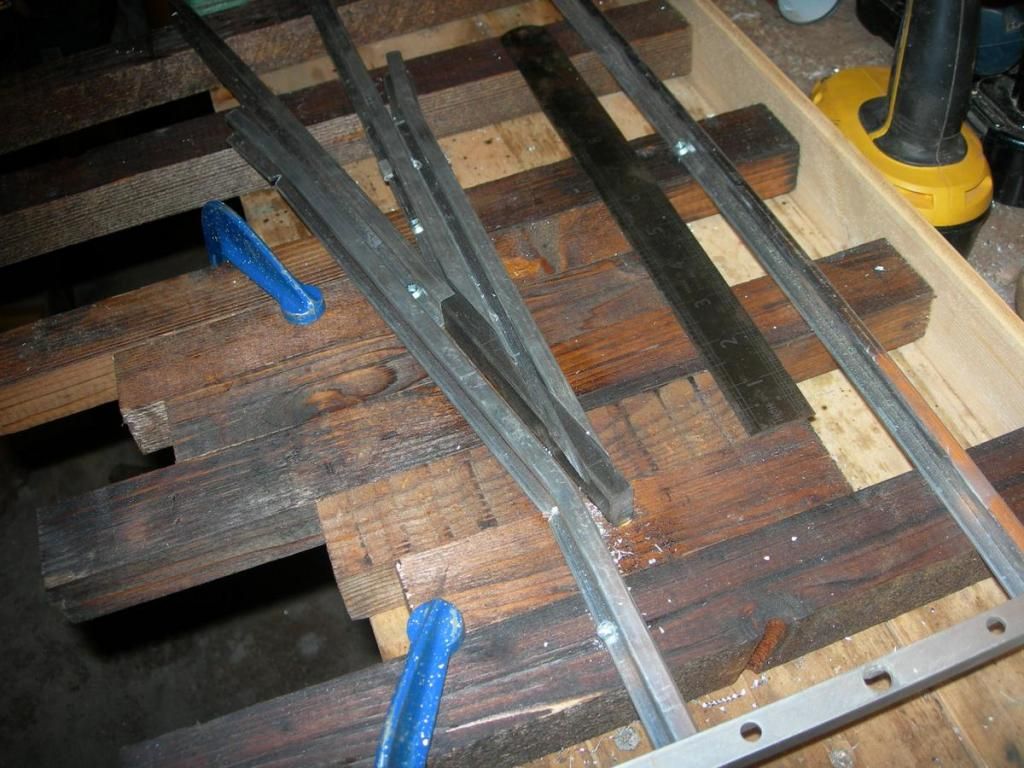
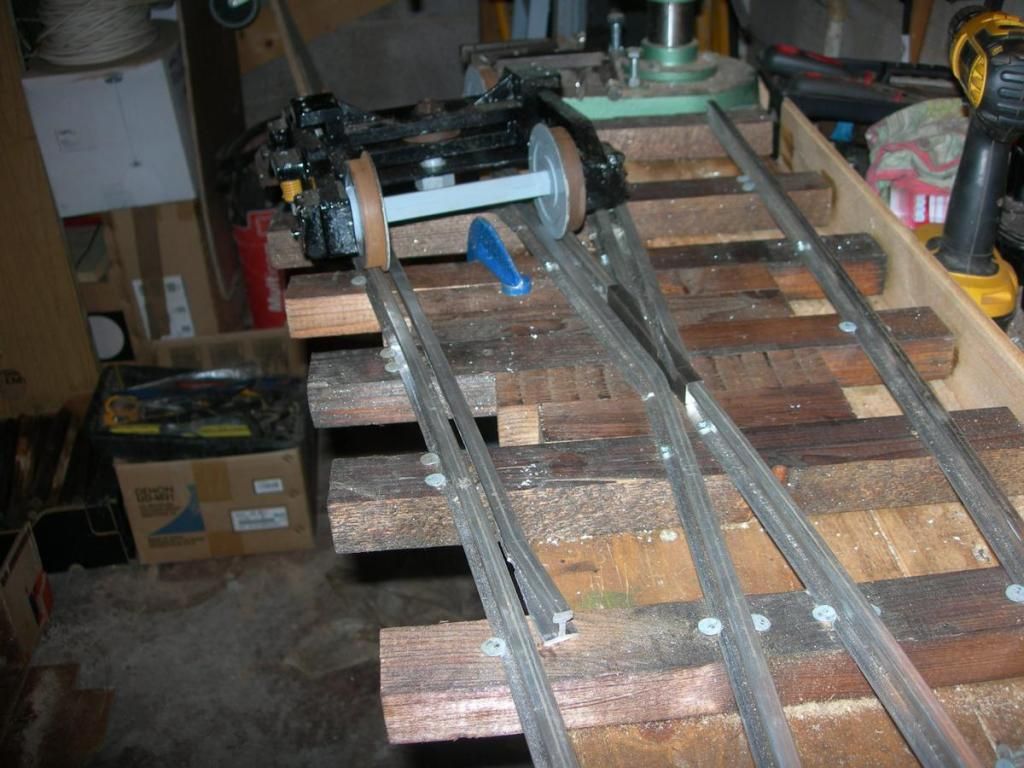
I hope this last picture shows how the idea works. The main route runs along the length of the steel bar. The alternate route runs "through" the bar using the notch/ I checked this carefully against the flange profiles I have.


 [/url]