Page 2 of 2
Posted: Wed Mar 16, 2011 11:31 pm
by bessytractor
its a very good suggestion Keith, sadly its one I'd already discounted. Its due to the alighnment of the steam inlet/exhaust outlet. As it stands I have to modify the valve block to suit my needs, you'll see how soon

Posted: Thu Mar 17, 2011 1:56 am
by Keith S
OK I will wait and see. I feel it's my duty as a "trainee fireman" to learn as much as I can.

Posted: Fri Mar 18, 2011 12:45 am
by bessytractor
I will probably carry out the mod in the workshop tomorrow, if I do you will see what I was getting at!
Posted: Fri Mar 18, 2011 10:42 pm
by bessytractor
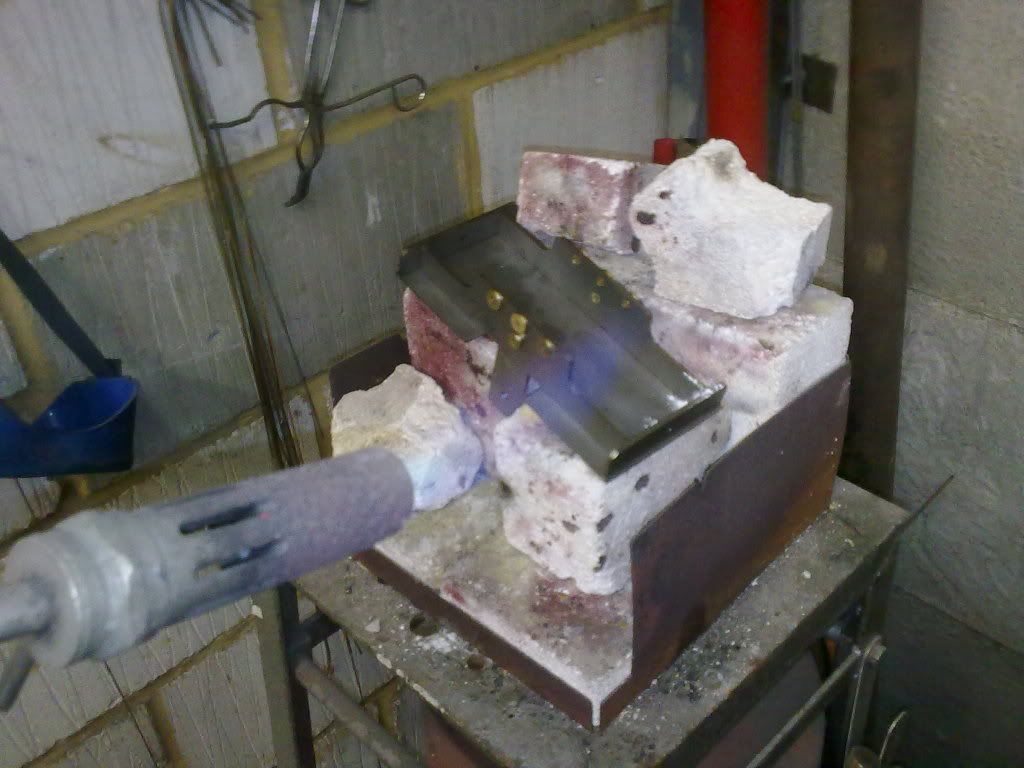
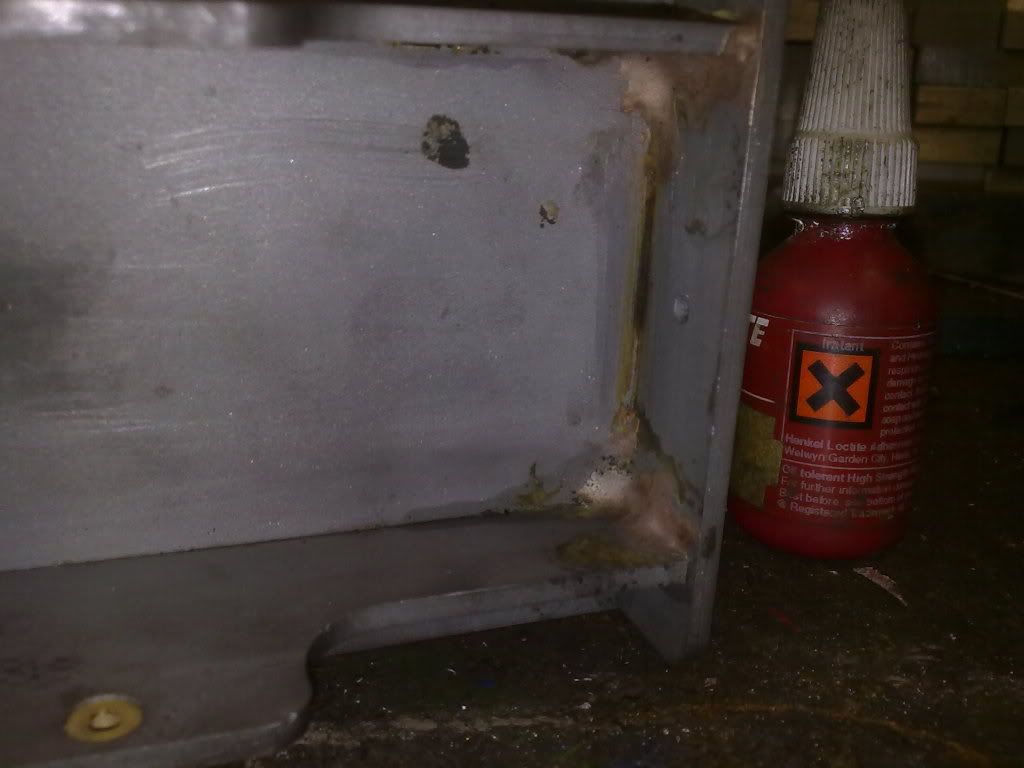
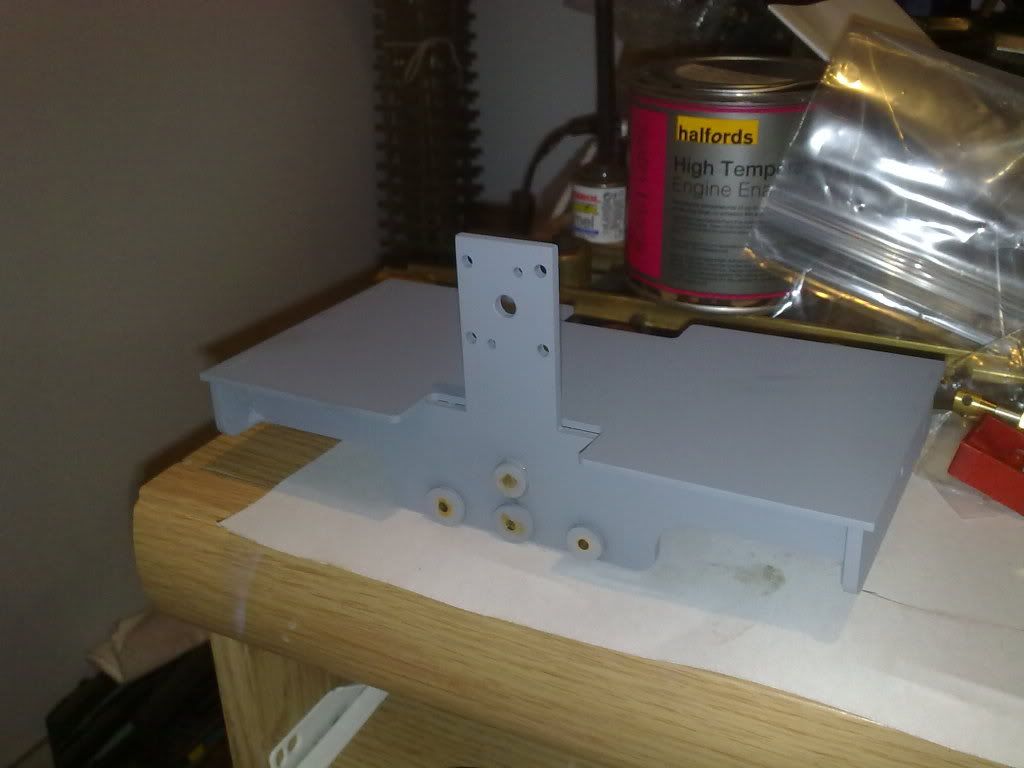
today was an exciting day, as I got the chassis silver soldered together. Plonked it on the hearth and heated it up, solder penetration is reasonable enough. The amount of tarnish on it afterwards was such that I chucked it in the sandblaster and gave it a good going over, looked lovely when it came out, and had a good key for the paint. I put some grey primer on to keep it from rusting.
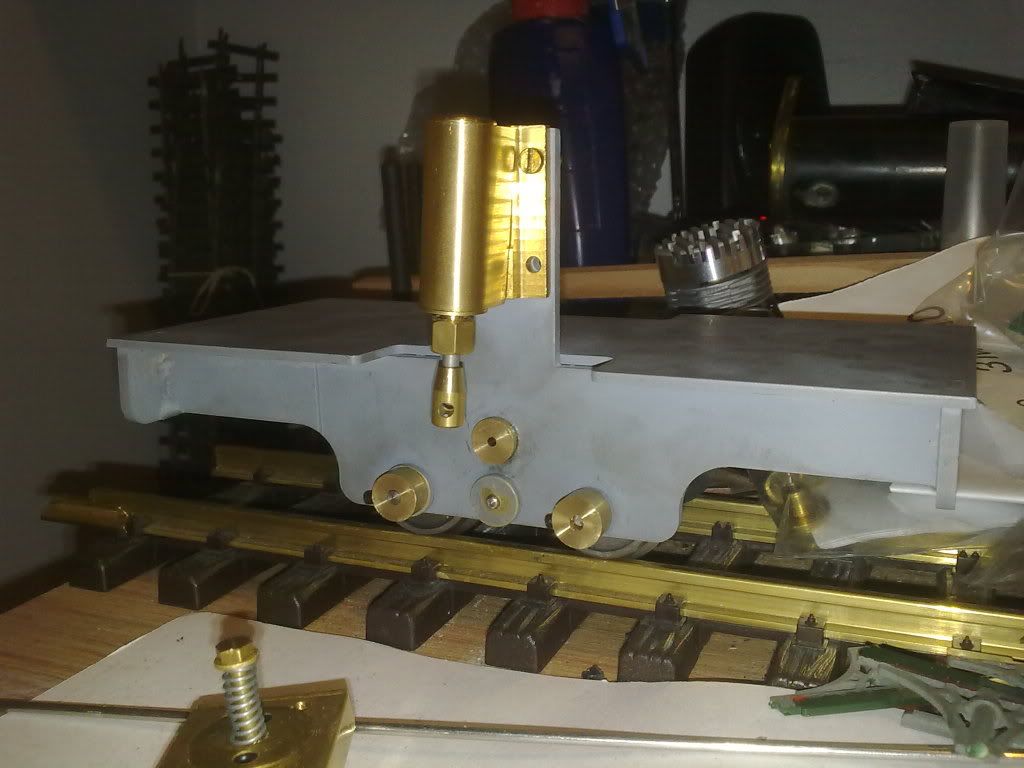
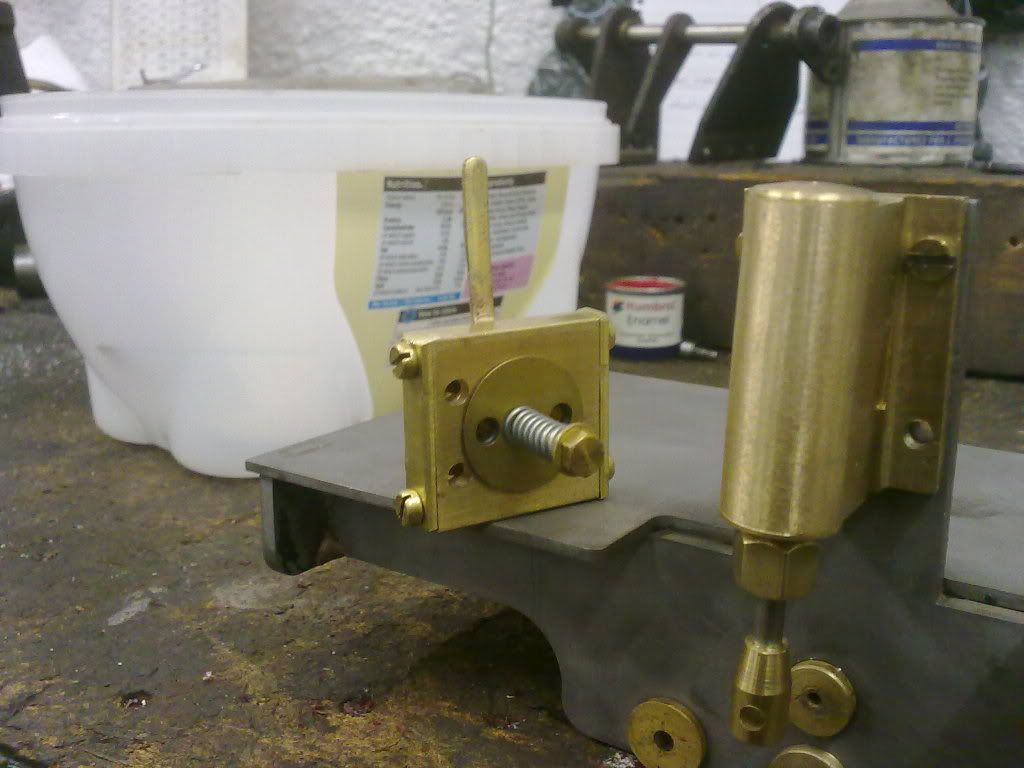
Other jobs included drilling the steam ports in the frames, and modifying the reverser valve. This was done by plating over the usual outlets for the Mamod loco and drilling holes through the back to bring the steam round 90 degrees instead.
the axle steel arrived today, and I shall be making these just as soon as the wheels are sorted out.
Posted: Fri Mar 18, 2011 11:50 pm
by dougrail
That is looking good BT!

Posted: Sat Mar 26, 2011 8:38 pm
by bessytractor
Posted: Mon May 09, 2011 2:26 pm
by bessytractor
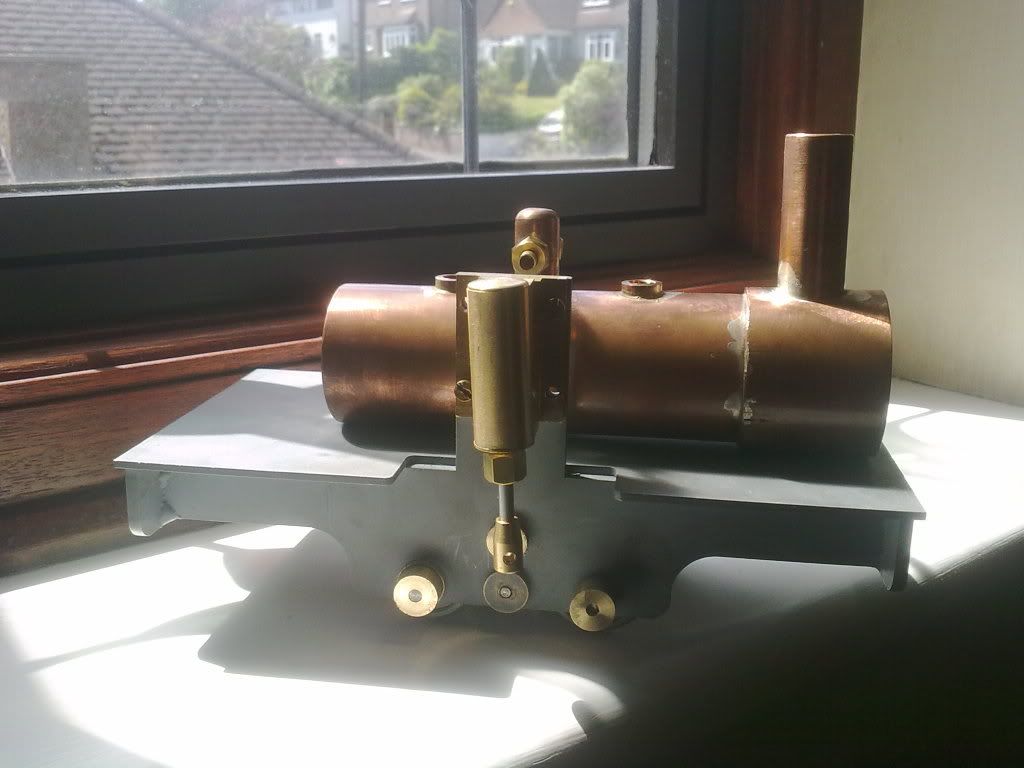
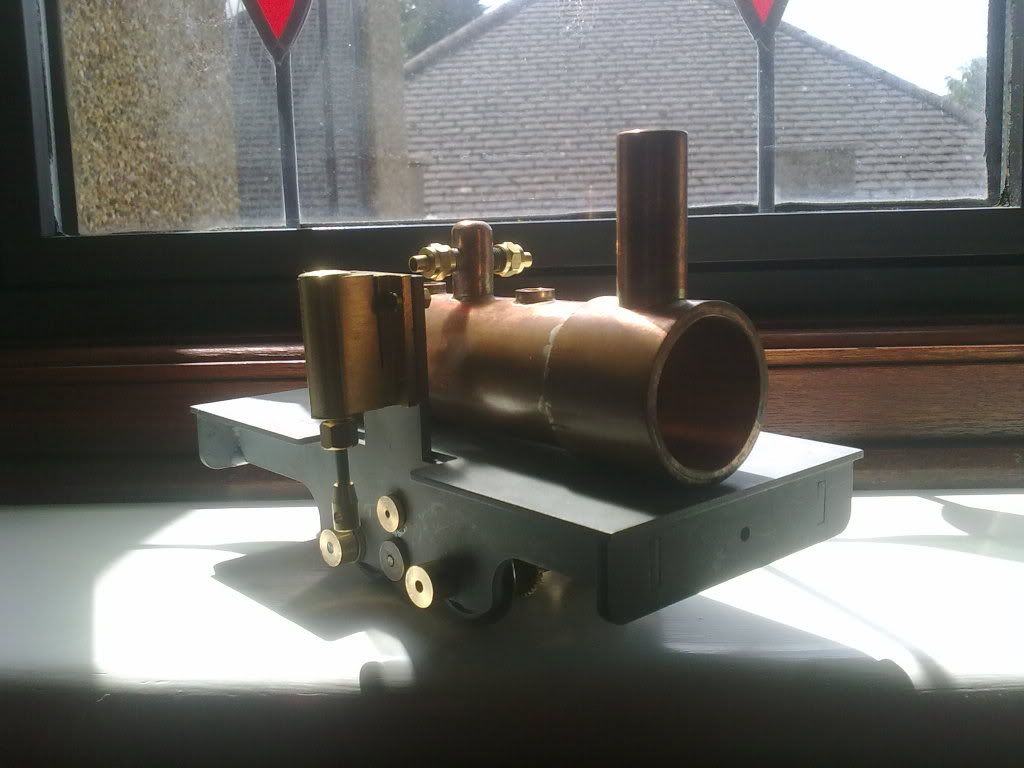
had a big leap of progress today, the boiler has arrived from MJ engineering.
Posted: Tue May 24, 2011 4:40 pm
by Hancockshire
Boiler looks a little small. I suppose that's the price to pay if you model the wrong gauge 
Posted: Tue May 24, 2011 5:25 pm
by bessytractor
Hancockshire:53967 wrote:Boiler looks a little small. I suppose that's the price to pay if you model the wrong gauge
the boiler should be fine, its been proportionally enlarged along with the rest of the chassis from the original Cracker drawings which as we all know works fine.
I could fit a larger boiler if I wanted to but this one will be satisfactory. A twin cylinder variant would certainly require one. Gauge is optional ;)
don't start the gauge thing, its boring.
Posted: Wed Jun 08, 2011 7:51 pm
by tom_tom_go
Looking good, nice to see something different and home made!
Cheers,
Tom
Posted: Fri Jun 10, 2011 2:13 am
by Tobias
don't start the gauge thing, its boring.
because45mm always win
Posted: Fri Aug 05, 2011 9:40 pm
by bessytractor
oh dear life really got in the way of progress on poor little Cracker

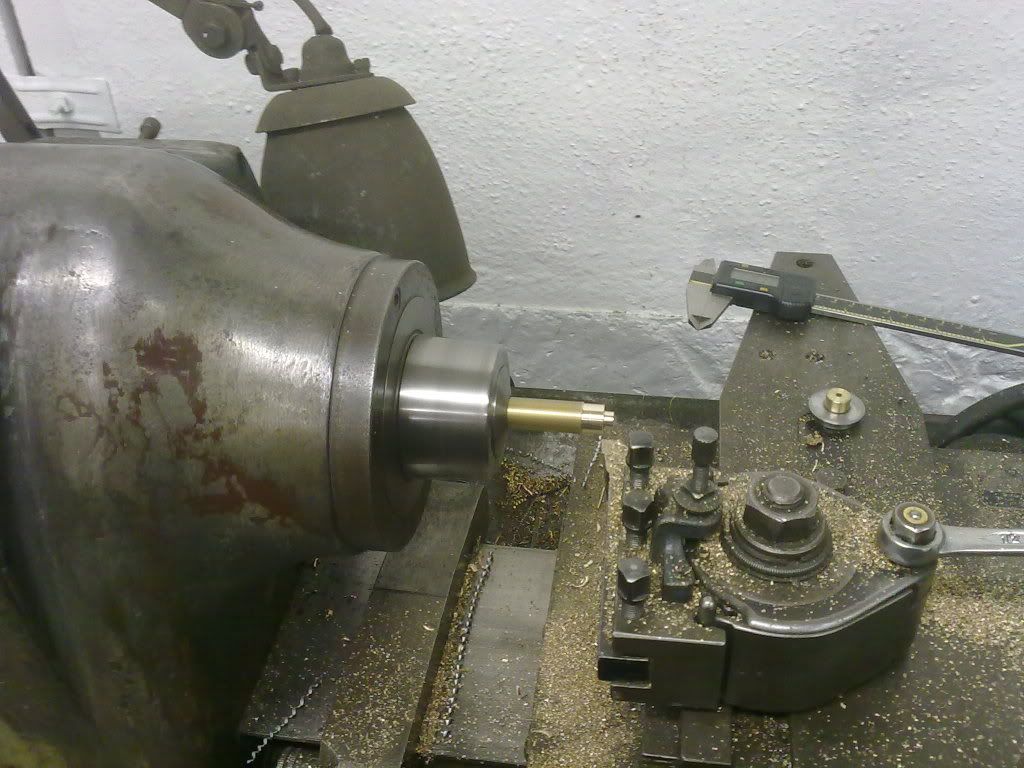
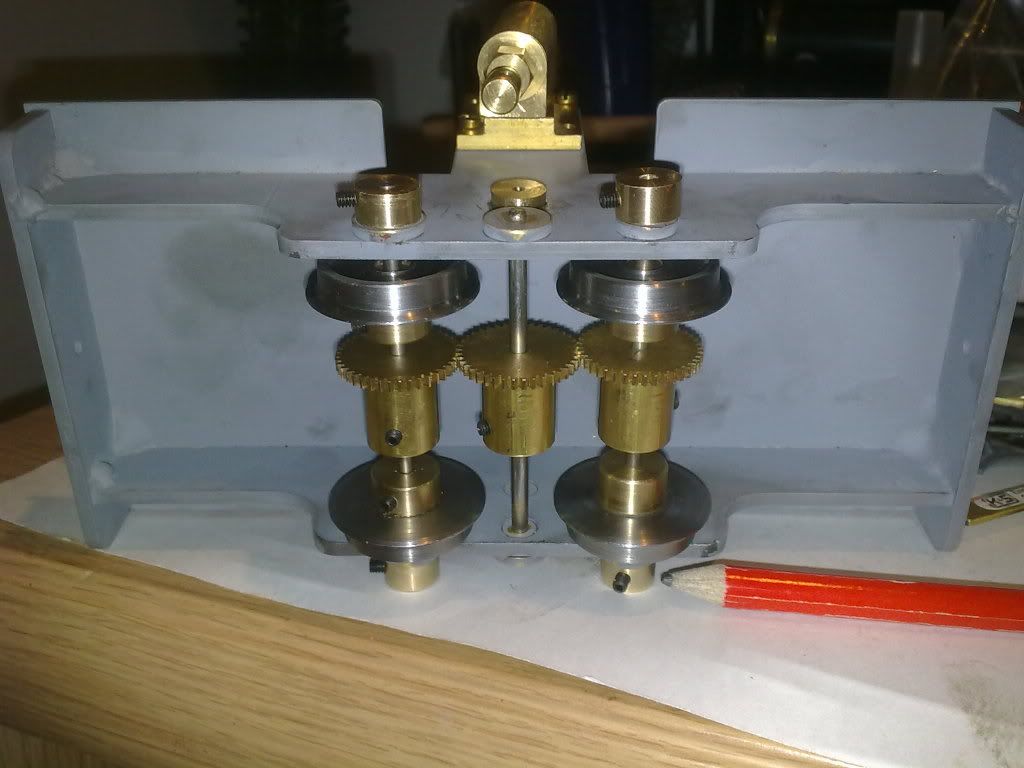
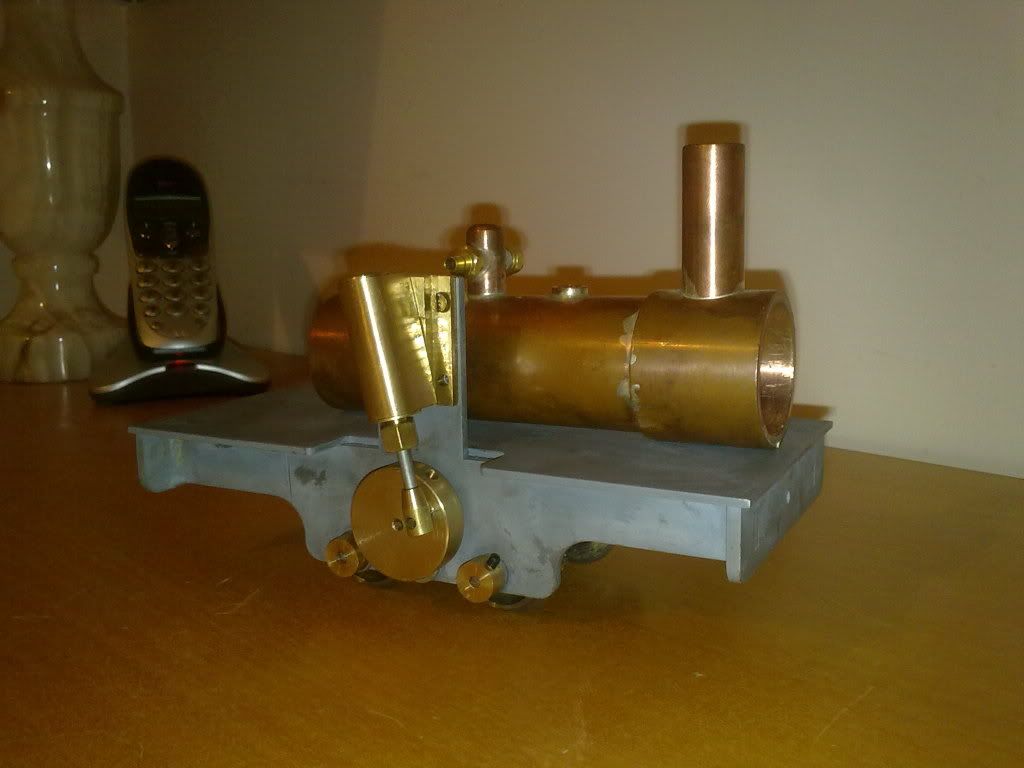
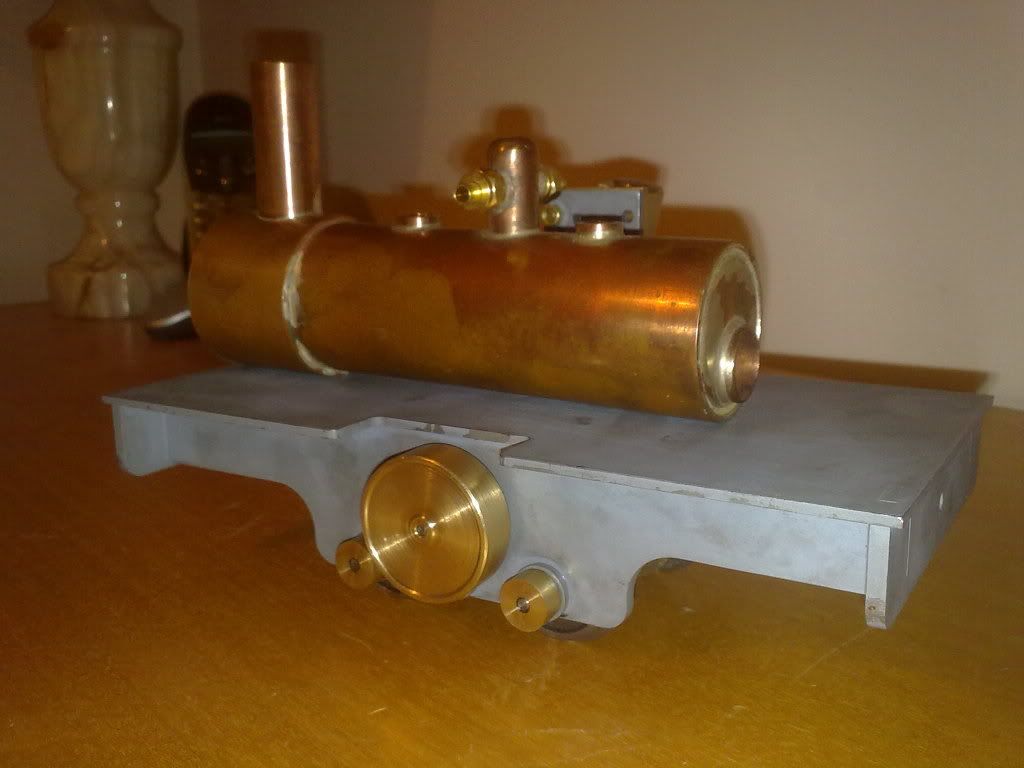
not to worry though! Today I went down the railway workshops and set myself the challenge of getting the crankshaft finished, and replace the duff axle on one wheelset. Once the axle was made two flywheels were made up, one recessed and one with a crankpin fitted. The actual crankshaft was made and fitted, I trimmed it to length once the flywheels were on. The tiny weeny gear had a boss made and was put on with a setscrew.
Having made sure it turned over (it was a bit stiff) I smothered everything in oil, fired up the air compressor and deep joy, it ran. I ran it at 50 psi for about 30 mins in both directions, and it loosened up nicely. When I was done I sprayed some 3 in 1 heavy foam degreaser on it and left it for 10 mins, washing it down afterwards. Can't have it covered in oil!
So there we are, a bit more progress :D
Posted: Mon Aug 08, 2011 10:49 am
by Sir Clothem Cap
I wish my metal working skills were up to building one.
Posted: Mon Aug 08, 2011 11:58 pm
by bessytractor
if you want one in kit form that could be done.